In the previous two articles, we learned about the SPI mechanism in RPC and dubbo. In order to further understand the whole process of RPC call, in this article, we will implement simple SPI mechanism, zookeeper registry, load balancing and other functions. I will put the link of the source code at the end of the article. If necessary, you can clone and debug the whole project, which can also make the whole RPC call process clearer. OK, no more nonsense. The next step is to show its functions.
introduce
In order to facilitate the management of functions, multiple modules are divided here:
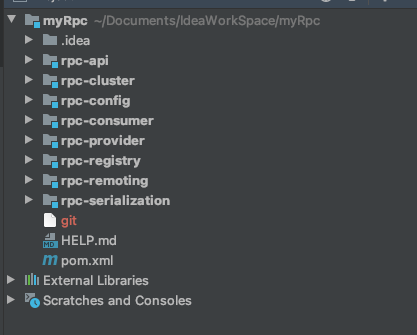
You can know what the module is responsible for by its name. For example, the api module is specifically responsible for storing interfaces, the cluster is the fault-tolerant part, and here is the load balancing part.
In the last article, we knew that SPI is the core part of dubbo, so let's start with SPI first.
SPI
How to use SPI?
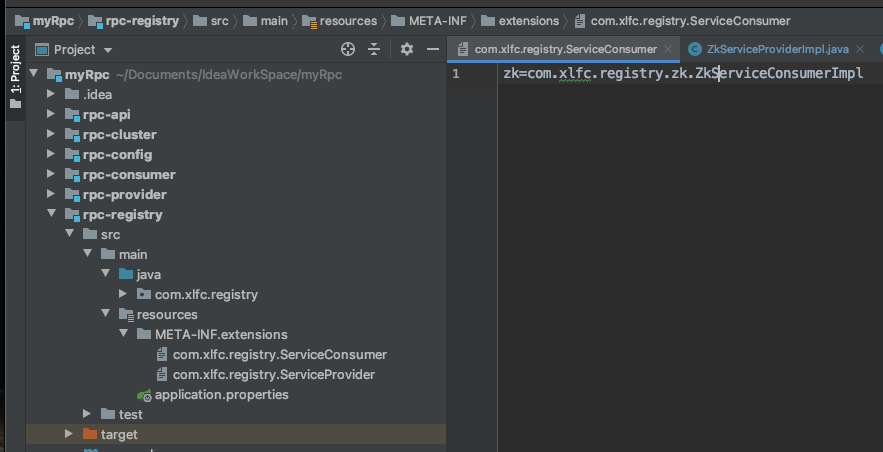
This is basically the same as that in dubbo. Create an extensions package under META-INF with the interface name as the file name. In the file, set its implementation class in the form of key value:
The specific implementation class of SPI is ExtensionLoader, which is basically the same as dubbo. It can be said that it is the implementation of the weakened version of dubbo. I believe that after reading the last article, it is a piece of cake to see the implementation of SPI.
Server
In dubbo, services are provided in the form of xml and annotations. In this article, services are provided in the form of annotations. Therefore, we need to define a server annotation to add it to the implementation class:
@Documented
@Retention(RetentionPolicy.RUNTIME)
@Target({ElementType.TYPE})
@Inherited
public @interface Service {
    String interfaceName() default "";

    String version() default "";

    String group() default "";
}
Just add this annotation to the implementation class. Let's start the next server:
public class AnnotationProvider {
    public static void main(String[] args) throws IOException {
        new AnnotationConfigApplicationContext(ProviderComponentScan.class);
        //Start netty
        NettyRpcServer nettyRpcServer=new NettyRpcServer();
        nettyRpcServer.start();
    }

    @Configuration
    @RpcComponentScan(basePackages = {"com.xlfc.provider.impl"})
    static public class ProviderComponentScan{

    }
}
Just adding annotations to the implementation classes is not enough. Because it does not enter the spring container, our spring cannot process it. Therefore, the next step is to scan these classes by spring:
@Override
    public void registerBeanDefinitions(AnnotationMetadata annotationMetadata, BeanDefinitionRegistry beanDefinitionRegistry) {
        CustomScanner rpcServiceScanner=new CustomScanner(beanDefinitionRegistry, Service.class);
        CustomScanner springBeanScanner=new CustomScanner(beanDefinitionRegistry, Component.class);

        if (resourceLoader!=null){
            rpcServiceScanner.setResourceLoader(resourceLoader);
            springBeanScanner.setResourceLoader(resourceLoader);
        }

        String[] packageToScan=getPackageToScan(annotationMetadata);

        //In fact, it is to scan the classes with these annotations under the package and add them to the container before they can be used.

        springBeanScanner.scan(SPRING_BEAN_BASE_PACKAGE);

        rpcServiceScanner.scan(packageToScan);


    }

    /**
     * Get the content to be scanned
     * */
    private String[] getPackageToScan(AnnotationMetadata annotationMetadata) {
        String[] packageToScan=new String[0];
        //See the getPackagesToScan0 method of dubbocomponentscanregister
        AnnotationAttributes attributes = AnnotationAttributes.fromMap(
                annotationMetadata.getAnnotationAttributes(annotationClass.getName()));

        if (attributes!=null){
            packageToScan=attributes.getStringArray(BASE_PACKAGE_ATTRIBUTE_NAME);
        }
        //It means there is no scanning
        if (packageToScan.length==0){
            packageToScan=new String[]{((StandardAnnotationMetadata)annotationMetadata).getIntrospectedClass().getPackage().getName()};
        }
        return packageToScan;
    }
This step is to let spring scan the files marked with @ Service. For more details about the implementation of this part in dubbo, you can see getPackagesToScan0 of dubbocomponentscanregister.
In this way, after spring scans into the file, it can process the container when it is loaded. Override the onApplicationEvent method by implementing ApplicationListener:
@SneakyThrows
    @Override
    public void onApplicationEvent(ContextRefreshedEvent event) {
        if (Objects.isNull(event.getApplicationContext().getParent())){
            ApplicationContext context = event.getApplicationContext();

            //Processing provider / Producer
            handlerProvider(context);

            //Processing consumer
            handlerConsumer(context);
        }
    }

    @SneakyThrows
    private void handlerProvider(ApplicationContext context) throws UnknownHostException {
        Map<String, Object> beans = context.getBeansWithAnnotation(Service.class);
        String host = InetAddress.getLocalHost().getHostAddress();
        if (!beans.isEmpty()){
            for (Object bean:beans.values()){
                Service service = bean.getClass().getAnnotation(Service.class);
                RpcService rpcServiceConfig=new RpcService(host,PORT,bean,service.version(),service.group());
                serviceProvider.register(rpcServiceConfig);
            }
        }
    }
Because it is a server, this information must be registered in the registration center. dubbo takes zookeeper as the default registry. Here we have zookeeper as the registry.
ZK registry
Using zk as the registry, most functions can be directly used by org apache. Methods in curator:
@Override
    public void register(RpcService rpcService) {
        this.addService(rpcService);

        InetSocketAddress address = new InetSocketAddress(rpcService.getHost(), rpcService.getPort());

        String servicePath= RpcConstants.ZK_REGISTER_ROOT_PATH+"/"+rpcService.getServiceName()+rpcService.getGroup()+rpcService.getVersion()+address;

        ZookeeperUtils.createPersistentNode(zkClient,servicePath);
    }

public static void createPersistentNode(CuratorFramework zkClient, String path) {
        try {
            if (!(REGISTERED_PATH_SET.contains(path) || zkClient.checkExists().forPath(path) != null)) {
                zkClient.create().creatingParentsIfNeeded().withMode(CreateMode.PERSISTENT).forPath(path);
            }
            REGISTERED_PATH_SET.add(path);
        } catch (Exception e) {
            log.error("create persistent node for path [{}] fail", path);
        }
    }
We can view the registration information of zookeeper through ZooInspector:
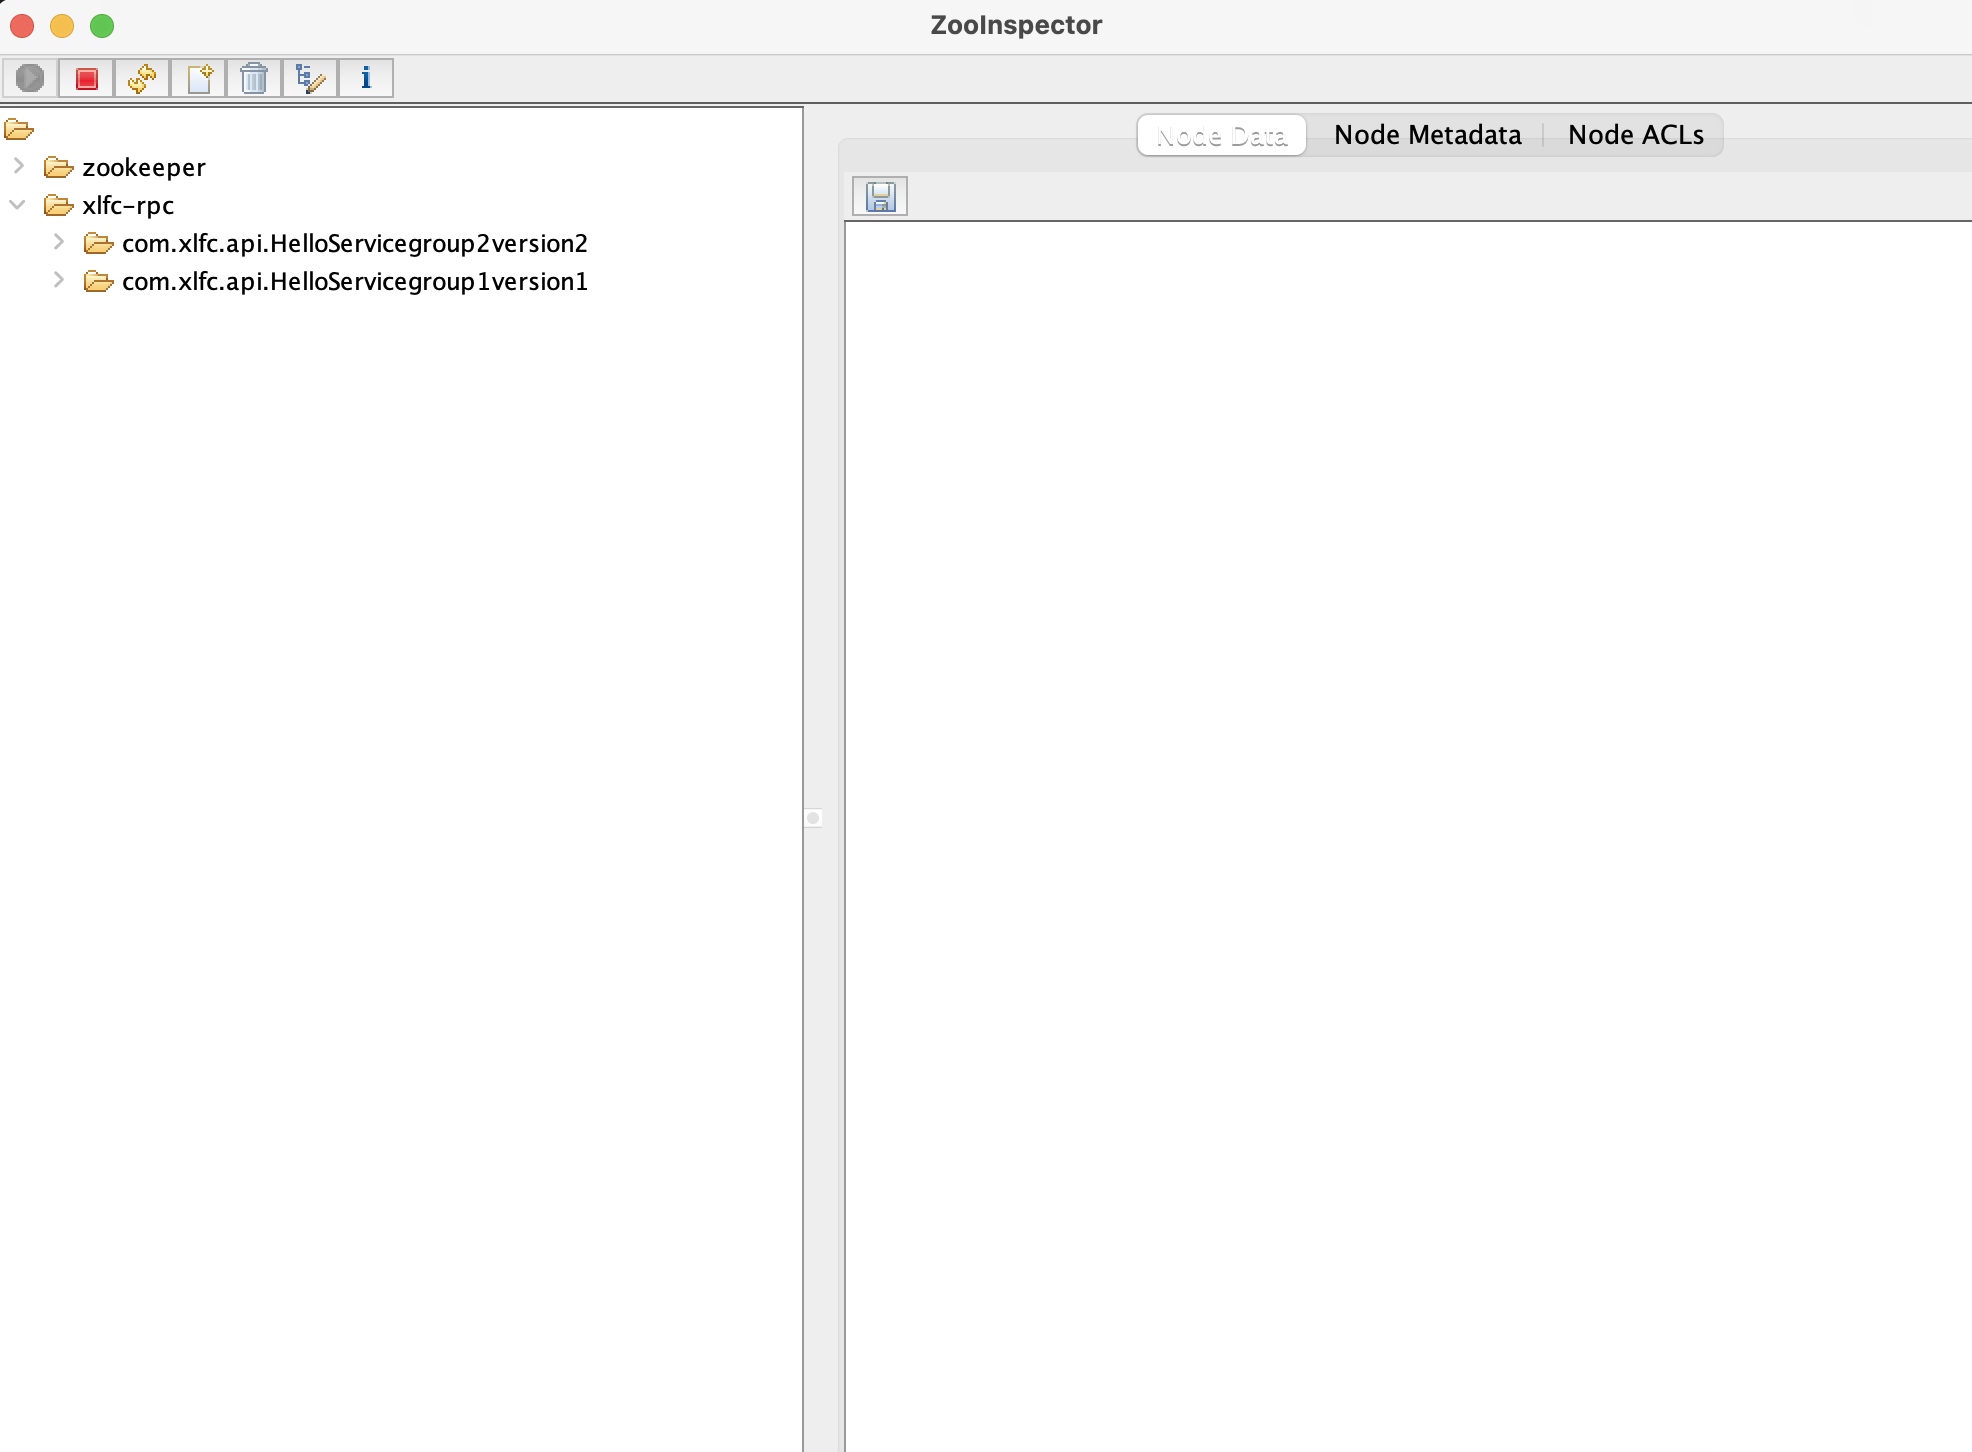
Only when zookeeper has service information can we provide services for clients.
client
If the server has a custom annotation, the client should also define an annotation so that it can know where services are needed:
@Documented
@Retention(RetentionPolicy.RUNTIME)
@Target({ElementType.FIELD})
@Inherited
public @interface Reference {
    String interfaceName() default "";

    String version() default "";

    String group() default "";
}


public class AnnotationConsumer {
    public static void main(String[] args) throws IOException {
        AnnotationConfigApplicationContext annotationConfigApplicationContext = new AnnotationConfigApplicationContext(ProviderComponentScan.class);
        annotationConfigApplicationContext.start();

        final HelloController helloController = (HelloController) annotationConfigApplicationContext.getBean("helloController");
        helloController.test();
        System.in.read();
    }

    @Configuration
    @RpcComponentScan(basePackages = {"com.xlfc.consumer"})
    static public class ProviderComponentScan{

    }
}
In the above, we added the @ Service annotation class of the server to the spring scan, and we also added the @ Reference of the client. Therefore, you only need to do some processing on @ Reference related classes after spring is loaded.
@SneakyThrows
    @Override
    public void onApplicationEvent(ContextRefreshedEvent event) {
        if (Objects.isNull(event.getApplicationContext().getParent())){
            ApplicationContext context = event.getApplicationContext();

            //Processing provider / Producer
            handlerProvider(context);

            //Processing consumer
            handlerConsumer(context);
        }
    }


private void handlerConsumer(ApplicationContext context) {
        Map<String, Object> beans = context.getBeansWithAnnotation(Component.class);
        if (!beans.isEmpty()){
            for (Object bean:beans.values()){
                Class<?> targetClass = bean.getClass();
                Field[] declaredFields =targetClass.getDeclaredFields();

                for (Field declaredField:declaredFields){
                    Reference rpcReference = declaredField.getAnnotation(Reference.class);
                    if (rpcReference!=null){
                        RpcService rpcServiceConfig=new RpcService(rpcReference.version(),rpcReference.group());
                        RpcClientProxy rpcClientProxy=new RpcClientProxy(rpcClient,rpcServiceConfig);
                        Object clientProxy=rpcClientProxy.getProxy(declaredField.getType());
                        declaredField.setAccessible(true);
                        try {
                            declaredField.set(bean,clientProxy);
                        } catch (IllegalAccessException e) {
                            e.printStackTrace();
                        }
                    }

                }
            }
        }
    }
What we get is an interface. What if we can call the method of the object? Yes, it is to generate a proxy class so that its methods can be executed by calling the proxy class:
public <T> T getProxy(Class<?> clazz) {
        return (T) Proxy.newProxyInstance(clazz.getClassLoader(), new Class<?>[]{clazz},new ConsumerInvocationHandler());
    }
When executing the proxy class, you can ensure that the result of this method can be obtained by using completabilefuture. Of course, you can also use countDownLatch to ensure that the execution result will be obtained in the end. Both methods are OK, but the implementation process is different:
private class ConsumerInvocationHandler implements InvocationHandler{
        @Override
        public Object invoke(Object proxy, Method method, Object[] args) throws Throwable {
            RpcRequest rpcRequest=new RpcRequest(method,args,rpcServiceConfig);

            RpcResponse<Object> rpcResponse=null;

            CompletableFuture<RpcResponse<Object>> completableFuture= (CompletableFuture<RpcResponse<Object>>) rpcRequestTransport.sendRpcRequest(rpcRequest);

            rpcResponse=completableFuture.get();

            return rpcResponse.getData();
        }

    }
The next step is to obtain the information in the registry, select an appropriate ip according to load balancing, and turn on netty for access:
@Override
    public Object sendRpcRequest(RpcRequest rpcRequest) throws Exception {
        CompletableFuture<RpcResponse<Object>> resultFuture = new CompletableFuture<>();

        InetSocketAddress inetSocketAddress = serviceConsumer.getIpAndPort(rpcRequest);//Get the ip and address.

        Channel channel=getChannel(inetSocketAddress);

        if (channel.isActive()){
            NettyClientHandler.COMPLETABLE_CLIENT.put(rpcRequest.getRequestId(),resultFuture);
            RpcMessage rpcMessage=this.createRpcMessage(rpcRequest);

            channel.writeAndFlush(rpcMessage).addListener((ChannelFutureListener) future->{
                if (!future.isSuccess()){
                    future.channel().close();
                    resultFuture.completeExceptionally(future.cause());
                }
            });


        }else{
            throw new IllegalStateException();
        }
        return resultFuture;

    }
load balancing
There are many load balancing algorithms in dubbo, such as random, weight polling, consistency hash and so on. Here we just implement a simple random algorithm.
Use load balancing as an SPI interface:
@SPI
public interface LoadBalance {
    String selectServiceAddress(List<String> serviceAddresses, RpcRequest rpcRequest);
}


public abstract class AbstractLoadBalance implements LoadBalance {

    @Override
    public String selectServiceAddress(List<String> serviceAddresses, RpcRequest rpcRequest) {
        if (serviceAddresses==null || serviceAddresses.isEmpty()){
            return null;
        }
        if (serviceAddresses.size()==1){
            return serviceAddresses.get(0);
        }
        return doSelect(serviceAddresses,rpcRequest);
    }
    protected abstract String doSelect(List<String> serviceAddresses, RpcRequest rpcRequest) ;
}

public class RandomLoadBalance extends AbstractLoadBalance {
    @Override
    protected String doSelect(List<String> serviceAddresses, RpcRequest rpcRequest) {
        Random random=new Random();
        return serviceAddresses.get(random.nextInt(serviceAddresses.size()));
    }
}
Because of the SPI mechanism, it is very convenient to extend the load balancing algorithm.
With the interface name, you can use it as the query condition to find which ip provides this service in zk. According to the service addresses, you can sit down and load balance to get the last ip to be executed.
 public InetSocketAddress getIpAndPort(RpcRequest rpcRequest) {
        String rpcServiceName = rpcRequest.getRpcServiceName();

        CuratorFramework zkClient = ZookeeperUtils.getZkClient();
        List<String> serviceUrlList = ZookeeperUtils.getChildrenNodes(zkClient,rpcServiceName);
        if (serviceUrlList==null || serviceUrlList.size()==0){
            throw new RpcException("Service not found for:"+rpcServiceName);
        }
        //Load balancing
        LoadBalance random = ExtensionLoader.getExtensionLoader(LoadBalance.class).getExtension("random");

//        List<String> list=new ArrayList<>();
//        for (int i = 0; i < 15; i++) {
//            list.add();
//        }
//
//        String targetServiceUrl = list.get(0);

        String targetServiceUrl = random.selectServiceAddress(serviceUrlList, rpcRequest);

        String[] socketAddressArray = targetServiceUrl.split(":");

        String host = socketAddressArray[0];

        int port = Integer.parseInt(socketAddressArray[1]);


        return new InetSocketAddress(host,port);
    }
Before netty transfers data, it is necessary to encode and serialize the data. There are many serialization methods, such as java, hession2, kryo, etc. in actual efficiency, kryo is more efficient, so we use this kryo for serialization.
In order to facilitate extension, it is also set as SPI interface:
 @Override
    public byte[] serialize(Object obj) {
        try (ByteArrayOutputStream byteArrayOutputStream = new ByteArrayOutputStream();
             Output output = new Output(byteArrayOutputStream)) {
            Kryo kryo = kryoThreadLocal.get();
            kryo.writeObject(output, obj);
            kryoThreadLocal.remove();
            return output.toBytes();
        } catch (Exception e) {
            throw new RpcException("Serialization failed");
        }
    }

    @Override
    public <T> T deserialize(byte[] bytes, Class<T> clazz) {
        try (ByteArrayInputStream byteArrayInputStream = new ByteArrayInputStream(bytes);
             Input input = new Input(byteArrayInputStream)) {
            Kryo kryo = kryoThreadLocal.get();
            Object o = kryo.readObject(input, clazz);
            kryoThreadLocal.remove();
            return clazz.cast(o);
        } catch (Exception e) {
            throw new RpcException("Deserialization failed");
        }
    }
Server processing data
Because Netty is used as the communication framework, the channelRead method can be rewritten by inheriting the ChannelInboundHandlerAdapter, so that the passed data can be obtained:
if (messageType == RpcConstants.HEARTBEAT_REQUEST_TYPE) {
                    rpcMessage.setMessageType(RpcConstants.HEARTBEAT_RESPONSE_TYPE);
                    rpcMessage.setData(RpcConstants.PONG);
                } else {

                    RpcRequest rpcRequest = (RpcRequest) ((RpcMessage) msg).getData();

                    log.info("The server receives a new message: request id by"+rpcRequest.getRequestId()+",Interface is"+rpcRequest.getInterfaceName()+",Method is"+rpcRequest.getMethodName());

                    Object result = this.handlerRequest(rpcRequest);
                    rpcMessage.setMessageType(RpcConstants.RESPONSE_TYPE);

                    if (ctx.channel().isActive() && ctx.channel().isWritable()) {
                        rpcResponse= RpcResponse.success(result, rpcRequest.getRequestId());
                    } else {
                        rpcResponse = RpcResponse.fail(RpcResponseCodeEnum.FAIL);
                    }
                    rpcMessage.setData(rpcResponse);
                }
                ctx.writeAndFlush(rpcMessage).addListener(ChannelFutureListener.CLOSE_ON_FAILURE);
Execute the corresponding method through reflection:
public Object handlerRequest(RpcRequest invocation) {
        Object service = serviceProvider.getService(invocation.getRpcServiceName());
        Object result;
        try {
            Method method = service.getClass().getMethod(invocation.getMethodName(), invocation.getParamTypes());
            result = method.invoke(service, invocation.getParameters());
        } catch (NoSuchMethodException | IllegalArgumentException | InvocationTargetException | IllegalAccessException e) {
            throw new RpcException(e.getMessage(), e);
        }
        return result;
    }
This completes a whole RPC call process.
How to use
So how to start after downloading the project?
One thing you need to do before starting is to start zookeeper. In the code, I set the ip of zk as local. If I use ECs, I need to modify the ip address.
First, start the class of the server. Remember to start the class of the server first, because you don't provide registry data. How can other clients pull data;
public class AnnotationProvider {
    public static void main(String[] args) throws IOException {
        new AnnotationConfigApplicationContext(ProviderComponentScan.class);
        //Start netty
        NettyRpcServer nettyRpcServer=new NettyRpcServer();
        nettyRpcServer.start();
    }

    @Configuration
    @RpcComponentScan(basePackages = {"com.xlfc.provider.impl"})
    static public class ProviderComponentScan{

    }
}
Wait for the server to start, and then start the client class:
public class AnnotationConsumer {
    public static void main(String[] args) throws IOException {
        AnnotationConfigApplicationContext annotationConfigApplicationContext = new AnnotationConfigApplicationContext(ProviderComponentScan.class);
        annotationConfigApplicationContext.start();

        final HelloController helloController = (HelloController) annotationConfigApplicationContext.getBean("helloController");
        helloController.test();
        System.in.read();
    }

    @Configuration
    @RpcComponentScan(basePackages = {"com.xlfc.consumer"})
    static public class ProviderComponentScan{

    }
}
ending
Although the RPC call process is not complicated, there are still some pits to write. After all, it is easy to get on paper. I absolutely know that I have to practice it. For this reason, I also refer to the source code of dubbo and the RPC examples written by others on github. The above is the introduction of this RPC, and its github link is attached below.
GitHub: https://github.com/xhXiaoQinDong/myRpc
The previous two articles;
Teach you to write an RPC frame by hand: https://blog.csdn.net/weixin_44298615/article/details/121504595?spm=1001.2014.3001.5501
This article gives you a thorough understanding of Dubbo's SPI mechanism: https://blog.csdn.net/weixin_44298615/article/details/121915314?spm=1001.2014.3001.5501