Now third-party logins are very common, such as QQ, Weibo and WeChat. Today we are going to implement how to access QQ to login into our project.
To use QQ login, we need to register an account with Tencent Open Platform to get the developer qualification address: http://open.qq.com/ Click on the Administration Center in the upper right corner after registration is complete.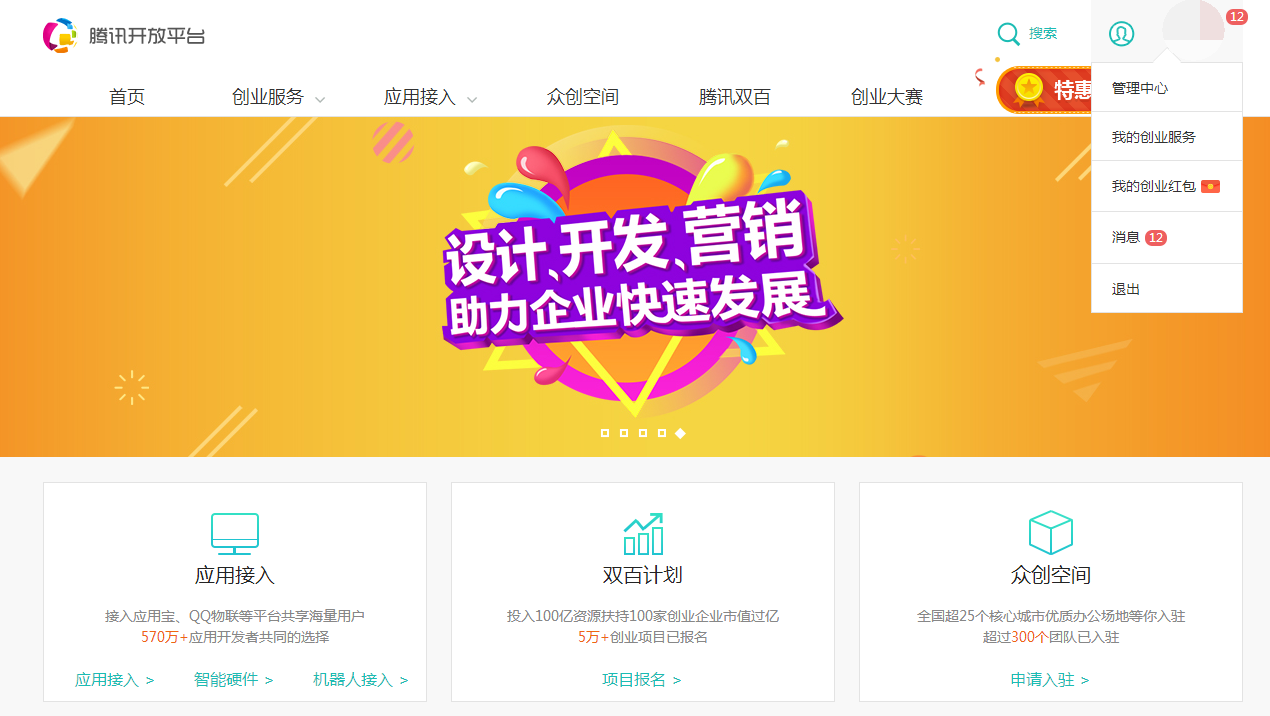
Enter the Administration Center and click Create Application below.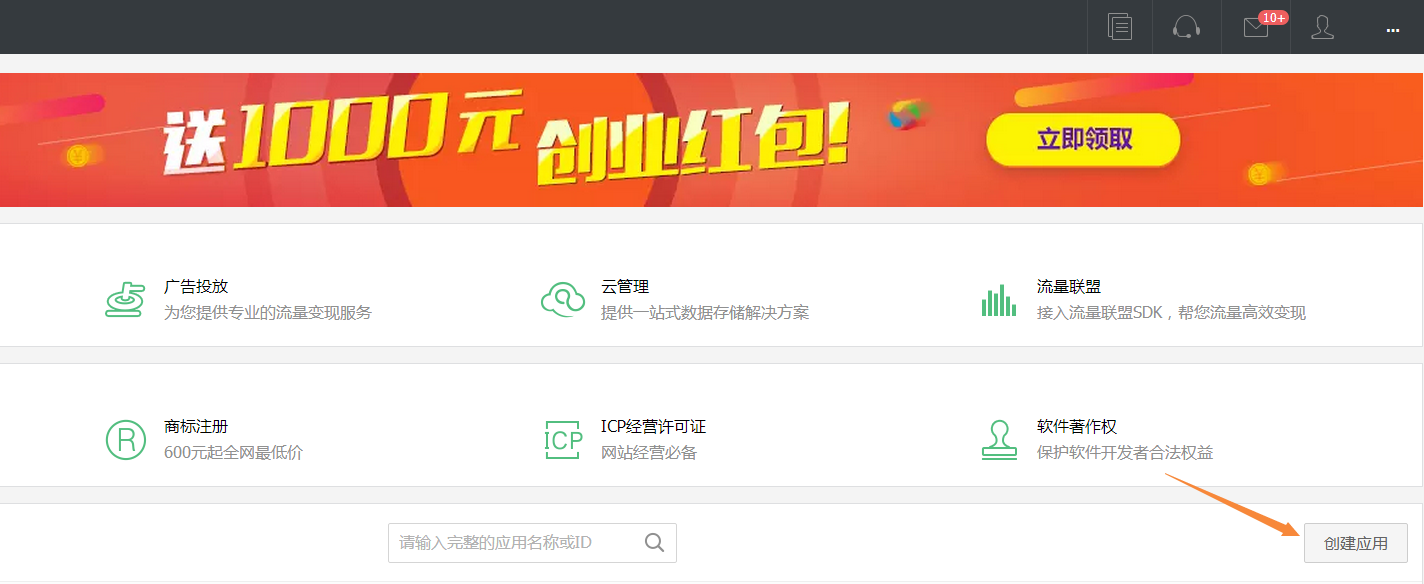
Then choose the Android platform and get the APPID and APPKEY we need to http://wiki.open.qq.com/wiki/mobile/SDK%E4%B8%8B%E8%BD%BD Download the SDKJar package Next you can QQ login, create a new project named QQLoginDemo, unzip the SDK we just downloaded, and copy the jar package from the jar folder into our project libs.
The project structure is as follows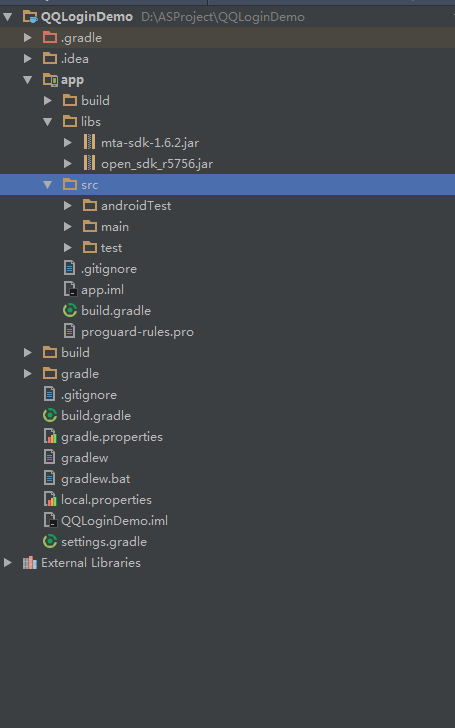
Open our Androidmanifest and add permissions and register activities as follows
<?xml version="1.0" encoding="utf-8"?>
<manifest xmlns:android="http://schemas.android.com/apk/res/android"
    package="com.shiran.qqlogindemo">

    <!-- QQ Permissions required for login authorization -->
    <uses-permission android:name="android.permission.INTERNET" />
    <uses-permission android:name="android.permission.ACCESS_NETWORK_STATE" />


    <application
        android:allowBackup="true"
        android:icon="@mipmap/ic_launcher"
        android:label="@string/app_name"
        android:supportsRtl="true"
        android:theme="@style/AppTheme">
        <activity android:name=".MainActivity">
            <intent-filter>
                <action android:name="android.intent.action.MAIN" />

                <category android:name="android.intent.category.LAUNCHER" />
            </intent-filter>
        </activity>

        <!-- register SDKActivity -->
        <activity
            android:name="com.tencent.tauth.AuthActivity"
            android:launchMode="singleTask"
            android:noHistory="true" >
            <intent-filter>
                <action android:name="android.intent.action.VIEW" />
                <category android:name="android.intent.category.DEFAULT" />
                <category android:name="android.intent.category.BROWSABLE" />
                <data android:scheme="tencent1105602574" /> <!-- Open Platform Acquired APPID -->
            </intent-filter>
        </activity>
        <activity android:name="com.tencent.connect.common.AssistActivity"
            android:theme="@android:style/Theme.Translucent.NoTitleBar"
            android:screenOrientation="portrait"/>
    </application>

</manifest>- 1
- 2
- 3
- 4
- 5
- 6
- 7
- 8
- 9
- 10
- 11
- 12
- 13
- 14
- 15
- 16
- 17
- 18
- 19
- 20
- 21
- 22
- 23
- 24
- 25
- 26
- 27
- 28
- 29
- 30
- 31
- 32
- 33
- 34
- 35
- 36
- 37
- 38
- 39
- 40
- 41
Layout file activity_main is just a Button button
<?xml version="1.0" encoding="utf-8"?>
<RelativeLayout xmlns:android="http://schemas.android.com/apk/res/android"
    xmlns:tools="http://schemas.android.com/tools"
    android:id="@+id/activity_main"
    android:layout_width="match_parent"
    android:layout_height="match_parent"
    tools:context="com.shiran.qqlogindemo.MainActivity">

  <Button
      android:layout_width="match_parent"
      android:layout_height="wrap_content"
      android:text="click QQ Sign in"
      android:onClick="buttonLogin"
      android:layout_centerInParent="true"
      android:textSize="16sp"
      android:textColor="#f4736e"/>
</RelativeLayout>
- 1
- 2
- 3
- 4
- 5
- 6
- 7
- 8
- 9
- 10
- 11
- 12
- 13
- 14
- 15
- 16
- 17
- 18
Here's the code in our MainActivity
package com.shiran.qqlogindemo;

import android.content.Intent;
import android.support.v7.app.AppCompatActivity;
import android.os.Bundle;
import android.util.Log;
import android.view.View;
import android.widget.Toast;

import com.tencent.connect.UserInfo;
import com.tencent.connect.auth.QQToken;
import com.tencent.connect.common.Constants;
import com.tencent.tauth.IUiListener;
import com.tencent.tauth.Tencent;
import com.tencent.tauth.UiError;

import org.json.JSONException;
import org.json.JSONObject;

public class MainActivity extends AppCompatActivity {
    private static final String TAG = "MainActivity";
    private static final String APP_ID = "1105602574";//Officially acquired APPID
    private Tencent mTencent;
    private BaseUiListener mIUiListener;
    private UserInfo mUserInfo;

    @Override
    protected void onCreate(Bundle savedInstanceState) {
        super.onCreate(savedInstanceState);
        setContentView(R.layout.activity_main);
        //Incoming parameters APPID and global Context
        mTencent = Tencent.createInstance(APP_ID,MainActivity.this.getApplicationContext());
    }

    public void buttonLogin(View v){
        /**With this code, SDK implements QQ login, which has three parameters, the first parameter is the context, and the second parameter, SCOPO, is a string of String type, representing some privileges
         The official documentation states which API s are required for an application, separated by "."For example: SCOPE = "get_user_info,add_t"; all permissions use "all"
         The third parameter is an event listener, an instance of the IUiListener interface, where the implementation class of the interface is used */
        mIUiListener = new BaseUiListener();
        //All means get all permissions
        mTencent.login(MainActivity.this,"all", mIUiListener);
    }

    /**
     * After a custom listener implements the IUiListener interface, there are three ways to implement it
     * onComplete Complete onError Error onCancel Cancel Cancel
     */
    private class BaseUiListener implements IUiListener{

        @Override
        public void onComplete(Object response) {
            Toast.makeText(MainActivity.this, "Authorization succeeded", Toast.LENGTH_SHORT).show();
            Log.e(TAG, "response:" + response);
            JSONObject obj = (JSONObject) response;
            try {
                String openID = obj.getString("openid");
                String accessToken = obj.getString("access_token");
                String expires = obj.getString("expires_in");
                mTencent.setOpenId(openID);
                mTencent.setAccessToken(accessToken,expires);
                QQToken qqToken = mTencent.getQQToken();
                mUserInfo = new UserInfo(getApplicationContext(),qqToken);
                mUserInfo.getUserInfo(new IUiListener() {
                    @Override
                    public void onComplete(Object response) {
                        Log.e(TAG,"Login Successful"+response.toString());
                    }

                    @Override
                    public void onError(UiError uiError) {
                        Log.e(TAG,"Logon Failure"+uiError.toString());
                    }

                    @Override
                    public void onCancel() {
                        Log.e(TAG,"Logon Cancellation");

                    }
                });
            } catch (JSONException e) {
                e.printStackTrace();
            }
        }

        @Override
        public void onError(UiError uiError) {
            Toast.makeText(MainActivity.this, "privilege grant failed", Toast.LENGTH_SHORT).show();

        }

        @Override
        public void onCancel() {
            Toast.makeText(MainActivity.this, "Authorization Cancellation", Toast.LENGTH_SHORT).show();

        }

    }

    /**
     * Override onActivityResult method in Activity or Fragment that calls Login
     * @param requestCode
     * @param resultCode
     * @param data
     */
    @Override
    protected void onActivityResult(int requestCode, int resultCode, Intent data) {
        if(requestCode == Constants.REQUEST_LOGIN){
            Tencent.onActivityResultData(requestCode,resultCode,data,mIUiListener);
        }
        super.onActivityResult(requestCode, resultCode, data);
    }
}
- 1
- 2
- 3
- 4
- 5
- 6
- 7
- 8
- 9
- 10
- 11
- 12
- 13
- 14
- 15
- 16
- 17
- 18
- 19
- 20
- 21
- 22
- 23
- 24
- 25
- 26
- 27
- 28
- 29
- 30
- 31
- 32
- 33
- 34
- 35
- 36
- 37
- 38
- 39
- 40
- 41
- 42
- 43
- 44
- 45
- 46
- 47
- 48
- 49
- 50
- 51
- 52
- 53
- 54
- 55
- 56
- 57
- 58
- 59
- 60
- 61
- 62
- 63
- 64
- 65
- 66
- 67
- 68
- 69
- 70
- 71
- 72
- 73
- 74
- 75
- 76
- 77
- 78
- 79
- 80
- 81
- 82
- 83
- 84
- 85
- 86
- 87
- 88
- 89
- 90
- 91
- 92
- 93
- 94
- 95
- 96
- 97
- 98
- 99
- 100
- 101
- 102
- 103
- 104
- 105
- 106
- 107
- 108
- 109
- 110
- 111
- 112
- 113
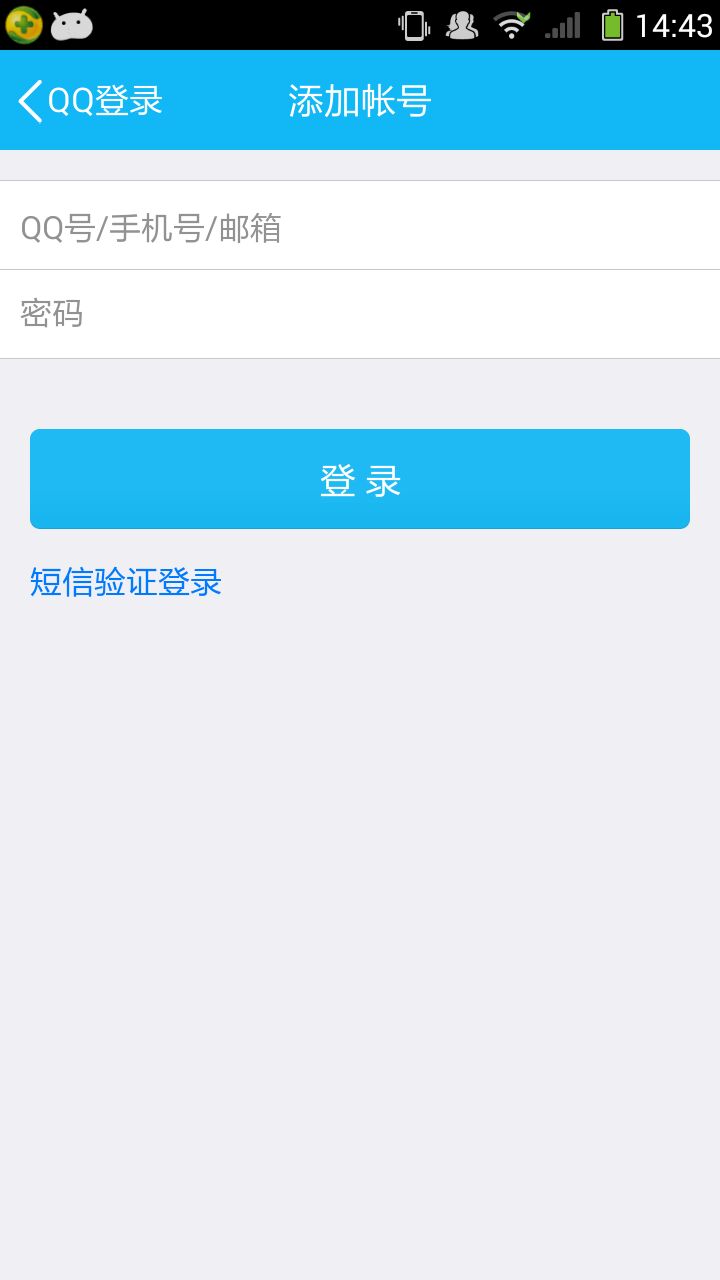
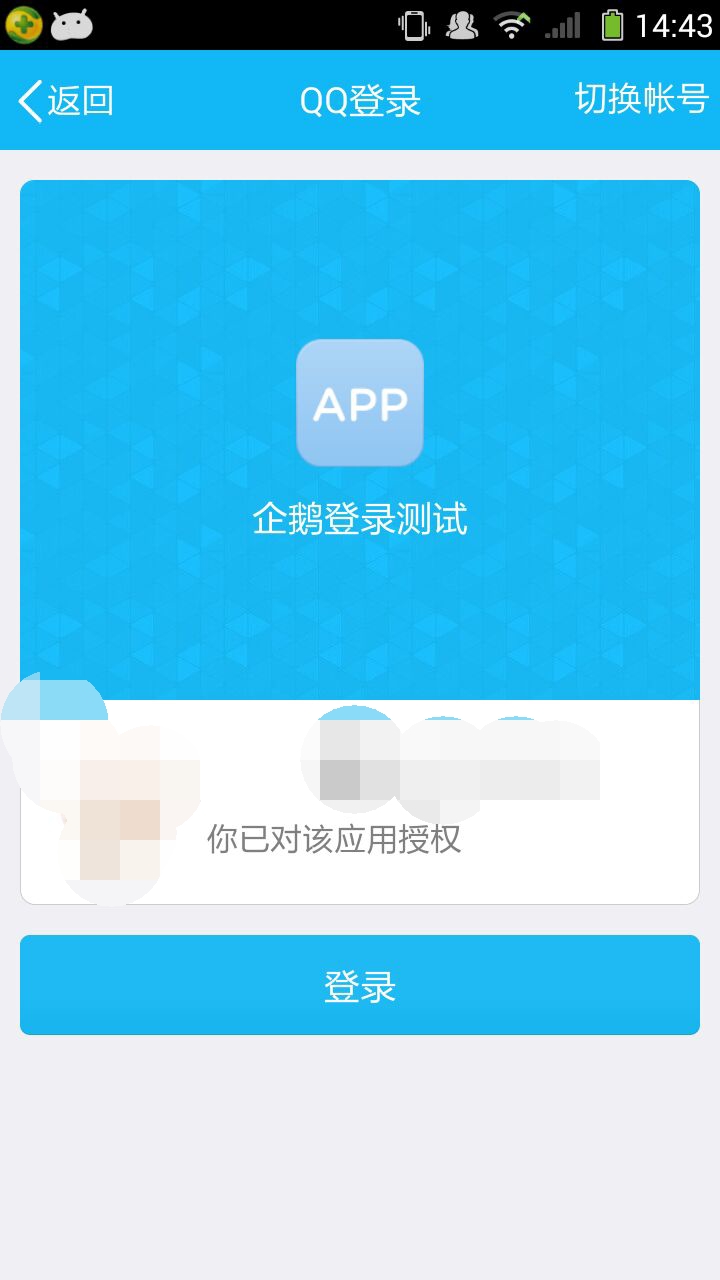
Take a look at the effect map.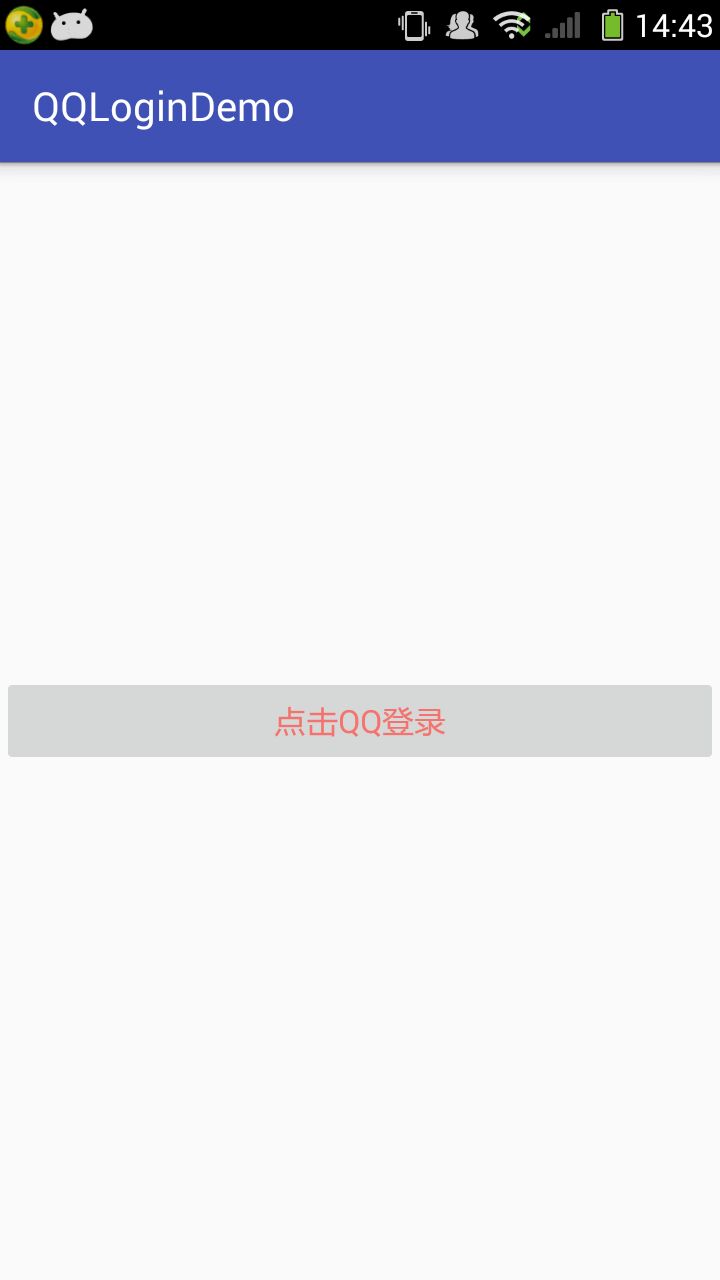
</div>