When I installed tensorflow, I checked many articles, but none of them were particularly specific. This article is to draw on the strengths of others and summarize it according to its own installation process. Follow this article to install tensorflow 2.0 perfectly*
Tensorflow is divided into__ Cpu__ And__ Gpu__ Version 2.0 or above, which greatly simplifies the use of 1.0. However, for the GPU version, you need to install CUDAan and CUDnn. If the computer supports GPU, you need to go to step 2. The biggest difficulty in installing tensorflow is step 2. anaconda can simplify the process of step 2.
1. Installation of Anaconda
TensorFlow is a relatively high-level application, which requires many basic dependencies as support. It is installed one by one through pip. If the download source is not replaced, the download speed is slow, and the installation workload is large one by one. Therefore, you need to use Anaconda for installation. Anaconda refers to an open source Python In the release version, anaconda can be understood as a dependency management tool to manage relevant environments, quickly create and manage multiple virtual environments, and download relevant tools. anaconda version 3.0 is installed here, which builds the python 3.8.8 environment.
1.1__ Download__ Address: Anaconda | Individual Edition
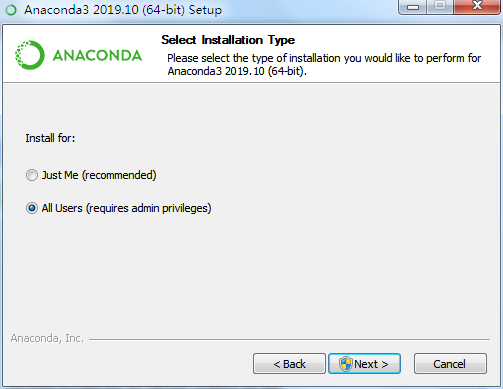
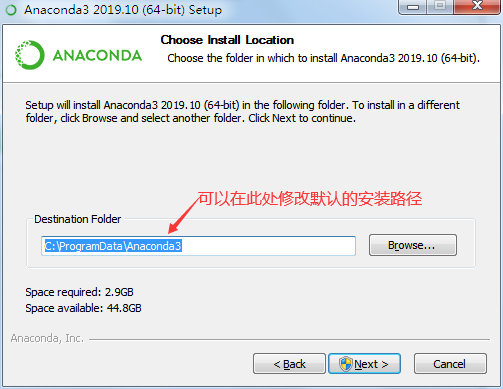
1.2 installation steps: several places requiring special attention (just select directly from the installation drawing):
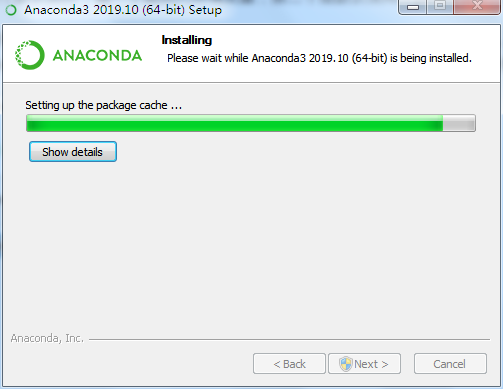
Wait a moment here:
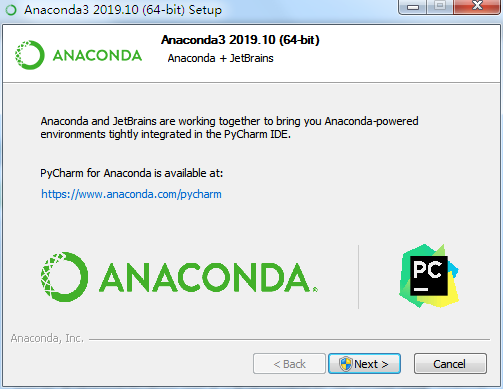
Click directly on this page__ next__, This is equivalent to advertising pychar.
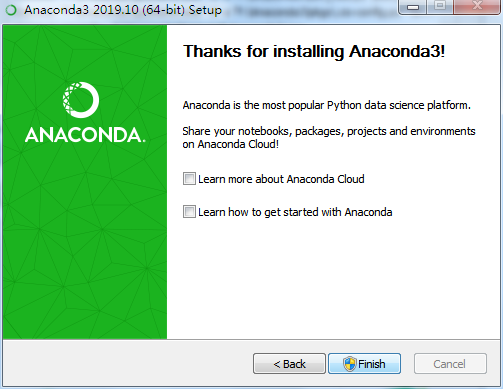
Remove the two checkmarks, otherwise a new page will pop up. Finally, finish is completed.
1.3 test for correct installation:
Directly press and hold win+R, enter cmd and enter dos__ Note:__ Whether the computer is original or not__ Installation__ Python, or__ Not installed__ For Python users, since we chose to add the environment variable path in the previous installation, when entering the following code, the default Python version of anaconda will be displayed, and the shortcut of the original computer version (I call it the source version here) will be overwritten. We can cd into the source file directory and run the source python.exe file. The source files can be transferred to anconda for management, mainly to create a new virtual environment, and then move all the source Python files to the virtual environment.
python --version #View python version

conda --version #Check the anaconda version. If the installation is successful, the corresponding version will be displayed
conda's package management function is the same as pip. Of course, you can choose pip to install packages.
#1. Installation package
# Install matplotlib
conda install matplotlib
# If you do not -n specify an environment name, it is installed in the currently active environment
# You can also specify to install through a channel through - c
conda install -n python36 numpy
# Delete package
conda remove matplotlib
# View installed packages
conda list

# View an installed package
conda list requests

# View installed packages for a specified environment
conda list -n python36

# Find package information
conda search numpy
Since the anaconda source is abroad, it will be slow to use the official source to install files. At this time, you need to switch to the domestic image source for downloading (Tsinghua image is shown here). You can also directly modify the user's following (C:\Users\Xin). condarc file:
#Add image through instruction
conda config --add channels https://mirrors.tuna.tsinghua.edu.cn/anaconda/pkgs/free/

conda config --set show_channel_urls yes
conda config --add channels conda-forge
conda config --set channel_priority flexible
#. condarc structure, see official Tsinghua source( https://mirror.tuna.tsinghua.edu.cn/help/anaconda/ )
channels:
  - defaults
show_channel_urls: true
default_channels:
  - https://mirrors.tuna.tsinghua.edu.cn/anaconda/pkgs/main
  - https://mirrors.tuna.tsinghua.edu.cn/anaconda/pkgs/r
  - https://mirrors.tuna.tsinghua.edu.cn/anaconda/pkgs/msys2
custom_channels:
  conda-forge: https://mirrors.tuna.tsinghua.edu.cn/anaconda/cloud
  msys2: https://mirrors.tuna.tsinghua.edu.cn/anaconda/cloud
  bioconda: https://mirrors.tuna.tsinghua.edu.cn/anaconda/cloud
  menpo: https://mirrors.tuna.tsinghua.edu.cn/anaconda/cloud
  pytorch: https://mirrors.tuna.tsinghua.edu.cn/anaconda/cloud
  simpleitk: https://mirrors.tuna.tsinghua.edu.cn/anaconda/cloud
To update anaconda, it is recommended to run the following two lines of code to update it after installing anaconda.
conda update -n base conda#Update conda to the latest version
conda update --all #Update third party libraries
1.4 management environment
# Check that the existing environment (base) is the environment created during the default anaconda installation,
conda info -e
Create a new environment (tensorflow is created here). The python version is 3.8. The newly created environment is in the envs directory of the anaconda directory folder:
#Create a tensorflow environment with python version 3.8
conda create -n tensorflow python=3.8


#Delete environment directive
conda remove -n tensorflow
#Force delete
conda remove -n tensorflow  --all
#Activate / switch the environment, such as tensorflow, which is under base by default
conda activate tensorflow

#Turn off the environment
deactivate
2. Install tensorflow_ The environment required by Gpu. The cpu version is not required. If the computer does not support Gpu, you can go directly to step 3
be careful!
be careful!
be careful!
Install tensorflow_ Before the GPU version, you need to make it clear that you need to install the corresponding cuda and cudnn versions supported by the computer graphics card (NVIDIA)
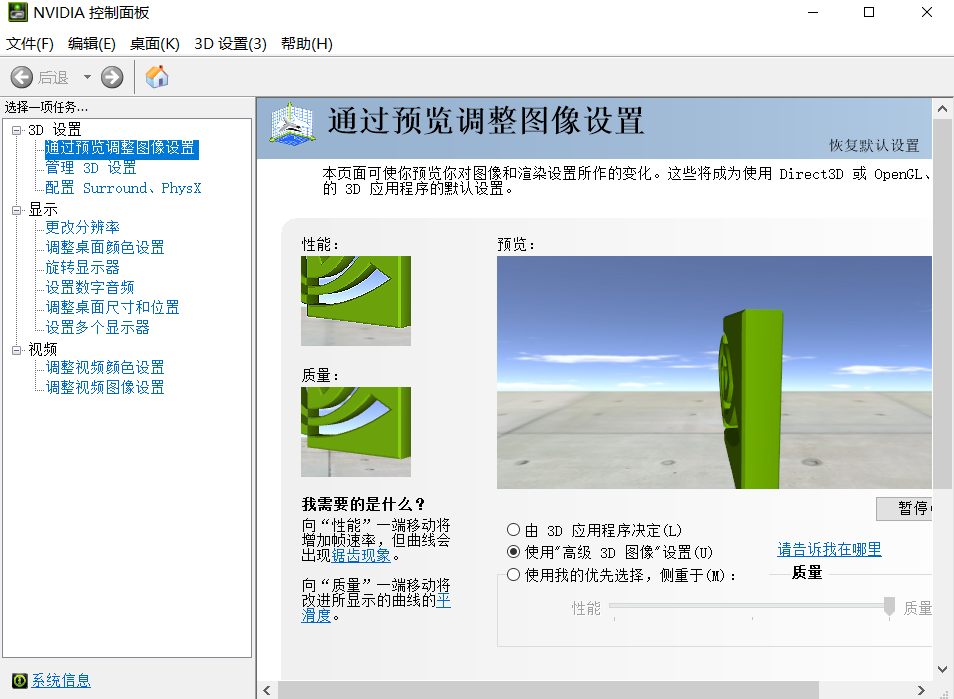
View by:
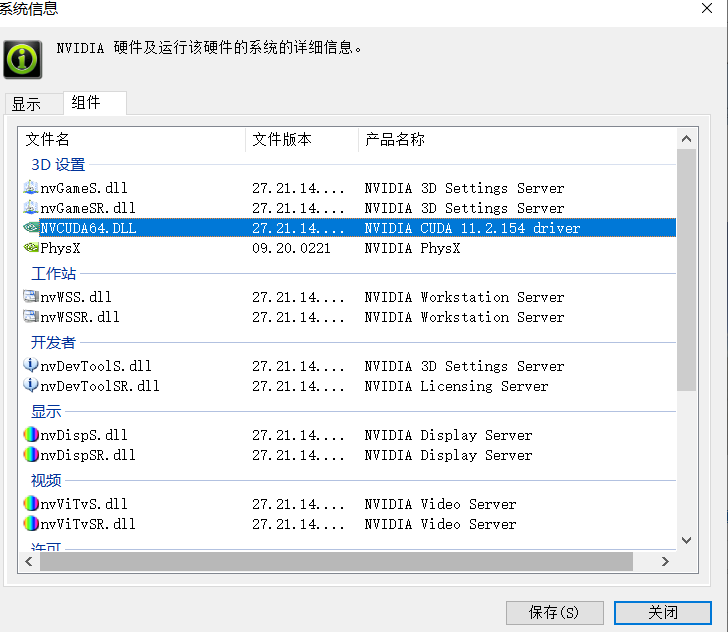
Right click - > NVIDIA control panel - > system information in the lower left corner - > components - > look at the third line
As shown in the figure: the third line is in blue deepening, where__ Rightmost CUDA 11.2.154__ It's the computer__ cuda__ edition
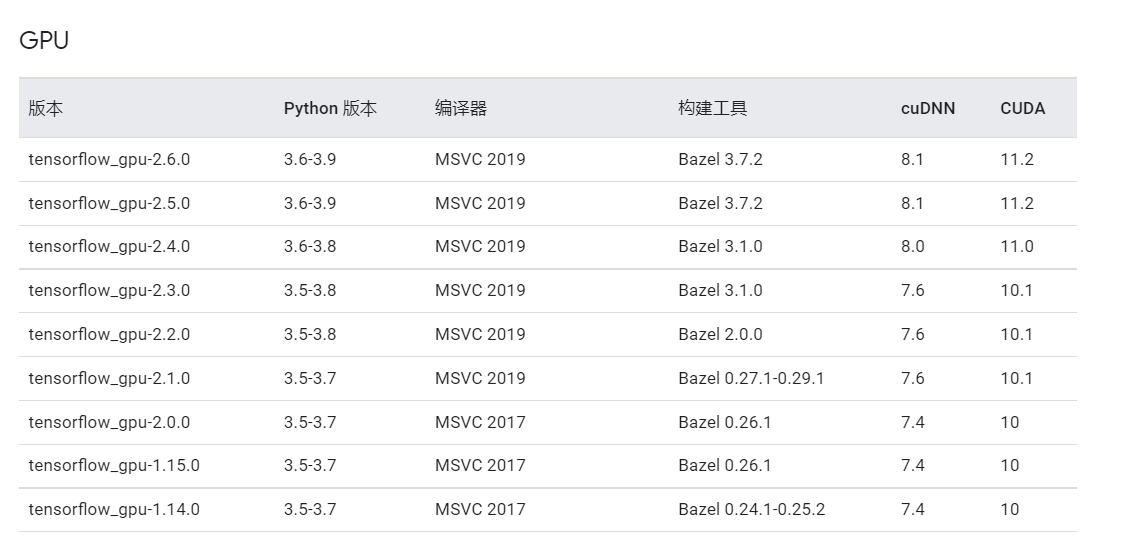
After viewing the relevant information, click the following website, see tensorflow_gpu column, view the corresponding cuda, cudnn and python versions: Build TensorFlow (google.cn) from source code in Windows Environment
The CUDA corresponding to this machine is 11.2, so it is the second line. cuDNN version is 8.1,tensorflow version is 2.5.0, and python version is 3.6-3.9.
#1. Create tensorflow environment
conda create -n tensorflow python=3.8
#2. Activate tensorflow environment
conda activate tensorflow
#3. Install cuda we need through anaconda
conda install cudatoolkit=11.2 #11.2 supports cuda version for this machine
#3. Install the cudnn we need through anaconda
conda install cudnn=8.1
3. Install tensorflow through pip (common steps for CPU and Gpu versions)
#Note: make sure you are in the tensorflow environment
conda activate tensorflow

conda list #If you want to support Gpu, check whether you have downloaded the corresponding versions of cuda and cudnn

#Install tensorflow2. * through pip, where Douban source is used
pip install tensorflow==2.5 -i https://Pypi.doublan.com/simple # download is complete
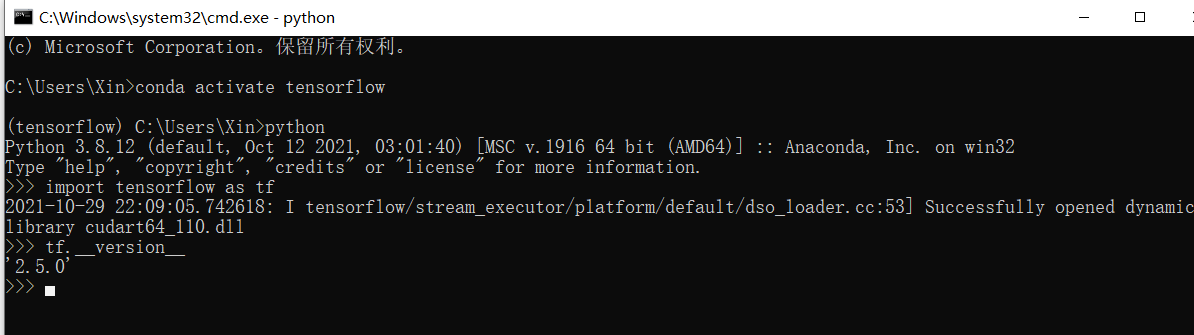
4. Test whether tensorflow is successfully installed and import pychar
#1. Enter the tensorflow environment
conda activate tensorflow
#2. python using tensorflow
python
#Enter the following code
import tersorflow as tf
tf.__version__ #If the corresponding version information is output, the installation is successful
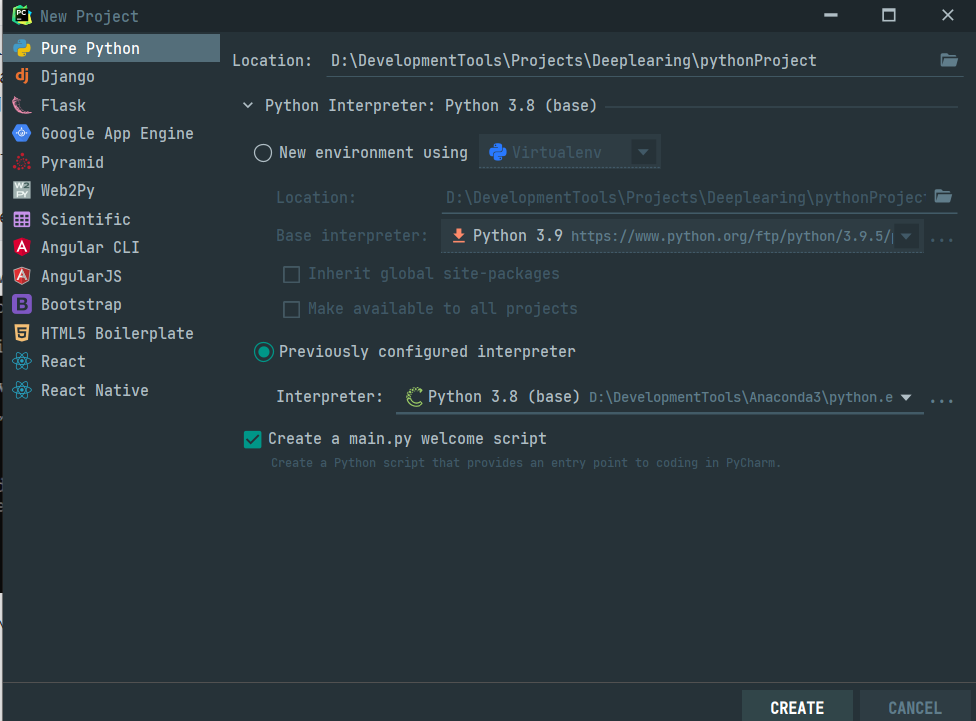
Python introduces tenflow 2. *. Instead of selecting new environment, select Python 3.8 below (note that the virtual environment is in the envs directory), and then create a specific test case.
Python introduces tenflow 2. *. Instead of selecting new environment, select Python 3.8 below (note that the virtual environment is in the envs directory), and then create a specific test case.