Step 1: Log on to Bintray.com
Step 2: Register (pit 1: click sign up here, don't click on the big green button, otherwise fall into the pit; pit 2: registered mailbox qq q and Netease can't, outlook can)

Step 3: Click edit

Step 4: Click on key
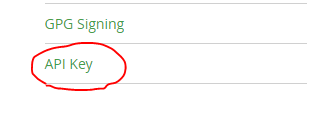
Step 5: Enter the login password

Step 6: Click on the item (copy button) and temporarily store it in any txt document.

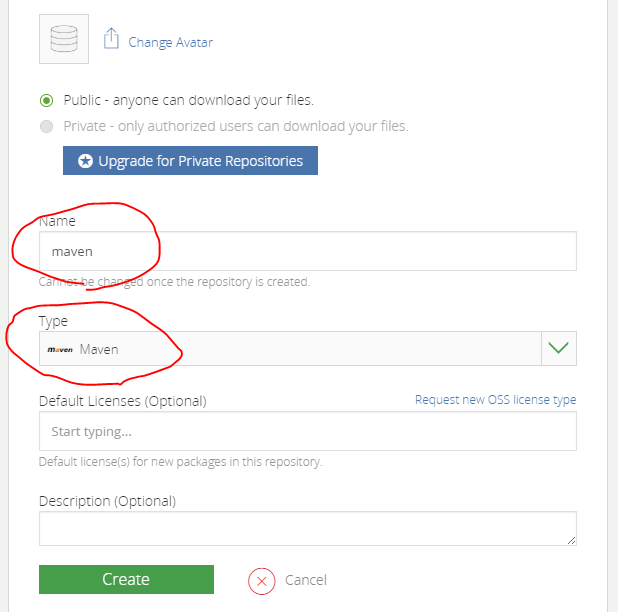
Step 7: Click to create a warehouse

Step 8: Follow the input I wrote and click create
Step 9: Open android studio and create a new module library (don't tell me you won't)
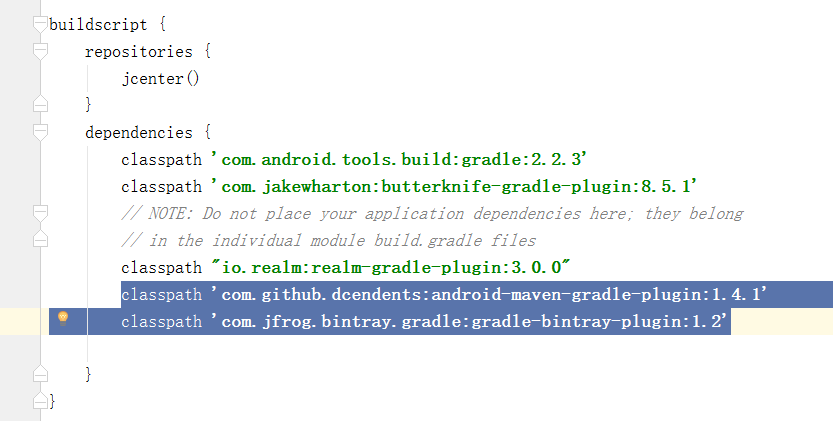
Step 10: Open the build.gradle of Project and add the following code
classpath 'com.github.dcendents:android-maven-gradle-plugin:1.4.1'
classpath 'com.jfrog.bintray.gradle:gradle-bintray-plugin:1.2'
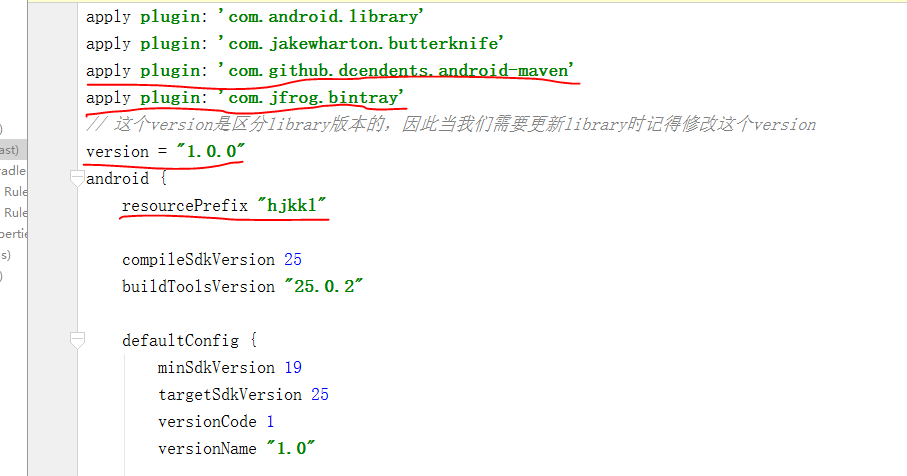
Step 11: Open build.gradle of module library and add the following code. The annotated part is the part you need to change. Then copy it according to the picture below.
apply plugin: 'com.github.dcendents.android-maven'
apply plugin: 'com.jfrog.bintray'

version = "1.0.0"
resourcePrefix "hjkkl"
def siteUrl = 'https://github.com/Superluzhan/Second'// Need you to build a new warehouse on github, the homepage of the project
def gitUrl = 'https://url of github.com/Superluzhan/Second.git'//Git warehouse
group = "com.example.supertoast" // Maven Group ID for the artifact, usually fill in your unique package name
install {
    repositories.mavenInstaller {
        // This generates POM.xml with proper parameters
        pom {
            project {
                packaging 'aar'
                // Add your description here
                name 'Android Commonly used utils'  //Project description
                url siteUrl
                // Set your license
                licenses {
                    license {
                        name 'The Apache Software License, Version 2.0'
                        url 'http://www.apache.org/licenses/LICENSE-2.0.txt'
                    }
                }
                developers {
                    developer {
                        id 'saymagic'
                        name 'publicluzhan' //Your login Bintray username
                        email 'privateluzhan@outlook.com' //E-mail when you register Bintray
                    }
                }
                scm {
                    connection gitUrl
                    developerConnection gitUrl
                    url siteUrl
                }
            }
        }
    }
}
task sourcesJar(type: Jar) {
    from android.sourceSets.main.java.srcDirs
    classifier = 'sources'
}
task javadoc(type: Javadoc) {
    source = android.sourceSets.main.java.srcDirs
    classpath += project.files(android.getBootClasspath().join(File.pathSeparator))
}
task javadocJar(type: Jar, dependsOn: javadoc) {
    classifier = 'javadoc'
    from javadoc.destinationDir
}
artifacts {
    archives javadocJar
    archives sourcesJar
}
Properties properties = new Properties()
properties.load(project.rootProject.file('local.properties').newDataInputStream())
bintray {
    user = properties.getProperty("bintray.user")
    key = properties.getProperty("bintray.apikey")
    configurations = ['archives']
    pkg {
        repo = "maven"  //Published in the Bintray warehouse, the same name as the new warehouse we just built.
        name = "utils"  //Project name published to Bintray
        websiteUrl = siteUrl
        vcsUrl = gitUrl
        licenses = ["Apache-2.0"]
        publish = true
    }
}
Def siteUrl = https://github.com/Superluzhan/Second'// / Need you to build a new warehouse on github. The homepage of the project is as follows

Def gitUrl = url of'https://github.com/Superluzhan/Second.git'//Git repository
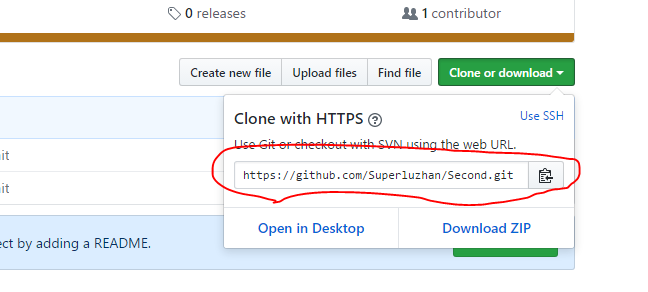
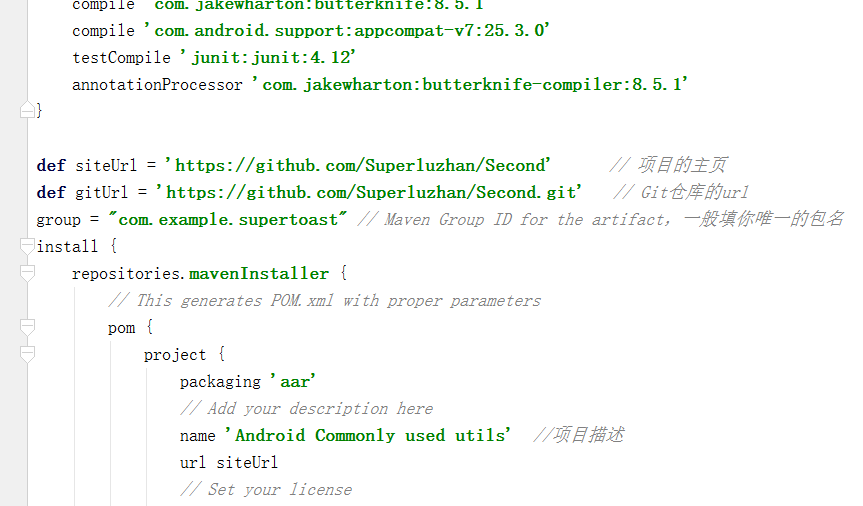
The screenshots are not powerful, anyway.
Step 12: Open the local.properties of the project and add the following two sentences
  bintray.user=your_user_name //Modify it to your username
  bintray.apikey=your_apikey //Modify the key you just saved temporarily


Step 14: Enter the following and return.

Step 15: Wait. If succeful finally appears, continue typing the following before returning.

Step 16: Wait, if the final display succeful, then great success!
Step 17: Enter the bintray website to see if it has been submitted to the library
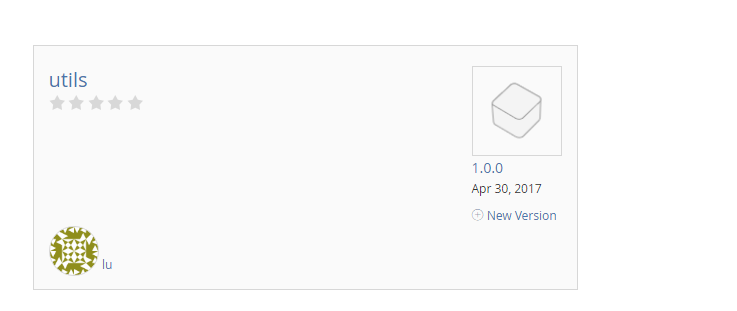
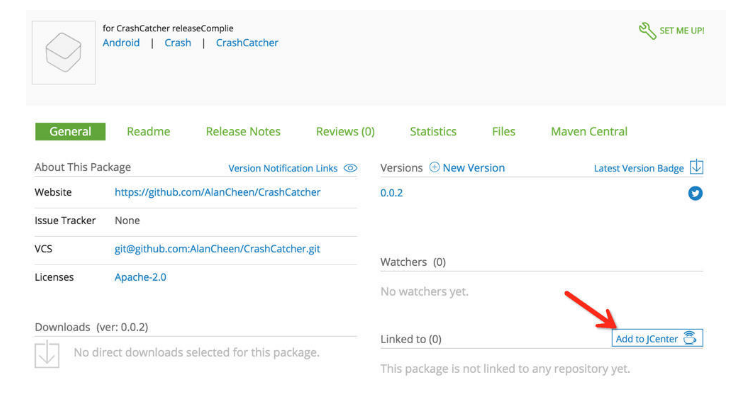
Step 18: Open the library, click add to jcenter, and a page will pop up. Send it directly without filling in anything.
Step 19: Wait, wait a long time, about an hour or two, the official website will give you a response, after receiving the response, as follows (new mail!)

Step 20: You can use it. I believe you are eager to try it. Here's the picture. Open your warehouse and click on this item. You'll have a familiar face.

Step 20: Use it to your heart's content.