Termux basic tutorial (no programming basic version)
Termux is a mobile terminal software that can realize many functions without root. It can realize a variety of programming functions. Its commands are similar to Linux. It can provide students who can't meet the requirements temporarily with a chance to learn programming and Linux
Note: because the article is very basic, if you have a certain foundation for Linux, you are not recommended to learn this article
Some contents refer to:
1. Basic area (those without programming experience are recommended to watch)
Note: this section is based on the default bash
terminal
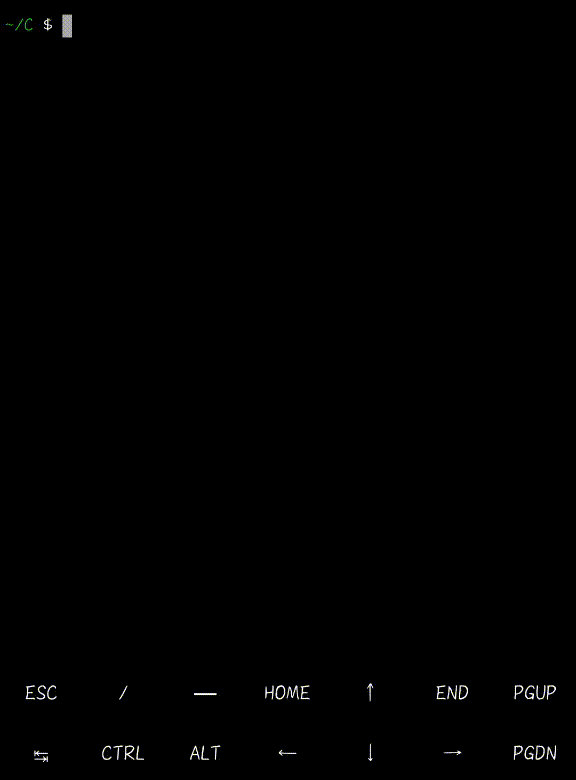
Termux can be regarded as a system in which various software and operations can be installed, started and deleted. The installation, startup and deletion of these software or operations need to be executed in the terminal, and the way for the terminal to perform these functions is to use instructions The terminal is the interface when you first enter termux. How to identify whether you are in the terminal interface is also very simple. When you do not enter content, you are in the terminal when the position of your cursor is $(when termux does not obtain root) or # (when termux obtains root) and your folder position or ~ is displayed
Illustration:


In addition, you can enlarge and reduce the size of the text displayed in the terminal through two fingers
Illustration:

Shortcut key
As mentioned earlier, Termux is similar to Linux, so the operation of Termux also requires some shortcut keys, such as Ctrl,ESC, etc. generally, the keyboard on our mobile phone does not have these special keys, but Termux has prepared these shortcut keys for us It's in the position shown
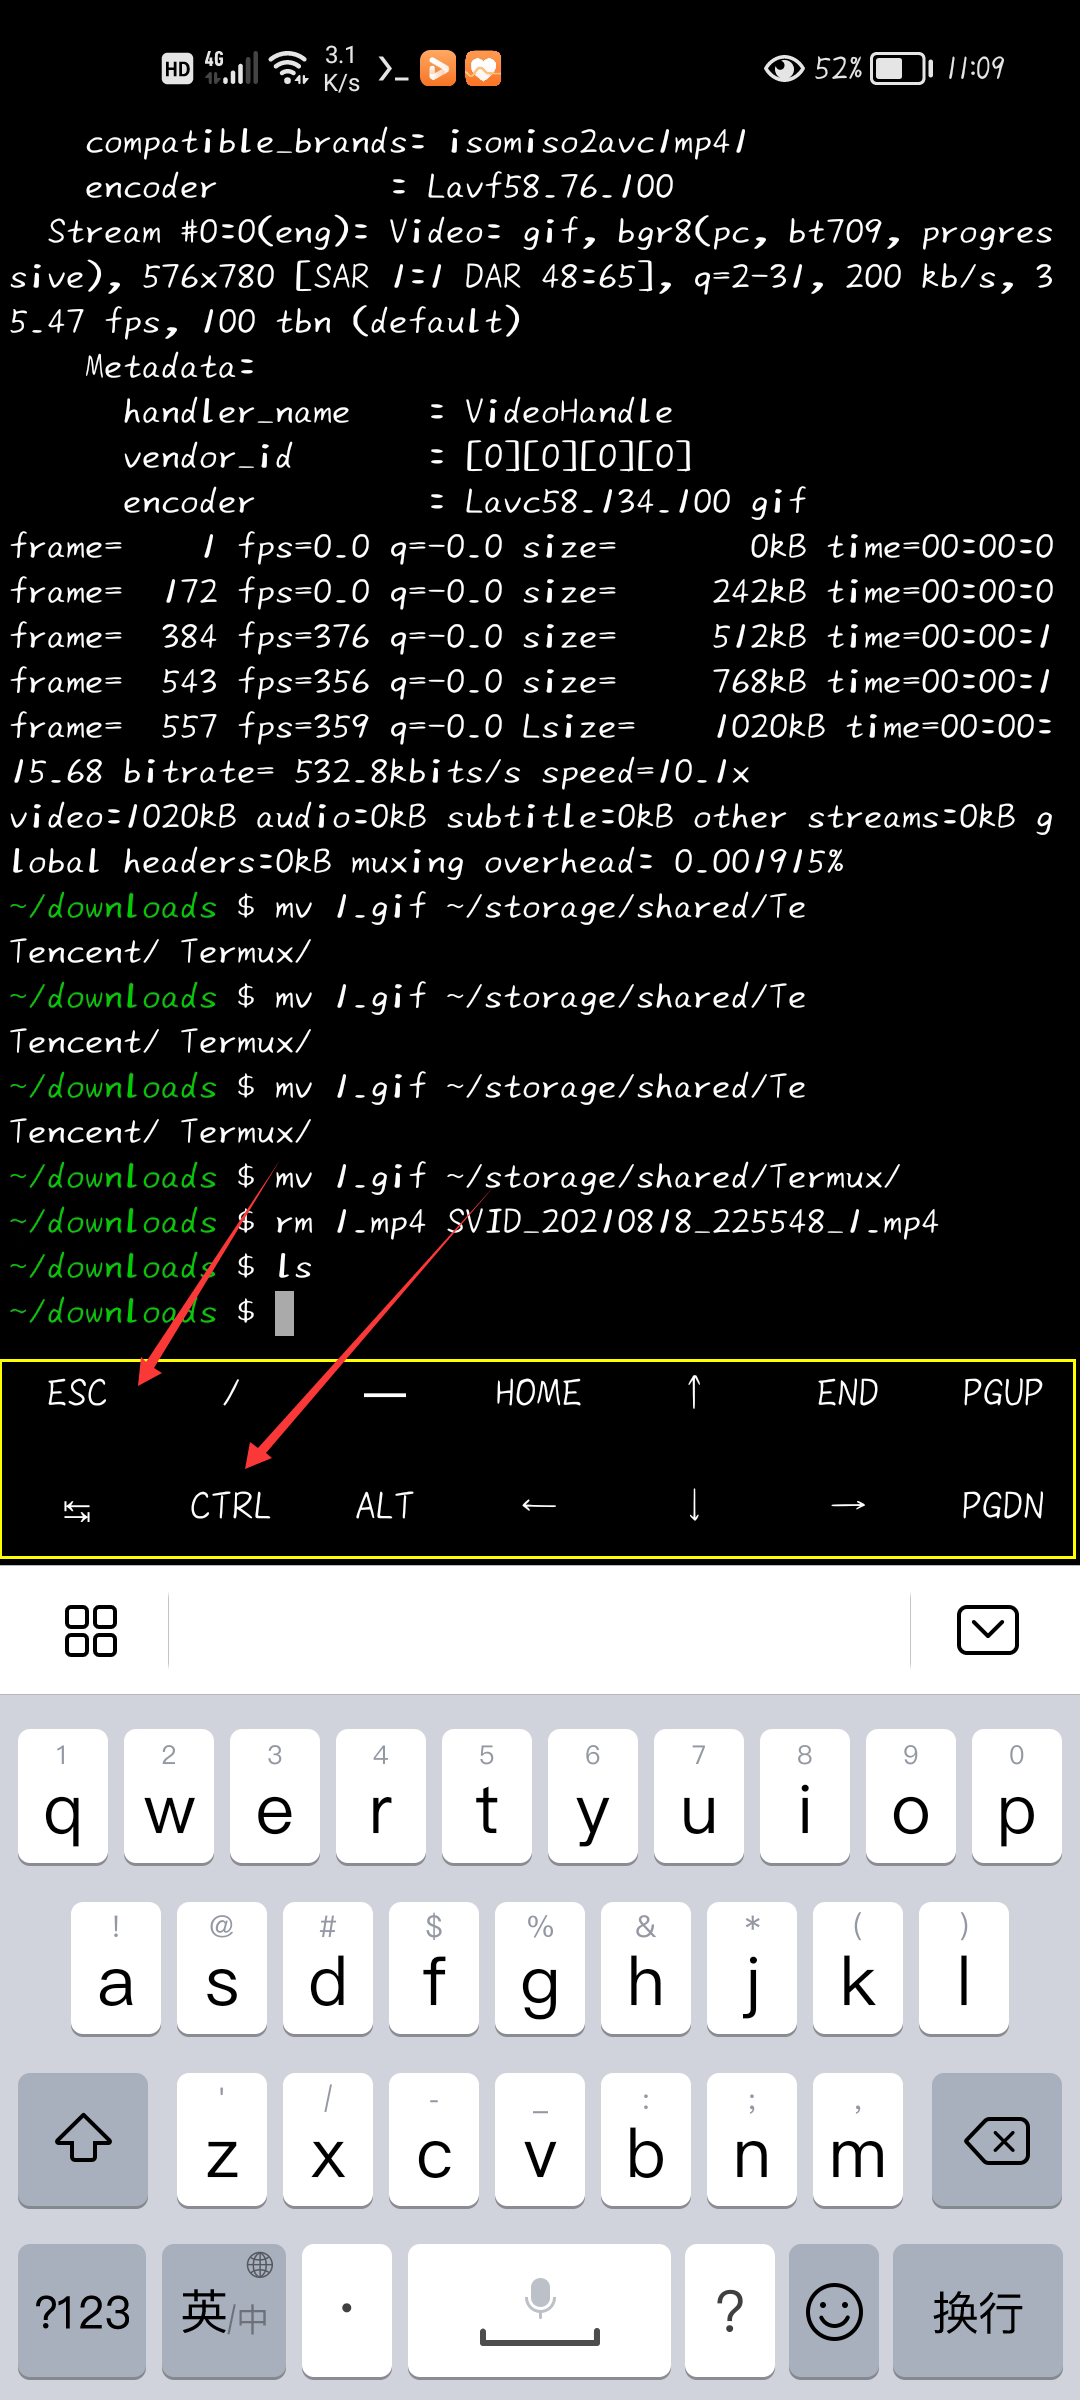
At the same time, we can slide the shortcut key bar to the left to enter an input bar, where we can enter information, and then enter the information into the terminal. This can solve the problem that sometimes the font in the terminal is too small for us to modify (although it is rarely used, it is still introduced) Swipe right to return to the shortcut bar
Illustration:

Additional information: shortcut key functions
- CTRL + a - > move cursor to the beginning of line
- CTRL + C - > abort current process
- CTRL + D - > logout terminal session
- CTRL + e - > move cursor to end of line
- CTRL + k - > delete from cursor to end of line
- CTRL + U - > delete from cursor to beginning of line
- CTRL + L - > clear terminal
- CTRL + Z - > suspend (send SIGTSTP to the current process)
- CTRL + Alt + C - > open new session (only applicable to hacker keyboard)
Volume up can sometimes be used as a shortcut
- Volume + e - > ESC
- Volume + T - > tab
- Volume increase + 1 - > F1 (volume increase + 2 → F2... And so on)
- Volume + 0 - > F10
- Volume + B - > Alt + B, returns a word when using readline
- Volume + F - > Alt + F, forward a word when using readline
- Volume + X - > Alt + X
- Volume + W - > up arrow key
- Volume + a - > left arrow key
- Volume + S - > down arrow key
- Volume + D - > right arrow key
- Volume plus + L - > | (pipe character)
- Volume plus + H - > ~ (tilde character)
- Volume + U - >_ (underscore character)
- Volume + P - > previous
- Volume + n - > next page
- Volume plus +. - > Ctrl + \(SIGQUIT)
- Volume + V - > display volume control
- Volume + Q - > switch the displayed function keys
- Volume + k - > switch the displayed function key view
There will be no more introduction to the specific use
Open multiple terminals
Sometimes we may need to use to realize multiple functions, such as writing code while debugging. If we keep quitting and debugging, it must be hard. Another example is that when we run php command, we can't continue to use this terminal, so we need to open more terminals. Termux has thought of this for us, and the opening method is very simple, An interface can be pulled out at the left end of the screen, and then click NEW SESSION to create a new terminal, and click those terminals to jump to the corresponding terminal
demonstration:
Here you can refer to Linux command Encyclopedia
Clean screen
Sometimes, after we run many commands, a large number of system outputs will appear. In this regard, we do not check the output content of termux, so we need to clean the screen from time to time. The command to clean the screen is clear. After entering this command, you will clean all the contents on the screen
Note: the clear command can only be used under the terminal
demonstration:

Open / create folder command
This part is divided into two commands, one is the open folder command cd, and the other is the create folder command mkdir. Their basic usage is also very simple (after that, the pound sign (#) is the comment content)
Note: there is a space in the middle of the cd folder name (the same as mkdir, there is a space)
cd Folder name # Open the specified folder. If there is no folder, an error will be reported
mkdir Folder name # Create a folder, and an error will be reported if the folder exists
Illustration:
Introduction to error reporting:
When the first error is no folder new, the cd command cannot open the folder and an error is reported
The second error is that you already have the folder new and want to create the folder new
Command prompt: "cd. /" is to open the current folder, "cd.. /" is to return to the previous folder, cd ~ is to return home, and "cd /" is to open the root directory
Show files in folder
The command LS is used here. The specific parameters of the command ls are as follows (the contents contained in brackets in the command details displayed here and later can not be written):
ls [option] [position]
# option
-a Display all files and directories (. Hidden files at the beginning are also listed)
-l In addition to the file name, it also lists the file type, permission, owner, file size and other information in detail
-r Display files in reverse order(Originally in alphabetical order)
-t List the documents according to the order of creation time
-A with -a ,But not listed "." (Current directory) and ".." (Parent directory)
-F Add a symbol after the listed file name; For example, if the executable file is, add "*", The directory is added "/"
-R If there are files in the directory, the following files are listed in order
# example
ls # Show all non hidden files in this folder
ls -al # Displays all files in this folder and their detailed parameters
ls ~/new/ # Displays all files in the ~ / new folder
Because the code is simple, no demonstration will be made
Delete, move, copy file / folder commands
The delete file command is rm, the move file command is mv, and the copy folder command is cp. the following is the basic introduction of these commands (in the following introduction, I will gradually speed up the speed. I hope you can gradually adapt to it)
rm [option] file name #Delete file / folder command
# Options:
-i Ask one by one before deleting
-f Even if the original document is set to read-only,Also delete directly
-r Delete the directory and the following files
# example:
rm 1.gif #Delete the folder named 1 GIF file
rm -r new/ #Delete the folder new and all its contents (if there are read-only files, you will be asked whether to delete them)
rm -rf new/ #Delete the folder new and all its contents (delete directly without asking)
Note: if rm is used to delete a folder, - r must be added, otherwise the folder cannot be deleted
mv [option] Source file destination file
# option
-b When the target file exists,Before moving the overlay,Backup files
-i If the source directory or file specified to be moved has the same name as the destination directory or file, you will be asked whether to overwrite the old file and enter y Indicates direct coverage, enter n Indicates to cancel the operation.
-f If the specified source directory or file has the same name as the target directory or file, the old file will be overwritten without asking.
-n Do not overwrite any existing files or directories.
-u The move operation is performed only when the source file is newer than the target file or the target file does not exist.
# example:
mv aaa bbb # Rename the file aaa to bbb
mv new/ new2/ # Move the folder new to new 2. If new2 does not exist, rename new to new2
mv ./* ../ # Move all files in this folder to a higher level folder
mv *.py ~/new # All suffixes in this folder are py files moved to ~ / new
Note: an asterisk (*) can be used instead of a string, for example: 1 * Py is all suffixes Py, the file with the first character of 1,? Can be used instead of a character, such as 1 Py is a py file that represents an arbitrary character after the first bit is 1
cp [option] Source file copy location
# option
-a: This option is usually used when copying a directory. It retains links, file properties, and copies everything under the directory. Its function is equal to dpR Parameter combination.
-d: Keep links when copying. The link here is equivalent to Windows Shortcuts in the system.
-f: Overwrite the existing target file without prompting.
-i: And -f On the contrary, a prompt is given before overwriting the target file, asking the user to confirm whether to overwrite and answer y The target file will be overwritten.
-p: In addition to copying the contents of the file, the modification time and access rights are also copied to the new file.
-r: If the given source file is a directory file, all subdirectories and files in the directory will be copied.
-l: Do not copy files, just generate linked files.
# example:
cp aaa aaa_data # Make a copy of aaa and name it aaa_data
cp -r new/ new2/ # Make a copy of the folder new / and name it new2
cp aaa new/ # Copy the file aaa to new
Note: cp is similar to rm. When copying a folder, you need to add - r, otherwise an error will be reported
The operation here needs to be tested by yourself and will not be demonstrated
Software installation
As mentioned earlier, Termux is a system, and of course software can be installed. There are two ways to install Termux: one is to install directly using apt, and the other is to install using pkg. In comparison, using pkg command is equivalent to executing apt update & & apt upgrade every time. Other functions are basically similar, so only apt command is introduced here
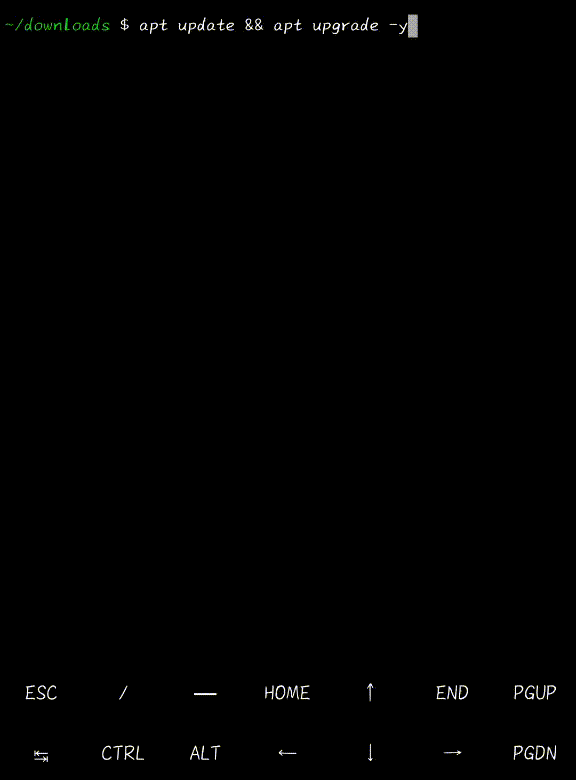
Termux provides a lot of software for us to install directly. You can enter the command apt list to view. If you execute the apt command for the first time, you can execute apt update & & apt upgrade - y to update the software
The execution effect is as follows (because I have updated it in advance, the display content may be different):
After we update, we can start to install the software we need. Use the following command to install common software
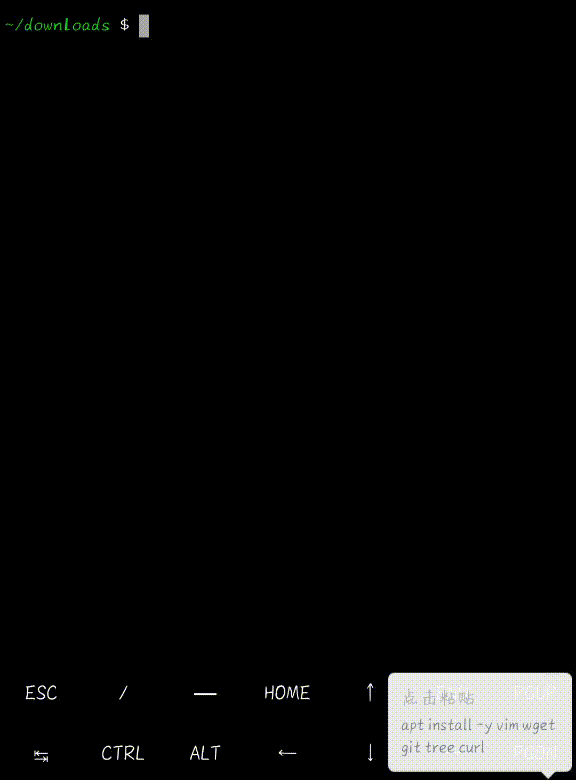
apt install -y Software name
# You can use the apt list command to view the installed software
# Copy the following instructions to install the basic software
apt install -y vim wget git tree curl
# Software introduction:
# vim: file editing software, used to edit files and support syntax highlighting
# wget: terminal file downloader, which can be used to download files on the network and support breakpoint download
# git: used to quickly download the content in github
# tree: similar to ls command
# curl: a common command - line tool used to request Web servers
Illustration (may vary slightly):
2. Formal start
Basic preparation
Use apt command to install basic software. Please refer to the previous article for details
Editing files using vim
vim is an editing artifact on Linux, but it is difficult for many students who have no foundation at all. I will try to add the picture operation process to this part
Using vim:
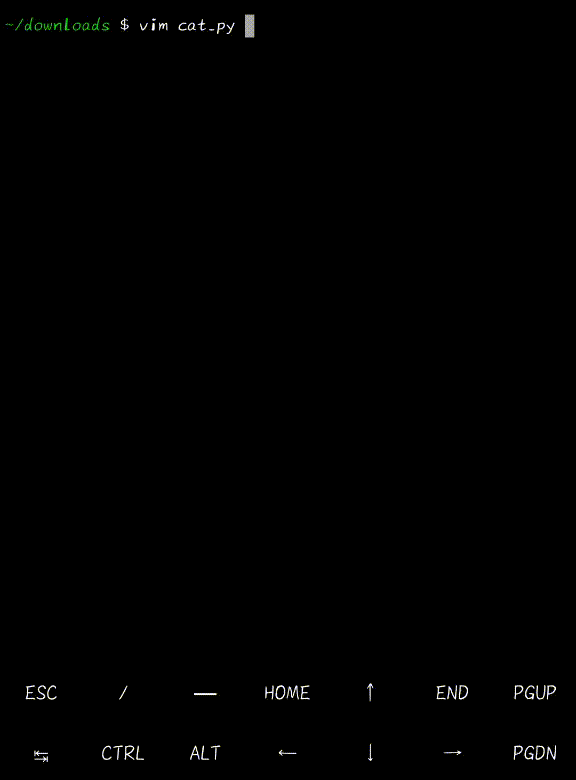
vim file name # Create and open files without files, and open files with files
After opening the file, we will not enter the input mode immediately, but will enter the command mode. In the command mode, we cannot edit the file directly, but need to enter i to enter the editing mode After entering ESC, it will enter the command mode,
When the last line of text is - INSERT -, it is the editing mode, and when there is no such text, it is the command mode
Illustration of entering / exiting editing mode (carefully observe the change of the last row of text):
In addition, vim can use save exit and no save exit These functions are executed in the command mode. In the command mode, enter: wq to save and exit, and enter: q! To exit without saving, the following is a comparison of exit without saving and exit without saving
Illustration (please carefully watch the change of the file and the change of the cursor position)
- Figure 1. Save and exit. It can be seen that the changed content will be saved under save and exit. After opening it again, the content will be saved. Please compare it with figure 3
- Figure 2. Save and exit, but the saved file is a new file. Please compare with figure 4
- Figure 3. Exit without saving. It can be seen that the content of exit without saving will be cleared after opening it again
- Figure 4. Exit without saving, but exit without saving is a new file. If you use ls command to check, you will find that there is no such file
Figure 1:
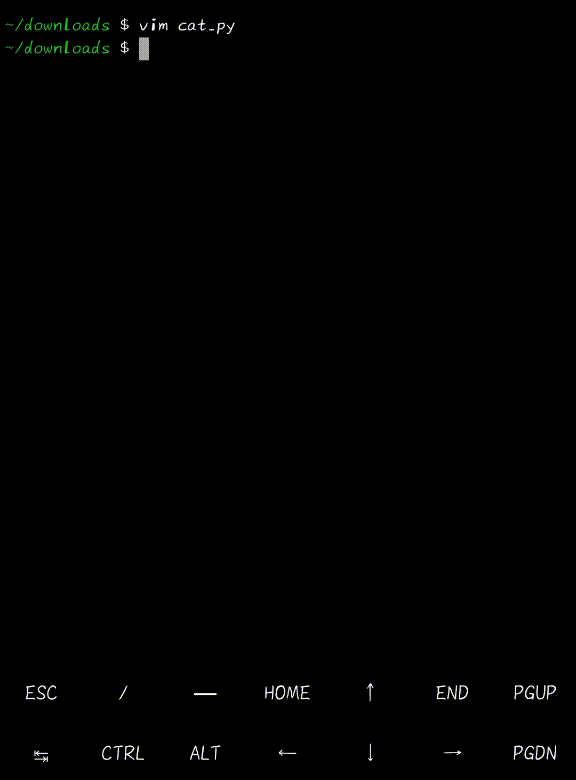
Figure 2:

Figure 3:

Figure 4:

For more Vim teaching, please refer to: Linux vi/vim
Termux compiling C/C++
Termux supports a variety of programming languages. As a well-known language, C language must also be supported,
Termux compiling C language is similar to Linux. First, you need to install clang
apt install -y clang # Install clang
After installation, you can directly compile C files
clang file name [option]
# option
-o If this option is not available, directly input the file a.out Output option when this option is available-o Name entered after.
-E take.c File compiled as.i file.
-S take.i File compiled as.s file.
-c take.s File compiled as.o file.
-O Heel 1~3 Levels,The higher the grade,clang The greater the optimization,The slower the compilation.
# example:
clang new.c # Output a.out file
clang new.c -o new # Output new file
clang new.o # Output a.out file
After the file is compiled, it can be run
./a.out # Run the compiled output a.out file
./new # Run the compiled output new file
Figure (please carefully observe the newly added files after compilation):
Note: this test uses the source code (saved in new.c)
#include<stdio.h>

int main(){
	int i,j;
	i = j = 0;
	printf("%d,%d\nHello World\n",i,j);
	return 0;
}
Compiling Python with Termux
Like C, to compile python, you need to install the corresponding software, which is called python
apt install -y python vim-python
# VIM python is used to better edit python using vim
After installing python, we also need to update pip, using the following command
pip install --upgrade pip
# If it's too slow, you can use the following one
pip install -i https://pypi.douban.com/simple --upgrade pip
After pip update, start our python to execute our python file (. py file). Use the following command:
python file name
# example
python new.py # Compile and run new py
After execution, we will find that there is no increase in files, which is also a difference between Python and C
Illustration:

Note: the code used in this test (saved in new.py)
print("Hello World");
Termux compiling JAVA
Compared with compiling C and Python, there are two methods to compile JAVA The software installed by these two methods is also different
Method 1: use ecj and dx
Install the necessary software
apt install -y ecj dx
Compiling JAVA files
ecj Java file # Compile the generated class file
dx --dex --output=dex file class file # Compile and generate dex file
dalvikvm -cp dex File name class name
# example:
ecj New.java # Compile to generate new class
dx --dex --output=New.dex New.class # Add new Class compile to generate new dex
dalvikvm -cp New.dex New # Add new DEX compilation generation file new
Illustration:

Method 2: use openjdk-17 (possibly unstable)
Install openjdk-17
apt install -y openjdk-17
The software installed this time is very large and needs to wait patiently
java java file # Compile and run Java files
# example:
Java New.java
Illustration:
Through these two methods, it is not difficult to see that the commands of method 1 are more complex, but similarly, the software memory installed by method 1 is smaller, the memory required by method 2 is larger, and the automatic installation time is long. You can decide how to choose by yourself
Note: the source code used in this test (saved in New.java):
public class New{
	public static void main(String agrs){
		System.out.println("Hello World");
	}
}
Termux uses PHP
Termux is just as easy to use PHP. Install the software first
apt install -y php w3m # w3m is a terminal browser, which is easy to browse websites made of php
After installing the software, you can execute the php command
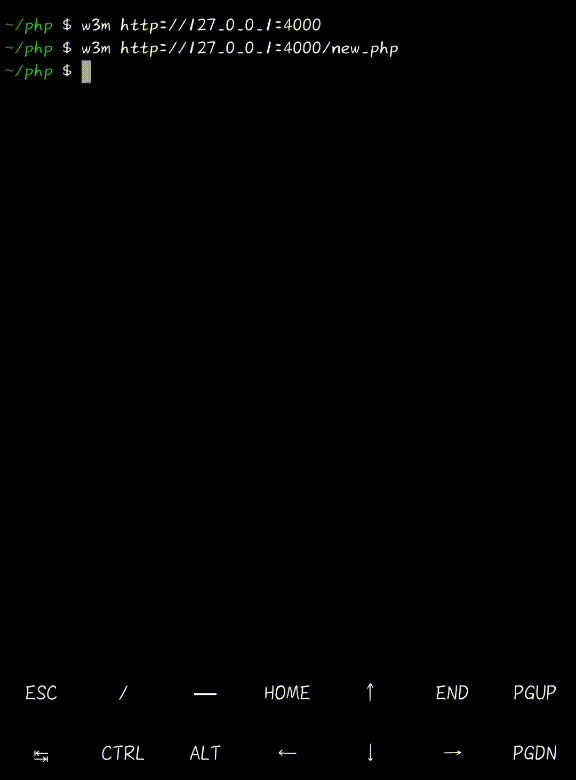
php -S 0.0.0.0:4000 # Map local files to port 4000
If our current folder has index PHP, we open the web address in the browser http://127.0.0.1:4000 We can enter our own web page. If not, we can use it http://127.0.0.1:4000/ Enter the file name into our web page
Note: enter Ctrl+C in the terminal executing php to exit the terminal
Illustration:
Figure 1: input http://127.0.0.1:4000 Go directly to index php
Figure 2: input http://127.0.0.1:4000/new.php Enter new php
Figure 3: exit php and enter http://127.0.0.1:4000 , no response is displayed when an error is reported
Figure 1:
Figure 2:

Figure 3:
Note: the source code of this test file (saved in index.php,new.php)
# index.php
<?php
phpinfo();
?>
# new.php
<?php
echo "This is new.php<br>";
echo '<a href="127.0.0.1:4000">Click here to enter index.php</a>';
?>
3. Conclusion
This article mainly explains the basics of Termux. For more configuration optimization tutorials, you can visit Guoguang dada Termux advanced terminal installation and configuration tutorial Similarly, if you have any questions, you can directly post your comments. Because this is a very basic article, there are many contents that have not been added. You can explore them yourself, such as optimizing vim, installing Linux simulator, etc