1. Resource Download
Since rabbitmq was developed in erlang language, erlang must be installed first.
(1) Download erlang at:
http://erlang.org/download/
Download the appropriate version here.
http://erlang.org/download/otp_src_24.0.tar.gz
(2) Download rabbitmq. The source code downloaded in this article can be used to download binary files. The compilation steps can be omitted below. The download address is:
https://github.com/rabbitmq/rabbitmq-server/releases
Download the appropriate version here. This article downloads:
https://github-releases.githubusercontent.com/924551/38f7fe2d-dbce-472b-bb2a-87a8af683349?X-Amz-Algorithm=AWS4-HMAC-SHA256&X-Amz-Credential=AKIAIWNJYAX4CSVEH53A%2F20210815%2Fus-east-1%2Fs3%2Faws4_request&X-Amz-Date=20210815T074634Z&X-Amz-Expires=300&X-Amz-Signature=ed14b4a52aac068b3c823add5cb123d9e7afc5461c755ad08d2115fc3455d04f&X-Amz-SignedHeaders=host&actor_id=0&key_id=0&repo_id=924551&response-content-disposition=attachment%3B%20filename%3Drabbitmq-server-generic-unix-3.9.3.tar.xz&response-content-type=application%2Foctet-stream
**2. Installation Services** 1. Install erling by first unzipping otp_src_24.0.tar.gz, the command is as follows:
tar -zxvf otp_src_24.0.tar.gz
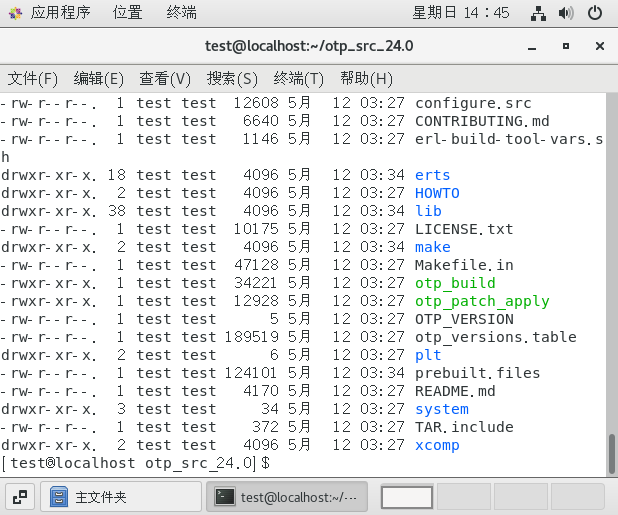
Then enter this directory with the following commands:
cd otp_src_24.0/
As shown in the following figure:
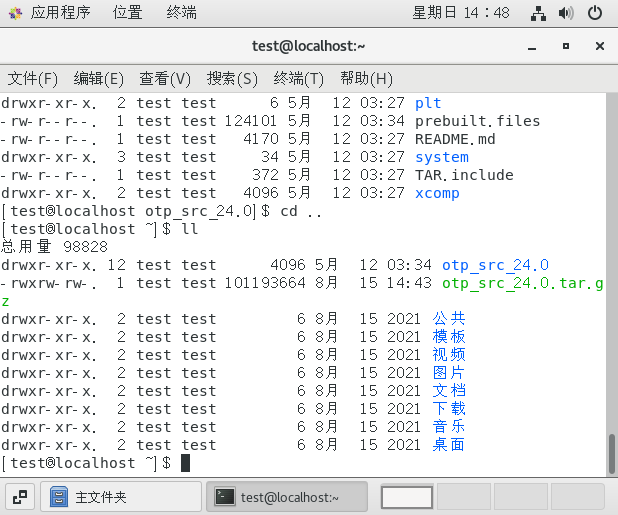
For ease of administration, copy the source code to a fixed directory, the command is as follows, go back to the previous directory first:
cd ..
As shown in the following figure:
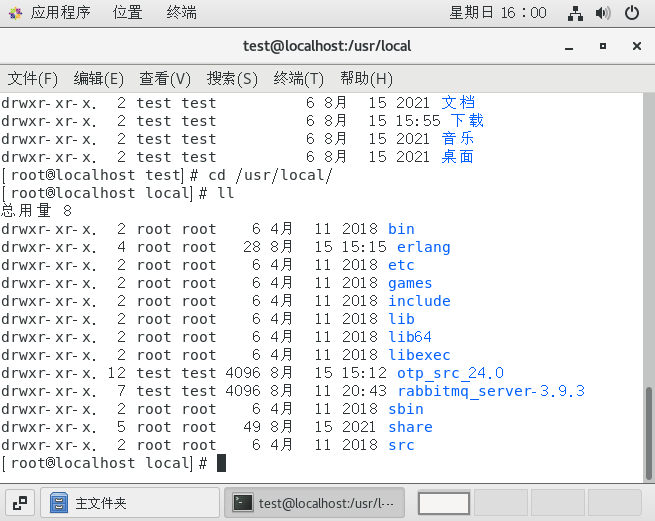
Move the entire directory to / usr/local and execute the following commands:
mv otp_src_24.0 /usr/local/
Enter the /usr/local directory with the following commands:
cd /usr/local/otp_src_24.0/
As shown in the following figure:

Create an installation directory:
mkdir ../erlang
Then configure the installation path
./configure --prefix=/usr/local/erlang
The results are as follows:
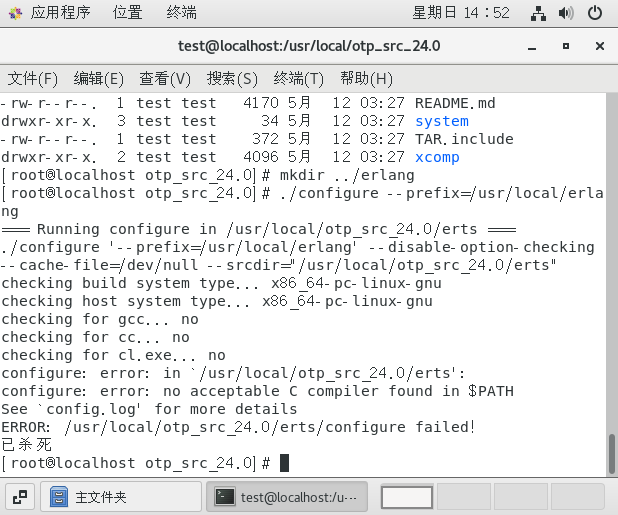
Notice this sentence:
no acceptable C compiler found in $PATH
This is because I have not yet installed a compiler such as gcc (this is a newly installed centos system with nothing installed), so I need to install a compiler such as gcc first.
The commands are as follows:
yum -y install gcc gcc-c++ kernel-devel
When the installation is complete, execute the command again:
./configure --prefix=/usr/local/erlang
As shown in the following figure:
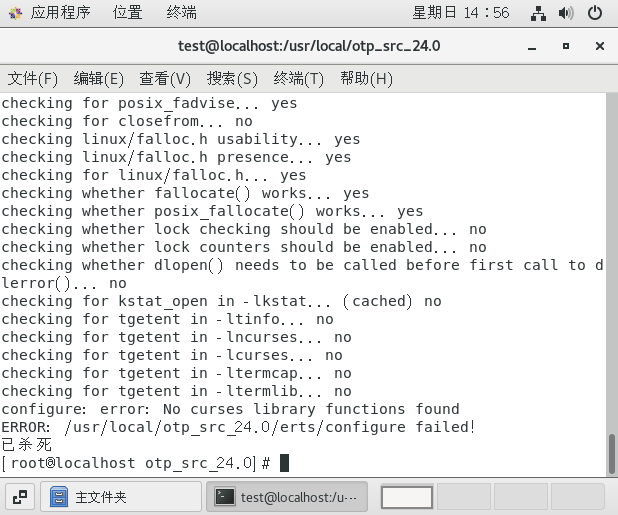
Error here, because ncurses-devel is not installed, this error resolution is put in the error handling later.
After installing ncurses-devel, execute the following command again:
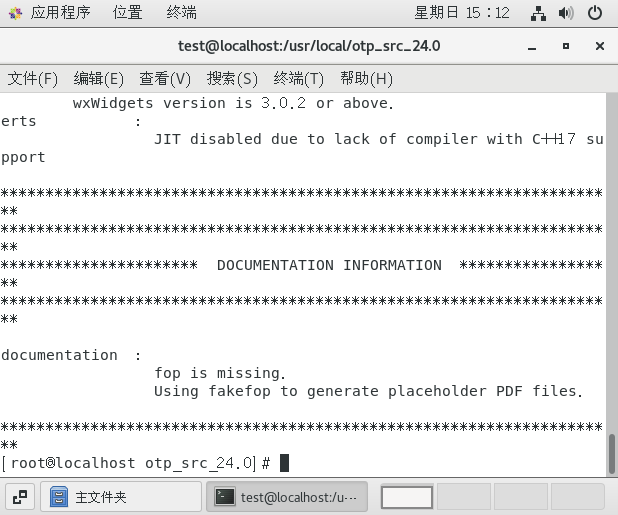
./configure --prefix=/usr/local/erlang
There are no errors reported here, as shown in the following figure, PDF and OpenGL can be ignored if prompted:
Then enter the following command to start compiling:
make
The compilation time is slightly longer and it is appropriate to pour a cup of tea back, as shown in the following figure:
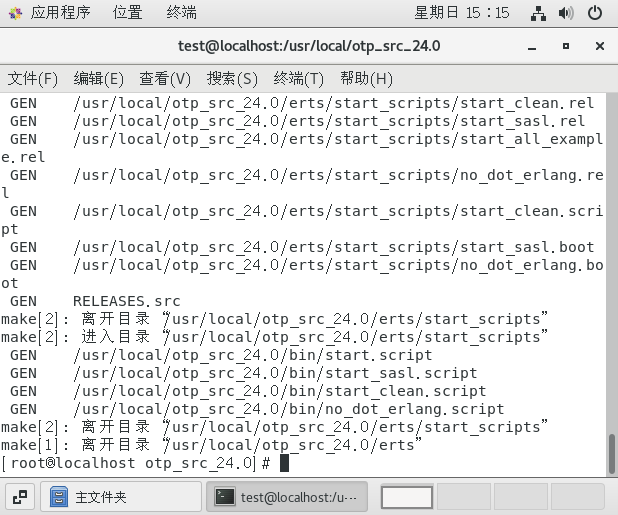
Then enter the following command to start the installation:
make install
When finished, the following figure shows:
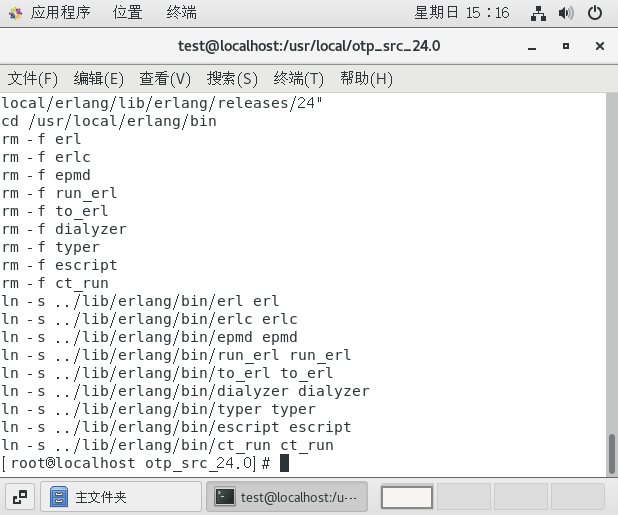
This erlang installation is complete.
2. Configuration check whether erlang is available
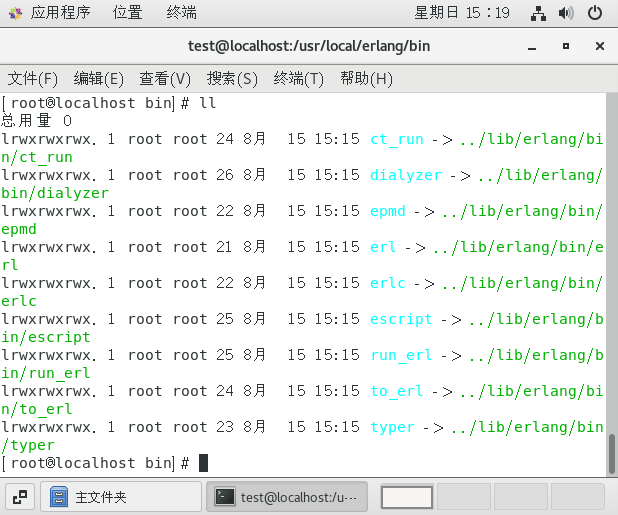
First enter the following command to switch to the erlang/bin directory:
cd /usr/local/erlang/bin
ll
As shown in the following figure:
Then add environment variables:
echo 'export PATH=$PATH:/usr/local/erlang/bin' >> /etc/profile
Refresh environment variables
source /etc/profile
Then enter the following command to view the erl version:
erl -version
As shown in the following figure:
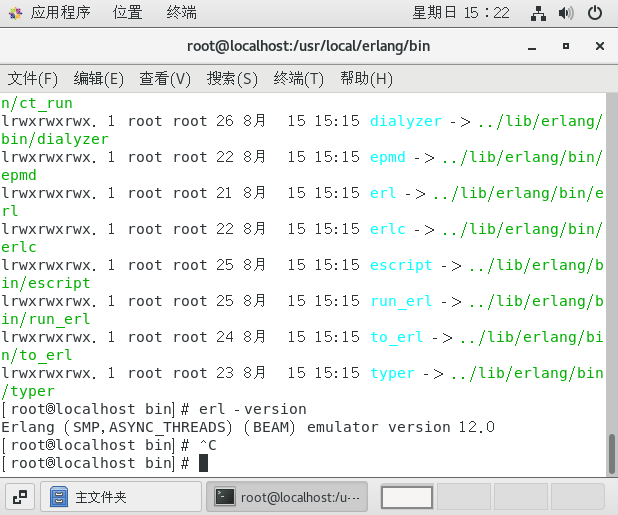
This means that erl is already installed. Now you can install rabbitmq.
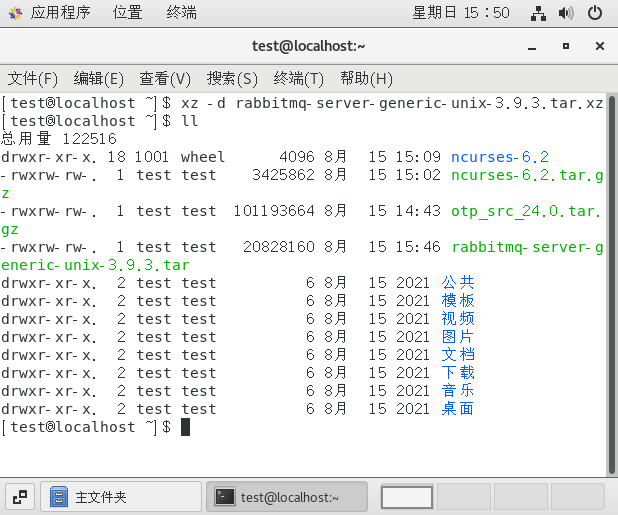
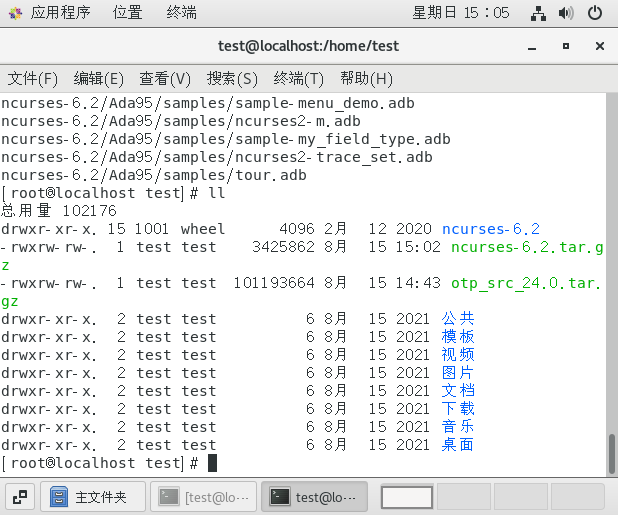
3. Install rabbitmq, first unzip the resource pack:
xz -d rabbitmq-server-generic-unix-3.9.3.tar.xz
If there is no xz command, you need to install the following first:
yum install -y xz
After decompression, the following image is displayed:
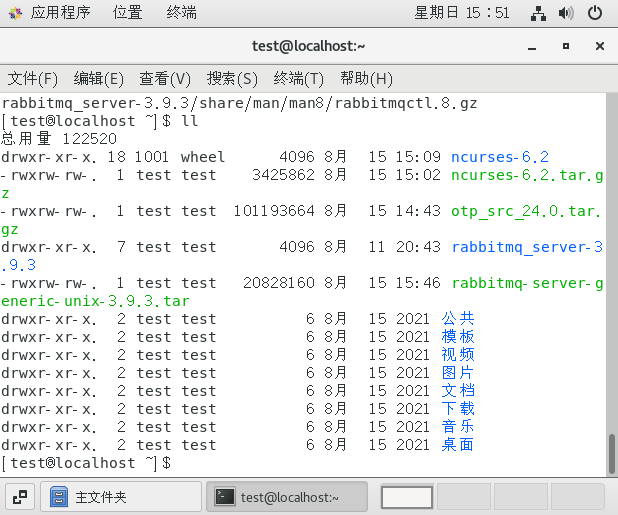
Here you will continue the second decompression with the following commands:
tar -xvf rabbitmq-server-generic-unix-3.9.3.tar
After decompression is complete, the following figure is shown:
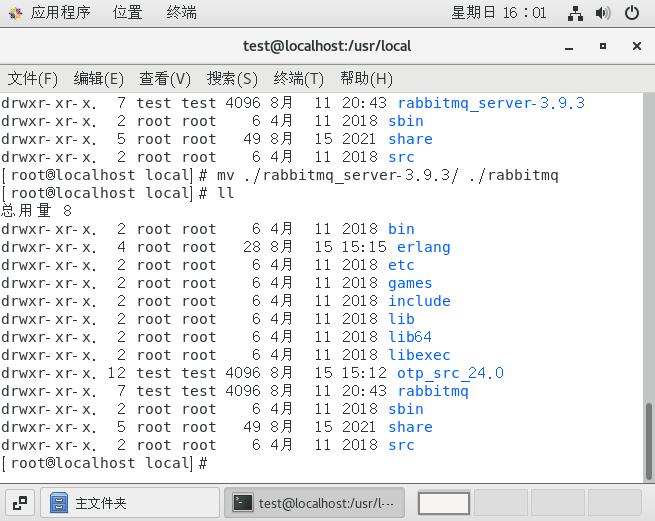
Similarly, move the rabbitmq folder to/usr/local/:
mv rabbitmq_server-3.9.3/ /usr/local/
Then jump to/usr/local/directory:
cd /usr/local/
The results are as follows:
Change the folder name of rabbitmq here to avoid taking too long:
mv ./rabbitmq_server-3.9.3/ ./rabbitmq
As shown in the following figure:
Configure the following environment variables with the following commands:
echo 'export PATH=$PATH:/usr/local/rabbitmq/sbin' >> /etc/profile
Then refresh the following environment variables:
source /etc/profile
(4) Commands of rabbitmq service:
Start:
rabbitmq-server -detached
Stop it:
rabbitmqctl stop
Status:
rabbitmqctl status
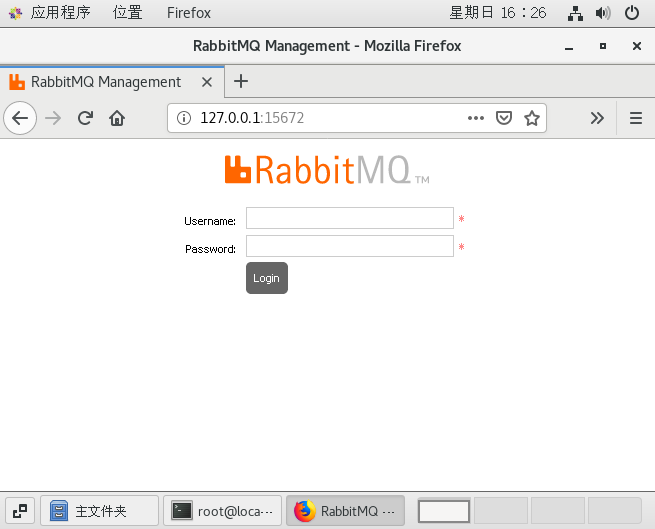
Open web Plugin
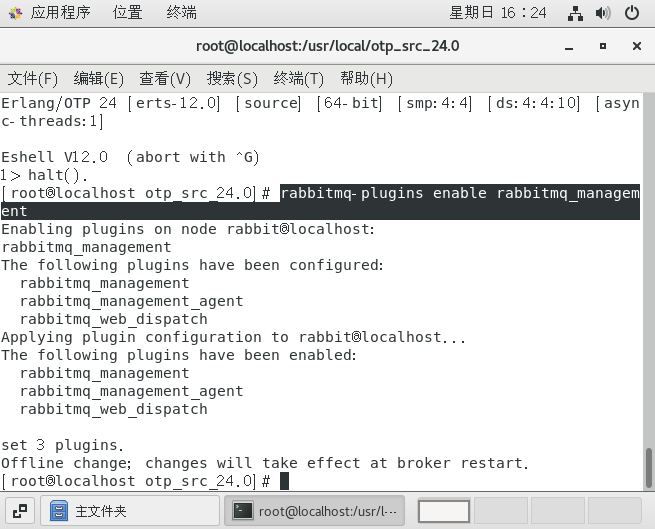
rabbitmq-plugins enable rabbitmq_management
3. Error Handling
1.No curses library functions found
This error is due to the fact that ncurses-devel is not installed. There are two ways to install it, one is by entering a command:
yum -y install ncurses-devel
This article uses the source installation, the steps are as follows
Download it first at:
http://ftp.gnu.org/gnu/ncurses/
The latest version is downloaded here: ncurses-6.2.tar.gz
Enter the following command to compress this compressed file:
tar -xzvf ncurses-6.2.tar.gz
As shown in the following figure:
Enter the following command into mcurses:
cd cd ncurses-6.2/
Then configure the configure with the following commands:
./configure --with-shared --without-debug --without-ada --enable-overwrite
There are no errors, as shown in the following figure:

Then start compiling and enter the command:
make
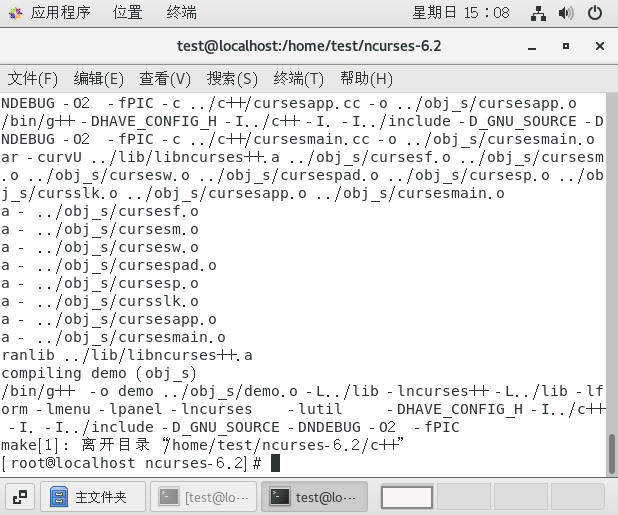
As shown above, if there are no errors, enter the following command to start the installation:
make install
As shown in the following figure:

Finish installing ncurses here.
2. When installing the web plug-in, the following errors were encountered:
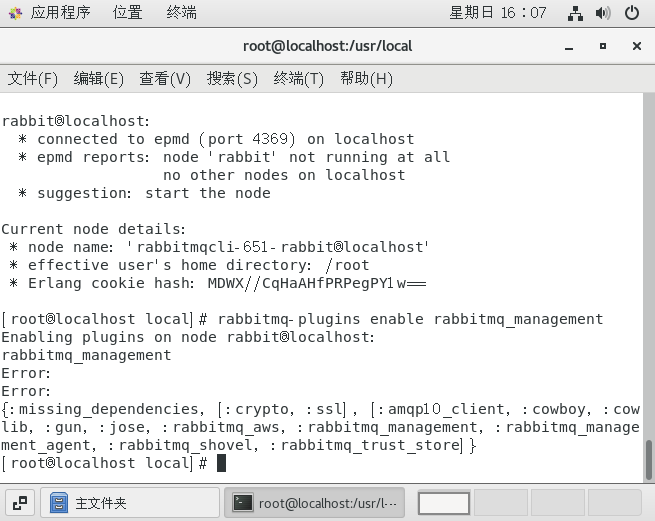
This is due to the lack of openssl installed. Here are the detailed steps:
Install openssl
1 Download address:
https://www.openssl.org/source/openssl-1.1.1c.tar.gz
Download it and place it on Linux as follows:
(2) Unzip the compressed file and enter the following command:
tar zxf openssl-1.1.1c.tar.gz
cd openssl-1.1.1c
./config
make install
(3) Establishing soft links
ln -s /usr/local/lib64/libssl.so.1.1 /usr/lib64/libssl.so.1.1
ln -s /usr/local/lib64/libcrypto.so.1.1 /usr/lib64/libcrypto.so.1.1
Note that you need to reinstall Erlang after installing openssl, and when you install erlang, you need to execute the following sentence, which is a pit:
./configure --prefix=/usr/local/erlang --with-ssl --enable-threads --enable-smp-support --enable-kernel-poll --enable-hipe --without-javac
The final installation of the web plug-in command executes with the following results:
Then you can open the web page (there is also a small episode here, because erlang was recompiled, you need to restart rabbitmq below to open the web page):