1, Overview
1.1 cluster
Cluster, also known as cluster
It is composed of multiple hosts, which is external as a whole. It only provides one access entry (domain name or IP address), which is equivalent to a mainframe computer
2, Classification
There are three types of target differences
- Load balancing cluster
- High availability cluster
- High performance computing cluster
2.1 load balancing cluster
- Improve the response ability of the application system, deal with more access requests and reduce latency as much as possible, and obtain the overall performance of high concurrency and high load (LB)
- The load distribution of LB depends on the shunting algorithm of the master node, which shares the access requests from the client to multiple server nodes, so as to alleviate the load pressure of the whole system
2.2 high availability cluster
- The goal is to improve the reliability of the application system and reduce the interruption time as much as possible, so as to ensure the continuity of service and achieve the fault-tolerant effect of high availability (HA)
- The working mode of HA includes duplex and master-slave modes. Duplex means that all nodes are online at the same time; The master-slave only has the master node online, but in case of failure, the slave node can automatically switch to the master node
2.3 High Performance Computing Cluster
- In order to improve the CPU operation speed of the application system, expand hardware resources and analysis ability, obtain the high-performance operation (HPC) ability equivalent to large-scale and supercomputer
- High performance depends on "distributed computing" and "parallel computing". The CPU, memory and other resources of multiple servers are integrated through special hardware and software to realize the computing power that only large and supercomputers have
3, Load balancing architecture
3.1 load scheduler
Load Balancer or Director
The only entrance to access the whole cluster system, and use the VIP address shared by all servers externally, also known as the cluster IP address. Two dispatchers, the primary and standby, are usually configured to realize hot backup. When the primary scheduler fails, it can be smoothly replaced with the standby scheduler to ensure high availability
3.2 server pool
Server Pool
The application services provided by the cluster are undertaken by the server pool. Each node has an independent RIP address (real IP) and only processes the client requests distributed by the scheduler. When a node fails temporarily, the fault-tolerant mechanism of the load scheduler will isolate it and wait for the error to be eliminated before it is re included in the server pool
3.3 shared storage
Share Storage
Provide stable and consistent file access services for all nodes in the server pool to ensure the unity of the whole cluster. Shared storage can use NAS devices or dedicated servers that provide NFS shared services.
4, Load balancing cluster working mode
Three kinds
- address translation
- IP tunnel
- Direct routing
4.1 address translation
- Similar to the private network structure of firewall, the load scheduler, as the gateway of all server nodes, is not only the access entrance of the client, but also the access exit of each node in response to the client
- The server node uses a private IP address, which is located in the same physical network as the load scheduler, and its security is better than the other two
- The disadvantage is that all kinds of requests go through the load scheduler, so the load scheduler itself will become a bottleneck
4.2 IP tunnel
- IP Tunnel: referred to as TUN mode for short
- The open network structure is adopted, and the load scheduler is only used as the access entrance of the client. Each node directly responds to the client through its own Internet connection, without going through the load scheduler
- The server nodes are scattered in different locations in the Internet, have independent public IP addresses, and communicate with the load scheduler through a dedicated IP tunnel
4.3 direct routing
- Direct:Routing: referred to as DR mode for short
- The semi open network structure is adopted, which is similar to the structure of TUN mode, but the nodes are not scattered everywhere, but located in the same physical network as the scheduler
- The load scheduler is connected with each node server through the local network, and there is no need to establish a special IP tunnel
- The scheduler distributes the client to the back-end server according to the distribution policy, and the server directly replies to the request without going through the scheduling server
5, LVS virtual server
5.1 general
- Full name: Linux Virtual Server
- Load balancing solution for Linux kernel
- LVS is actually equivalent to IP address based virtualization application, which puts forward an efficient solution for load balancing based on IP address and content request distribution
- LVS is now part of the Linux kernel and is compiled to IP by default_ Vs module, which can be called automatically when necessary. In CentOS 7 system, you can manually load IP addresses through the following operations:_ Vs module, and view the ip_in the current system_ Version information of vs module

5.2 load scheduling algorithm of LVS
polling
Round Robin
- Distribute the received access requests to the nodes in the cluster (real servers) in turn, and treat each server equally, regardless of the actual number of connections and system load of the server
Weighted polling
Weighted Round Robin
- The request is distributed according to the weight value set by the scheduler. The node with high weight value gets the task first, and the more requests are allocated
- Ensure that servers with strong performance bear more access traffic
Minimum connection
Least Connections
- Allocate according to the number of connections established by the real server, and give priority to the node with the least number of connections
Weighted least connection
Weighted Least Connections
- When the performance of server nodes varies greatly, the weight can be automatically adjusted for the real server
- Nodes with higher performance will bear a larger proportion of the active connection load
5.3 description of ipvsadm options
| option | explain |
|---|---|
| -A | Add virtual server |
| -D | Delete entire virtual server |
| -s | Specify the load scheduling algorithm (polling: rr, weighted polling: wrr, least connected: lc, weighted least connected: wlc) |
| -a | Indicates adding a real server (node server) |
| -d | Delete a node |
| -t | Specify VIP address and TCP port |
| -r | Specify RIP address and TCP port |
| -m | Indicates that NAT cluster mode is used |
| -g | Indicates that DR mode is used |
| -i | Indicates that TUN mode is used |
| -w | Set the weight (when the weight is 0, it means to pause the node) |
| -p 60 | Indicates a long connection for 60 seconds |
| -L (lowercase L) | View LVS virtual server list (view all by default) |
| -n | Displays address, port and other information in digital form, which is often used in combination with "- 1" option. ipvsadm -1n |
6, LVS load balancing cluster deployment
6.1 preparation
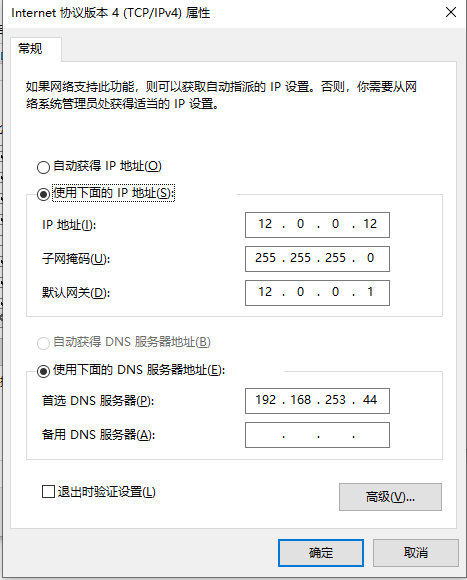
IP configuration
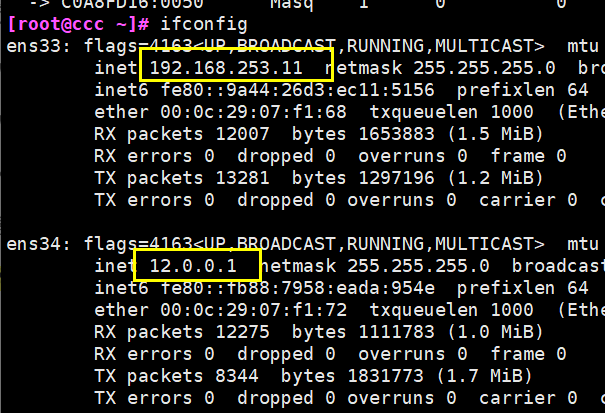
Load scheduler: intranet (ens33) 192.168.253.11, extranet (ens34) 12.0.0.1
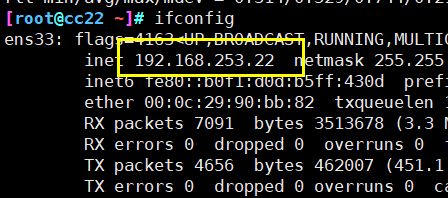
web1 node server: 192.168.253.22
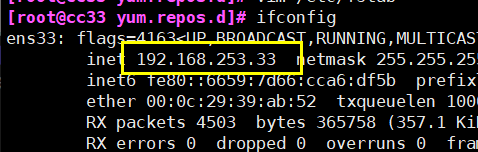
web2 node server: 192.168.253.33
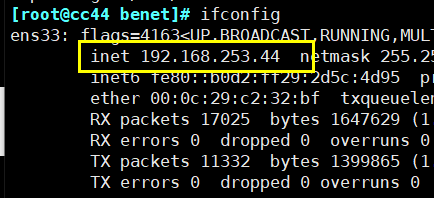
NFS server: 192.168.253.44
Client: 12.0.0.12
Attached drawings
6.2 deploying NFS server (shared storage)
Turn off the firewall
systemctl stop firewalld
systemctl disable firewalld
setenforce 0
Install software services
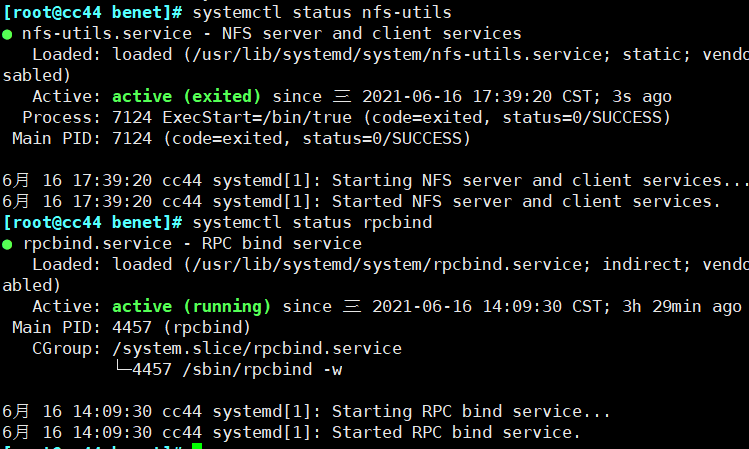
yum -y install nfs-utils
yum -y install rpcbind

# Open service
systemctl status nfs-utils
systemctl status rpcbind

# Join auto start
systemctl enable nfs-utils
systemctl enable rpcbind
Create web server page share directory
# Create directory
mkdir /opt/web1
mkdir /opt/web2

# Assign the highest authority
chmod 777 /opt/web1 /opt/web2

# Edit web content
echo 'wo shi web1' > /opt/web1/index.html
echo 'wo shi web2' > /opt/web2/index.html
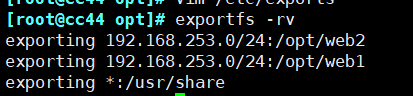
# Shared files
vim /etc/exports

/usr/share *(ro,sync)
/opt/web1 192.168.253.0/24(rw,sync)
/opt/web2 192.168.253.0/24(rw,sync)

# Publish share
exportfs -rv

exporting 192.168.253.0/24:/opt/web2
exporting 192.168.253.0/24:/opt/web1
exporting *:/usr/share
6.3 configuring node servers
web1
Turn off the firewall
systemctl stop firewalld
systemctl disable firewalld
setenforce 0
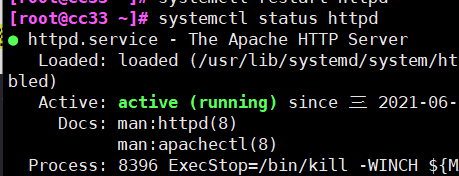
Install software
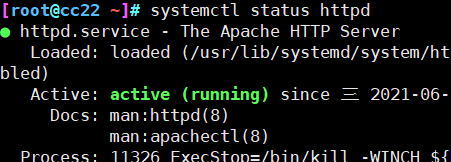
yum -y install httpd

systemctl start httpd
systemctl enable httpd
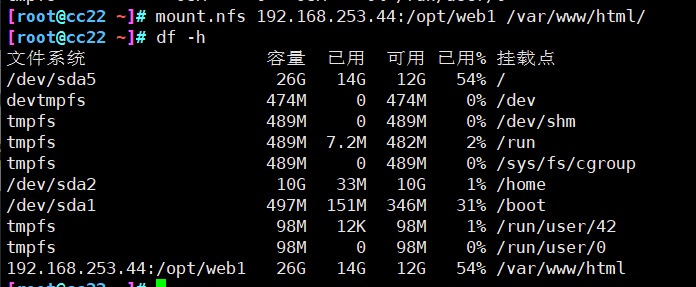
mount
# Install software
yum -y install nfs-utils rpcbind

# Check whether it can be mounted
showmount -e 192.168.253.44

Export list for 192.168.253.44:
/usr/share *
/opt/web2  192.168.253.0/24
/opt/web1  192.168.253.0/24

# Turn on rpc service
systemctl start rpcbind
systemctl enable rpcbind

# Set mount
mount.nfs 192.168.253.44:/opt/web1 /var/www/html/

# Auto Mount
vim /etc/fstab
192.168.253.44:/opt/web1     /var/www/html     nfs     defaults,_netdev     0    0
web2
Turn off the firewall
systemctl stop firewalld
systemctl disable firewalld
setenforce 0
Install software
yum -y install httpd

systemctl start httpd
systemctl enable httpd
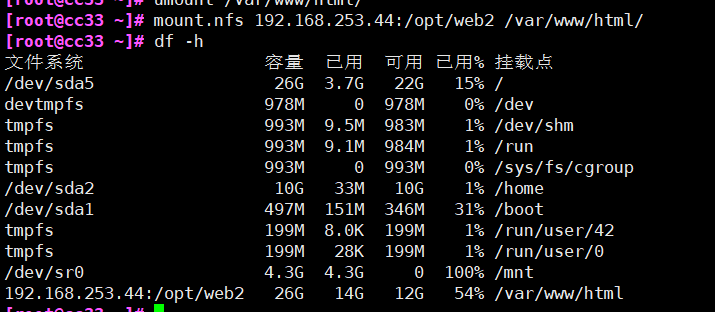
mount
# Install software
yum -y install nfs-utils rpcbind

# Check whether it can be mounted
showmount -e 192.168.253.44

Export list for 192.168.253.44:
/usr/share *
/opt/web2  192.168.253.0/24
/opt/web1  192.168.253.0/24

# Turn on rpc service
systemctl start rpcbind
systemctl enable rpcbind

# Set mount
mount.nfs 192.168.253.44:/opt/web1 /var/www/html/

# Auto Mount
vim /etc/fstab
192.168.253.44:/opt/web2     /var/www/html     nfs     defaults,_netdev     0    0
6.4 configure load scheduler
Turn off the firewall
systemctl stop firewalld
systemctl disable firewalld
setenforce 0
Configure snat forwarding rules
echo 'net.ipv4.ip_forward=1' >> /etc/sysctl.conf
sysctl -p
net.ipv4.ip_forward = 1

# Clear rule
iptables -F
iptables -F -t nat
# Join rule
iptables -t nat -A POSTROUTING -s 192.168.253.0/24 -o ens34 -j SNAT --to-source 12.0.0.1
Load LVS kernel module
# Loading module
modprobe ip_vs
# View version information
cat /proc/net/ip_vs

for i in $(ls /usr/lib/modules/$(uname -r)/kernel/net/netfilter/ipvs|grep -o "^[^.]*");do echo $i; /sbin/modinfo -F filename $i >/dev/null 2>&1 && /sbin/modprobe $i;done
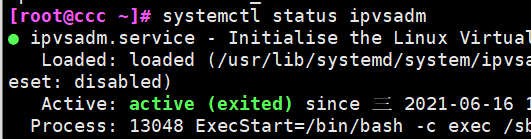
Install ipvsadm tool
yum -y install ipvsadm

# The load distribution strategy must be saved before startup
ipvsadm-save > /etc/sysconfig/ipvsadm

# Open service
systemctl start ipvsadm
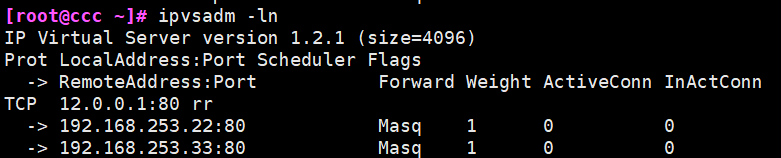
Configure load distribution policy
# Eliminate the original strategy
ipvsadm -C
ipvsadm -A -t 12.0.0.1:80 -s rr
ipvsadm -a -t 12.0.0.1:80 -r 192.168.253.22:80 -m
ipvsadm -a -t 12.0.0.1:80 -r 192.168.253.33:80 -m
# Enable policy
ipvsadm

# View node status
ipvsadm -ln
IP Virtual Server version 1.2.1 (size=4096)
Prot LocalAddress:Port Scheduler Flags
  -> RemoteAddress:Port           Forward Weight ActiveConn InActConn
TCP  12.0.0.1:80 rr
  -> 192.168.253.22:80            Masq    1      0          0
  -> 192.168.253.33:80            Masq    1      0          0
6.5 testing
Client access
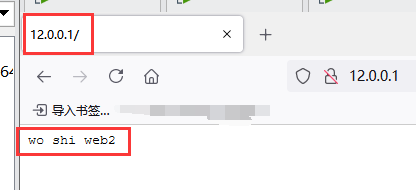
Visit later and switch automatically

6.6 supplement
# Delete a node server in the cluster
ipvsadm -d -t 12.0.0.1:80 -r 192.168.253.22:80

# Delete entire virtual server
ipvsadm -D -t 12.0.0.1:80

# Stop service (clear policy)
systemctl stop ipvsadm

#Start service (rebuild rule)
systemctl start ipvsadm

#Recovery LVS strategy
ipvsadm-restore < /etc/ sysconfig/ ipvsadm