Ah, I haven't updated my blog for a long time, because there are many trivial things recently, but there is nothing worth updating. Today's update is because the Department is dissolved~
On the eve of leaving office, I learned the es search engine with my colleagues, which is recorded here for your reference
The first is to download the Es search engine. You can download it on the official website
This is the official website. Please click me
Prepare after downloading
1. The Java environment I use is java11. You can download it from the official website or go to the link I uploaded Point me 3 points, hard money} if you go to the official website, you need to log in with an account, which can be searched by Baidu Oracle Login or direct link Point me Click Install after downloading
2. Then unzip. After unzip, enter the directory and double-click the arrow
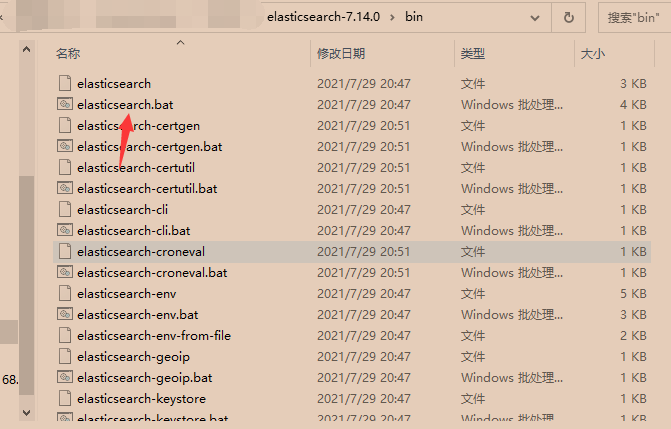
3. Then the following window will appear. Mine is like this. I don't know if yours will be the same. After all, I'm also in contact for the first time,
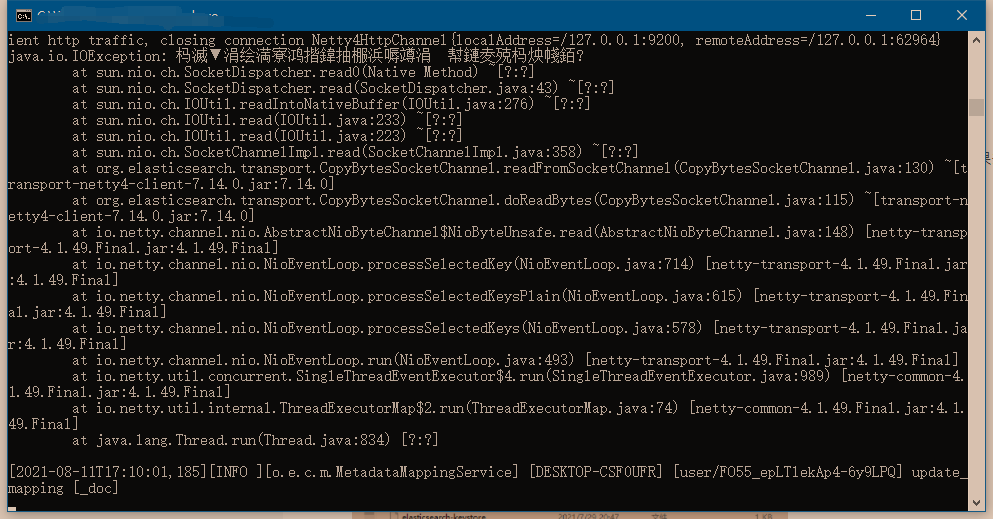
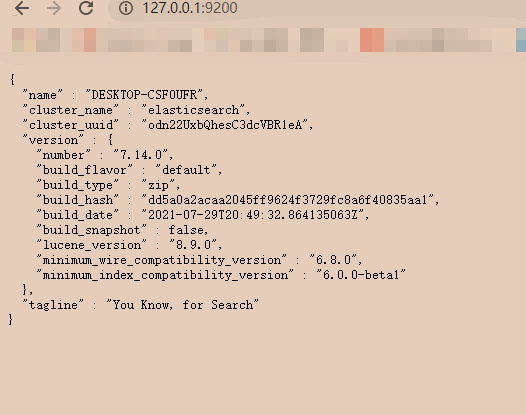
Can pass[ http://127.0.0.1:9200/ This is success,
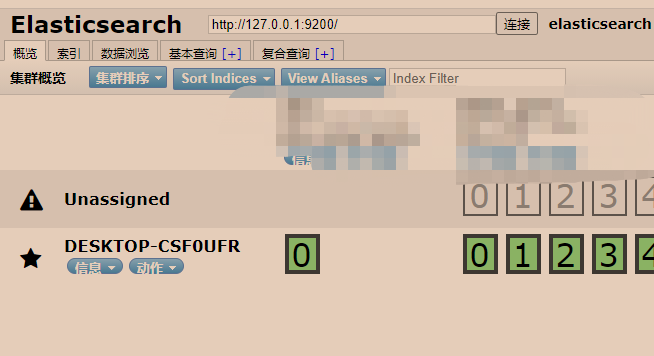
4. There is a web side. Search elasticsearch head through Google's extended store. You can also find me to download it Point me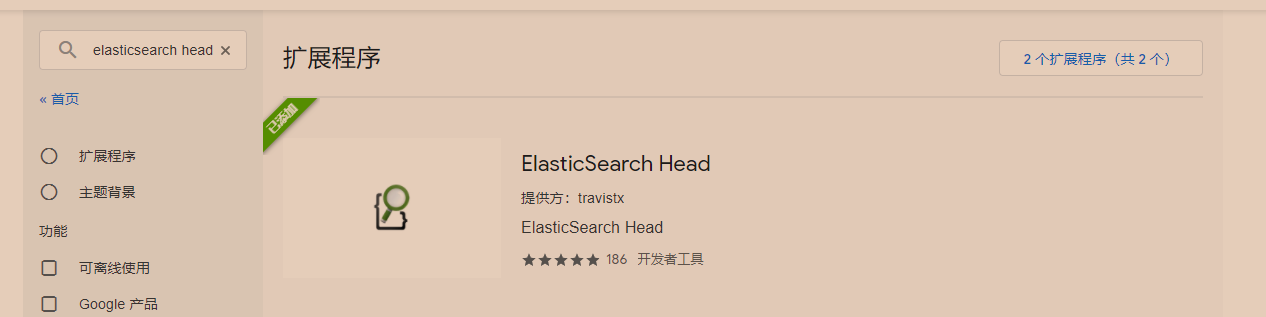
Installing extensions is a simple operation on the web side. There are other supporting tools. I won't introduce them if I don't use them
At this point, even if the Es installation is completed, there is also ik word splitter, and the git address is here Point me Remember, it must be the same version as the Es engine, otherwise an error will be reported
After downloading, unzip it to elasticsearch-7.14 0 \ plugins \ IK directory. The IK directory should be created
At this point, even if the Es installation is completed, after installing the simple extension program, click to do some operations through the page, such as adding indexes, querying and deleting
Here, the preparation of Es is completed, and the next step is to dock with tp6
First, download the class corresponding to Es. The {git address is here I use the composer installation, which will be packaged together later
Up to now, all the preparations have been completed, and the next step is testing
There's nothing to say about testing this piece. It's about the next process
public function test()
{
//instantiation
$modle = new ElasticSearch();
//Create driver
// $modle->createIndex('user');
//After creating a map, you can import the database. The tutorial is below, or you can add it manually for query
// $modle->createUserMappings('user');
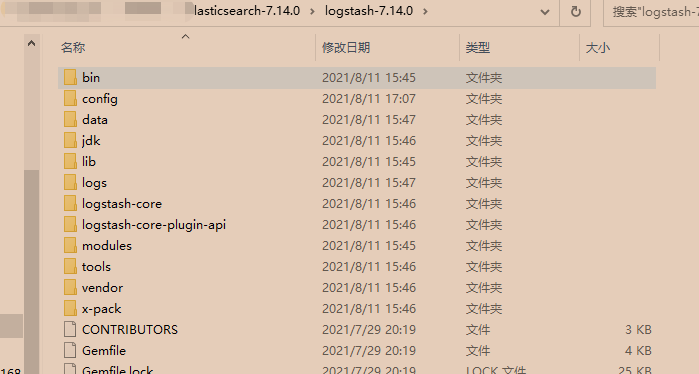
}Here, the map is created successfully, and then go to the very important step of logstash database synchronization. This step broke my heart, scratched my head and lost a lot of hair. First, Download logstash and select the same version as Es Official website address Unzip after downloading
Then go to config and create a logstash Conf file. The contents of the file are as follows. Modify it according to your account and password, and then the installation is completed
input {
  # To synchronize multiple tables, you only need to set up multiple jdbc modules
  jdbc {
      # mysql database link, and shop is the database name
      jdbc_connection_string => "jdbc:mysql://Your ip:3306 / database name? useUnicode=true&characterEncoding=utf8&serverTimezone=UTC"
      # User name and password
      jdbc_user => "user name"
      jdbc_password => "password"
      # The driver name is mysql-connector-java-8.0 22. Jar version can be changed. I didn't find it
      jdbc_driver_library => "Yours mysql java drive"
      # Driver class name
      jdbc_driver_class => "com.mysql.cj.jdbc.Driver"
      jdbc_validate_connection => "true"

      #Pagination
      jdbc_paging_enabled => "true"
      jdbc_page_size => "1000"
      #time zone
      jdbc_default_timezone => "Asia/Shanghai"

      #Execute sql statements directly
      statement => "SELECT Fields you want FROM surface where is_delete = 0 and id > :sql_last_value"
      # Executed sql file path + name
      # statement_filepath => "/hw/elasticsearch/logstash-6.2.4/bin/test.sql"

      #Set the meaning of each field of the listening interval (from left to right) minute, hour, day, month and year, all of which are * and the default meaning is updated every minute
      schedule => "*/5 * * * *"
      #Every 10 minutes
      #schedule => "*/10 * * * *"
      #Whether to record the last execution result. If it is true, it will track the last execution_ Record the value of the column field and save it to last_run_metadata_path
      record_last_run => true
      #Record the latest synchronization offset information
      last_run_metadata_path => "D:\logstash\data\user_id.txt"
      use_column_value => true
      #The type of the incremental field. Numeric represents the numeric type and timestamp represents the timestamp type
      tracking_column_type => "numeric"
      tracking_column => "id"

      clean_run => false

      # The index type is the corresponding driver name
      type => "user"
    }
}


output {
  if[type] == "user" {
	 elasticsearch {
        #ip and port of es
        hosts => ["http://localhost:9200"]
        #ES index name (self defined)
        index => "user"
        #Document type
        # document_type => "_doc"
        #Set the data id to a field in the database
        document_id => "%{id}"
    }
	}
}
After configuration, enter logstash directory and bin directory for execution \logstash -f ..\config\logstash.conf. the actual execution will be based on your own directory, and then a lot of code will appear. If there is no special error, even if it is completed, you can go to the page section to see if there is information in your index. If there is, print the user and the information will appear, probably as follows, and then process it according to your own business logic,
$modle = new ElasticSearch();
//The three parameters for query are the words to be queried, the number of pages, the number of entries per page, and the index library to be queried
        $user = $modle->searchUserDoc('cola', 1, 10, 'user');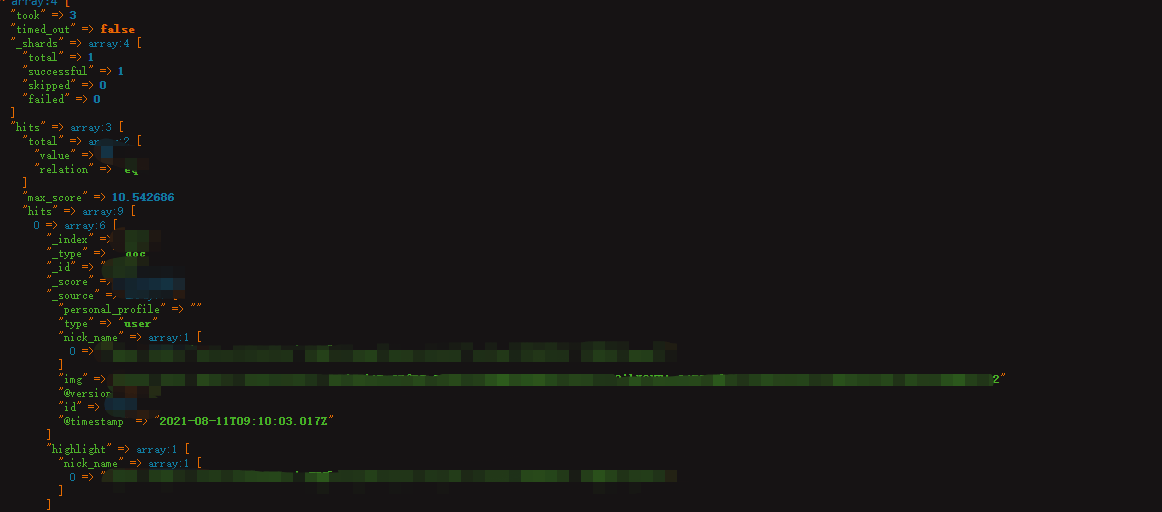
Then my order is to create index, map and synchronize database through code. You can try something else
Up to now, the installation and docking have been completed. I hope you can give me some advice. After all, I'm doing this for the first time