preface
Q: What's the most smelly thing you've ever smelled in your life?
A: My rotten dream.
Brother Meng!!! I'm here again!
This time, I can confidently say to you: I finally brought you a pub package that can really help you solve many pit ratio scenes!
Put the previous shuttle_ smart_ Dialog, on the basis of maintaining the stability of the api, has carried out various scratch head reconfigurations and solved a series of problems
Now, I can finally say: it is now a simple, powerful and low intrusive pub package!
On invasive issues
- Before, in order to solve the problem of closing the pop-up window, a very inelegant solution was used, resulting in a little high invasiveness
- This really makes me on pins and needles, like a thorn in my back, like a lump in my throat. This problem has finally been solved!
At the same time, I designed a pop-up stack inside the pub package, which can automatically remove the pop-up window at the top of the stack or remove the marked pop-up window in the stack at a fixed point.
problem
Using the system pop-up window, there are a series of pits to discuss with you
BuildContext must be passed
- In some scenes, we must do more communication and reference work, which is a painful but not difficult problem
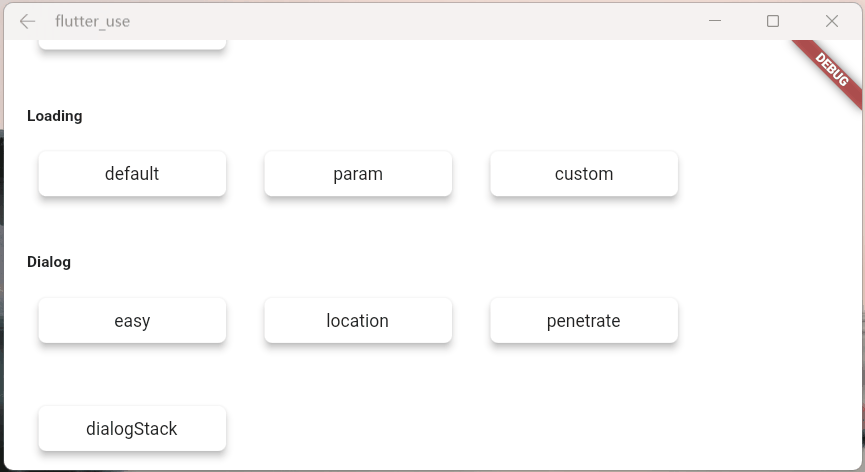
loading Popup
Using the system pop-up window as the loading pop-up window, I must have encountered this pit ratio problem
- Loading is encapsulated in the network library: when loading is requested for the network, press the return button and close loading
- Then after the request, I found: why is my page closed!!!
The system pop-up window is a routing page. The pop method is used to close the system, which is easy to close the normal page by mistake
- Of course, there must be a solution. There is no detailed table here
Multiple system dialogs pop up on a page. It is difficult to close a non stack pop-up window at a fixed point
- Eggs, which are caused by routing stack, make complaints about them.
In the system Dialog, the click event cannot penetrate the dark background
- I really can't do anything about this pit ratio problem
reflection
The above lists some common problems. The most serious problem should be the problem of loading
- Loading is a pop-up window for UHF use. The method of closing the loading pop-up window can also close the normally used pages, which is a hidden danger in itself
- This food dog doesn't have the ability of big factory bosses to change flutter. The food wants to change. I can only cut in from other directions and seek solutions
The Page of the system is implemented based on Overlay. We should also start with Overlay
This time, I want to help you solve it at one time: toast message, loading pop-up window, and more powerful custom dialog!
Get started quickly
initialization
- Import (please click pub to view the latest version): pub,github,click me to experience it
dependencies:
  flutter_smart_dialog: ^3.0.0
Initialization method 1: strongly recommended 😃
- More concise configuration
void main() => runApp(MyApp());

class MyApp extends StatelessWidget {
  @override
  Widget build(BuildContext context) {
    return GetMaterialApp(
      initialRoute: RouteConfig.main,
      getPages: RouteConfig.getPages,
      // here
      navigatorObservers: [FlutterSmartDialog.observer],
      // here
      builder: FlutterSmartDialog.init(),
    );
  }
}
Initialization mode 2: compatible with the old version ❤
- The old version initialization is still valid, the difference is: you need to call FlutterSmartDialog.monitor() before loading MaterialApp.
void main() => runApp(MyApp());

class MyApp extends StatelessWidget {
  @override
  Widget build(BuildContext context) {
    // here
    FlutterSmartDialog.monitor();
    return MaterialApp(
      home: SmartDialogPage(),
      // here
      navigatorObservers: [FlutterSmartDialog.observer],
      /// here
      builder: (BuildContext context, Widget? child) {
        return FlutterSmartDialog(child: child);
      },
    );
  }
}
be accomplished 🚀
Select one of the above two initialization methods; Then, you can fully use all the functions of this library
I highly recommend the first initialization method because it is concise enough; Simple and clear things will make people feel happy when used 🌞
Minimalist use
- toast usage 💬
SmartDialog.showToast('test toast');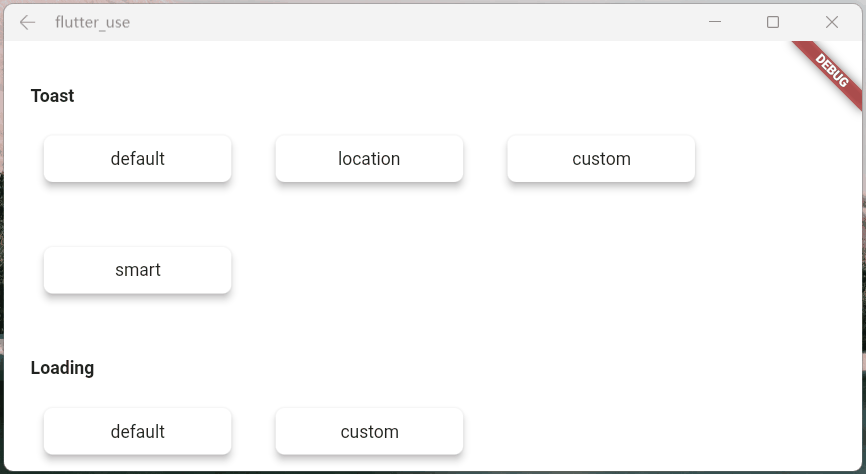
- loading usage ⏳
SmartDialog.showLoading();
await Future.delayed(Duration(seconds: 2));
SmartDialog.dismiss();
- dialog usage 🎨
var custom = Container(
    height: 80,
    width: 180,
    decoration: BoxDecoration(
        color: Colors.black,
        borderRadius: BorderRadius.circular(20),
    ),
    alignment: Alignment.center,
    child: Text('easy custom dialog', style: TextStyle(color: Colors.white)),
);
// here
SmartDialog.show(widget: custom, isLoadingTemp: false);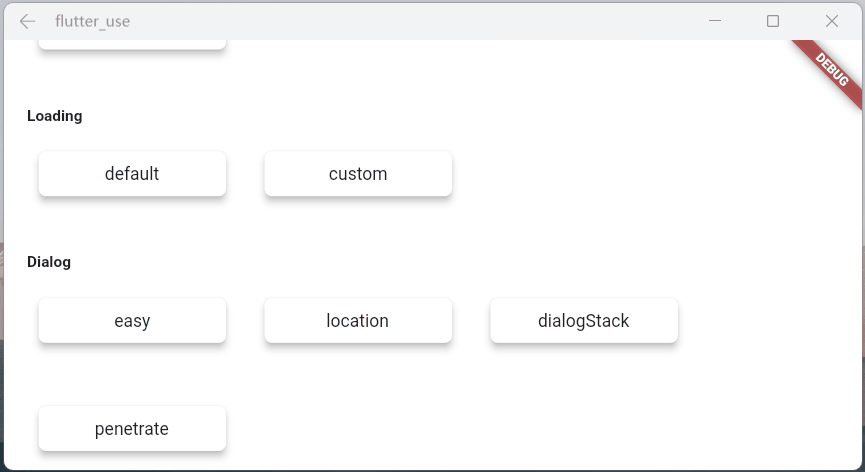
OK, as shown above, you can call the corresponding functions with very little code
Of course, there are many special optimizations in the interior. Next, I will describe them in detail
You may have questions
When initializing the framework, I felt very guilty for letting everyone write one more parameter than before 😩
Closing a page is essentially a complex situation involving
- Physical return key
- back button of AppBar
- Manual pop
In order to monitor these conditions, a route monitoring parameter has to be added
About FlutterSmartDialog.init()
This method will not occupy your builder parameters. The init internal callback comes out of the builder. You can continue to set it boldly and safely
- For example: continue to set the global instance of Bloc 😄
class MyApp extends StatelessWidget {
  @override
  Widget build(BuildContext context) {
    return GetMaterialApp(
      initialRoute: RouteConfig.main,
      getPages: RouteConfig.getPages,
      navigatorObservers: [FlutterSmartDialog.observer],
      builder: FlutterSmartDialog.init(builder: _builder),
    );
  }
}

Widget _builder(BuildContext context, Widget? child) {
  return MultiBlocProvider(
    providers: [
      BlocProvider.value(value: BlocSpanOneCubit()),
    ],
    child: child!,
  );
}
Entity return key
Monitoring the return button is very important and can basically cover most situations
pop routing
Although the monitoring of the return button can cover most scenarios, some manual pop scenarios need to add parameter monitoring
Without FlutterSmartDialog.observer
- If the penetration parameter is turned on (you can interact with the page after the pop-up window), then close the page manually
- There will be such an embarrassing situation
With FlutterSmartDialog.observer, it can be handled reasonably
- Of course, the transition animation here also provides parameters to control whether it is turned on ❤
Super practical parameter: backdisassiss
This parameter is set to true by default, and the pop-up window will be closed by default when returning; If set to false, the page will not be closed
- In this way, you can easily make an emergency pop-up window to prohibit the user's next operation
- Let's look at a scenario: suppose an open source author decides to abandon the software and does not allow users to use the pop-up window of the software
SmartDialog.show(
  // here
  backDismiss: false,
  clickBgDismissTemp: false,
  isLoadingTemp: false,
  widget: Container(
    height: 480,
    width: 500,
    padding: EdgeInsets.all(20),
    decoration: BoxDecoration(
      borderRadius: BorderRadius.circular(20),
      color: Colors.white,
    ),
    alignment: Alignment.topCenter,
    child: SingleChildScrollView(
      child: Wrap(
        direction: Axis.vertical,
        crossAxisAlignment: WrapCrossAlignment.center,
        spacing: 10,
        children: [
          // title
          Text(
            'Extraordinary announcement',
            style: TextStyle(fontSize: 30, fontWeight: FontWeight.bold),
          ),
          // content
          Text('I studied the following secret script day and night and finally succeeded in catching a rich woman'),
          Image.network(
            'https://cdn.jsdelivr.net/gh/xdd666t/MyData@master/pic/flutter/blog/20211102213746.jpeg',
            height: 200,
            width: 400,
          ),
          Text('I thought for three seconds, with\'heavy\'I decided to abandon the open source software'),
          Text('My future life is a rich woman and far away, no longer\'energy\' Maintain this open source software'),
          Text('I'll see you in the Jianghu!'),
          // button (only method of close the dialog)
          ElevatedButton(
            onPressed: () => SmartDialog.dismiss(),
            child: Text('Goodbye!'),
          )
        ],
      ),
    ),
  ),
);
As can be seen from the effect drawing above
- Click the mask to close the pop-up window
- Click the back button to close the pop-up window
- We can only click our own button to close the pop-up window. The logic of clicking the button can be directly written as closing app and so on
It only needs two simple parameter settings to realize such a great emergency pop-up window
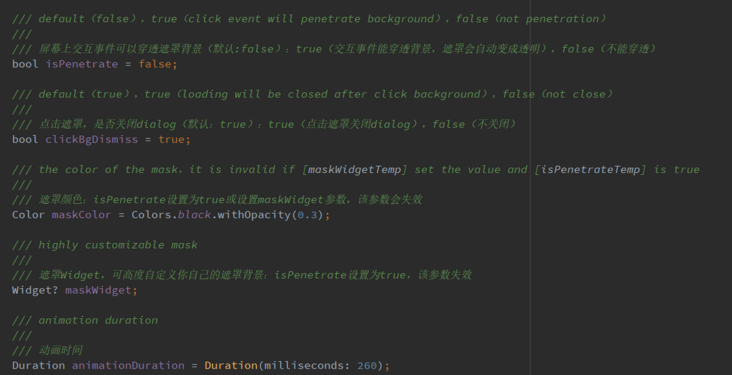
Set global parameters
The global parameters of SmartDialog have a reasonable default value
In order to cope with changeable scenarios, you can modify the global parameters to meet your own requirements
Set the data that meets your requirements, put it in the app entry, and initialize it
- Note: if there are no special requirements, you can completely avoid initializing global parameters
SmartDialog.config
    ..alignment = Alignment.center
    ..isPenetrate = false
    ..clickBgDismiss = true
    ..maskColor = Colors.black.withOpacity(0.3)
    ..maskWidget = null
    ..animationDuration = Duration(milliseconds: 260)
    ..isUseAnimation = true
..isLoading = true;- The code comments are well written. If you don't understand a parameter, just click in and have a look
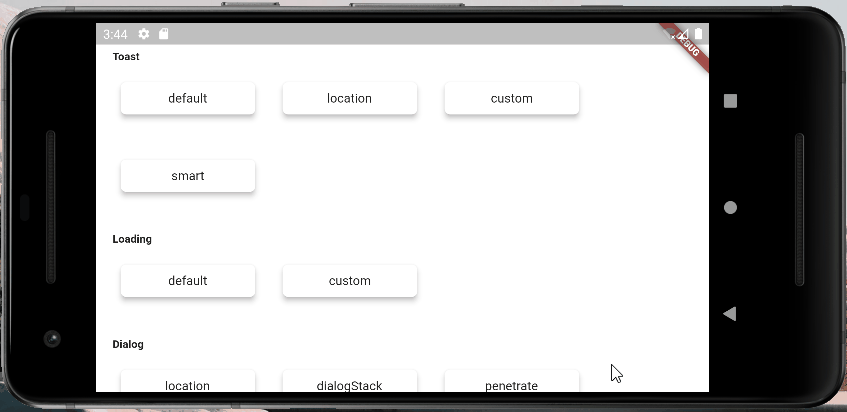
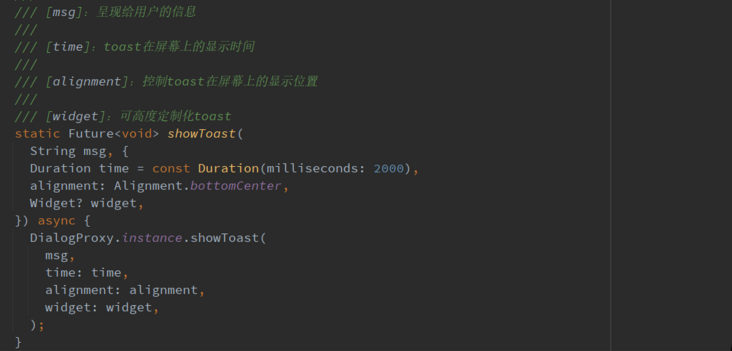
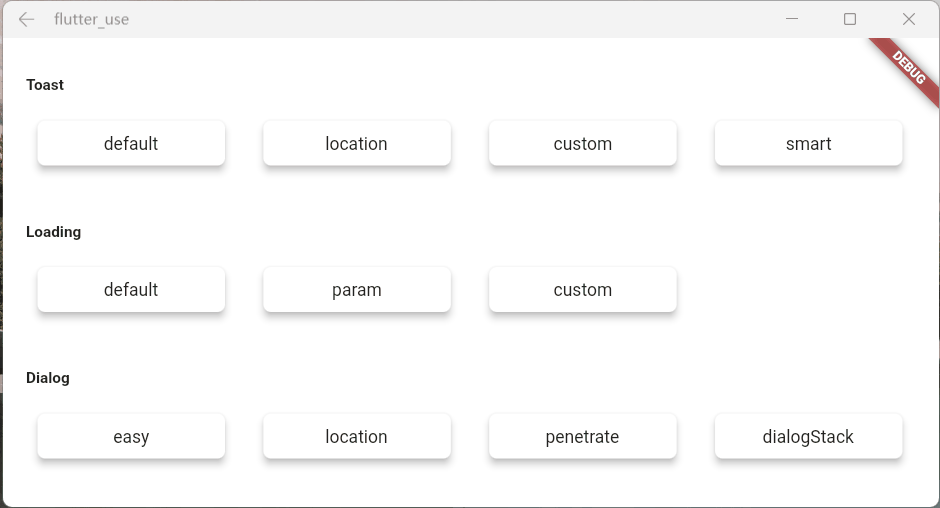
Toast
Particularity of toast
Strictly speaking, toast is a very special pop-up window. I think it should have the following characteristics
Toast messages should be displayed one by one, and subsequent messages should not top off the previous toast
- This is a pit. If the interior of the frame is not handled, it is easy to see that the rear toast will directly top the front toast

It is displayed at the top of the page and should not be obscured by some pop-up windows
- It can be found that the masks of loading and dialog do not obscure the toast information

Handle the occlusion of the keyboard
The keyboard is a bit of a pit. It will directly block all the layouts and can only save the country by curving
- A special treatment is made here. When the keyboard is aroused, toast will dynamically adjust the distance between itself and the bottom of the screen
- In this way, the keyboard will not block the toast effect
Customize Toast
Parameter description
toast does not expose many parameters, only four parameters are provided
For example: Toast font size, font color, toast background color, etc. I didn't provide parameters
- First, I feel that providing these parameters will make the whole parameter input very much, and the confusion will gradually become charming
- Second, I feel that even if I provide many parameters, it will not necessarily meet those strange aesthetic and needs
Based on the above considerations, I directly provide the underlying parameters and directly provide the widget parameters
- You can customize the toast as you like
- Note: if widget parameters are used, msg and alignment parameters will become invalid
Adjust the position of toast display
SmartDialog.showToast('the toast at the bottom');
SmartDialog.showToast('the toast at the center', alignment: Alignment.center);
SmartDialog.showToast('the toast at the top', alignment: Alignment.topCenter);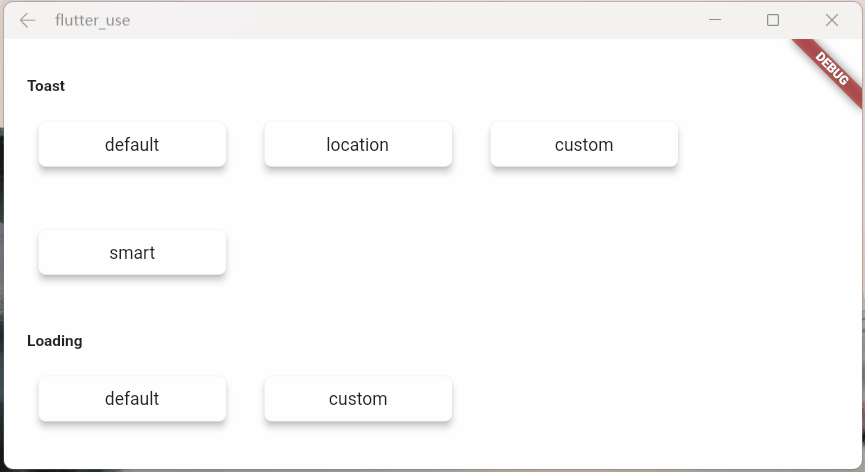
More powerful custom toast
- First, the whole custom toast
class CustomToast extends StatelessWidget {
  const CustomToast(this.msg, {Key? key}) : super(key: key);

  final String msg;

  @override
  Widget build(BuildContext context) {
    return Align(
      alignment: Alignment.bottomCenter,
      child: Container(
        margin: EdgeInsets.only(bottom: 30),
        padding: EdgeInsets.symmetric(horizontal: 20, vertical: 7),
        decoration: BoxDecoration(
          color: _randomColor(),
          borderRadius: BorderRadius.circular(100),
        ),
        child: Row(mainAxisSize: MainAxisSize.min, children: [
          //icon
          Container(
            margin: EdgeInsets.only(right: 15),
            child: Icon(Icons.add_moderator, color: _randomColor()),
          ),

          //msg
          Text('$msg', style: TextStyle(color: Colors.white)),
        ]),
      ),
    );
  }

  Color _randomColor() {
    return Color.fromRGBO(
      Random().nextInt(256),
      Random().nextInt(256),
      Random().nextInt(256),
      1,
    );
  }
}- use
SmartDialog.showToast('', widget: CustomToast('custom toast'));- effect

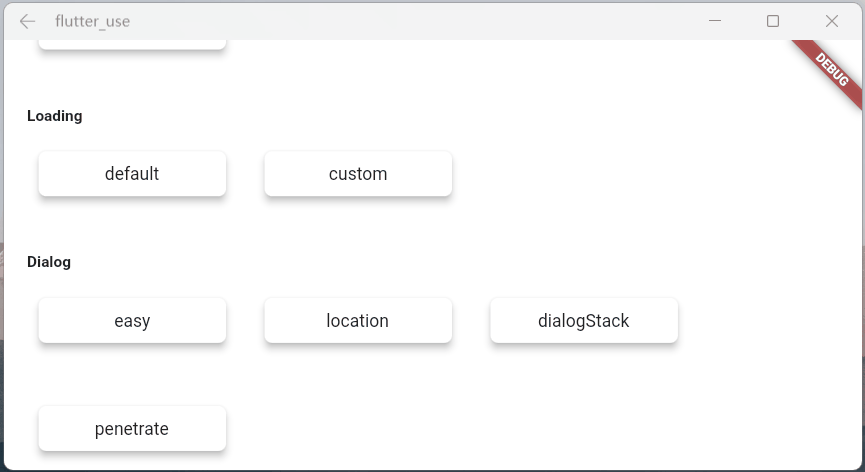
Loading article
Pit avoidance Guide
After loading is enabled, you can close it in the following ways
- Smartdialog. Disass(): you can close loading and dialog
- status is set to SmartStatus.loading: just turn off loading
// easy close
SmartDialog.dismiss();
// exact close
SmartDialog.dismiss(status: SmartStatus.loading);
Generally speaking, the loading pop-up window is encapsulated in the network library and automatically opens and closes with the request status
- Based on this scenario, I suggest that when using dismis, add the status parameter and set it to SmartStatus.loading
Pit ratio scene
- When the network requests to load, loading is also opened. At this time, it is easy to touch the return button by mistake to close loading
- When the network request ends, the dismiss method is automatically called
- Because loading has been closed, assuming that there is a SmartDialog pop-up window on the page at this time, disass without status will close the SmartDialog pop-up window
- Of course, this situation is easy to solve. For loading encapsulated in the network library, use: smartdialog. Dismis (status: smartstatus. Loading); Just close it
The status parameter is designed to accurately close the pop-up window of the corresponding type. It can play a great role in some special scenarios
- If you understand the meaning of this parameter, you will know when to add the status parameter
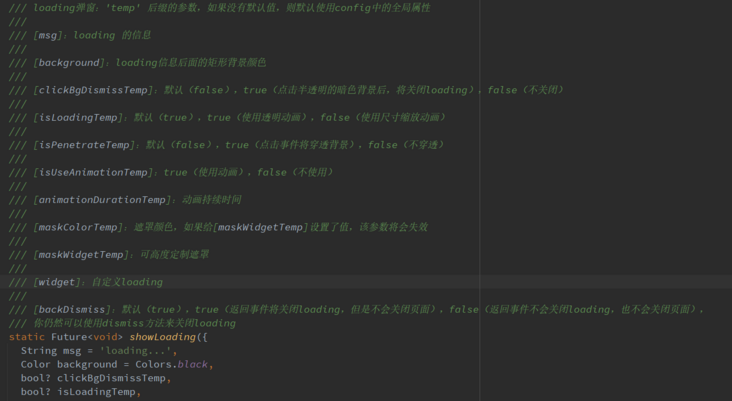
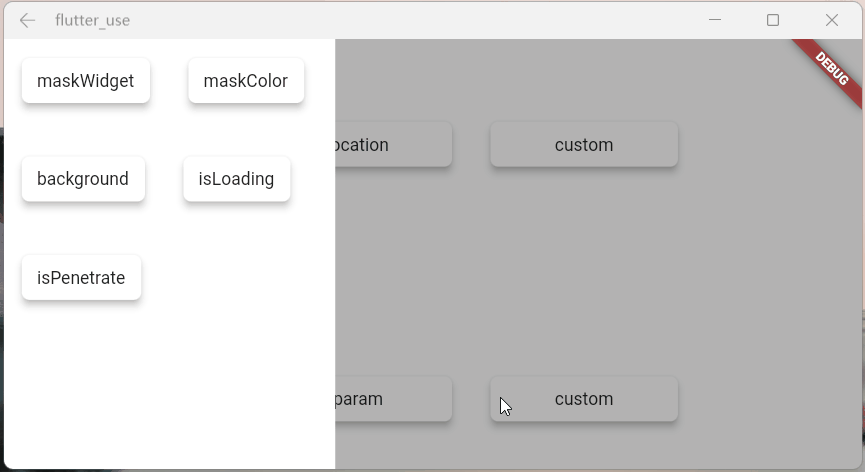
Parameter description
The parameters are written in the notes in great detail, so I won't repeat them. Let's see the effect
- maskWidgetTemp: powerful mask customization 😆, Play your brain hole...
var maskWidget = Container(
  width: double.infinity,
  height: double.infinity,
  child: Opacity(
    opacity: 0.6,
    child: Image.network(
      'https://cdn.jsdelivr.net/gh/xdd666t/MyData@master/pic/flutter/blog/20211101103911.jpeg',
      fit: BoxFit.fill,
    ),
  ),
);
SmartDialog.showLoading(maskWidgetTemp: maskWidget);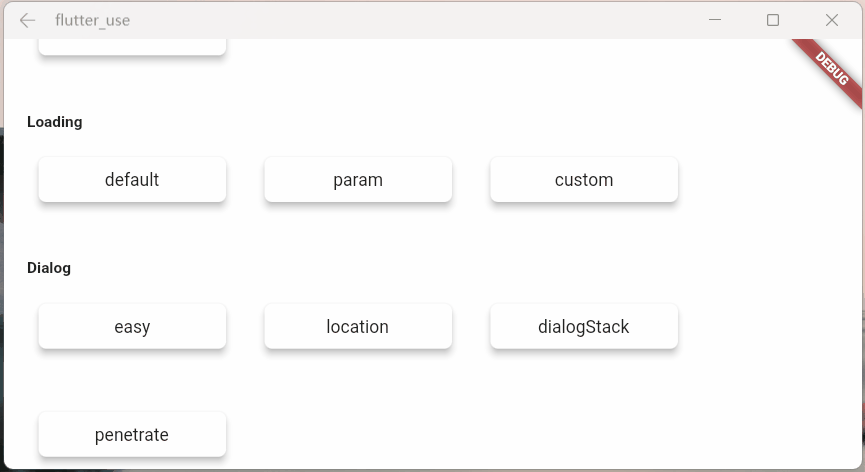
- maskColorTemp: supports quick custom mask colors
SmartDialog.showLoading(maskColorTemp: randomColor().withOpacity(0.3));

/// random color
Color randomColor() => Color.fromRGBO(
    Random().nextInt(256), Random().nextInt(256), Random().nextInt(256), 1);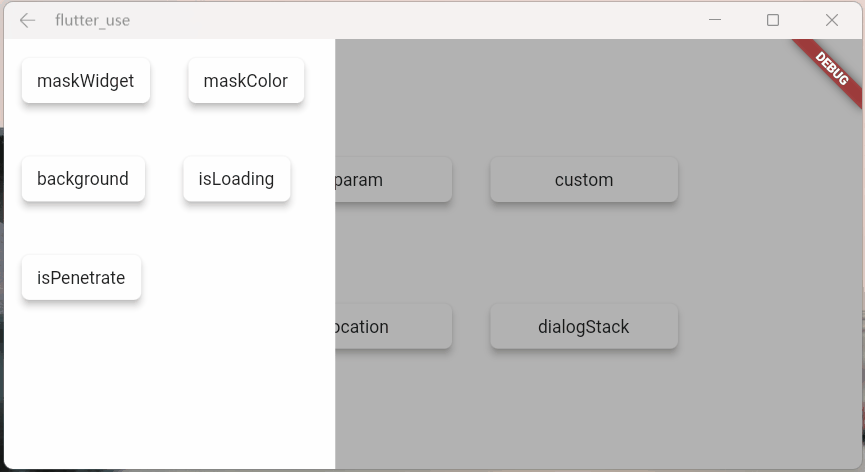
- Background: supports loading custom background
SmartDialog.showLoading(background: randomColor());

/// random color
Color randomColor() => Color.fromRGBO(
    Random().nextInt(256), Random().nextInt(256), Random().nextInt(256), 1);
- isLoadingTemp: animation effect Toggle
SmartDialog.showLoading(isLoadingTemp: false);

- isPenetrateTemp: interactive events can penetrate the mask, which is a very useful function and is key to some special demand scenarios
SmartDialog.showLoading(isPenetrateTemp: true);
Custom Loading
Using showLoading, you can easily customize a powerful loading pop-up window; My brain hole is limited. Let's simply demonstrate it
Customize a loading layout
class CustomLoading extends StatefulWidget {
  const CustomLoading({Key? key, this.type = 0}) : super(key: key);

  final int type;

  @override
  _CustomLoadingState createState() => _CustomLoadingState();
}

class _CustomLoadingState extends State<CustomLoading>
    with TickerProviderStateMixin {
  late AnimationController _controller;

  @override
  void initState() {
    _controller = AnimationController(
      duration: const Duration(milliseconds: 800),
      vsync: this,
    );
    _controller.forward();
    _controller.addStatusListener((status) {
      if (status == AnimationStatus.completed) {
        _controller.reset();
        _controller.forward();
      }
    });
    super.initState();
  }

  @override
  Widget build(BuildContext context) {
    return Stack(children: [
      // smile
      Visibility(visible: widget.type == 0, child: _buildLoadingOne()),

      // icon
      Visibility(visible: widget.type == 1, child: _buildLoadingTwo()),

      // normal
      Visibility(visible: widget.type == 2, child: _buildLoadingThree()),
    ]);
  }

  Widget _buildLoadingOne() {
    return Stack(alignment: Alignment.center, children: [
      RotationTransition(
        alignment: Alignment.center,
        turns: _controller,
        child: Image.network(
          'https://cdn.jsdelivr.net/gh/xdd666t/MyData@master/pic/flutter/blog/20211101174606.png',
          height: 110,
          width: 110,
        ),
      ),
      Image.network(
        'https://cdn.jsdelivr.net/gh/xdd666t/MyData@master/pic/flutter/blog/20211101181404.png',
        height: 60,
        width: 60,
      ),
    ]);
  }

  Widget _buildLoadingTwo() {
    return Stack(alignment: Alignment.center, children: [
      Image.network(
        'https://cdn.jsdelivr.net/gh/xdd666t/MyData@master/pic/flutter/blog/20211101162946.png',
        height: 50,
        width: 50,
      ),
      RotationTransition(
        alignment: Alignment.center,
        turns: _controller,
        child: Image.network(
          'https://cdn.jsdelivr.net/gh/xdd666t/MyData@master/pic/flutter/blog/20211101173708.png',
          height: 80,
          width: 80,
        ),
      ),
    ]);
  }

  Widget _buildLoadingThree() {
    return Center(
      child: Container(
        height: 120,
        width: 180,
        decoration: BoxDecoration(
          color: Colors.white,
          borderRadius: BorderRadius.circular(15),
        ),
        alignment: Alignment.center,
        child: Column(mainAxisSize: MainAxisSize.min, children: [
          RotationTransition(
            alignment: Alignment.center,
            turns: _controller,
            child: Image.network(
              'https://cdn.jsdelivr.net/gh/xdd666t/MyData@master/pic/flutter/blog/20211101163010.png',
              height: 50,
              width: 50,
            ),
          ),
          Container(
            margin: EdgeInsets.only(top: 20),
            child: Text('loading...'),
          ),
        ]),
      ),
    );
  }

  @override
  void dispose() {
    _controller.dispose();
    super.dispose();
  }
}
Let's see the effect
- Effect one
SmartDialog.showLoading(isLoadingTemp: false, widget: CustomLoading());
await Future.delayed(Duration(seconds: 2));
SmartDialog.dismiss();
- Effect II
SmartDialog.showLoading(
    isLoadingTemp: false,
    widget: CustomLoading(type: 1),
);
await Future.delayed(Duration(seconds: 2));
SmartDialog.dismiss();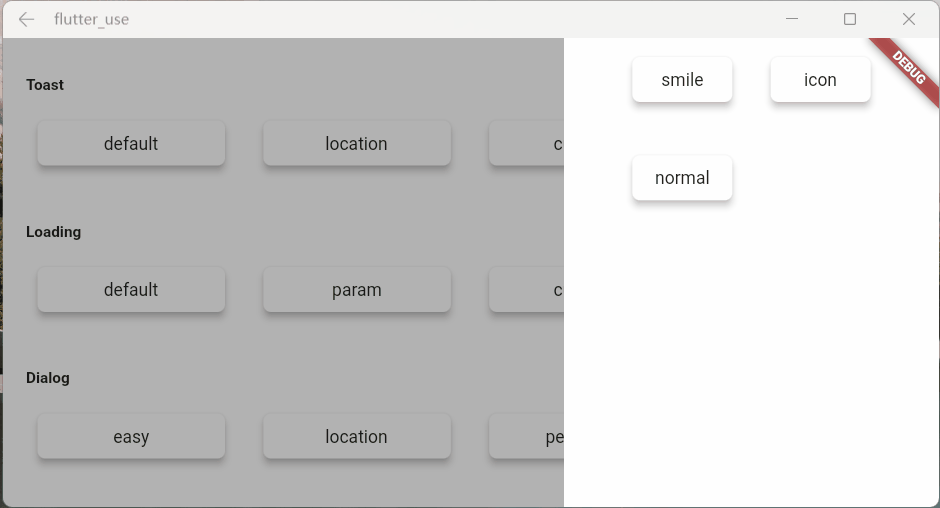
- Effect three
SmartDialog.showLoading(widget: CustomLoading(type: 2));
await Future.delayed(Duration(seconds: 2));
SmartDialog.dismiss();
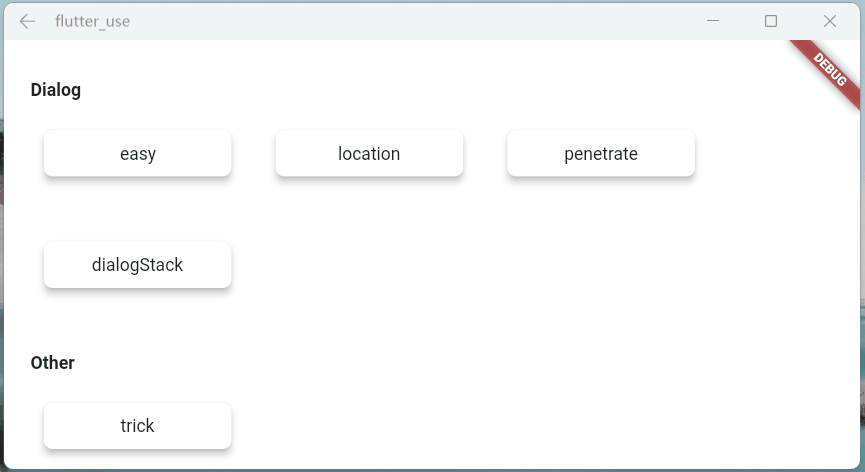
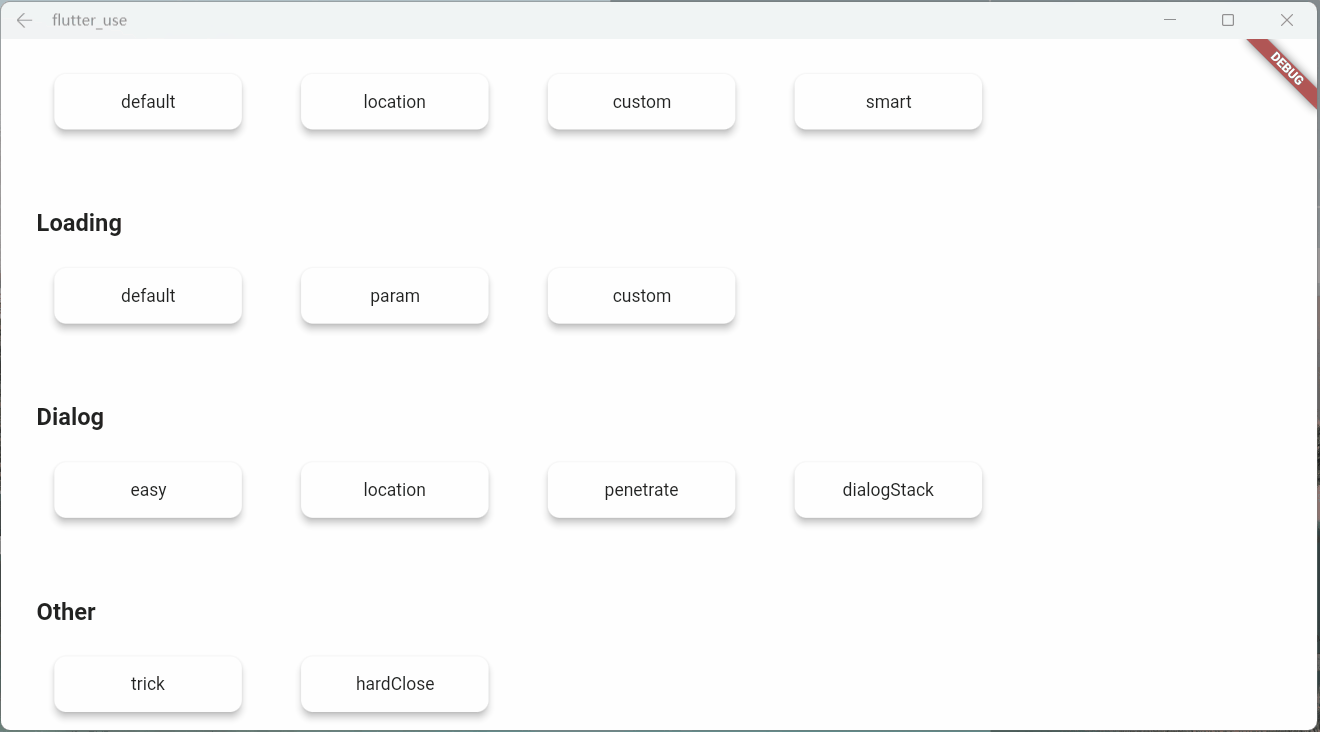
Dialog
garish
The pop-up window pops up from different positions, and the animation is different
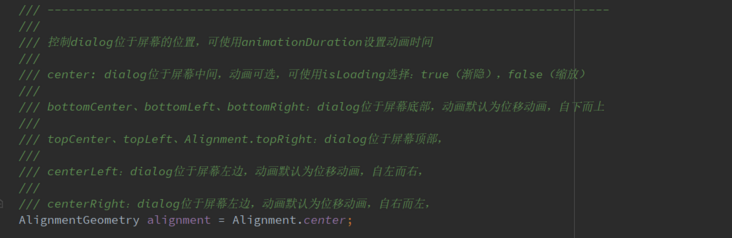
- alignmentTemp: the animation effect will be different with different parameter settings
var location = ({
    double width = double.infinity,
    double height = double.infinity,
}) {
    return Container(width: width, height: height, color: randomColor());
};

//left
SmartDialog.show(
    widget: location(width: 50),
    alignmentTemp: Alignment.centerLeft,
);
await Future.delayed(Duration(milliseconds: 500));
//top
SmartDialog.show(
    widget: location(height: 50),
    alignmentTemp: Alignment.topCenter,
);
await Future.delayed(Duration(milliseconds: 500));
//right
SmartDialog.show(
    widget: location(width: 50),
    alignmentTemp: Alignment.centerRight,
);
await Future.delayed(Duration(milliseconds: 500));
//bottom
SmartDialog.show(
    widget: location(height: 50),
    alignmentTemp: Alignment.bottomCenter,
);
await Future.delayed(Duration(milliseconds: 500));
//center
SmartDialog.show(
    widget: location(height: 100, width: 100),
    alignmentTemp: Alignment.center,
    isLoadingTemp: false,
);
- isPenetrateTemp: interactive event penetration mask
SmartDialog.show(
    alignmentTemp: Alignment.centerRight,
    isPenetrateTemp: true,
    clickBgDismissTemp: false,
    widget: Container(
        width: 80,
        height: double.infinity,
        color: randomColor(),
    ),
);
dialog stack
This is a powerful and practical function!
- You can easily close a pop-up window at a fixed point
var stack = ({
  double width = double.infinity,
  double height = double.infinity,
  String? msg,
}) {
  return Container(
    width: width,
    height: height,
    color: randomColor(),
    alignment: Alignment.center,
    child: Text('Popup $msg', style: TextStyle(color: Colors.white)),
  );
};

//left
SmartDialog.show(
  tag: 'A',
  widget: stack(msg: 'A', width: 60),
  alignmentTemp: Alignment.centerLeft,
);
await Future.delayed(Duration(milliseconds: 500));
//top
SmartDialog.show(
  tag: 'B',
  widget: stack(msg: 'B', height: 60),
  alignmentTemp: Alignment.topCenter,
);
await Future.delayed(Duration(milliseconds: 500));
//right
SmartDialog.show(
  tag: 'C',
  widget: stack(msg: 'C', width: 60),
  alignmentTemp: Alignment.centerRight,
);
await Future.delayed(Duration(milliseconds: 500));
//bottom
SmartDialog.show(
  tag: 'D',
  widget: stack(msg: 'D', height: 60),
  alignmentTemp: Alignment.bottomCenter,
);
await Future.delayed(Duration(milliseconds: 500));

//center: the stack handler
SmartDialog.show(
  alignmentTemp: Alignment.center,
  isLoadingTemp: false,
  widget: Container(
    decoration: BoxDecoration(
        color: Colors.white, borderRadius: BorderRadius.circular(15)),
    padding: EdgeInsets.symmetric(horizontal: 30, vertical: 20),
    child: Wrap(spacing: 20, children: [
      ElevatedButton(
        child: Text('Close pop-up window A'),
        onPressed: () => SmartDialog.dismiss(tag: 'A'),
      ),
      ElevatedButton(
        child: Text('Close pop-up window B'),
        onPressed: () => SmartDialog.dismiss(tag: 'B'),
      ),
      ElevatedButton(
        child: Text('Close pop-up window C'),
        onPressed: () => SmartDialog.dismiss(tag: 'C'),
      ),
      ElevatedButton(
        child: Text('Close pop-up window D'),
        onPressed: () => SmartDialog.dismiss(tag: 'D'),
      ),
    ]),
  ),
);
Coquettish tips
There is a scene that compares egg cones
- We use stateful widget to encapsulate a small component
- In a special case, we need to trigger a method inside the component outside the component
- There are many implementation methods for this scenario, but it may be a little troublesome
Here is a simple idea, which can easily trigger a method inside the component
- Create a widget
class OtherTrick extends StatefulWidget {
  const OtherTrick({Key? key, this.onUpdate}) : super(key: key);

  final Function(VoidCallback onInvoke)? onUpdate;

  @override
  _OtherTrickState createState() => _OtherTrickState();
}

class _OtherTrickState extends State<OtherTrick> {
  int _count = 0;

  @override
  void initState() {
    // here
    widget.onUpdate?.call(() {
      _count++;
      setState(() {});
    });

    super.initState();
  }

  @override
  Widget build(BuildContext context) {
    return Center(
      child: Container(
        padding: EdgeInsets.symmetric(horizontal: 50, vertical: 20),
        decoration: BoxDecoration(
          color: Colors.white,
          borderRadius: BorderRadius.circular(10),
        ),
        child: Text('Counter:  $_count ', style: TextStyle(fontSize: 30.0)),
      ),
    );
  }
}- Show the component and trigger it externally
VoidCallback? callback;

// display
SmartDialog.show(
  alignmentTemp: Alignment.center,
  widget: OtherTrick(
    onUpdate: (VoidCallback onInvoke) => callback = onInvoke,
  ),
);

await Future.delayed(Duration(milliseconds: 500));

// handler
SmartDialog.show(
  alignmentTemp: Alignment.centerRight,
  maskColorTemp: Colors.transparent,
  widget: Container(
    height: double.infinity,
    width: 150,
    color: Colors.white,
    alignment: Alignment.center,
    child: ElevatedButton(
      child: Text('add'),
      onPressed: () => callback?.call(),
    ),
  ),
);- Let's see the effect

last
Relevant address
- github: flutter_smart_dialog
- demo address in the text: flutter_use
- Demo demo effect: Online experience
Alas, people always move forward in constant confusion...