Install tomcat
Environment: java environment configured
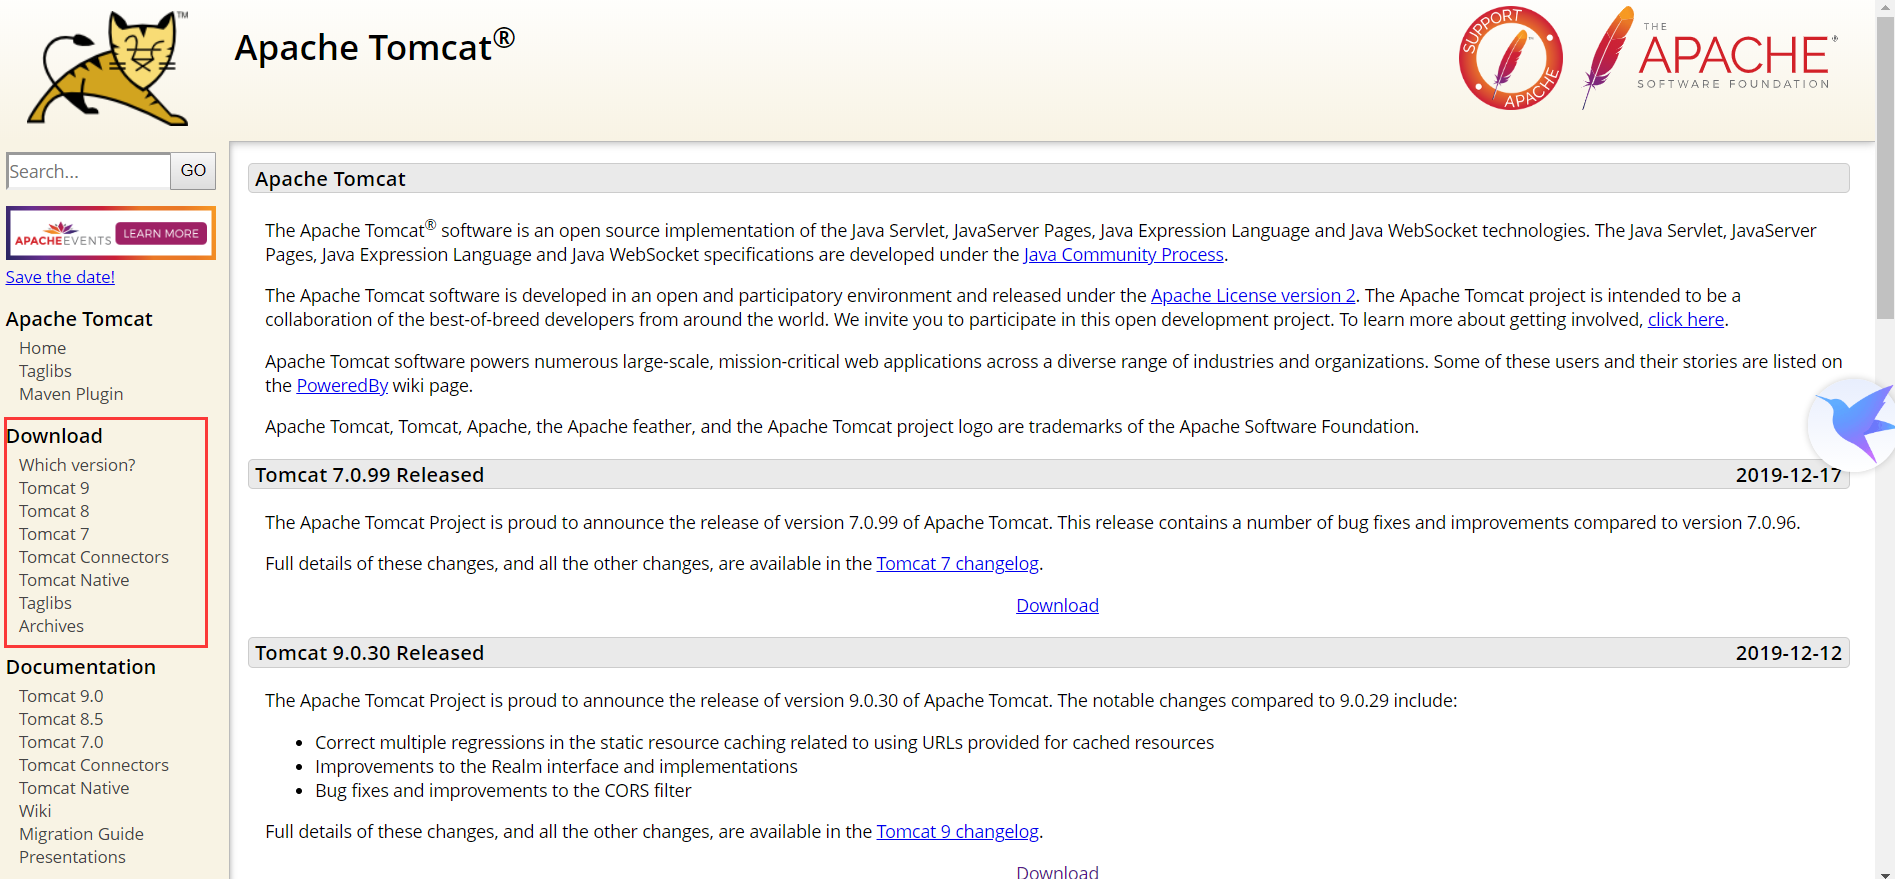
First, go to the official website to download the Tomcat package, http://tomcat.apache.org/, and choose the version you need. Here's a demonstration of Tomcat 9
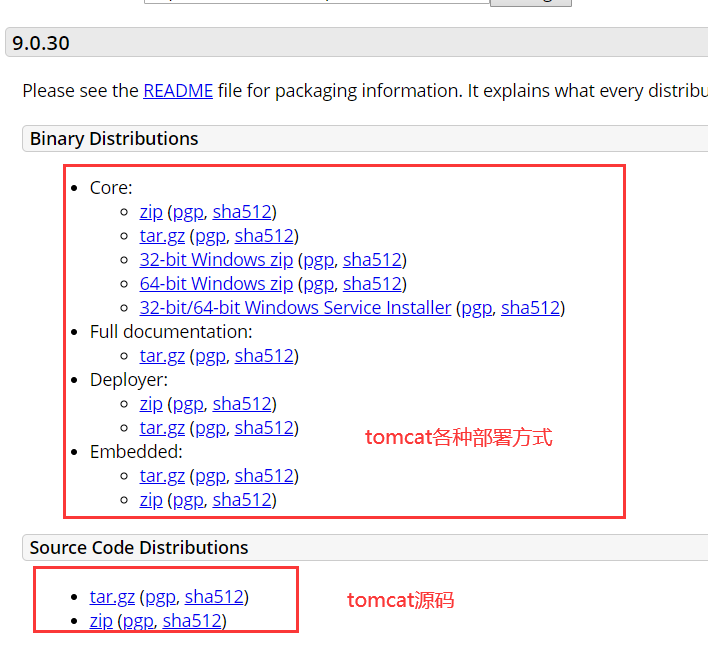
There are many options to click in
Download tar.gz under the core, upload it to the server, and extract it to / usr/local /.
[root@tomcat ~]# cd /usr/local/
[root@tomcat local]# ll
total 191964
-rw-r--r--. 1 root root  11026056 Jan 30 22:01 apache-tomcat-9.0.30.tar.gz
drwxr-xr-x. 2 root root         6 Aug 12  2015 bin
drwxr-xr-x. 2 root root         6 Aug 12  2015 etc
drwxr-xr-x. 2 root root         6 Aug 12  2015 games
drwxr-xr-x. 2 root root         6 Aug 12  2015 include
lrwxrwxrwx. 1 root root        12 Jan 31 06:07 java -> jdk1.8.0_131
drwxr-xr-x. 8   10  143      4096 Mar 15  2017 jdk1.8.0_131
-rw-r--r--. 1 root root 185540433 Jul 21  2019 jdk-8u131-linux-x64.tar.gz
drwxr-xr-x. 2 root root         6 Aug 12  2015 lib
drwxr-xr-x. 2 root root         6 Aug 12  2015 lib64
drwxr-xr-x. 2 root root         6 Aug 12  2015 libexec
drwxr-xr-x. 2 root root         6 Aug 12  2015 sbin
drwxr-xr-x. 5 root root        46 Jan 21 05:24 share
drwxr-xr-x. 2 root root         6 Aug 12  2015 src
[root@tomcat local]# tar zxf apache-tomcat-9.0.30.tar.gz
Go to tomcat directory
[root@tomcat local]# cd apache-tomcat-9.0.30
[root@tomcat apache-tomcat-9.0.30]# ll
total 128
drwxr-x---. 2 root root  4096 Jan 31 07:27 bin
-rw-r-----. 1 root root 18982 Dec  7 11:46 BUILDING.txt
drwx------. 2 root root  4096 Dec  7 11:46 conf
-rw-r-----. 1 root root  5409 Dec  7 11:46 CONTRIBUTING.md
drwxr-x---. 2 root root  4096 Jan 31 07:27 lib
-rw-r-----. 1 root root 57092 Dec  7 11:46 LICENSE
drwxr-x---. 2 root root     6 Dec  7 11:42 logs
-rw-r-----. 1 root root  2333 Dec  7 11:46 NOTICE
-rw-r-----. 1 root root  3255 Dec  7 11:46 README.md
-rw-r-----. 1 root root  6898 Dec  7 11:46 RELEASE-NOTES
-rw-r-----. 1 root root 16262 Dec  7 11:46 RUNNING.txt
drwxr-x---. 2 root root    29 Jan 31 07:27 temp
drwxr-x---. 7 root root    76 Dec  7 11:43 webapps
drwxr-x---. 2 root root     6 Dec  7 11:42 work
The bin directory contains some startup commands of tomcat
conf is the configuration file directory of tomcat
lib is the jar package needed by tomcat
logs is the installed log file
temp temporary file
webapps is a project
Let's start tomcat with a script in bin (the linux script ends with. sh, and the windows script ends with. bat)
[root@tomcat apache-tomcat-9.0.30]# cd bin
[root@tomcat bin]# ./startup.sh
Using CATALINA_BASE:   /usr/local/apache-tomcat-9.0.30
Using CATALINA_HOME:   /usr/local/apache-tomcat-9.0.30
Using CATALINA_TMPDIR: /usr/local/apache-tomcat-9.0.30/temp
Using JRE_HOME:        /usr/local/java
Using CLASSPATH:       /usr/local/apache-tomcat-9.0.30/bin/bootstrap.jar:/usr/local/apache-tomcat-9.0.30/bin/tomcat-juli.jar
Tomcat started.
Start successfully. The default port of Tomcat is 8080. If you need to change it, please modify the server.yml file in / usr/local/apache-tomcat-9.0.30/conf
<Connector port="8080" protocol="HTTP/1.1"
               connectionTimeout="20000"
               redirectPort="8443" />
Change 8080 to the port you want. Here I use the default port 8080. The browser opens to access http: / / server ip:8080,
If it cannot be accessed, check whether the firewall, etc. is turned off.
Configure tomcat
Add the Tomcat user. By default, there is no user. Open the tomcat-users.xml file in the conf directory
<!--
  <role rolename="tomcat"/>
  <role rolename="role1"/>
  <user username="tomcat" password="<must-be-changed>" roles="tomcat"/>
  <user username="both" password="<must-be-changed>" roles="tomcat,role1"/>
  <user username="role1" password="<must-be-changed>" roles="role1"/>
-->
</tomcat-users>
Add to
<role rolename="manager-gui"/>
  <role rolename="admin-gui"/>
  <user username="admin" password="000000" roles="manager-gui,admin-gui"/>
Result
<!--
  <role rolename="tomcat"/>
  <role rolename="role1"/>
  <user username="tomcat" password="<must-be-changed>" roles="tomcat"/>
  <user username="both" password="<must-be-changed>" roles="tomcat,role1"/>
  <user username="role1" password="<must-be-changed>" roles="role1"/>
-->
  <role rolename="manager-gui"/>
  <user username="admin" password="000000" roles="manager-gui"/>
</tomcat-users>
On the four roles of tomcat
manager GUI - allow access to HTML GUI and status pages
manager script - allow access to text interfaces and status pages
manager JMX - allow access to JMX agent and status pages
manager- status - only access to status pages is allowed
Then restart tomcat
[root@tomcat apache-tomcat-9.0.30]# ./bin/shutdown.sh
Using CATALINA_BASE:   /usr/local/apache-tomcat-9.0.30
Using CATALINA_HOME:   /usr/local/apache-tomcat-9.0.30
Using CATALINA_TMPDIR: /usr/local/apache-tomcat-9.0.30/temp
Using JRE_HOME:        /usr/local/java
Using CLASSPATH:       /usr/local/apache-tomcat-9.0.30/bin/bootstrap.jar:/usr/local/apache-tomcat-9.0.30/bin/tomcat-juli.jar
[root@tomcat apache-tomcat-9.0.30]# ./bin/startup.sh
Using CATALINA_BASE:   /usr/local/apache-tomcat-9.0.30
Using CATALINA_HOME:   /usr/local/apache-tomcat-9.0.30
Using CATALINA_TMPDIR: /usr/local/apache-tomcat-9.0.30/temp
Using JRE_HOME:        /usr/local/java
Using CLASSPATH:       /usr/local/apache-tomcat-9.0.30/bin/bootstrap.jar:/usr/local/apache-tomcat-9.0.30/bin/tomcat-juli.jar
Tomcat started.
Visit http: / / server ip:8080, and click manager App
Prompt 403 no permission, edit webapps/manager/META-INF/context.xml
Two row deletion
Restart the access, and then enter the previously added user password to log in, user name admin, password 000000
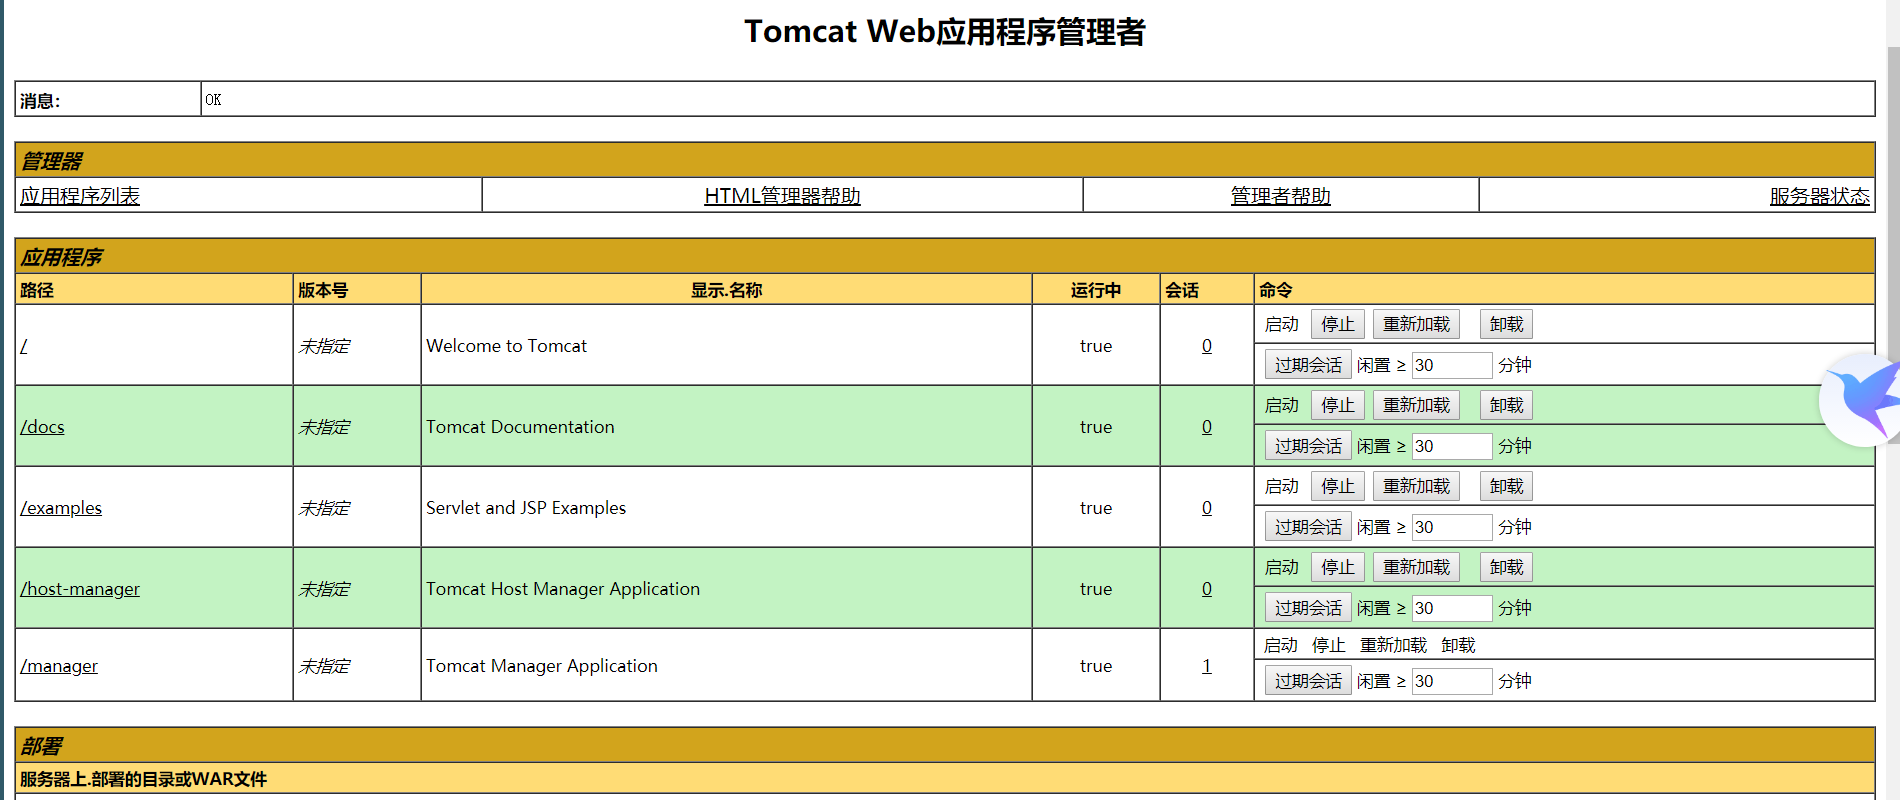
This shows the projects that tomcat runs. These are the projects that come with tomcat. You can click the project name to enter or upload the project through the current page.

