catalogue
2. Decompress and prepare for compilation
3. Import IDE compilation source code
4. Configure the startup class and start the operation
1. Download source code
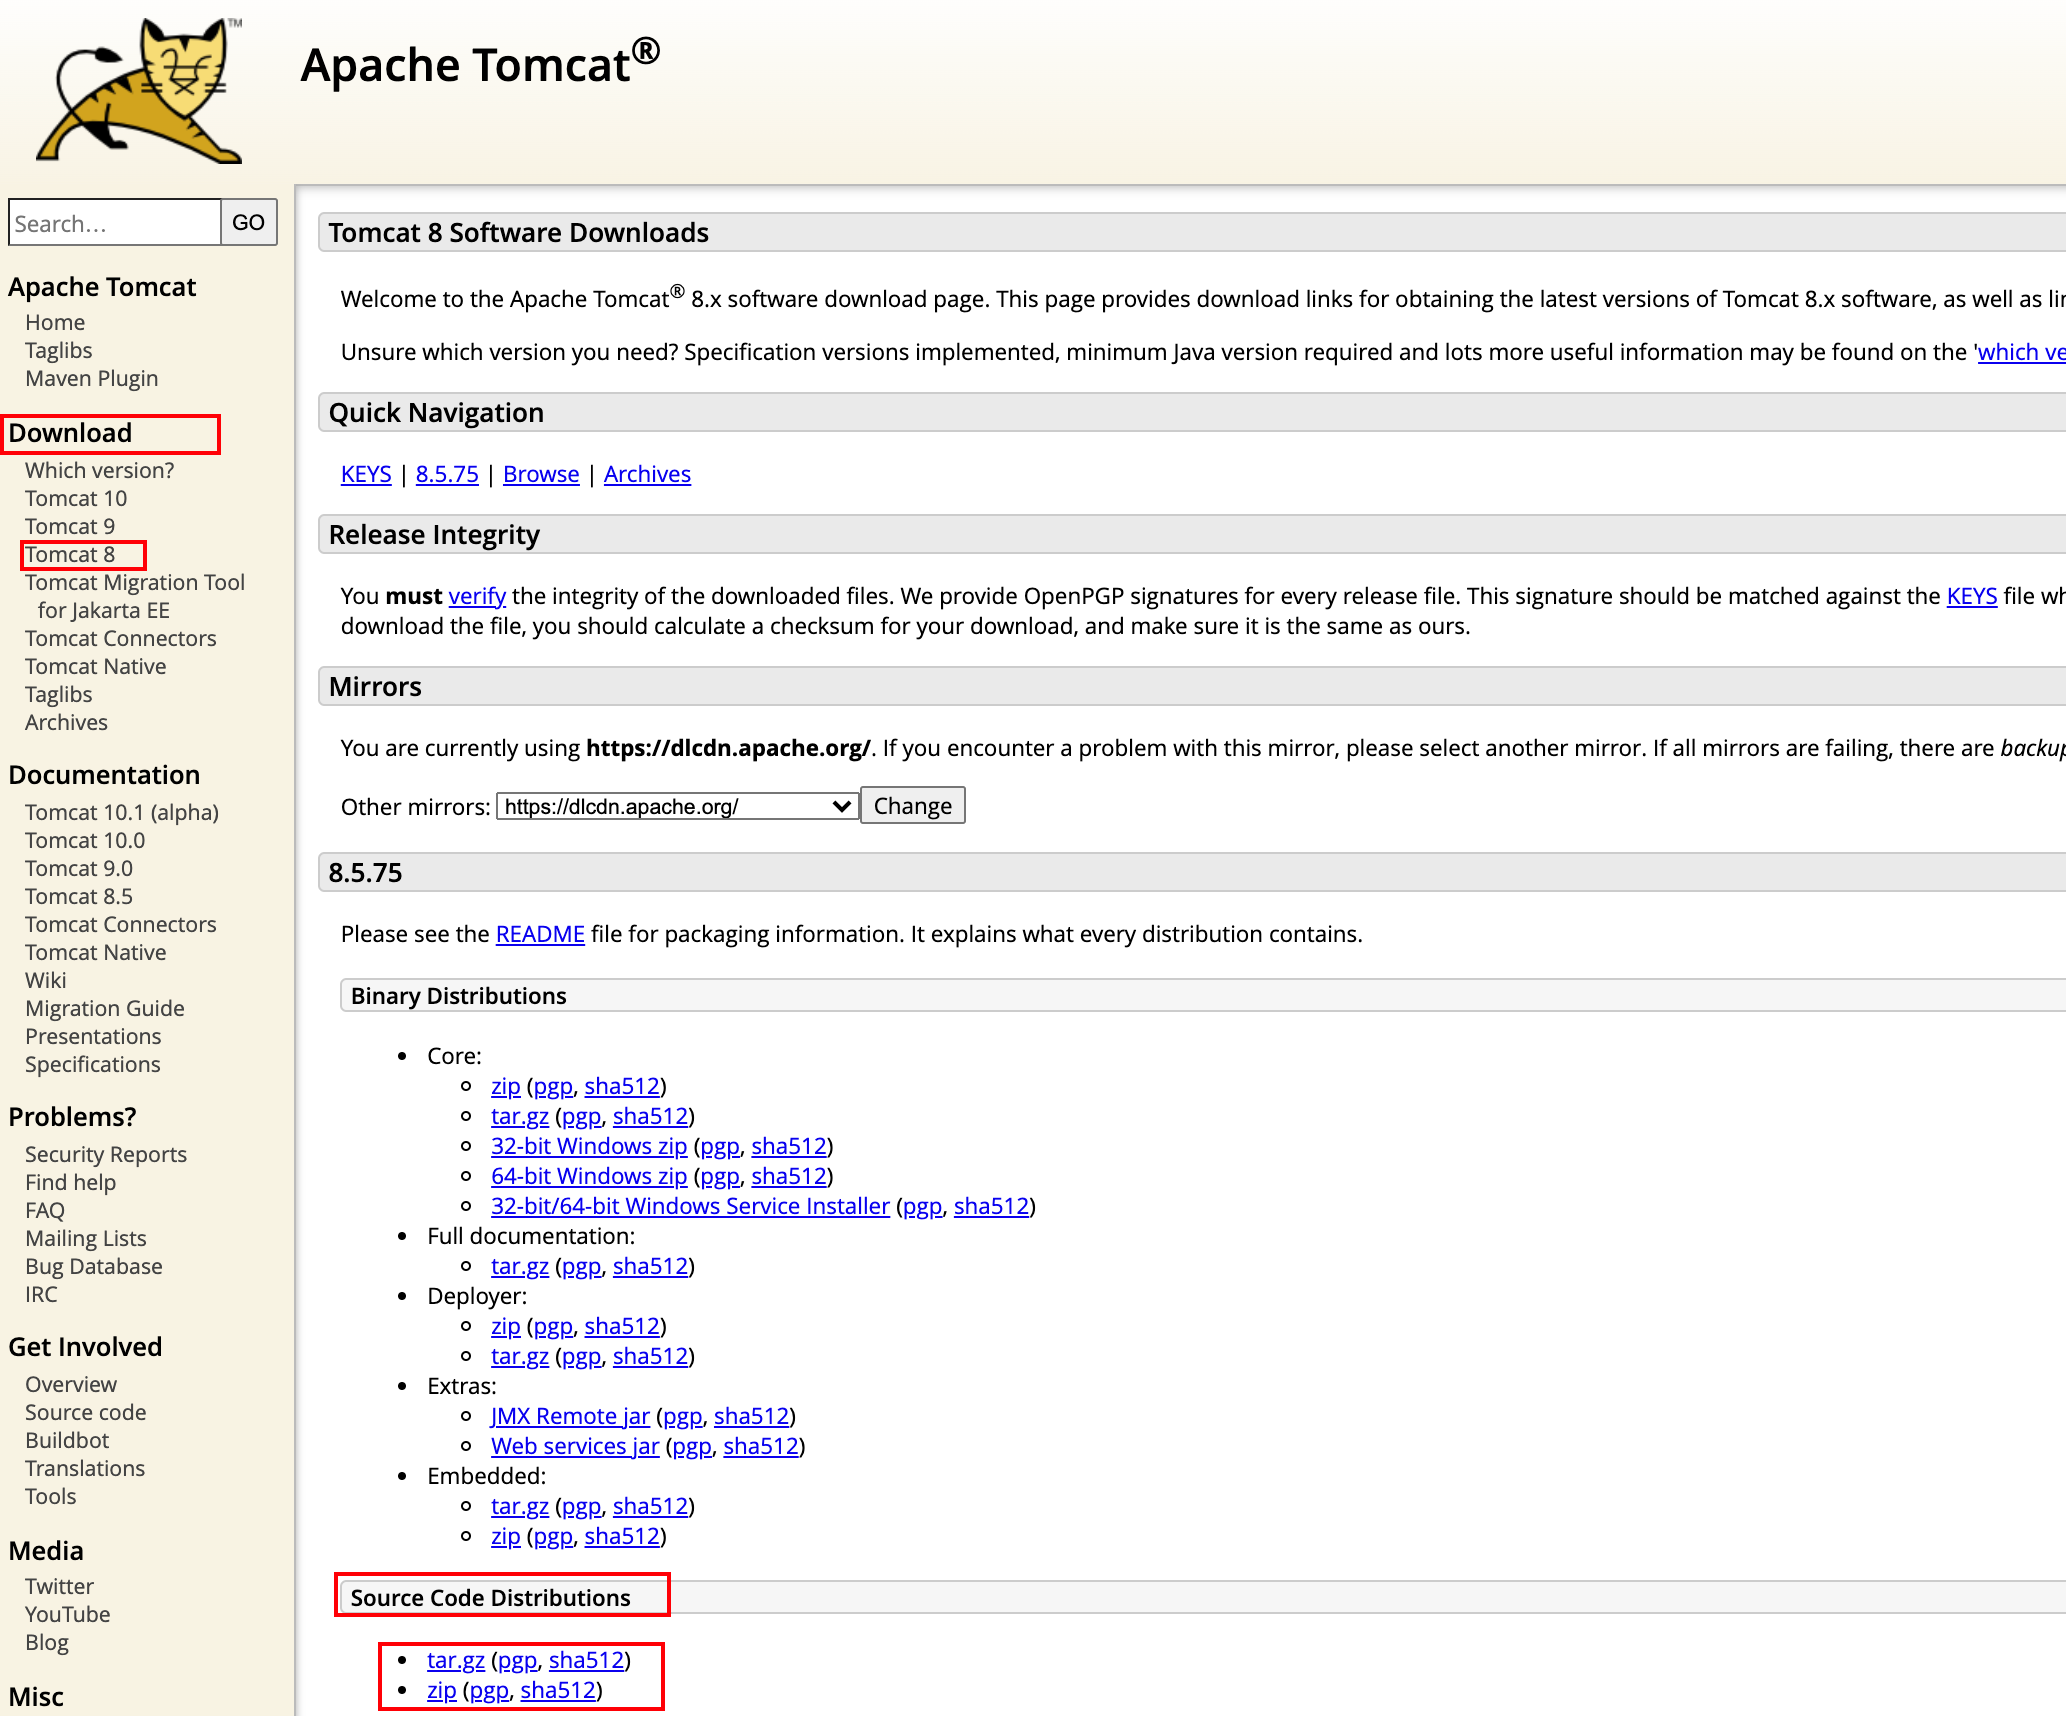
Download the source code from Tomcat's official website and find the path: home page of the official website → under [Download] on the left navigation bar → select a version and click [e.g. Tomcat8] → look at the text display interface on the right and pull to the bottom to find [Source Code Distributions] → select a compressed package and click download, tar GZ compression format and zip compression format are OK, as long as they can be decompressed. One click direct address: Tomcat source code download address.
Put a picture to find:
2. Decompress and prepare for compilation
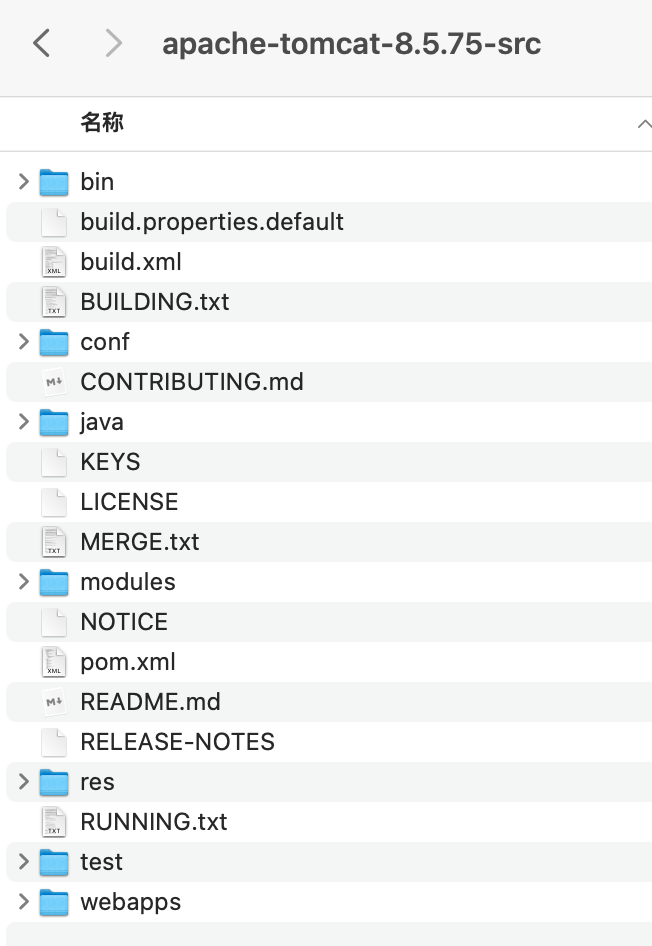
I downloaded the zip compressed format, decompressed it locally on the computer, and then prepared to compile it.
Prepare to compile with the tool Maven, so put a POM in the extracted project root directory XML file. The general contents of the file are as follows:
<?xml version="1.0" encoding="UTF-8"?>
<project xmlns="http://maven.apache.org/POM/4.0.0"
         xmlns:xsi="http://www.w3.org/2001/XMLSchema-instance"
         xsi:schemaLocation="http://maven.apache.org/POM/4.0.0
http://maven.apache.org/xsd/maven-4.0.0.xsd">
    <modelVersion>4.0.0</modelVersion>
    <groupId>org.apache.tomcat</groupId>
    <artifactId>apache-tomcat-8.5.75-src</artifactId>
    <name>Tomcat8.5</name>
    <version>8.5</version>
    <build>
        <!--Specify source directory-->
        <finalName>Tomcat8.5</finalName>
        <sourceDirectory>java</sourceDirectory>
        <resources>
            <resource>
                <directory>java</directory>
            </resource>
        </resources>
        <plugins>
            <!--Import compilation plug-in-->
            <plugin>
                <groupId>org.apache.maven.plugins</groupId>
                <artifactId>maven-compiler-plugin</artifactId>
                <version>3.1</version>
                <configuration>
                    <encoding>UTF-8</encoding>
                    <source>1.8</source>
                    <target>1.8</target>
                </configuration>
            </plugin>
        </plugins>
    </build>
    <!--tomcat Dependent base package-->
    <dependencies>
        <dependency>
            <groupId>org.easymock</groupId>
            <artifactId>easymock</artifactId>
            <version>3.4</version>
        </dependency>
        <dependency>
            <groupId>ant</groupId>
            <artifactId>ant</artifactId>
            <version>1.7.0</version>
        </dependency>
        <dependency>
            <groupId>wsdl4j</groupId>
            <artifactId>wsdl4j</artifactId>
            <version>1.6.2</version>
        </dependency>
        <dependency>
            <groupId>javax.xml</groupId>
            <artifactId>jaxrpc</artifactId>
            <version>1.1</version>
        </dependency>
        <dependency>
            <groupId>org.eclipse.jdt.core.compiler</groupId>
            <artifactId>ecj</artifactId>
            <version>4.5.1</version>
        </dependency>
        <dependency>
            <groupId>javax.xml.soap</groupId>
            <artifactId>javax.xml.soap-api</artifactId>
            <version>1.4.0</version>
        </dependency>
    </dependencies>
</project>
Ready, as follows:
3. Import IDE compilation source code
The IDE uses the IntelliJ IDEA of common tools, which is convenient and fast. Before preparation, Maven's local installation address has been configured in the IDEA, and the content of the configuration file has been reconfigured in Maven's local installation directory to avoid compilation failure due to the inability to download dependent jar packages.
Open tool
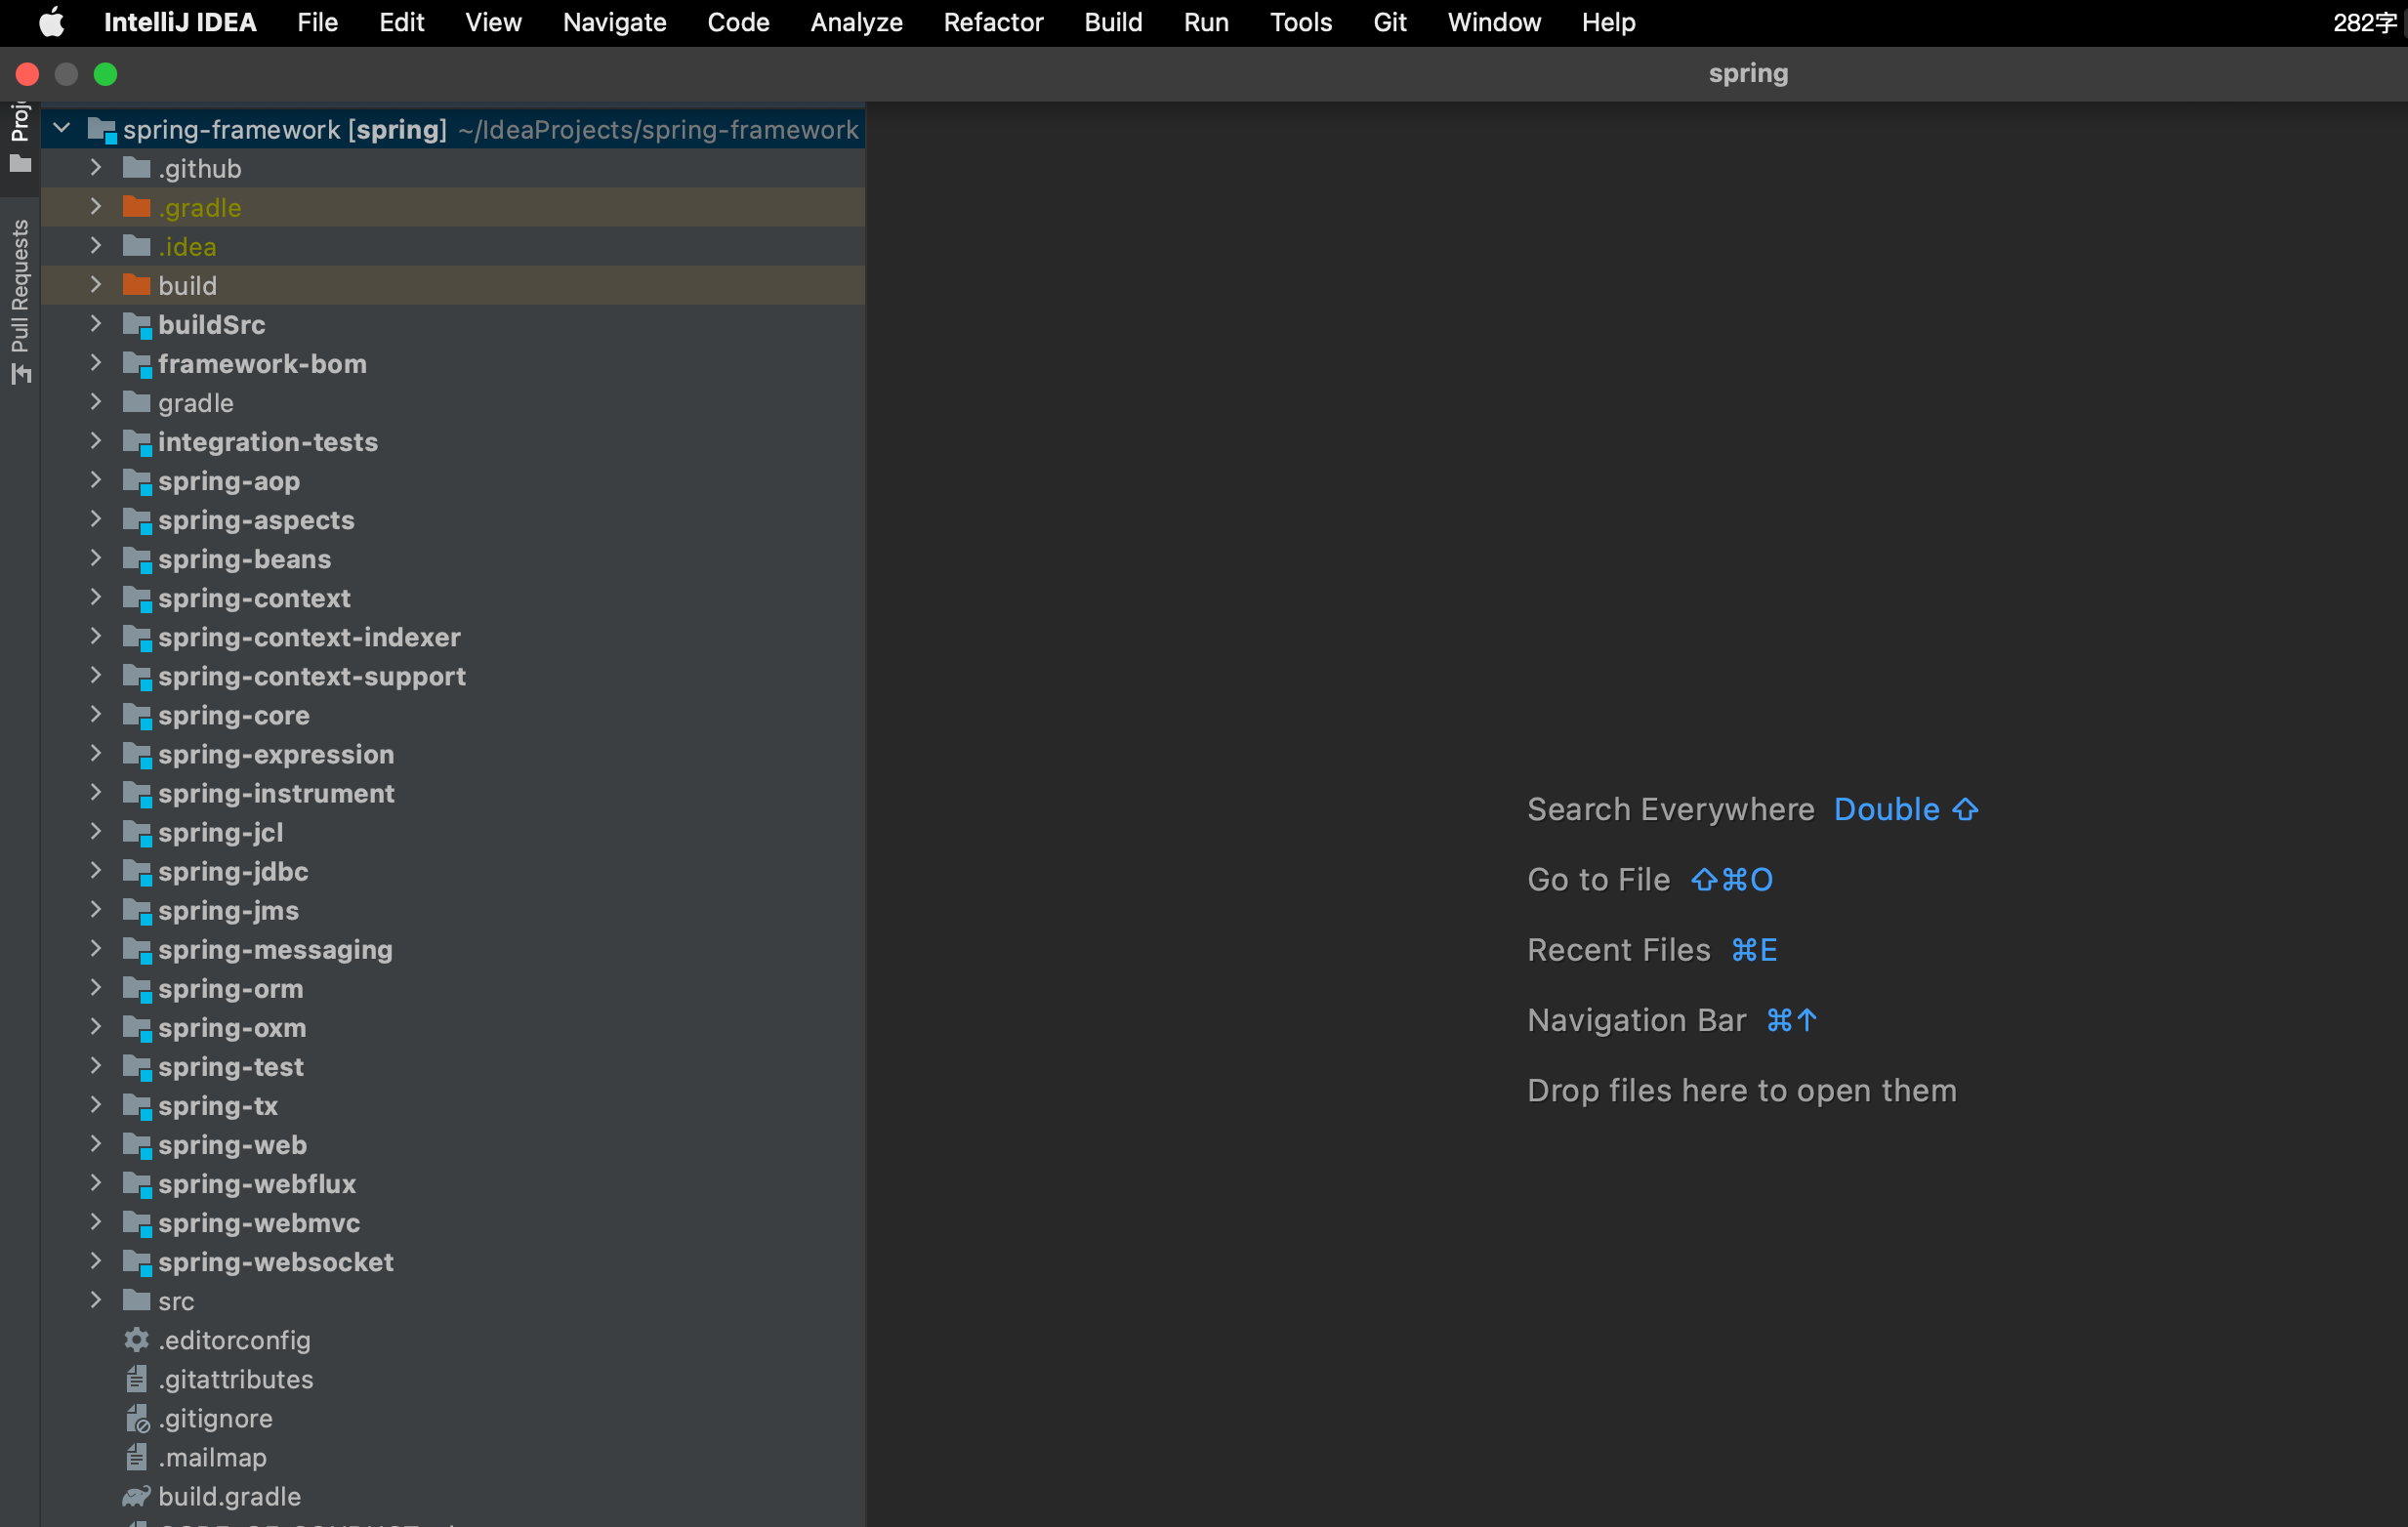
This is the interface opened by macOS system, and Windows is similar.
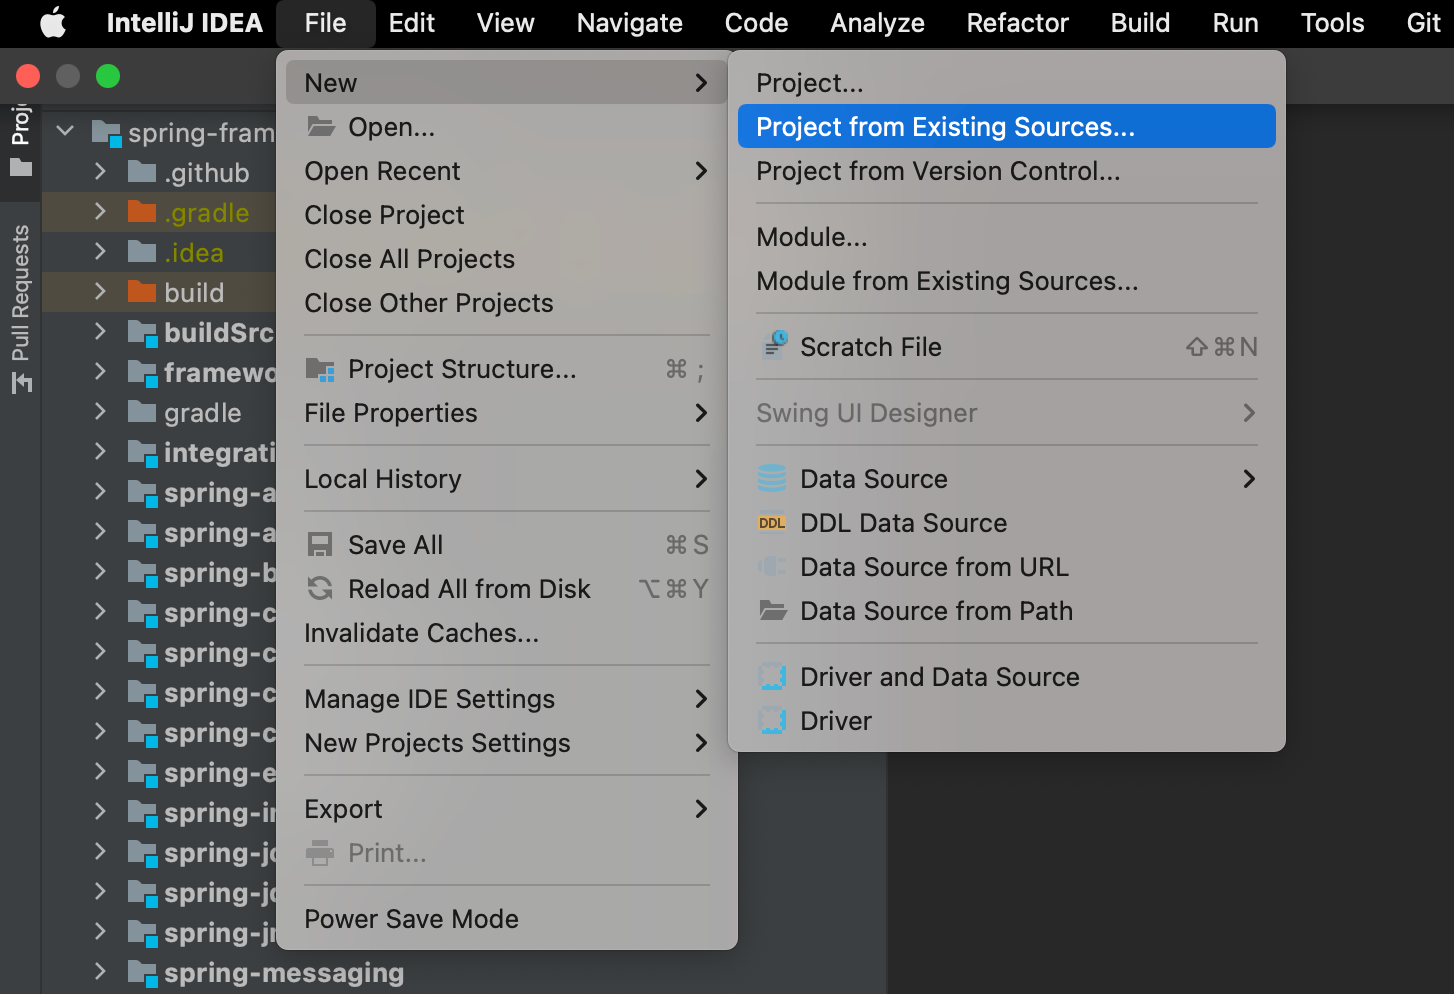
Import the source code into the development tool: click the top menu File → submenu New → Project from Existing Sources
Find the extracted project folder and open it.
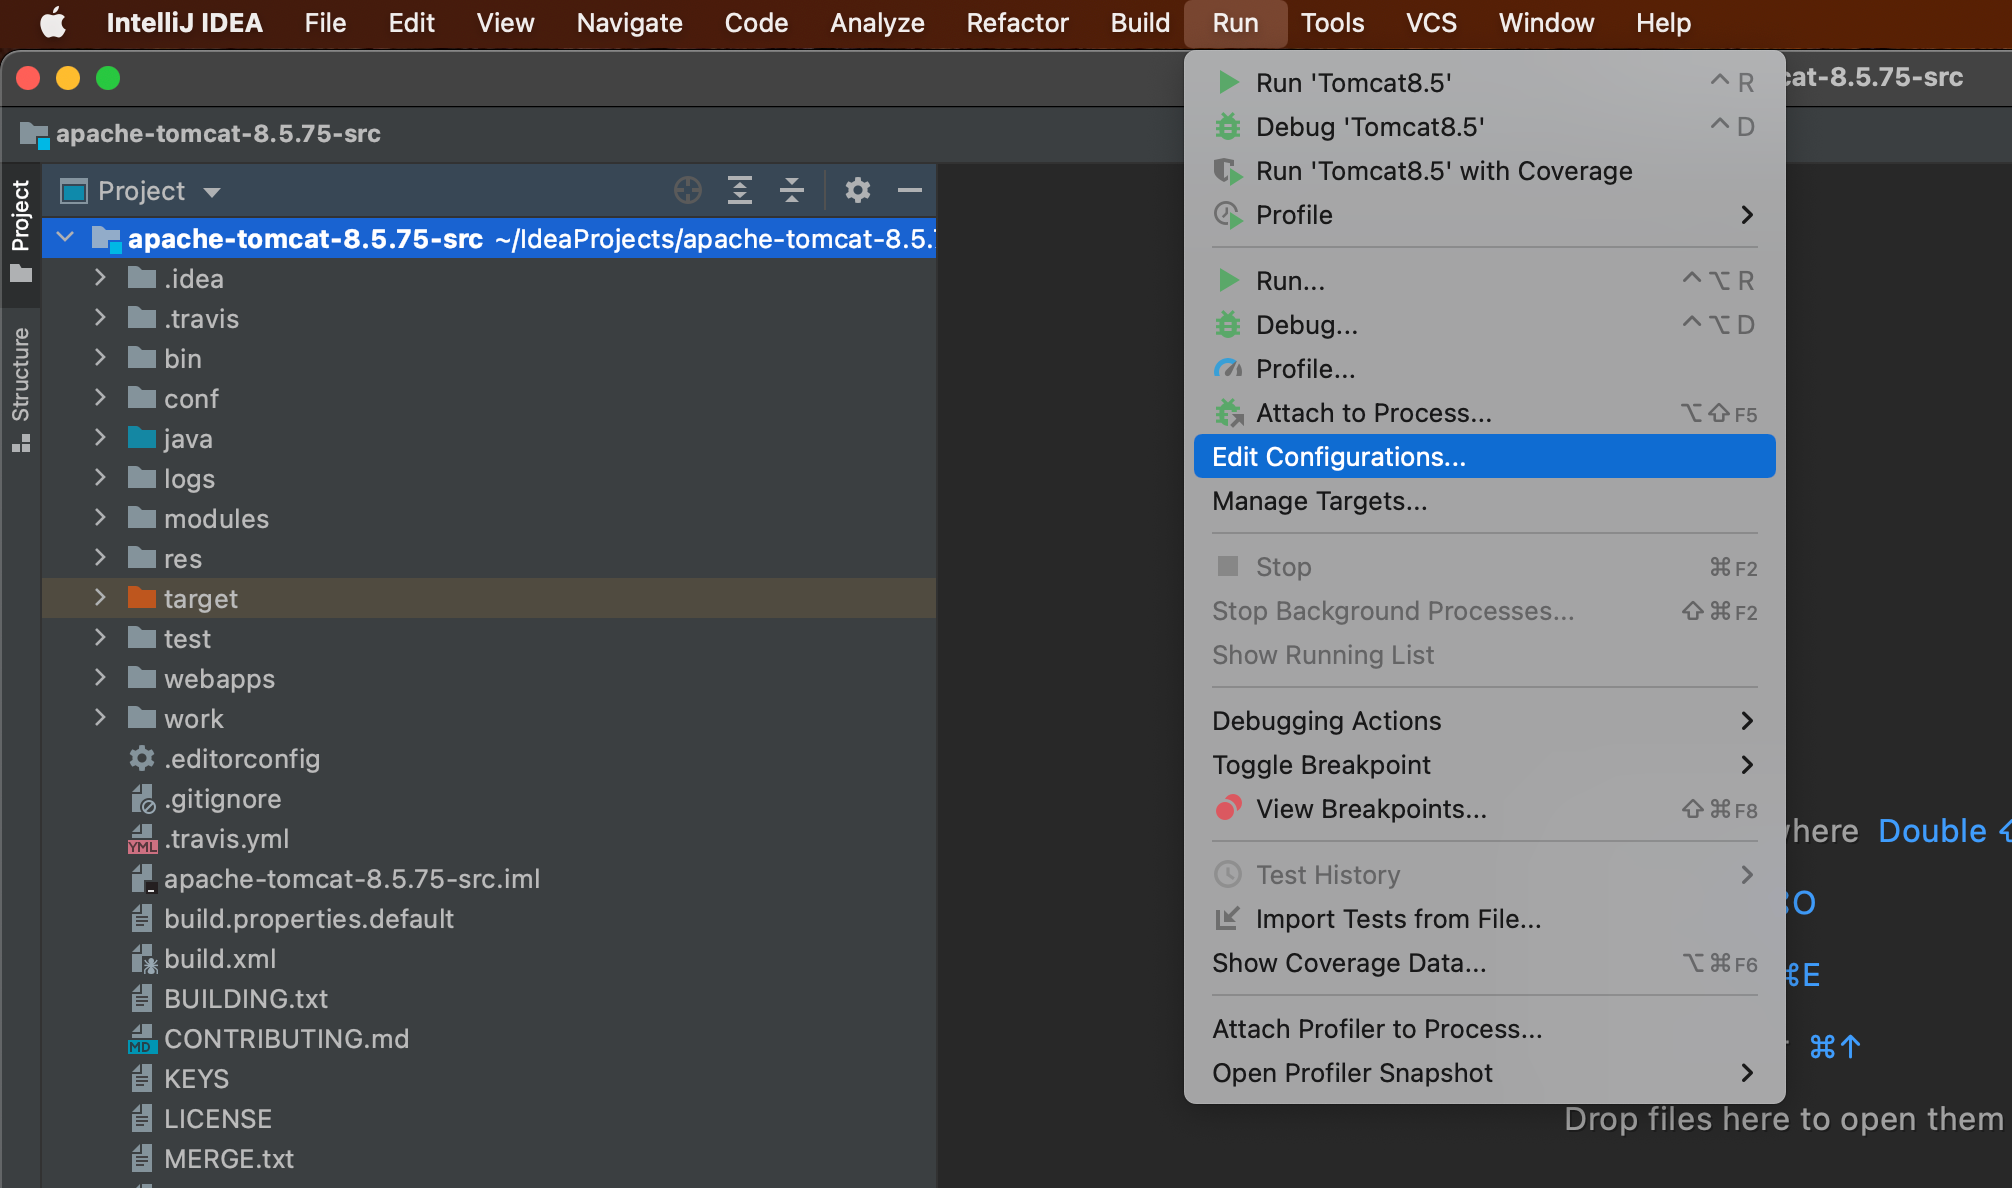
4. Configure the startup class and start the operation
Click Run → Edit Configurations in the top menu
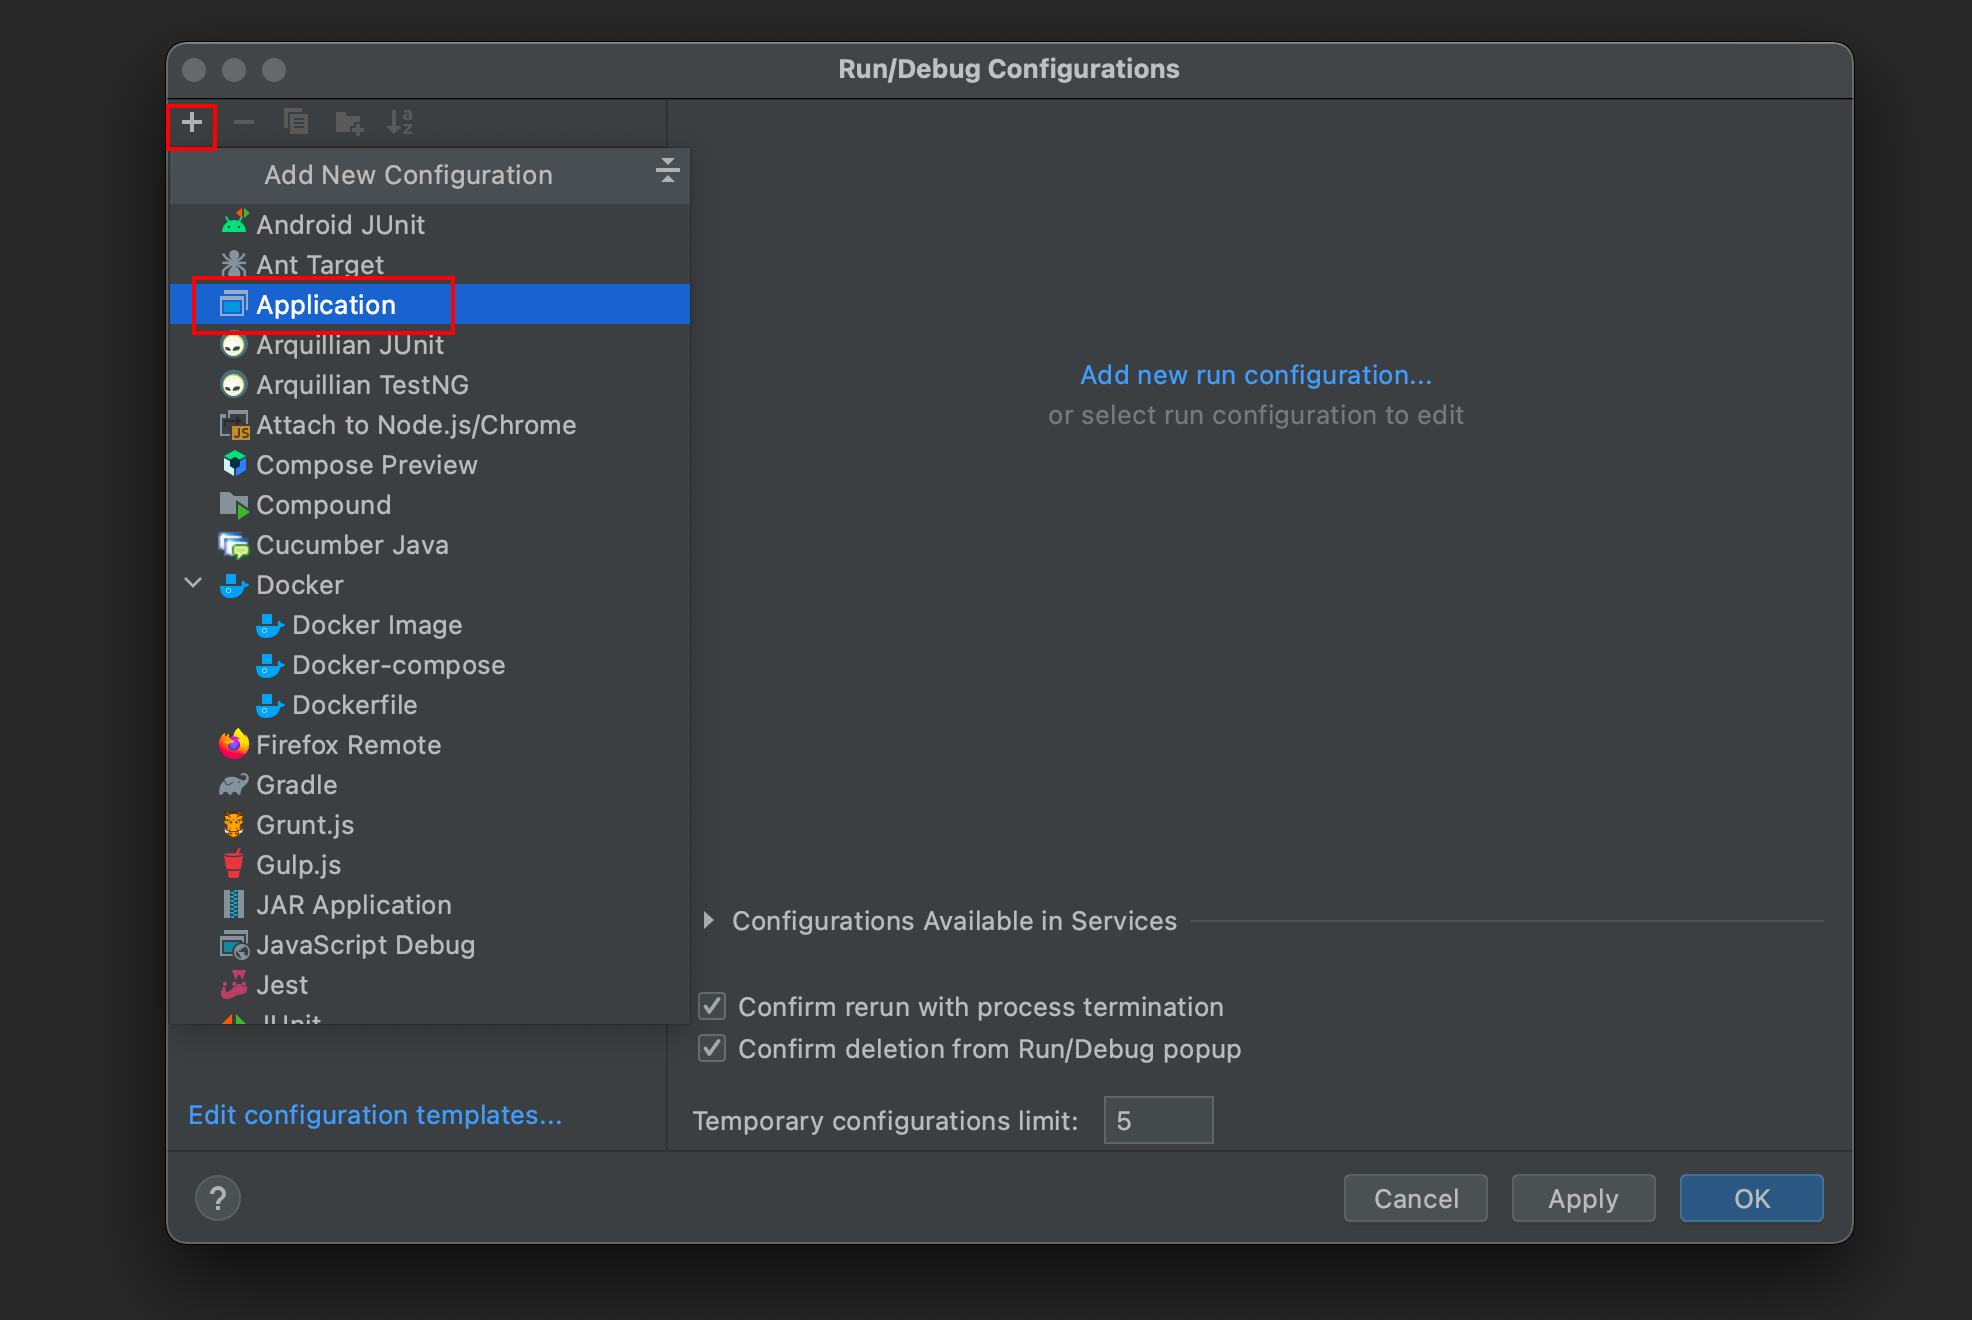
Then click + → Application
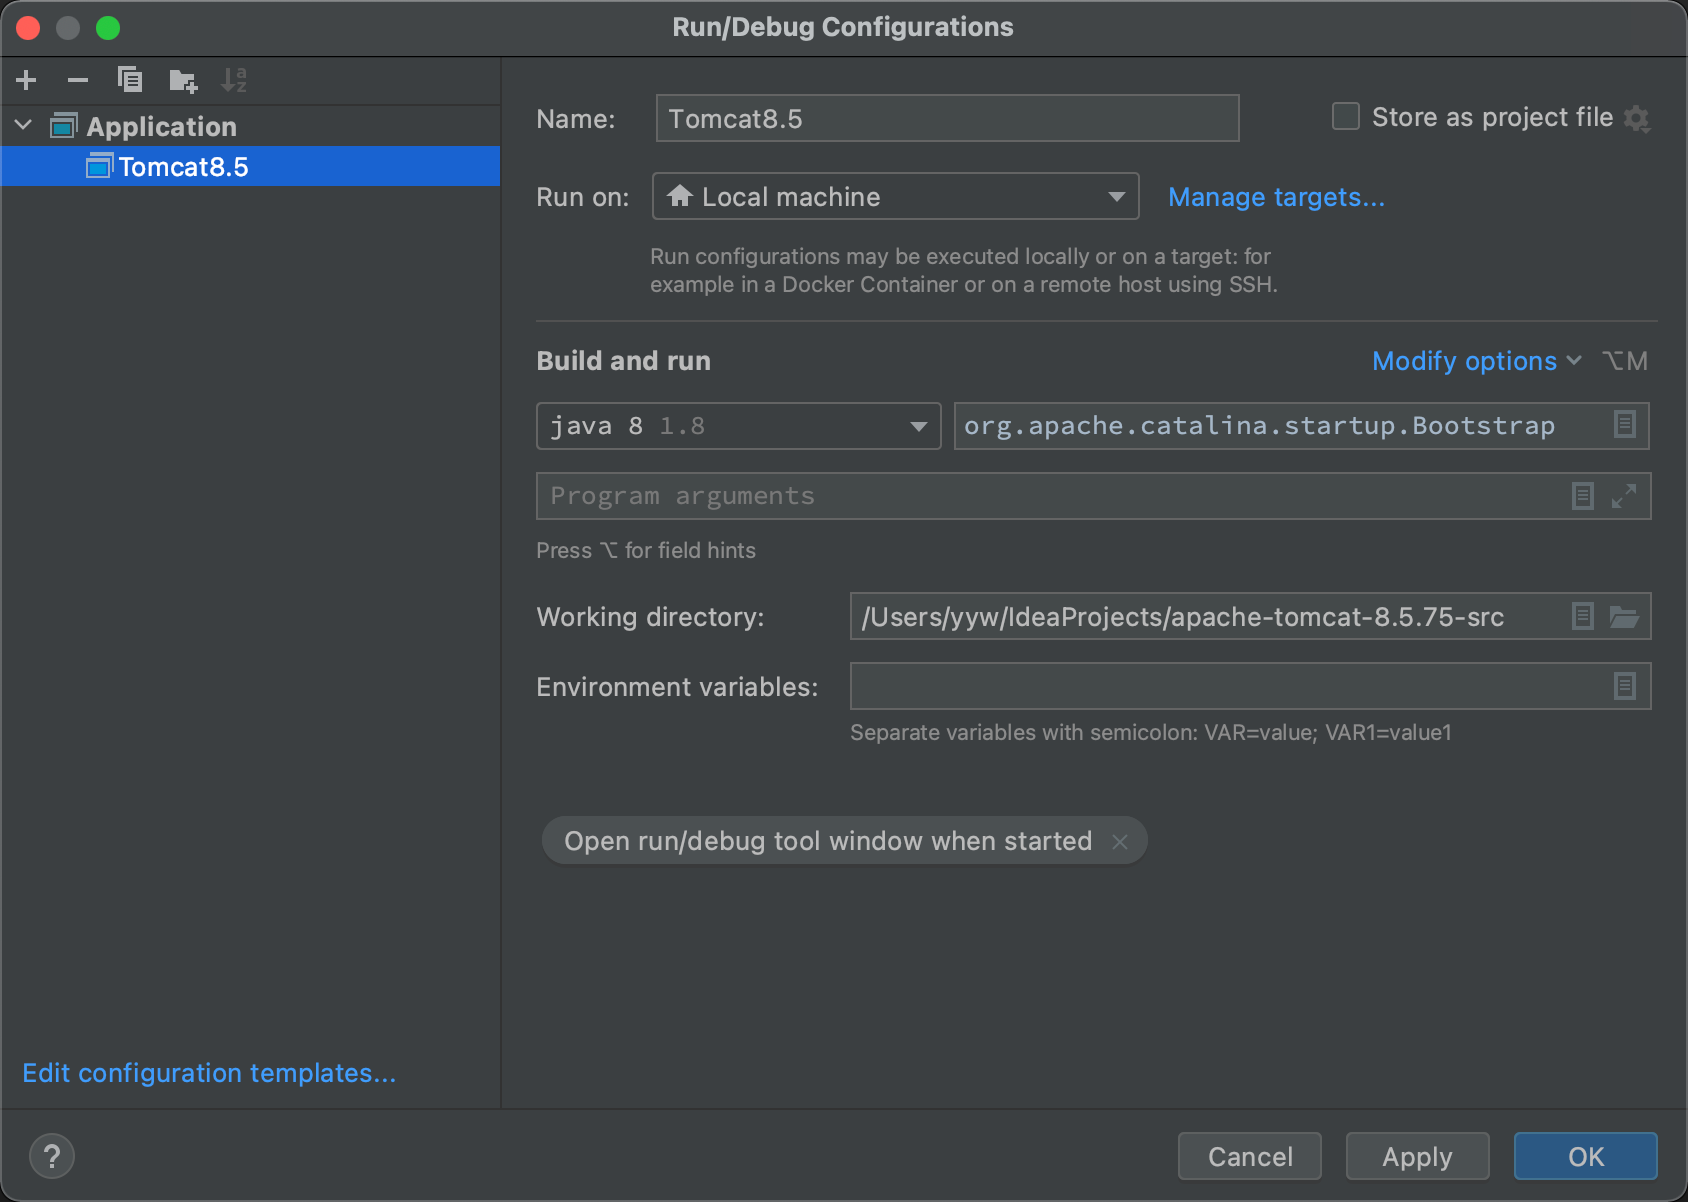
 Write any name. Select the JDK version under Build and Run, preferably POM XML, here is jdk1 8.
Then configure the startup class after the same line, that is, the class with main function, org apache. catalina. startup. Bootstrap is the startup class.
Click OK and start.
After the first startup, when you visit localhost:8080, the console will report an error and jsp related null pointer exceptions, as follows (random code will not affect it, and it will be solved after running successfully):
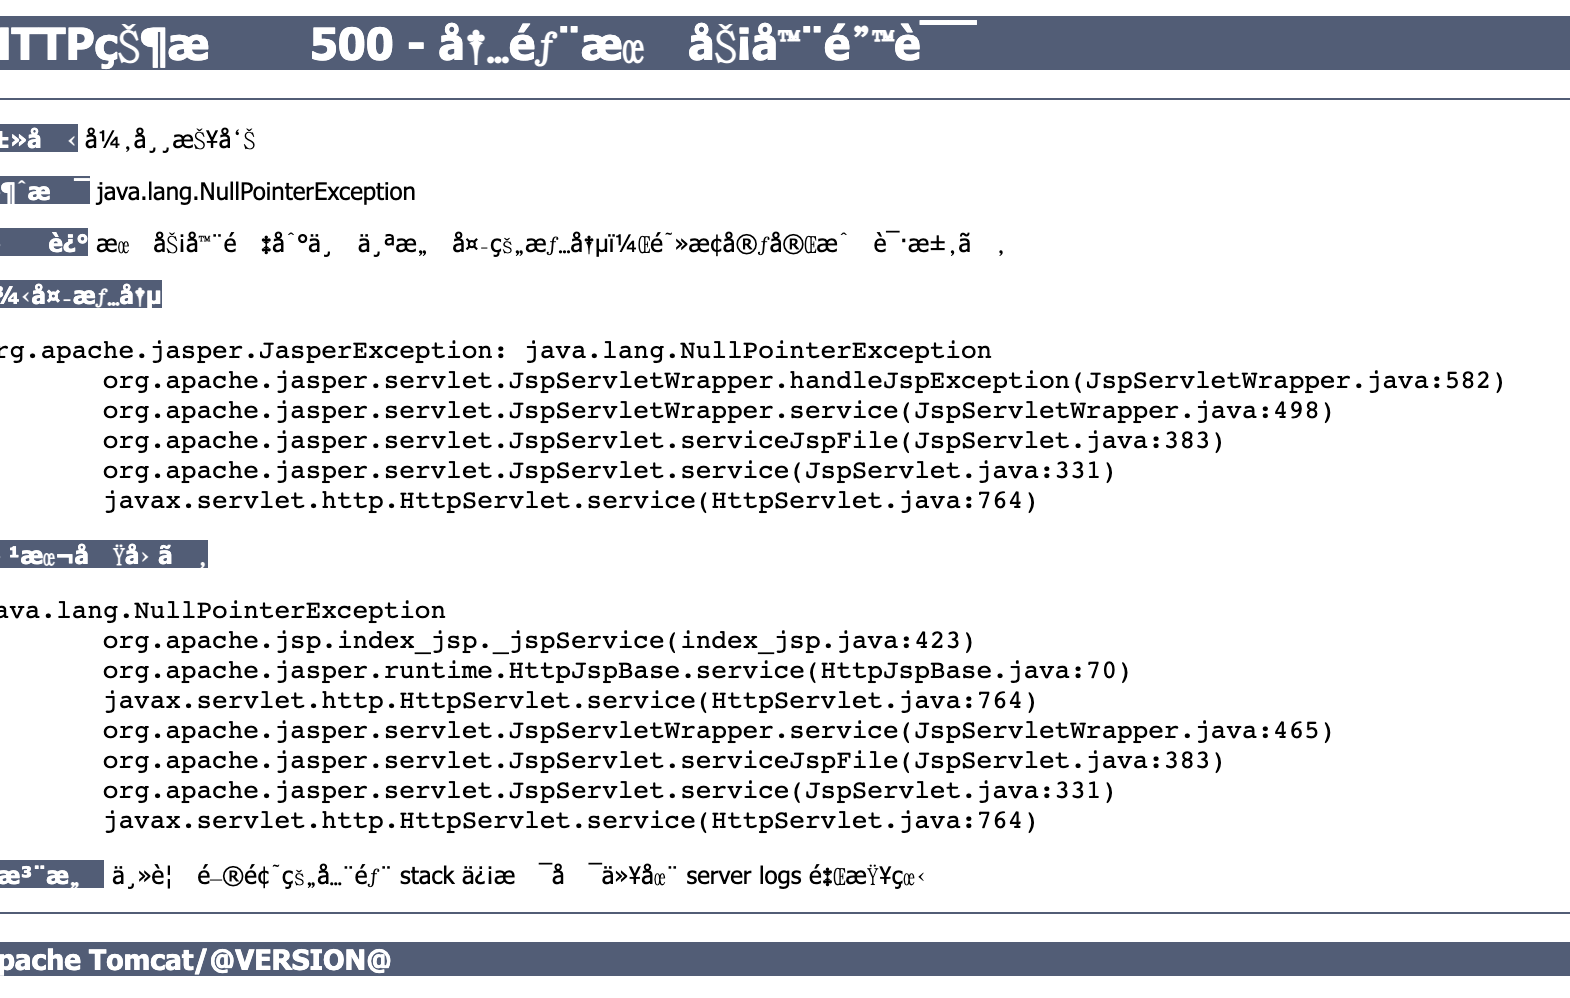
A jsp initializer needs to be configured, the location is ConfigContext class, and a line of code is added to the method configureStart:
context.addServletContainerInitializer(new JasperInitializer(), null);
Then start to access.
