catalog:
- Basic concepts
- Introduction to loader development
- Local loader debugging
- Publish and reference loader
- Demo: Sprite chart loader
1. Basic concepts
As we all know, webpack is a module packer. However, webpack can only handle js and json files.
loader enables webpack to process other types of files, convert them into valid modules for use by applications, and add them to dependency diagrams.
loader is essentially a JS module that exports a function. The input and output parameters of the function can be understood as a file stream (String or Buffer class). The function processes the incoming file stream and then returns the processed new file stream.
Loaders can be synchronized:
module.exports = function (content, map, meta) {
  // Content is the file content passed in
  // Process content
  const newContent = doSomething(content);
  return newContent; // Returns the processed file content
};
It can also be asynchronous:
module.exports = function (content, map, meta) {
const callback = this.async(); // Get callback function
// Process content
const newContent = doSomething(content);
// There are four callback parameters, in order:
// 1. The Error parameter Error or null is required
// 2. content of type string / buffer; required
// 3. Optional parameter sourceMap
// 4. Optional parameter meta
callback(null, newContent, map, meta);
};
It is officially recommended to use asynchronous loader as much as possible.
There are many third-party loader s in the webpack community. After installation, they will be installed in webpack.com config. JS to use:
// webpack.config.js configuration loader
module: {
    rules: [{
        test: /\.css$/i,
        use: ['style-loader', 'css-loader']
    }]
},
Two common style handling loaders are configured above: style loader and CSS loader.
The rules rule array is used to specify which loader s are applied to the module.
You can see that the objects in rules have two properties:
- The value of the test attribute is a regular expression used for file type matching. Here, the matching is based on CSS or CSS end file;
- The value of the use attribute is a loader array that indicates which loader operations to perform on these css files. Here, multiple loaders will make chain calls from right to left. For example, in the above configuration, css loader will be executed first, and then style loader will be executed. It is similar to the task s of gulp, but the execution order is different. Gulp is executed from left to right; The loader is more like a composite function, executed from right to left.
So far, we have roughly understood what a loader is, what it is used for, and how to configure it.
2. Introduction to loader development
First, npm init -y initializes the project. Here, my project is called YZZ sprite loader,
cd enter the project and create index JS file, as follows:
// yzz-sprite-loader/index.js
module.exports = function (content, map, meta) {
    const callback = this.async();
    callback(null, content, map, meta);
}
So far, we have written an asynchronous loader that does nothing.
The official gives some guidelines for loader development:
- Keep it simple. A loader does only one thing
- Using chain call
- modularization
- Stateless, each run has nothing to do with the previous run results
- Using the loader utils package
- Use addDependency to indicate the external file used
- You need to solve the module dependency problem in the code, such as @ import in css, which can be converted to require mode, etc
- Extract common code
- Avoid absolute paths
- Using peerDependency
https://webpack.docschina.org/contribute/writing-a-loader/#guidelines
3. Local loader debugging
After writing the loader, how to reference debugging in the project?
First, simply build a webpack project test webpack:
- CD test webpack, enter the project
- npm init -y, initialize the project
- NPM install webpack cli -- save dev, install webpack dependencies
- New file: webpack config. js,index. html,src/index. js,src/style. css
- In test webpack / webpack config. JS to introduce our loader:
// test-webpack/webpack.config.js
const path = require("path");


module.exports = {
    entry: "./src/index.js",
    mode: "development",
    output: {
        filename: "main.js",
        path: path.resolve(__dirname, "dist"),
    },
    module: {
        rules: [{
            test: /\.css$/i,
            use: [{
                loader: path.resolve("../yzz-sprite-loader/index.js"),
            },
            ],
        },
        ],
    },
};
Here, the relative path is used to introduce the local loader.
- In test webpack / index JS css:
import './style.css';
In order to verify that our loader works normally, click YZZ sprite loader / index JS add a sentence console:
module.exports = function (content, map, meta) {
    const callback = this.async();
    console.log('my loader is running');
    callback(null, content, map, meta);
}
Execute the yarn run webpack under the test webpack path, and you can see that the console prints my loader is running:
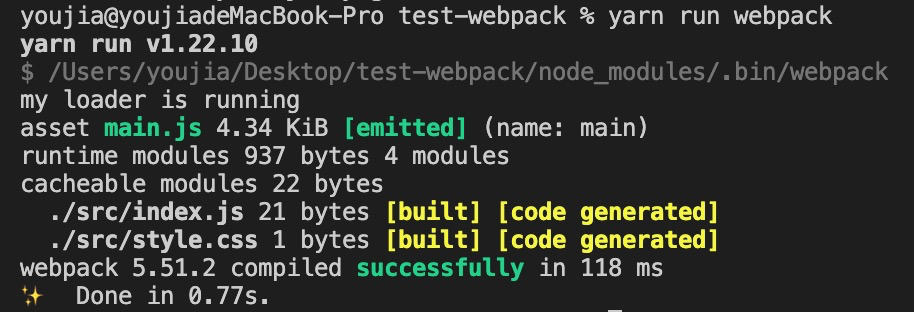
success! ✅
4. Publish and reference loader
Just three steps 🚶🚶🚶:
- CD YZZ sprite loader enters the loader project
- npm login login npm account
- Execute npm publish
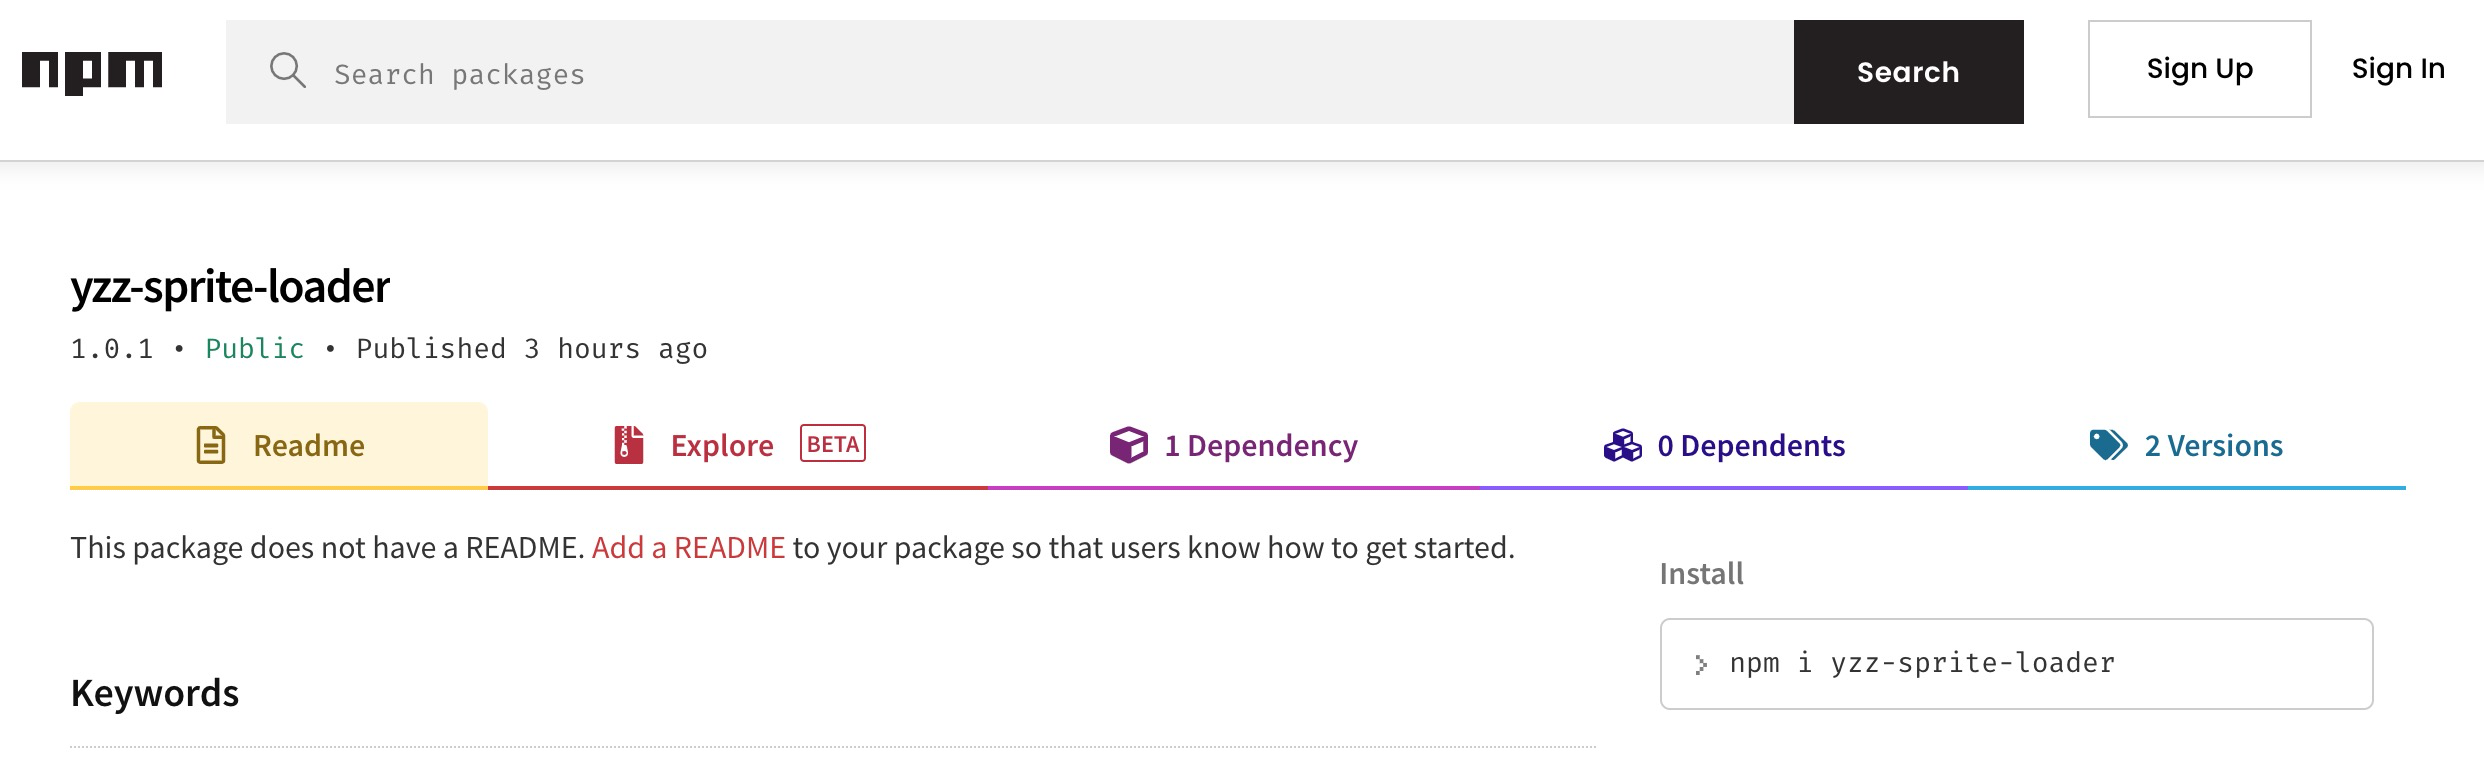
The reference method is as follows:
In the test webpack project, execute NPM I YZZ sprite loader - D and modify the webpack config. js:
rules: [{
    test: /\.css$/i,
    use: ['yzz-sprite-loader'],
}],
So far, our loader has been basically online except for doing nothing
5. Demo: Sprite chart loader
It's time to add some practical features!
I believe most of the cutaways have used or heard of Sprite CSS Sprite. In fact, they combine multiple background images into one image to reduce the number of http requests, and then use the background position of CSS to accurately locate the synthesized image.
Here I directly use an Open Source Toolkit: https://github.com/twolfson/spritesmith
spritesmith is used as follows:
var Spritesmith = require('spritesmith');

// Generate sprite map
Spritesmith.run({
  src: [], // The image array to be synthesized. The value is the image path
}, function handleResult (err, result) {
  // If there was an error, throw it
  if (err) {
    throw err;
  }

  // Output sprite chart result image
  // result.coordinates is a map object, the key is the picture path, and the value is an object that stores sprite map information, including horizontal positioning x, vertical positioning y, picture width and height

});
As you can see, this plug-in requires us to pass in all the image paths we want to synthesize. Therefore, the realization idea is as follows:
- Use regular matching to collect the statements with setting background map in the original content, such as background: URL (...);;
- Save the matched image path to an array for passing to sprite Smith to synthesize sprite images;
- Save the matched complete statements for subsequent css code replacement;
- Save the sprite map to a specified directory, then traverse the image path array, and replace the corresponding background map setting code in the content with the sprite map positioning method;
- Finally, the replaced content is returned.
The code implementation tests the ability of regularization. I won't talk about it in detail here (mainly my regularization is also very general and can barely be used ~). At the same time, the processing of css by webpack also needs to be combined with style loader and css loader. Interested friends can directly see the demo: https://github.com/youzouzou/webpack-sprites-loader-demo
After following the README instructions in the project, you can see the fish I touched this week 🐟:
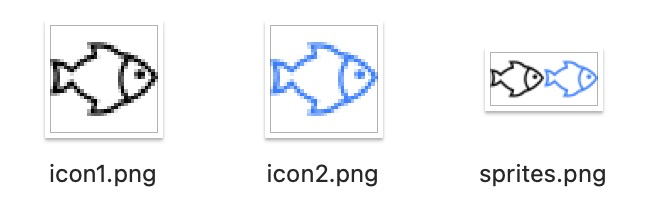
Two small icons are combined into a graph sprites PNG. After running, you can see that the css background code has also been replaced:

⚠️ Important: YZZ sprite loader is only for learning the implementation of user-defined loader. It is not universal. Do not use it in production environment!!!