This article uses cli mode
1, Android native configuration
0 install development environment
Prerequisite software:
- Android Studio
- HBuilderX
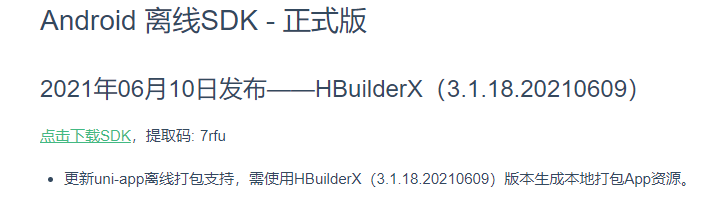
- Applet Android offline sdk , download the version sdk (usually the latest version. The version should be consistent with the HBuilder X version. See the section exporting App resources below for the method of checking the version)
apply Appkey
- Sign in Developer Center . If you don't have an account, register one. Applying for Appkey requires real name authentication of email and mobile phone number.
- Select the application I created in the left menu and click apply
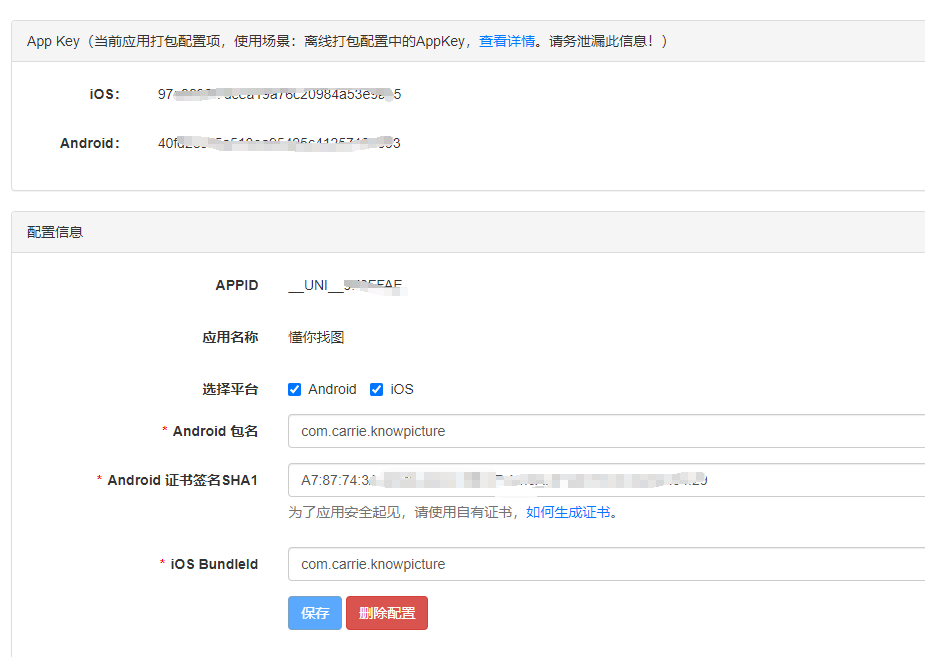
- Select offline packaging Key management on the left, select the corresponding platform iOS Android, and enter the package name and SHA1 (the package name is user-defined, SHA1 get )Click Save to get the App of the corresponding platform
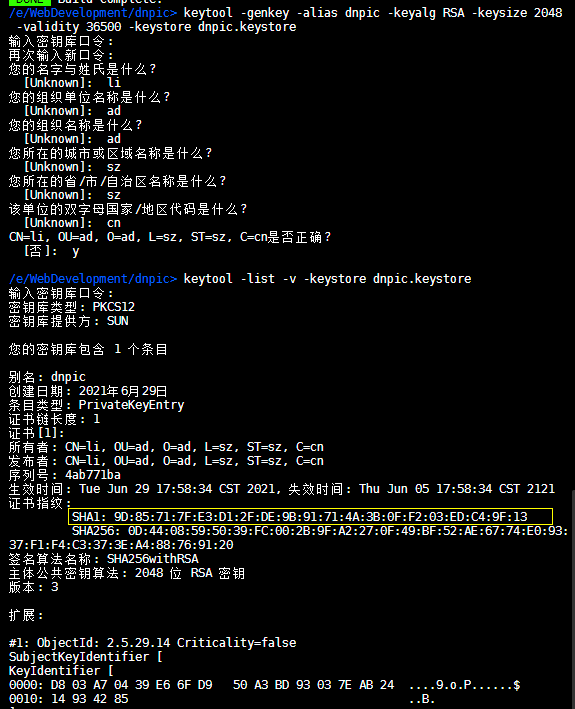
Replace xxx with your name
// Generate keystore signature file
keytool -genkey -alias xxx -keyalg RSA -keysize 2048 -validity 36500 -keystore xxx.keystore

// View SHA1 information
keytool -list -v -keystore xxx.keystore
-alias xxx: xxx is an alias
xxx.keystore: file name
to configure
Android
Open the Android project and configure the androidmanifest XML file, navigate to the Application node, and create a meta data node with the name dccloud_ AppKey and value are the applied AppKey as follows:
    <application>
        <meta-data
            android:name="dcloud_appkey"
            android:value="Replace with your own application Appkey" />
    </application>
iOS
click link Refer to the configuration Appkey chapter of IOS platform
2, Export App resources
View version
!!! First, make sure that the version number of the uni app compiler is consistent with that of the offline SDK.
If the version is inconsistent, a prompt box of inconsistent version will pop up when the app is started
- Projects created through HBuilder X
Help - about
- Projects created through Vue Cli
cmd command line cd to the root directory of the project and execute npm run info

3.1.18 is its version, so it's above Download the sdk version of the applet The version of 3.1.18 should also be selected.
3, Generate local packaged APP resources
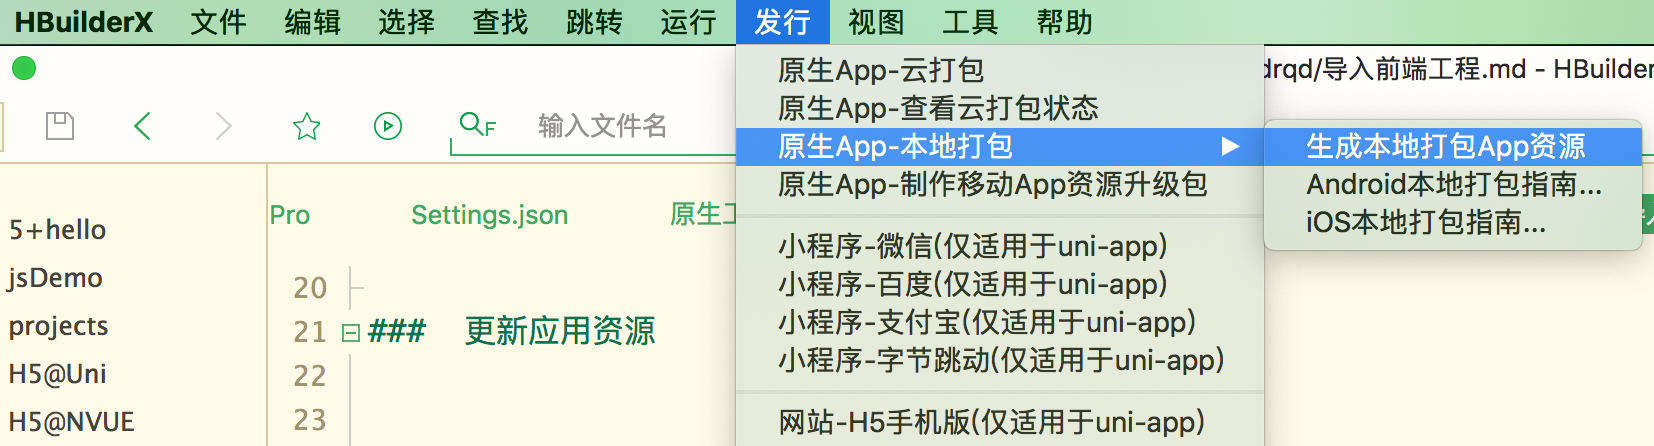
1. Projects created through HBuilderX
Select project - > release - > native App - local packaging - > generate local packaging App resources
2. Projects created through Vue cli
cd the command line to the project root directory, execute NPM run build: app plus, and generate app packaging resources in the project directory / dist / build / APP plus.
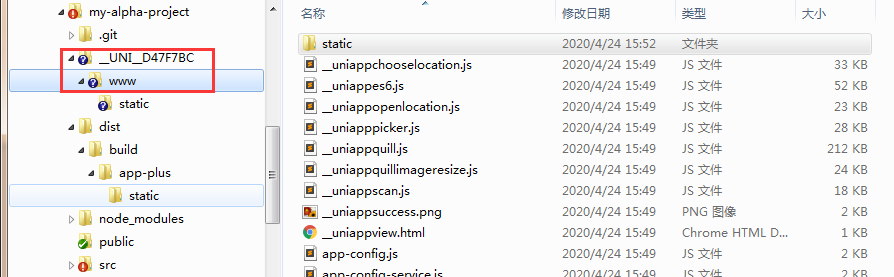
Create a new folder in the root directory of the project to Src / manifest. Exe The appid field in JSON is the file name, and then create a www directory in the folder to copy the resources in the app plus folder to the www directory.
If manifest The appid field in JSON is empty. You need to drag the project into HBuilderX to obtain an appid again. Note: appid cannot be filled in casually and must be obtained again.
How to retrieve appid with HBuilderX:
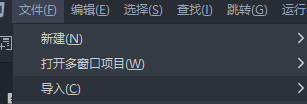
- Open HBuilderX, file - Import - import from local directory, and import the project
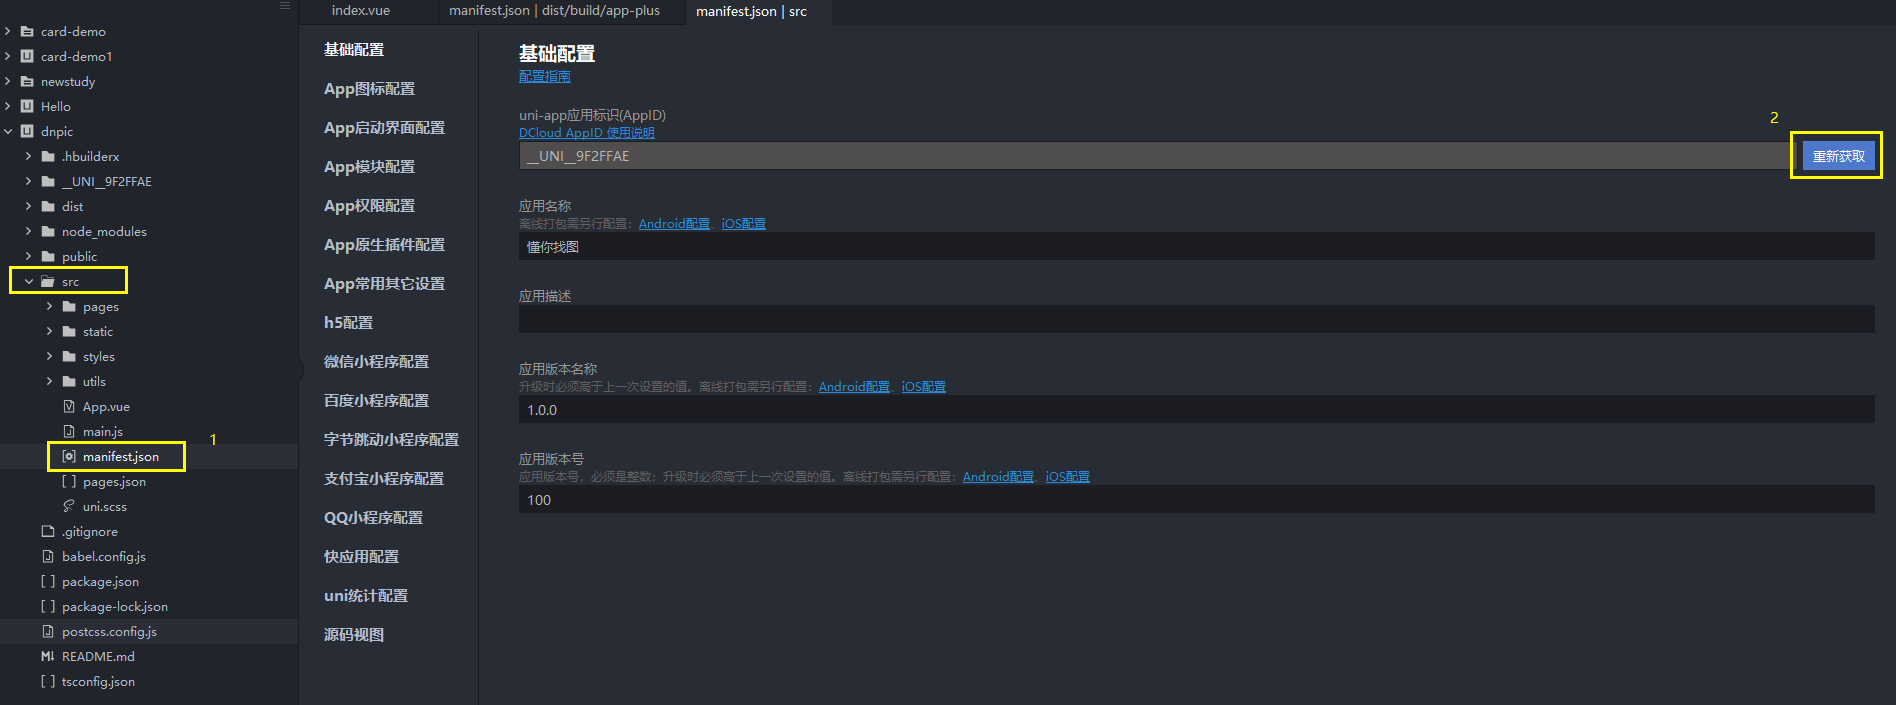
- Open the src directory and click manifest JSON, click re obtain on the right side of the basic configuration.
Sign in Developer Center , check whether the AppKey is generated and whether the package name is empty. If there is no AppKey, fill in the following content to generate.
Re run NPM run build: app plus, generate new app plus content, replace the content in the previous www folder, and open the manifest JSON should be able to see that the id has become the re acquired appid.

4, Import Android Studio
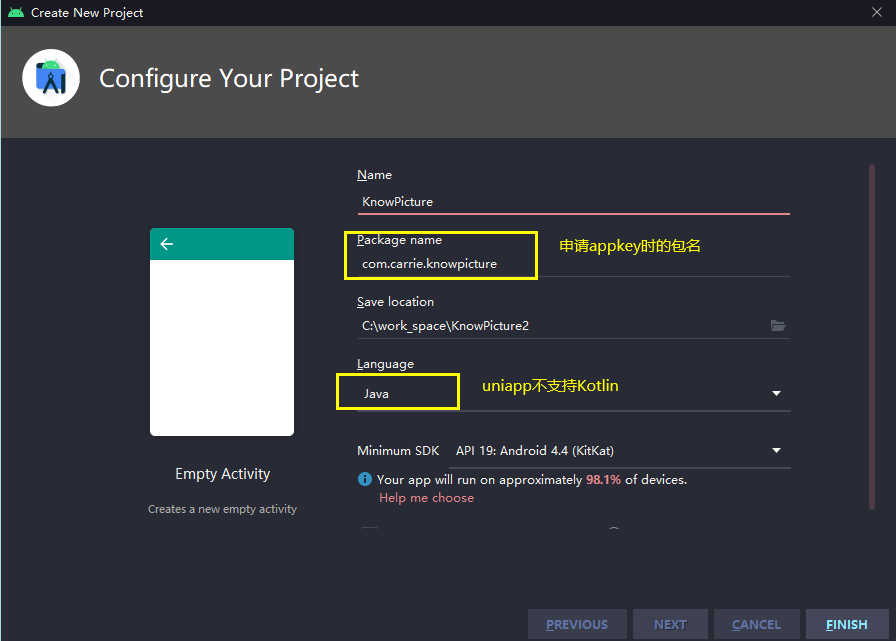
0 new Android project
Official website development environment document
If you have not created a new Android project before, you need to create an empty project first. If it has been created, you can ignore this step.
Fill in the Package Name,
Language: Java is selected because the sdk for offline packaging of applets does not support kotlin
minSdkVersion supports at least 21. If it is less than 21, it will not work normally on some models below 5.0.
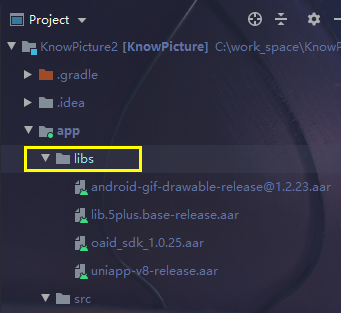
Import SDK libs
In step 1.0, we downloaded the applet SDK, unzipped the package, opened sdk/libs, and copied the following files to the libs directory
lib.5plus.base-release.aar
android-gif-drawable-release@1.2.17.aar
uniapp-v8-release.aar
oaid_sdk_1.0.25.aar
libs Directory:
Click Android in the upper left corner to switch to the Project view
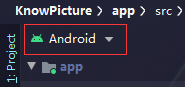
You can see the app/libs directory
In build Add resource references to gradle
Switch back to the Android view. Copy the following code to the build. Of app Gradle,
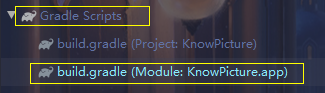
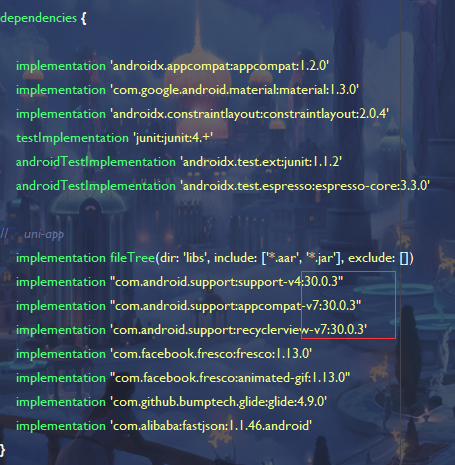
Add code under dependencies:
 implementation fileTree(dir: 'libs', include: ['*.aar', '*.jar'], exclude: [])
 implementation "com.android.support:support-v4:28.0.0"   //  28.0.0 should be replaced with your build tools version
 implementation "com.android.support:appcompat-v7:28.0.0"
 implementation 'com.android.support:recyclerview-v7:28.0.0'
 implementation 'com.facebook.fresco:fresco:1.13.0'
 implementation "com.facebook.fresco:animated-gif:1.13.0"
 implementation 'com.github.bumptech.glide:glide:4.9.0'
 implementation 'com.alibaba:fastjson:1.1.46.android'
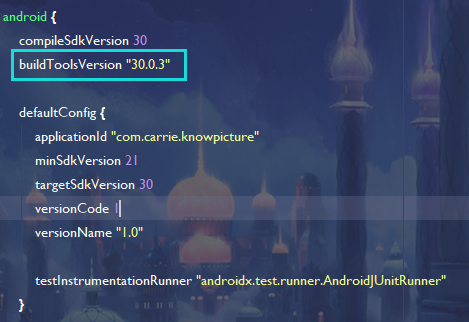
Among them, 28.0.0 should be replaced with your build tools version, as shown in the figure, here is 30.0.3
The uni app configuration needs to be in build Add aaptOptions configuration to gradle. Slide up and add aaptOptions to android {}:
android{
	 ....
	 aaptOptions {
	     additionalParameters '--auto-add-overlay'
	     ignoreAssetsPattern "!.svn:!.git:.*:!CVS:!thumbs.db:!picasa.ini:!*.scc:*~"
	 }
 }
Note: when updating the SDK, you need to update the aar/jar file and build. Jar file at the same time Gradle configuration
Click Sync Now in the upper right corner to synchronize the Gradle configuration.

to configure
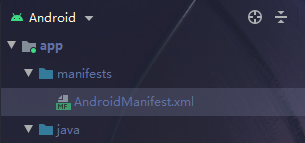
① Configure androidmanifest xml
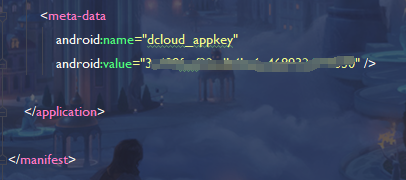
Open androidmanifest XML, in the application node, create a meta data node with the name dccloud_ AppKey, value is the applied AppKey As follows:
<application>
  <meta-data
      android:name="dcloud_appkey"
      android:value="Replace with your own application Appkey" />
</application>
Configure application startup page and provider node
Androidmanifest.xml
- Delete the automatically generated MainActivity node, as shown in the following figure
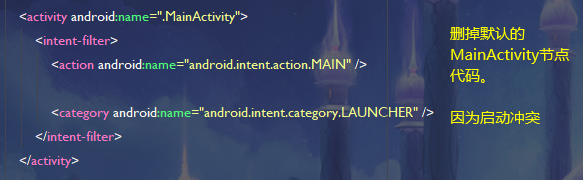
- Copy the following code to the application node
<activity
      android:name="io.dcloud.PandoraEntry"
      android:configChanges="orientation|keyboardHidden|keyboard|navigation"
      android:label="@string/app_name"
      android:launchMode="singleTask"
      android:hardwareAccelerated="true"
      android:theme="@style/TranslucentTheme"
      android:screenOrientation="user"
      android:windowSoftInputMode="adjustResize" >
      <intent-filter>
          <action android:name="android.intent.action.MAIN" />
          <category android:name="android.intent.category.LAUNCHER" />
      </intent-filter>
  </activity>
  <activity
      android:name="io.dcloud.PandoraEntryActivity"
      android:launchMode="singleTask"
      android:configChanges="orientation|keyboardHidden|screenSize|mcc|mnc|fontScale|keyboard"
      android:hardwareAccelerated="true"
      android:permission="com.miui.securitycenter.permission.AppPermissionsEditor"
      android:screenOrientation="user"
      android:theme="@style/DCloudTheme"
      android:windowSoftInputMode="adjustResize">
      <intent-filter>
          <category android:name="android.intent.category.DEFAULT" />
          <category android:name="android.intent.category.BROWSABLE" />
          <action android:name="android.intent.action.VIEW" />
          <data android:scheme="h56131bcf" />
      </intent-filter>
  </activity>
  <!--provider Node must be added-->
  <provider
      android:name="io.dcloud.common.util.DCloud_FileProvider"
      android:authorities="${apk.applicationId}.dc.fileprovider"
      android:exported="false"
      android:grantUriPermissions="true">
      <meta-data
          android:name="android.support.FILE_PROVIDER_PATHS"
          android:resource="@xml/dcloud_file_provider" />
  </provider>
!!! Note: ${apk.applicationId} must be replaced with the package name of the current application After replacement: android:authorities = "com. Carrier. Knowpicture. DC. Fileprovider"
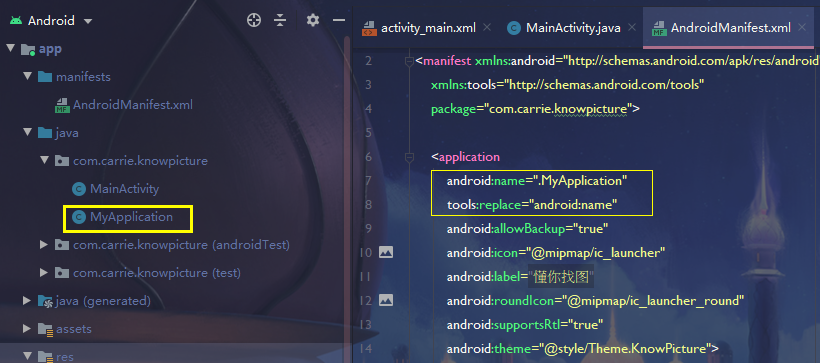
If the application needs to be rewritten when integrating the offline SDK (skip this step if it is not necessary), it must be inherited from DCloudApplication, otherwise the business logic in the SDK will not work normally.
Create a new Java class MyApplication:
class MyApplication extends DCloudApplication {

    @Override
    public void onCreate() {
        super.onCreate();
    }
}
Configure MyApplication to androidmanifest XML (as follows): add code in the application node:
android:name=".MyApplication"
tools:replace="android:name"
tools needs to be imported. Add in the above manifest:
xmlns:tools="http://schemas.android.com/tools"
name is the MyApplication path, and the default prefix is package
- Configure application name, icon and startup interface
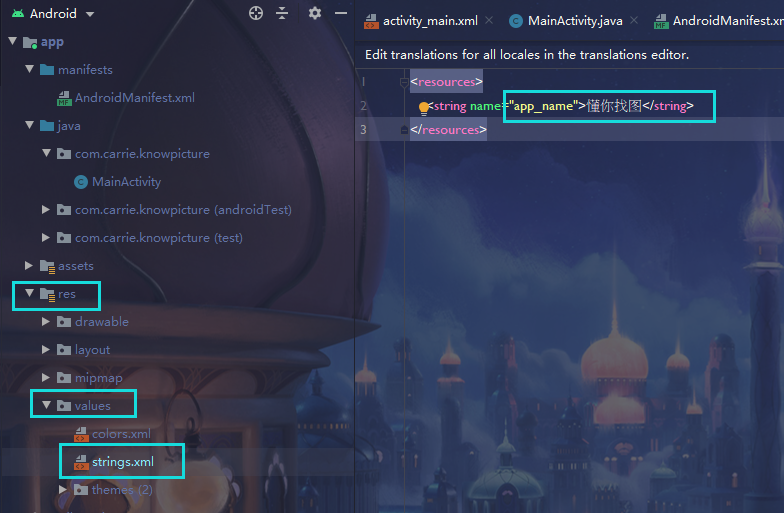
apply name
Open res - values - strings XML, modify app_ The value of nane.
Application Icon
icon.png is the icon of the application.
push.png is the icon of the push message.
splash.png is the icon of the application launch page.
Open the res directory, create a new drawable xhdpi folder, and place the icon in the drawable xhdpi folder
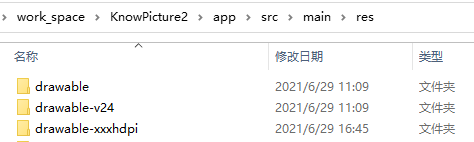

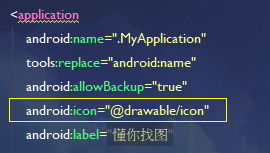
Modify androidmanifest The icon attribute of the application node in XML is @ drawable/icon. As shown below:
Note: splash Png displays differently on different devices. In order to prevent stretching, it is recommended to use Android studio to generate. 9 Png type picture
1 import resources
New assets directory
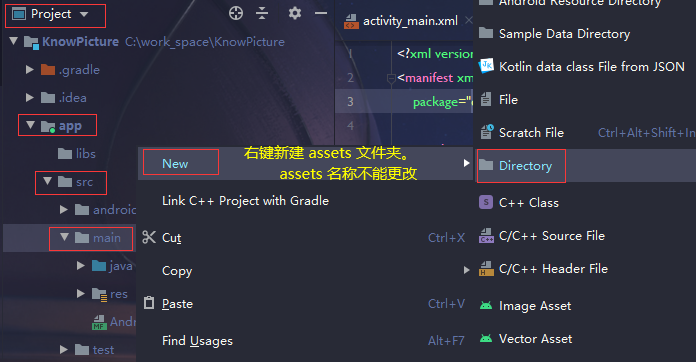
Click Android in the upper left corner to switch to the Project view
Click to open the directory in the following order, right-click the main folder, and create a new folder named assets. Fixed name cannot be changed.
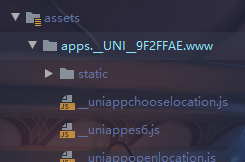
Right click assets to create a new folder apps, and copy the entire appid folder in step 3.2 to the apps directory. (the folder structure includes appid and www)
Configuration resource file
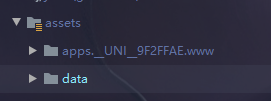
Open the applet SDK folder downloaded before, open the SDK - assets folder, and copy the data folder to the assets directory of Android Studio
Modify dccloud_ control. XML file:
- Modify appid
- Generate a custom base and add the following under the hbuilder root node:
debug="true" syncDebug="true"
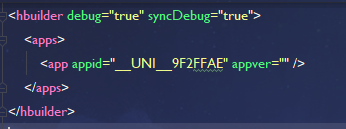
The user-defined base supports hot update and needs to debug server release AAR is entered into apk and can be deleted when generating formal packages.
Detailed step reference link
2. Configure signature information
Open app build gradle
Add the following code on buildTypes:
signingConfigs {
        config {
            keyAlias 'dnpic'   // The alias defined when generating the keystore file in step 1.0
            keyPassword 'carrie'  // keystore password
            storeFile file('E:/WebDevelopment/dnpic/dnpic.keystore')  // keystore local storage path, with slash/
            storePassword 'carrie'  // keystore password
        }
    }
Modify buildTypes - release:
    buildTypes {
        debug {
            signingConfig signingConfigs.config
            minifyEnabled false
            proguardFiles getDefaultProguardFile('proguard-android-optimize.txt'), 'proguard-rules.pro'
        }
        release {
            signingConfig signingConfigs.config
            minifyEnabled true
            shrinkResources true
            proguardFiles getDefaultProguardFile('proguard-android-optimize.txt'), 'proguard-rules.pro'
        }
    }
Sync Now
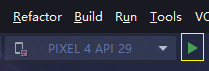
Click Run
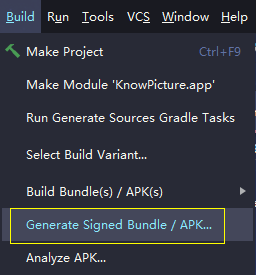
5, Package signature apk
Build - Generate Signed Bundle / Apk
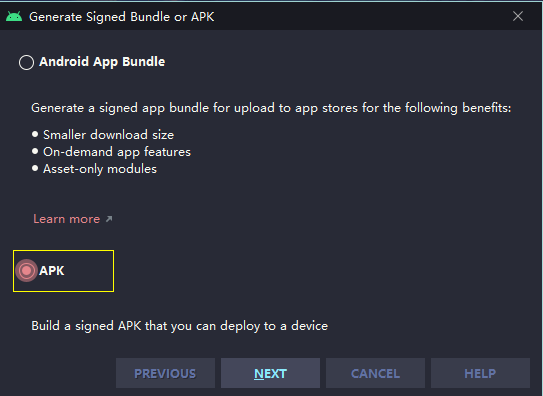
Select APK
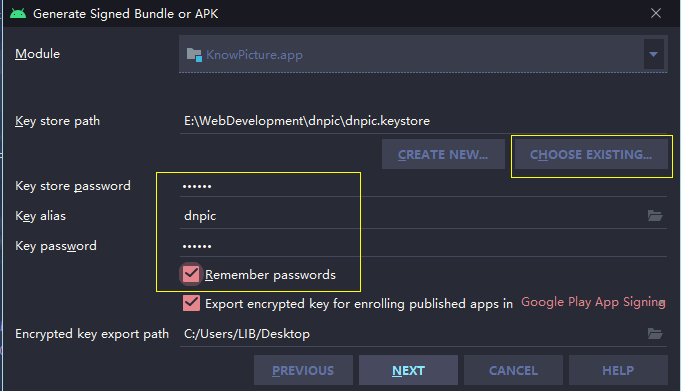
Select release and select V1 V2
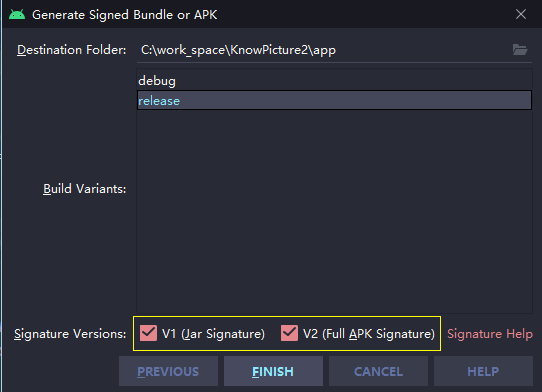
After success, you can see the generated apk in the app\release directory
FAQ
1. If the project configuration is correct, why do you still prompt "AppKey not configured or configuration error"?
The information of the installation package is inconsistent with the information you filled in when applying for Appkey.
appid + application package name + signature sha1 must be consistent with the information filled in the application.