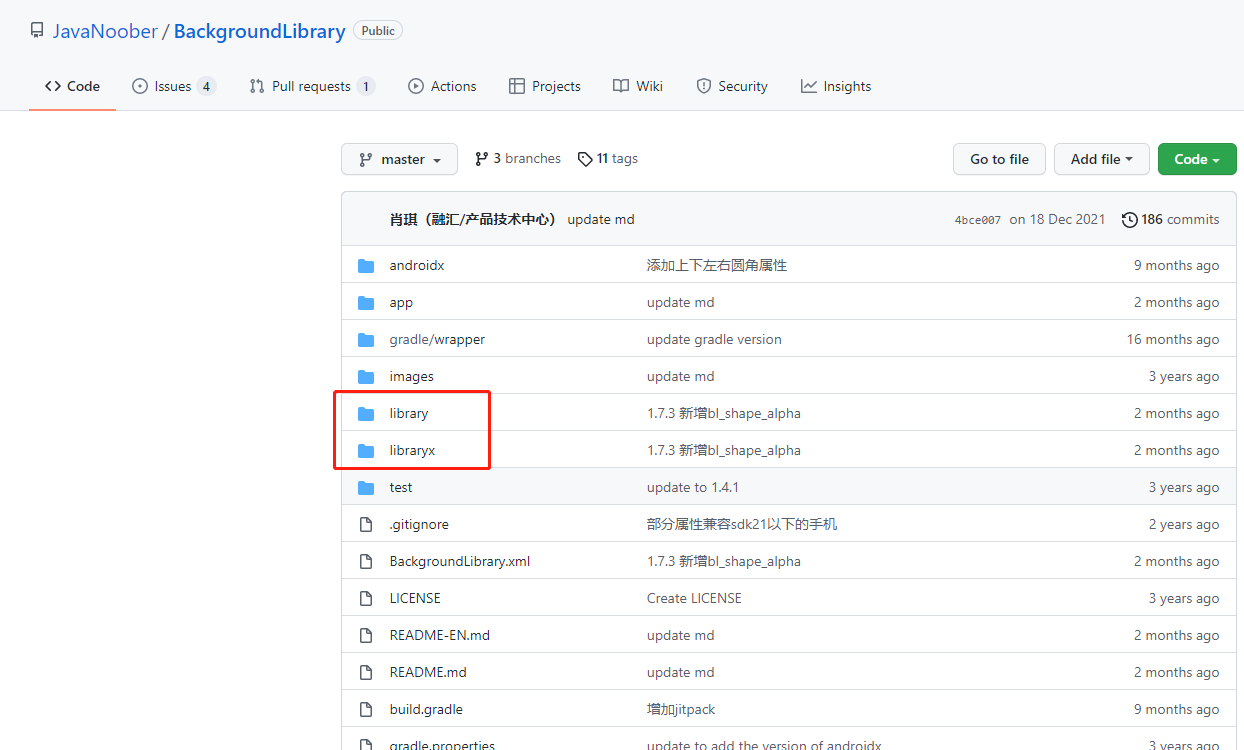
Library address: https://github.com/JavaNoober/BackgroundLibrary
In order to solve a large number of style files in the project, such as shpre, selector and other files, the BackgroundLibrary library is introduced. Let's introduce the use of BackgroundLibrary.
- Advantages: it reduces the creation of a large number of xml files
- Disadvantages: you can't preview. You need to write a lot of APP attributes (the attribute value of app can be substituted according to the code on blue lake's UI), but you should be familiar with it after writing too much. Ha ha.
- Performance: I haven't found it yet. The principle of the library is to replace the function that should have been given to the system to create Drawable from xml parsing attributes with its own implementation.
1. Dependency import
Dependency method:
allprojects {
    repositories {
        ...
        maven { url 'https://jitpack.io' }
    }
}

implementation "com.android.support:appcompat-v7:$supportVersion"
implementation 'com.github.JavaNoober.BackgroundLibrary:library:1.7.3'
If the project uses Android X:
allprojects {
    repositories {
        ...
        maven { url 'https://jitpack.io' }
    }
}

implementation "androidx.appcompat:appcompat:$supportVersion"
implementation 'com.github.JavaNoober.BackgroundLibrary:libraryx:1.7.3'
2. Source code import
Choose libraryx or library according to whether your project is Android X

3. use
Here are some common styles.
1. Border + background + fillet
<TextView
    android:layout_width="130dp"
    android:layout_width="130dp"
    android:layout_height="36dp"
    android:gravity="center"
    android:text="TextView"
    android:textColor="#8c6822"
    android:textSize="20sp"
    app:bl_corners_radius="4dp"
    app:bl_solid_color="#E3B666"
    app:bl_stroke_color="#8c6822"
    app:bl_stroke_width="2dp" />
Equivalent to
<shape xmlns:android="http://schemas.android.com/apk/res/android">
    <corners android:radius="2dp"/>
    <solid android:color="#E3B666"/>
    <stroke android:color="#E3B666" android:width="2dp"/>
</shape>
2. Gradual change
<shape xmlns:android="http://schemas.android.com/apk/res/android">
    <corners android:radius="2dp"/>
    <gradient android:angle="0"
              android:startColor="#63B8FF"
              android:endColor="#4F94CD"/>
</shape>
Equivalent to
 <Button
    android:id="@+id/btn"
    android:layout_width="130dp"
    android:layout_height="36dp"
    android:layout_marginTop="5dp"
    android:gravity="center"
    android:padding="0dp"
    android:text="Jump to list"
    android:textColor="#4F94CD"
    android:textSize="20sp"
    app:bl_corners_radius="2dp"
    app:bl_gradient_angle="0"
    app:bl_gradient_endColor="#4F94CD"
    app:bl_gradient_startColor="#63B8FF" />
3. Click effect
<Button
    android:layout_width="300dp"
    android:layout_height="50dp"
    android:layout_marginTop="5dp"
    android:gravity="center"
    android:padding="0dp"
    android:text="Button with ripple touch feedback"
    android:textColor="@android:color/white"
    android:textSize="20sp"
    app:bl_corners_radius="20dp"
    app:bl_pressed_drawable="#71C671"
    app:bl_ripple_color="#71C671"
    app:bl_ripple_enable="true"
    app:bl_stroke_color="#8c6822"
    app:bl_stroke_width="2dp"
    app:bl_unPressed_drawable="#7CFC00" />
4. Development skills
Here are two solutions to the problem of popular custom attributes:
1. One is to synchronously add tools:ignore="MissingPrefix" where this attribute is used.
2. Another way is to replace ordinary controls with controls prefixed with AppCompat. For example, replace TextView with AppCompatTextView and EditText with AppCompatEditText. Other controls are similar or inherited from AppCompat controls.
Tips on how to code:
To configure Live Templates:
Android studio 3 2 as an example:
mac: enter the directory macintoshd \ user \ XXX \ library \ preferences \ androidstudio3 2\templates
mac as4. The directory was modified after 0:
/Users/xxx/Library/Application Support/Google/AndroidStudio4.1/templates
windows: enter the directory C: \ users \ XXX AndroidStudio3. 2\config\templates
windows as4. After 0:
C:\Users\xxx\AppData\Roaming\Google\AndroidStudio4.0\templates
If templates does not exist, you can manually create a folder; Add files under templates BackgroundLibrary.xml Restart as.
How to preview:
1. If you need to preview the View, you can directly replace the original View with the corresponding BLView in the frame to display the preview effect. If you don't need preview, you can directly ignore these custom views for preview;
2. If there is no effect, just make project;
3. If there is no corresponding View to preview in BLView, you can simply implement it yourself. Take BLTextView as an example:
public class BLTextView extends AppCompatTextView {
    public BLTextView(Context context) {
        super(context);
    }

    public BLTextView(Context context, AttributeSet attrs) {
        super(context, attrs);
        init(context, attrs);
    }

    public BLTextView(Context context, AttributeSet attrs, int defStyleAttr) {
        super(context, attrs, defStyleAttr);
        init(context, attrs);
    }

    private void init(Context context, AttributeSet attrs){
        BackgroundFactory.setViewBackground(context, attrs, this);
    }
}
Inherit the View that needs to be previewed, and then add backgroundfactory in the constructor Setviewbackground (context, attrs, this) method is sufficient.