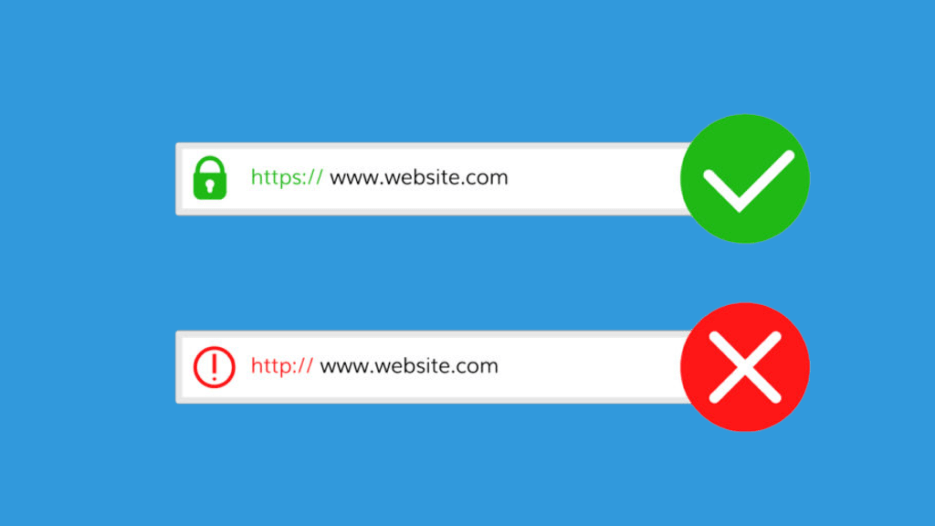
In the HTTP 2.0 era, almost all websites are accessed through https. To achieve https access, the security certificate is a barrier that cannot be bypassed. Domain name service providers generally provide free certificate registration, and many can be searched on the Internet. The common issuing institutions of free certificates are Asia integrity, Let's Encrypt, zoreshl, etc. I analyzed the advantages and disadvantages of free certificates:
advantage:
- free
Disadvantages:
- Number limit
- time limit
- Failed to request universal certificate
As long as there is a free advantage is enough, the disadvantages can be overcome 😂. And the hero who overcomes these shortcomings is acme.sh . acme.sh implements the acme protocol and can generate free certificates from Let's Encrypt, zoreshsl, buypass and sslcom.
1. Install acme sh
You can choose one of the following three my@example.com Change to your own mailbox.
The installation process will not pollute any functions and files. All modifications are limited to the installation directory: ~ / acme.sh/.
(1) Pass https://get.acme.sh install
curl https://get.acme.sh | sh -s email=my@example.com
perhaps
wget -O - https://get.acme.sh | sh -s email=my@example.com
(1) Install via GitHub
curl https://raw.githubusercontent.com/acmesh-official/acme.sh/master/acme.sh | sh -s -- --install-online -m my@example.com
perhaps
wget -O - https://raw.githubusercontent.com/acmesh-official/acme.sh/master/acme.sh | sh -s -- --install-online -m my@example.com
(3) Install via git clone
# Use acceleration channel
git clone https://github.com.cnpmjs.org/acmesh-official/acme.sh.git
cd acme.sh
./acme.sh --install -m my@example.com
The installation process includes the following steps:
(1) Install acme.sh in the home directory
~/.acme.sh/
(2) Create a bash alias
alias acme.sh=~/.acme.sh/acme.sh
(3) Create a cronjob, automatically detect all certificates at 0:00 every day, and automatically update the certificates if they are about to expire.
2. Generate certificate
You can choose one of the following two methods. Set mydomain Com to your own domain name.
See how to generate a pan domain name certificate Use acme SH generate free pan domain name certificate
(1) http mode
Specify the domain name and specify the site root directory. acme.sh will automatically generate verification files and put them in the root directory of the website to complete the verification automatically. Finally, the verification file will be deleted without any side effects.
acme.sh --issue -d mydomain.com -d www.mydomain.com --webroot /home/wwwroot/mydomain.com/
If you are using an apache server, acme SH can intelligently and automatically complete verification from apache configuration without specifying the website root directory:
acme.sh --issue -d mydomain.com --apache
If using nginx server or reverse proxy, acme SH can intelligently and automatically complete verification from nginx configuration without specifying the website root directory:
acme.sh --issue -d mydomain.com --nginx
be careful! Whether in apache or nginx mode, acme SH will not automatically modify the configuration file. You need to modify the configuration file manually, otherwise you cannot access https
If no web service is running and port 80 is idle, acme SH can also pretend to be a webserver and temporarily listen to port 80 to complete verification:
acme.sh --issue -d mydomain.com --standalone
(2) DNS mode
Benefits: no server or public IP is required. Only DNS resolution records are required to complete the verification.
Disadvantages: acme. If the Automatic DNS API is not configured at the same time SH will not be able to automatically update the certificate.
acme.sh --issue --dns -d mydomain.com \
 --yes-I-know-dns-manual-mode-enough-go-ahead-please
acme.sh will generate corresponding resolution records, add TXT records to domain name resolution, and regenerate the certificate after successful resolution.
acme.sh --renew -d mydomain.com \
  --yes-I-know-dns-manual-mode-enough-go-ahead-please
The real strength of DNS is that you can use the api provided by the domain name resolver to automatically add TXT records to complete verification.
acme.sh currently supports dozens of domain name service providers: dnsapi
Taking dnspod as an example, you need to log in to the dnspod account to generate api id and api key
export DP_Id="1234"

export DP_Key="qwertyuiopasdfghjkl"

acme.sh --issue --dns dns_dp -d mydomain.com -d www.mydomain.com
acme.sh will automatically generate the certificate and record the api id and api key. When using the dnspod api in the future, there is no need to specify it.
3. Copy / install certificate
be careful! The certificates generated by default are placed in the installation directory: ~ / acme.sh /, do not directly use the files in this directory. The files in this directory are used internally, and the directory structure may change.
The correct method is to use the -- install cert command to specify the target location, and the certificate file will be copied to the corresponding location.
Apache
acme.sh --install-cert -d example.com \
--cert-file      /path/to/certfile/in/apache/cert.pem  \
--key-file       /path/to/keyfile/in/apache/key.pem  \
--fullchain-file /path/to/fullchain/certfile/apache/fullchain.pem \
--reloadcmd     "service apache2 force-reload"
Nginx
acme.sh --install-cert -d example.com \
--key-file       /path/to/keyfile/in/nginx/key.pem  \
--fullchain-file /path/to/fullchain/nginx/cert.pem \
--reloadcmd     "service nginx force-reload"
4. Update certificate
The certificate will be automatically updated after 60 days without any action.
5. Update acme sh
Upgrade acme.com SH to the latest version
acme.sh --upgrade
If you do not want to upgrade manually, you can also turn on automatic upgrade
acme.sh --upgrade --auto-upgrade
Turn off automatic updates
acme.sh --upgrade --auto-upgrade 0
6. What if something goes wrong
Add -- debug or -- debug 2 after the command, for example:
acme.sh --issue -d mydomain.com --nginx --debug

# or

acme.sh --issue -d mydomain.com --nginx --debug 2
Or check the log
~/.acme.sh/acme.sh.log
This article is also published on my personal blog Buer blog Yes, welcome to visit!