1, Role of JNI:
1. Make JAVA interact with other local languages (C, C + +);
2. Call C, C + + and other language codes in JAVA code or C, C + + call JAVA code.
Because JAVA has the characteristics of cross platform, the interaction ability between JAVA and local code is weak. Using JNI feature can enhance the interaction ability between JAVA and local code.
2, How to use JNI in Android Studio:
preparation:
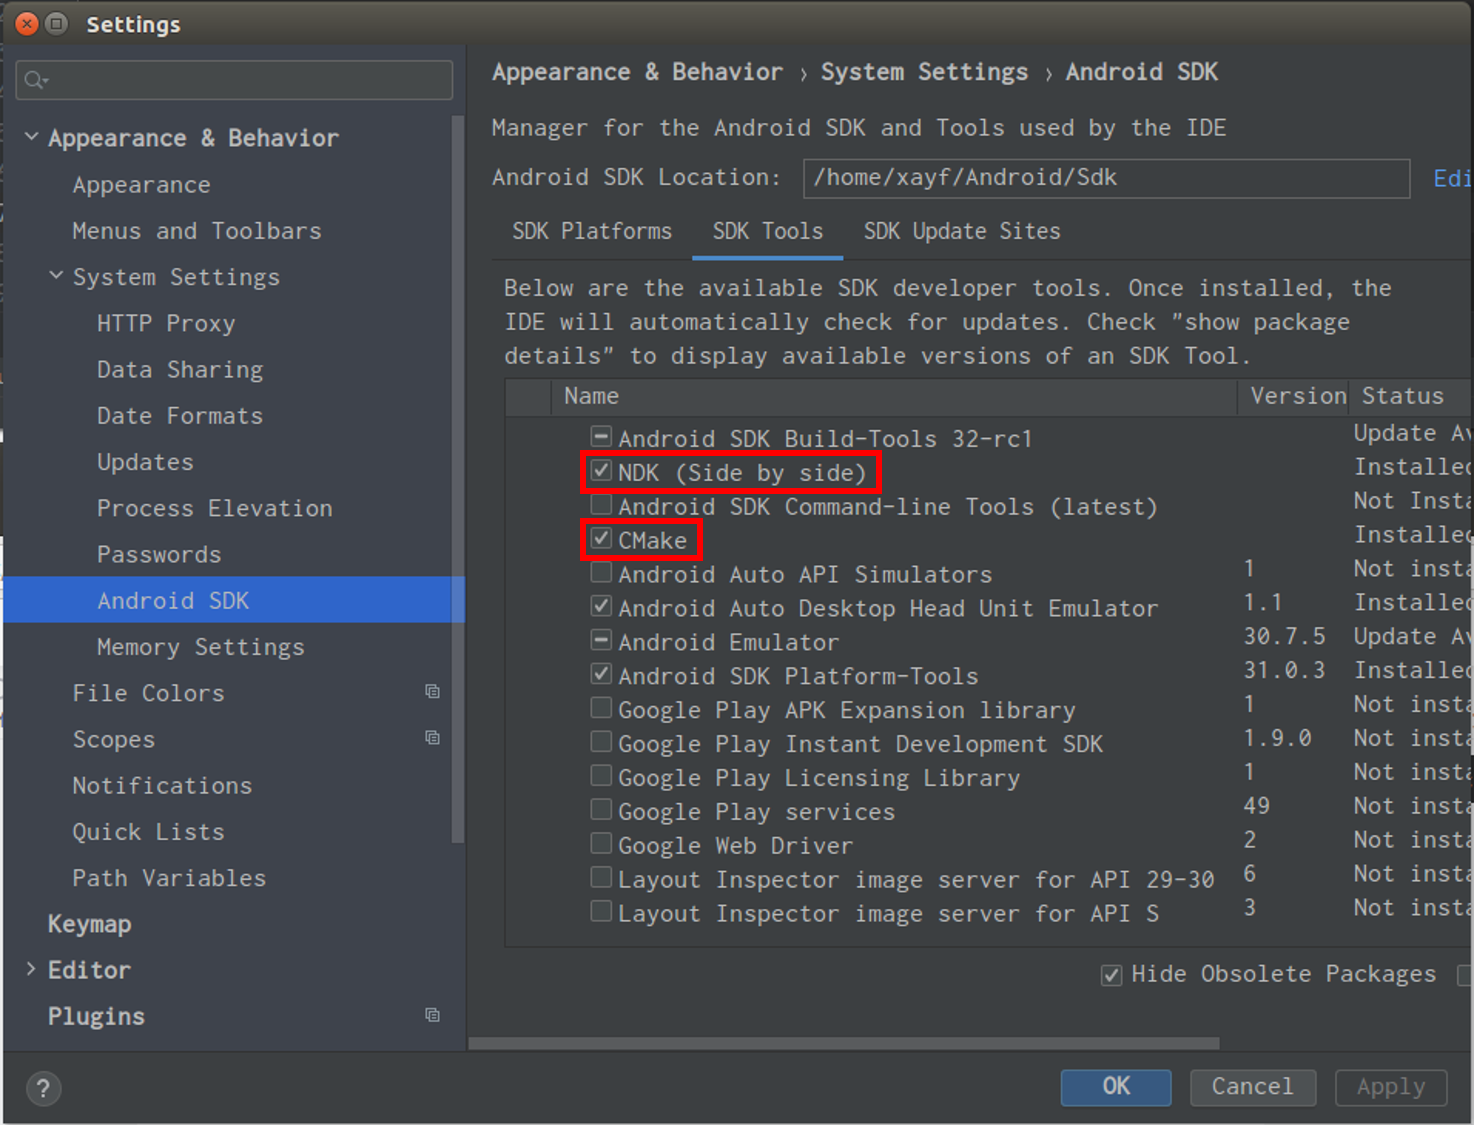
1. In Android studio, click file - > Settings... To check whether the two tools in the red box in the figure below have been downloaded. If not, they need to be downloaded:

2. Configuration environment:
Open your own environment configuration file. bashrc and add the following two lines at the end:
export ANDROID_NDK=/home/xayf/Android/Sdk/ndk/23.1.7779620
export PATH=$PATH:$ANDROID_NDK
Note: the bold and red parts are the positions where NDK is installed in its own system.
Operation method:
1. Create a new project JNITest. Under the package name of the project, create a new JAVA class named JNITest:
package com.example.jnitest;

public class JNITest {
    public native String getJNIString();
}
2. Compile JNITest.java file with javac command to generate JNITest.class file.
In the project directory ~ / AndroidStudioProjects/JNITest, execute the following command: javac app/src/main/java/com/example/jnitest/JNITest.java
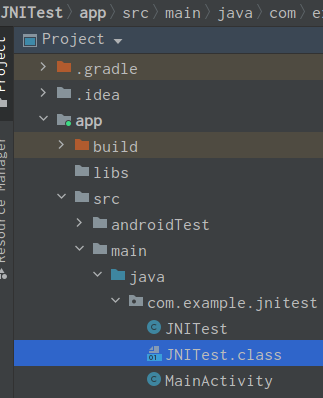
After execution, you can see that the corresponding class file is generated under the package name, as shown in the following figure:

3. After generating the JNITest.class file, you need to generate the corresponding. h file:
In the project directory ~ / AndroidStudioProjects/JNITest, execute the following command: javah -d app/src/main/jni -classpah app/src/main/java/ -jni -v com.example.jnitest.JNITest
After execution, you can see that the jni directory is generated in the app/src/main directory, and the corresponding. H file is generated in the directory. The file name is com_example_jnitest_JNITest.h
4. Under the jni directory, create a new cpp file named JNITest.cpp, which implements the local methods defined in the JNITest.java file:
Right click JNI - > New - > C / C + + source file - > and enter JNITest
//
// Created by xayf on 2021/11/4.
//

#include <stdio.h>
#include <stdlib.h>
#include <jni.h>

#ifndef _Included_com_example_jnitest_JNITest
#define _Included_com_example_jnitest_JNITest
#ifdef __cplusplus
extern "C" {
#endif

JNIEXPORT jstring JNICALL Java_com_example_jnitest_JNITest_getJNIString
(JNIEnv* env, jobject obj)
{
     return env->NewStringUTF("Hello From JNITest Function(getJNIString)");
};
#ifdef __cplusplus
}
#endif
#endif
5. Create another Android.mk file in jni Directory:
Right click jni Directory - > New - > file - > enter Android.mk, and write the following configuration in the file:
LOCAL_PATH := $(call my-dir)
include $(CLEAR_VARS)
LOCAL_MODULE := JNITest
LOCAL_SRC_FILES := \
JNITest.cpp \
include $(BUILD_SHARED_LIBRARY)
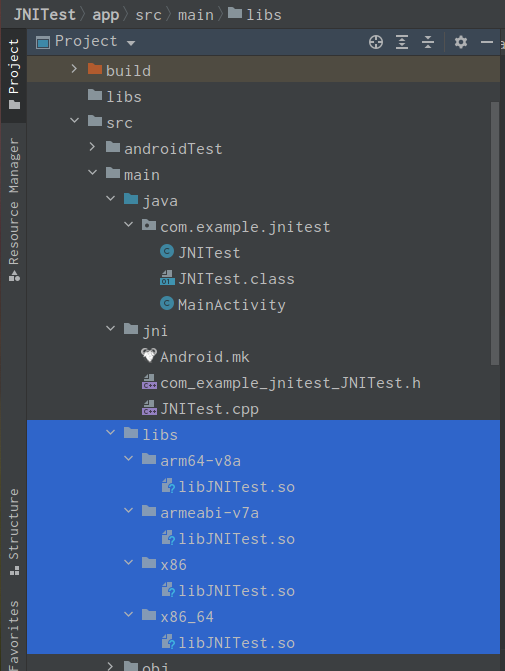
6. Enter the "~ / AndroidStudioProjects/JNITest/app/src/main/jni" directory in the terminal, execute NDK build, and then automatically generate the lib folder in the app/src/main directory. The generated so library file is in the lib folder, as shown in the following figure:

7. Establish the relationship between so library and JAVA file, and create the layout file activity corresponding to the MainActivity activity activity of the project_ In main, add a TextView control:
<TextView
        android:id="@+id/textview"
        android:layout_width="wrap_content"
        android:layout_height="wrap_content"
        android:text="Hello World!"
        app:layout_constraintBottom_toBottomOf="parent"
        app:layout_constraintLeft_toLeftOf="parent"
        app:layout_constraintRight_toRightOf="parent"
        app:layout_constraintTop_toTopOf="parent" />
In the MainActivity activity, add code. The file contents are as follows:
package com.example.jnitest;

import androidx.appcompat.app.AppCompatActivity;

import android.os.Bundle;
import android.widget.TextView;

import org.w3c.dom.Text;

public class MainActivity extends AppCompatActivity {

    static {
          System.loadLibrary("JNITest");
    }
    @Override
    protected void onCreate(Bundle savedInstanceState) {
        super.onCreate(savedInstanceState);
        setContentView(R.layout.activity_main);
        TextView textView = (TextView) findViewById(R.id.textview);
        JNITest jniTest = new JNITest();
        textView.setText(jniTest.getJNIString());
    }
}
8. Key steps: add the following code in the build.gradle file of Android project:
android {
    ...
    sourceSets {
         main() {
             jniLibs.srcDirs = ['src/main/libs']
             jni.srcDirs = [] //Mask the default jni build process

         }
    }
}
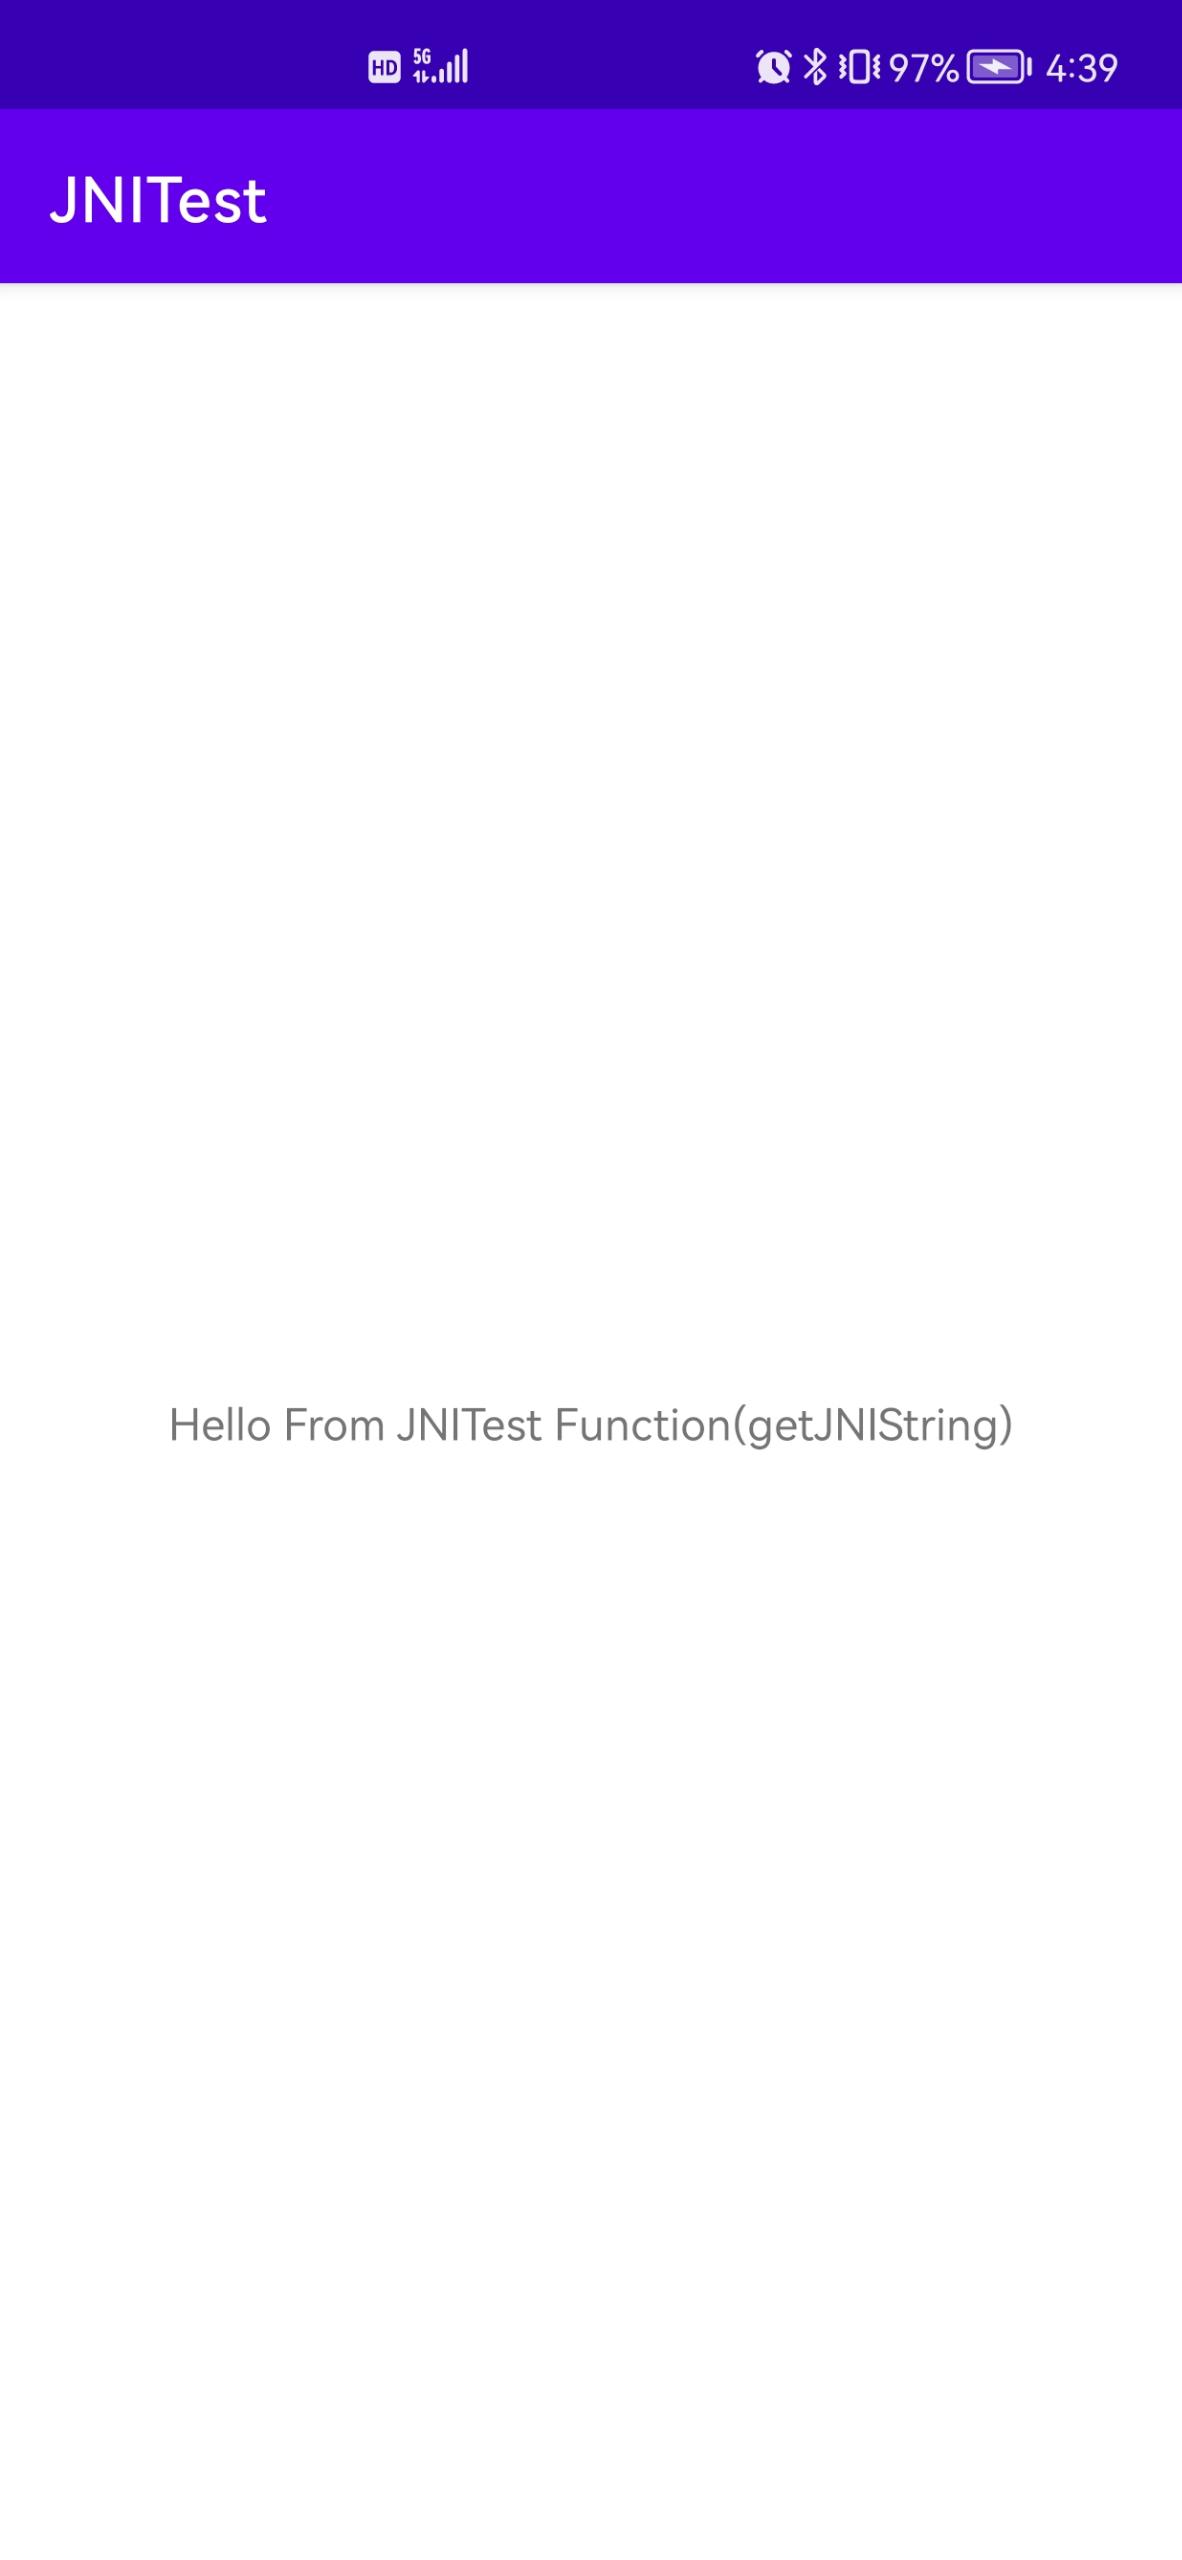
9. Run the project to the mobile phone, and the display screen is as follows:

The text shown in the figure is the string value returned by the method defined in the cpp file.