1, Introduction to OpenOCD
openocd Its full name is Open On-Chip Debugger. It is a free and open on-chip debugging tool and programming tool. It has been released to version 0.11.0. At present, almost all mainstream debuggers support it. For details, see the Open On-Chip Debugger:OpenOCD User's Guide.
List of supported downloaders (partial):
- CMSIS-DAP v2 (USB bulk based) adapter driver
- Nuvoton Nu-Link and Nu-Link2 adapter drivers
- NXP IMX GPIO mmap based adapter driver
- ST-Link consolidate all versions in single config
- ST-Link read properly old USB serial numbers
- STLink/V3 support (for ST devices only)
2, Install openOCD
1. Download openOCD
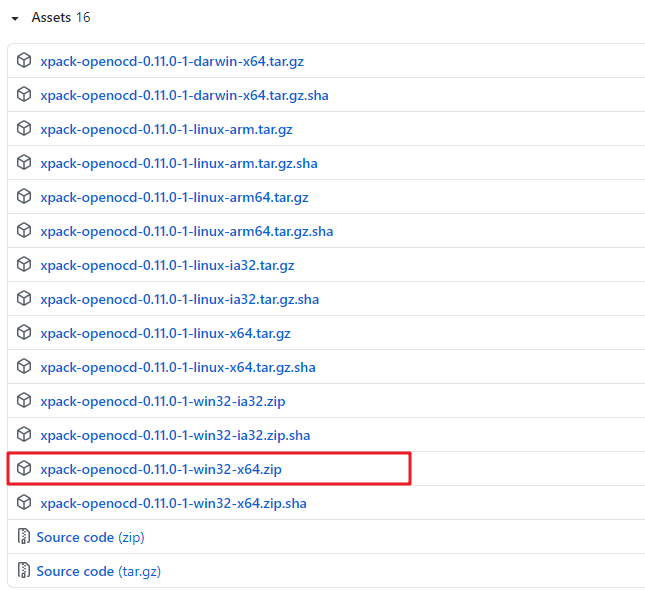
Download address: https://github.com/xpack-dev-tools/openocd-xpack/releases
2. Install openOCD
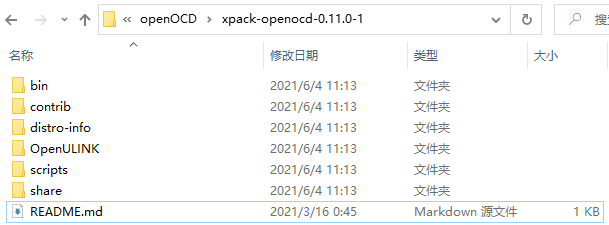
This is the software compiled by a third party. After decompression, configure the environment variables.
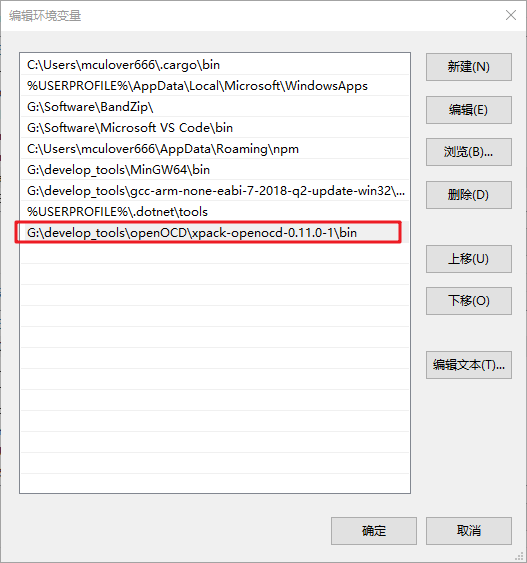
The openocd executable program adds the bin directory path to the environment variable under the bin directory:
Restart the computer after configuration.
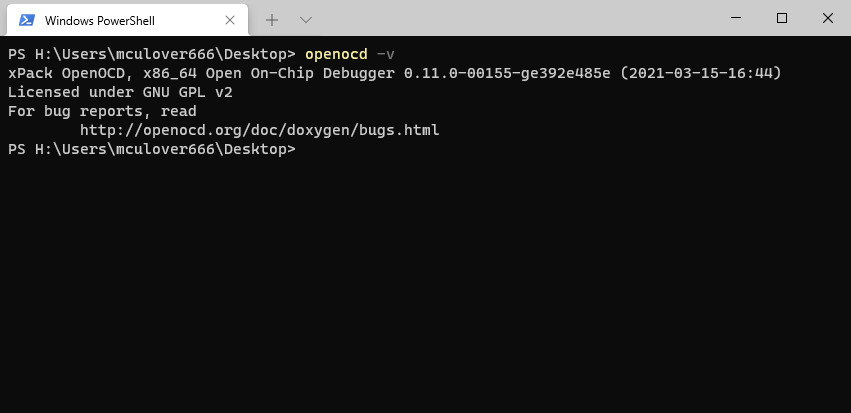
3. Check whether the installation is completed
After restart, open the command line and check whether the openocd version can be viewed:
3, How to use openOCD
1. Connect to the target chip
The command format of openOCD connecting to the target chip is:
openocd -f <Interface profile> -f <Target chip profile>
The interface configuration file and the target chip configuration file need to use absolute paths.
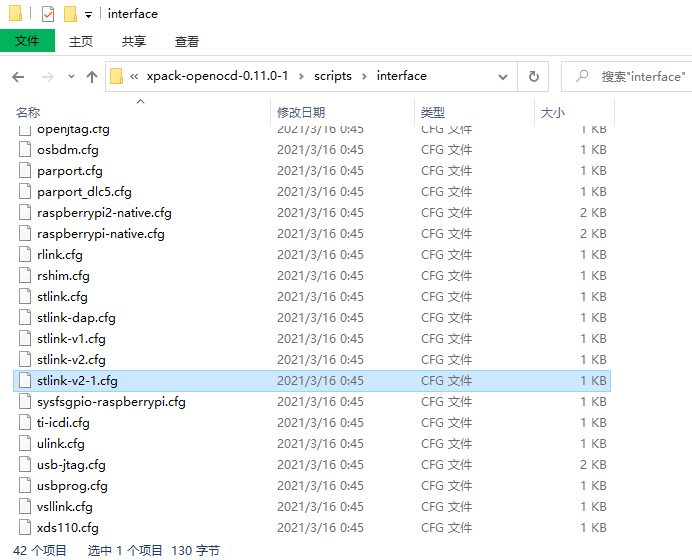
The interface configuration file is the download interface supported by openOCD. In the scripts\interface folder:
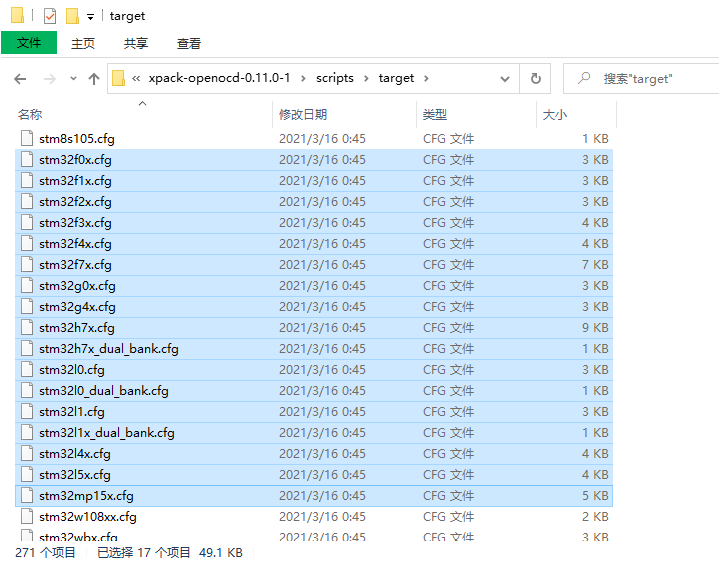
The target chip configuration file is the target chip supported by openOCD, which is in the scripts\target folder;
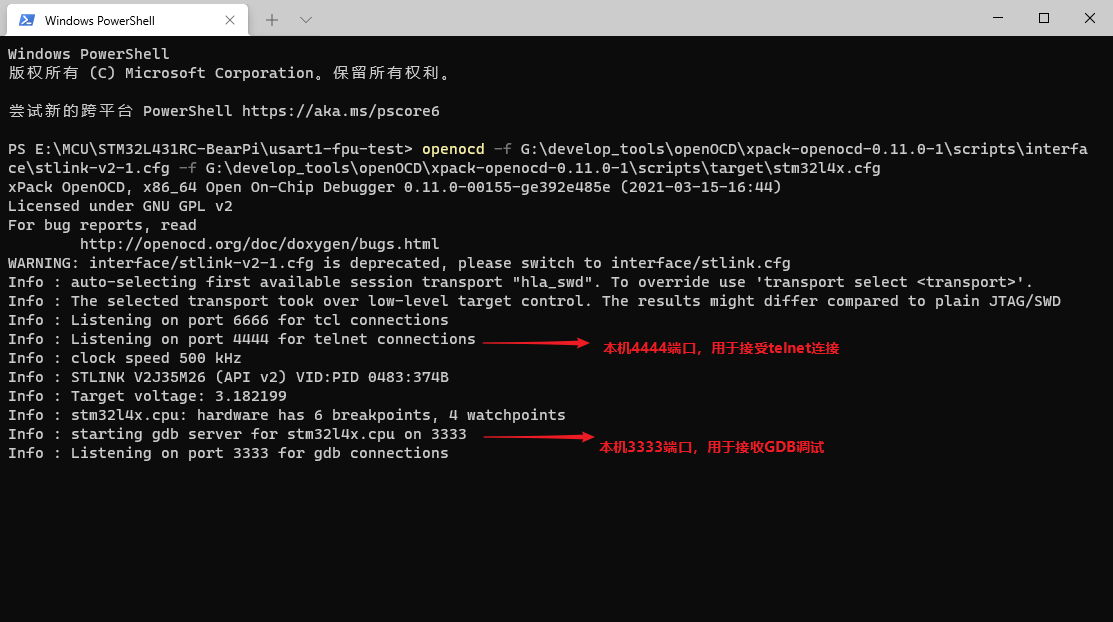
For example, here I use st link V2-1 downloader + STM32L431RCT6, and the results are as follows:
2. Download program
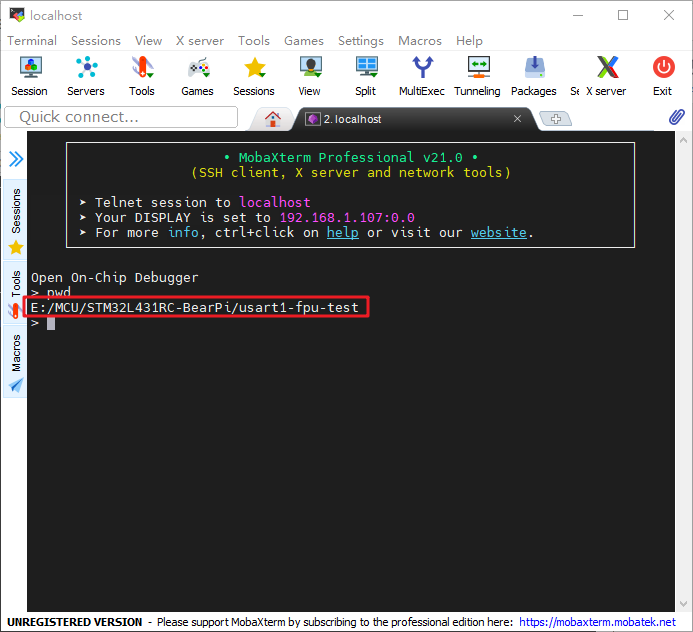
After successfully connecting to the target chip, you need to use telnet protocol to connect to openOCD terminal, port 4444. Here I use mobaxterm:


After connecting, it should be noted that the path of the terminal is the path where openOCD starts the service. You can use pwd command to view:
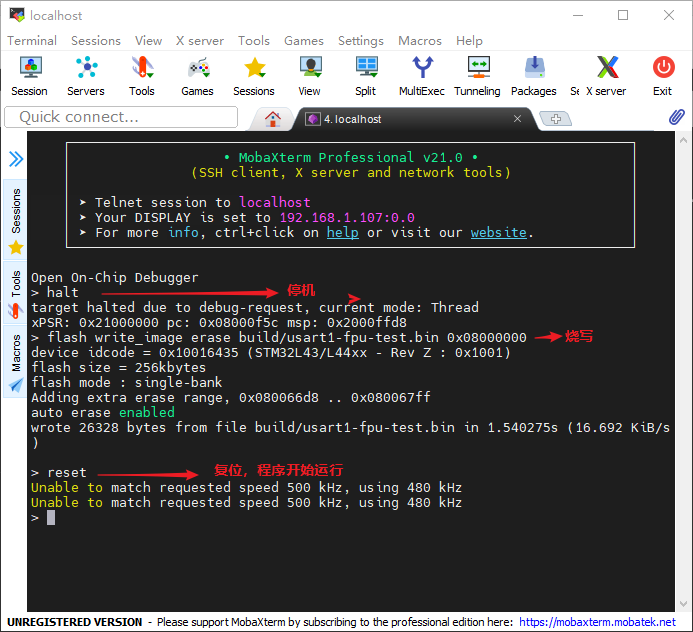
After connecting to the openOCD terminal, download the program according to the following three steps.
① Target chip suspended, shutdown:
halt
② Burn:
flash write_image erase <Files to download> <flash Burn start address>
③ Reset:
reset
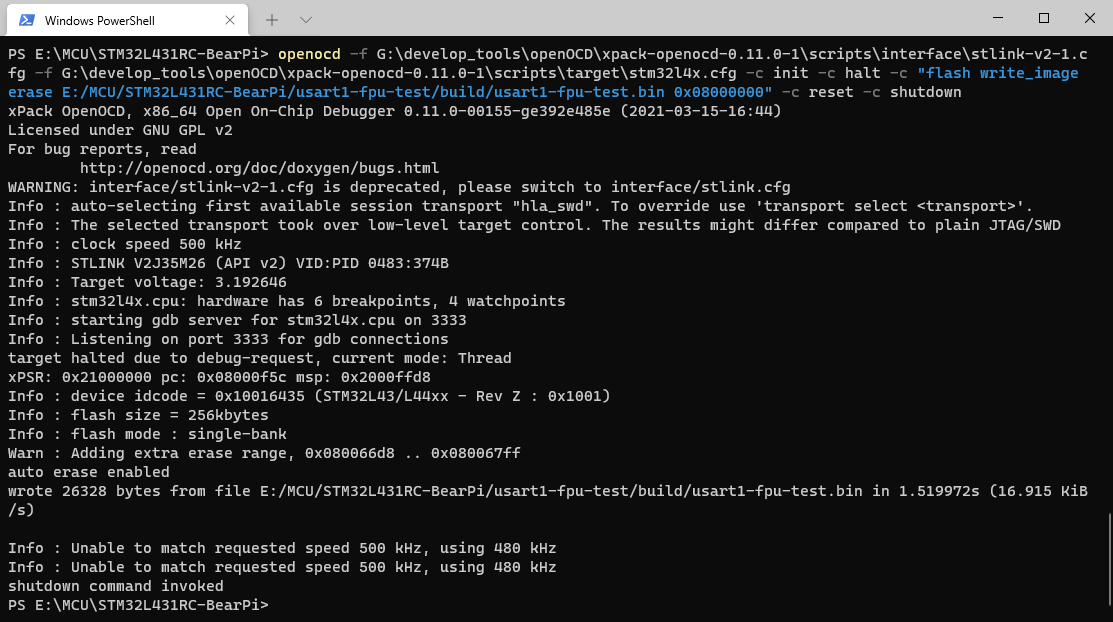
3. One line command completion
When starting openOCD, you can use the - c parameter to bring the command to be executed, and complete burning and reset through one line of command. There is no need to create a new terminal and connect openOCD with telnet.
openocd -f <Interface profile> -f <Target chip profile> -c <Command to execute>
For example, the previous process can be integrated as follows:
openocd -f G:\develop_tools\openOCD\xpack-openocd-0.11.0-1\scripts\interface\stlink-v2-1.cfg -f G:\develop_tools\openOCD\xpack-openocd-0.11.0-1\scripts\target\stm32l4x.cfg -c init -c halt -c "flash write_image erase E:/MCU/STM32L431RC-BearPi/usart1-fpu-test/build/usart1-fpu-test.bin 0x08000000" -c reset -c shutdown
The download results are as follows:
4, Add to makefile to realize one click download
1. Add makefile pseudo target
Although openOCD can be downloaded through one line of command, it can be added to the makefile as a pseudo target:
#######################################
# download
#######################################
download:
	openocd -f G:\develop_tools\openOCD\xpack-openocd-0.11.0-1\scripts\interface\stlink-v2-1.cfg -f G:\develop_tools\openOCD\xpack-openocd-0.11.0-1\scripts\target\stm32l4x.cfg -c init -c halt -c "flash write_image erase E:/MCU/STM32L431RC-BearPi/usart1-fpu-test/build/usart1-fpu-test.bin 0x08000000" -c reset -c shutdown
In this way, we can use the following command to complete the burning:
make download
2. Optimize makefile
Optimize the variables of the above commands added in makefile to facilitate the modification of different projects in the future:
#######################################
# download
#######################################
OPENOCD_ROOT = G:\develop_tools\openOCD\xpack-openocd-0.11.0-1
OPENOCD_INTERFACE = stlink-v2-1.cfg
OPENOCD_TARGET = stm32l4x.cfg
OPENOCD_FLASH_START = 0x08000000
PWD_DIR = E:/MCU/STM32L431RC-BearPi/usart1-fpu-test

download:
	openocd -f $(OPENOCD_ROOT)\scripts\interface\$(OPENOCD_INTERFACE) -f $(OPENOCD_ROOT)\scripts\target\$(OPENOCD_TARGET) -c init -c halt -c "flash write_image erase $(PWD_DIR)/$(BUILD_DIR)/$(TARGET).bin $(OPENOCD_FLASH_START)" -c reset -c shutdown