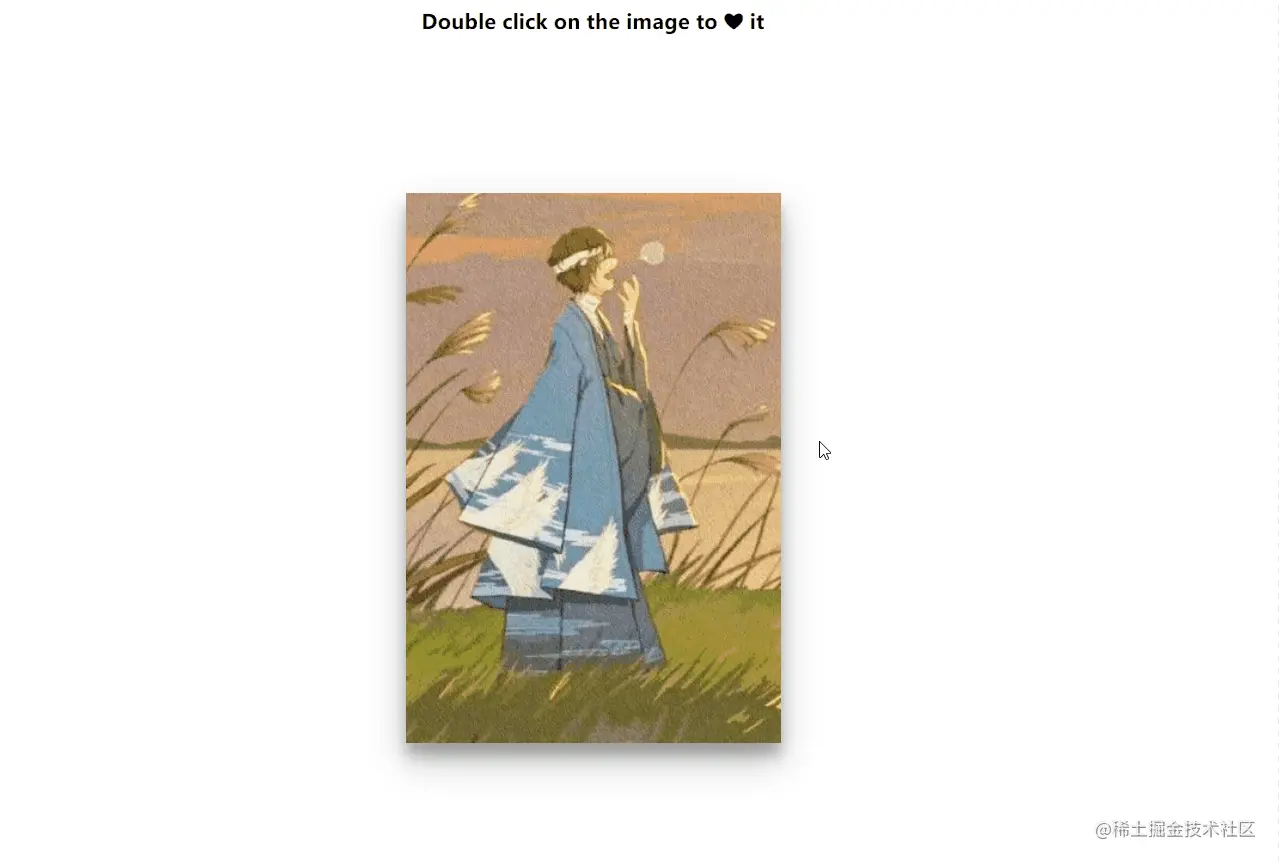
The final effect achieved
The old rule is to see the final effect first (double click to show the red heart)
Implementation steps
Implementation principle
Double click, as the name suggests, is that the time interval between the first click and the second click is less than a fixed value
So the idea is to use new date Gettime() to obtain the timestamp and compare the timestamp before and after. When it is less than a certain value, a red heart effect will be rendered.
So how to render this red heart effect?
At this point, you can select react dom Render this method to render this node.
Another problem is that this node needs to be removed after rendering, and React provides a reactdom Unmountcomponentatnode this method is used to remove the node of the red heart effect.
Basic concepts
Now let's review these two methods:
ReactDOM.render
I believe everyone should be familiar with this method.
Syntax: reactdom render(element, container[, callback])
The introduction on the official website is to render a React element in the provided container and return a reference to the component (or null for stateless components)
That is, render the React component to the specified container.
ReactDOM.unmountComponentAtNode
Syntax: reactdom unmountComponentAtNode(container)
Description on the official website: when a component is unloaded from the DOM, its event handlers and state will be cleared together. If there is no corresponding mounted component on the specified container, this function will do nothing.
Simply put: remove all components in the specified component.
prepare
First, introduce the custom style blocks in the implementation process (because the library of styled components is used)
Just know what it does
Don't mention Main, just for good display (center the components to be displayed)
export const Main = styled.main`
  height: 100vh;
  display: flex;
  flex-direction: column;
  align-items: center;
`;
Copy code
This Photo is the component centered by Main, which displays a picture and will display the red heart effect on this component
export const Photo = styled.div`
  height: 440px;
  width: 300px;
  background: url("https://avatars.githubusercontent.com/u/54023155?v=4")
    no-repeat center center/cover;
  margin: auto;
  cursor: pointer;
  max-width: 100%;
  position: relative;
  box-shadow: 0 14px 28px rgba(0, 0, 0, 0.25), 0 10px 10px rgba(0, 0, 0, 0.22);
  overflow: hidden;
`;
Copy code
The HeartDiv component below is the displayed red heart effect, in which the animation attribute of CSS is used to realize the effect of red heart edge expansion and edge transparency. The code is as follows:
const grow = keyframes`
  to {
    transform: translate(-50%, -50%) scale(10);
    opacity: 0;
  }
`;

export const HeartDiv = styled.div`
  position: absolute;
  color: red;
  /* Here, you will get the position of the mouse click during rendering, and the red heart effect will be displayed at this position */
  top: ${(props) => props.y}px;
  left: ${(props) => props.x}px;
  animation: ${grow} 0.6s linear;
  transform: translate(-50%, -50%) scale(0);
`;
Copy code
realization
Then start to realize the red heart effect
First, pull out the red core component to be displayed, because it will be removed after rendering the component
import React from "react";
import { HeartDiv } from "./styled";

function Heart(props) {
  return (
    // Receives the location of the mouse click received from the parent component
    <HeartDiv x={props.x} y={props.y}>
      ❤
    </HeartDiv>
  );
}

export default Heart;
Copy code
First, check whether the first and second clicks are less than a fixed value. The function implementation is as follows:
let clickTime = 0;

const handleClick = (e) => {
    if(clickTime === 0) {
        // If it is the first click, get the current timestamp and save it
        clickTime = new Date().getTime();
    } else {
        if((new Date().getTime() - clickTime) < 800) { // Two clicks are less than a certain value, here is 800
            // Concrete implementation
            clickTime = 0; // After the specific implementation, reset it to 0 and go through the steps again
        } else {
            // If it exceeds 800, you need to retrieve the current timestamp
            clickTime = new Date().getTime();
        }
    }
}
Copy code
Pretty good, understand
However, the focus is on how the parent component renders the component and then removes the component
The next step is to implement this function on the basis of this function
Give me a picture to explain. The < heart / > and < photo > here have been introduced in the preparation stage. If you forget, you can turn it up and have a look
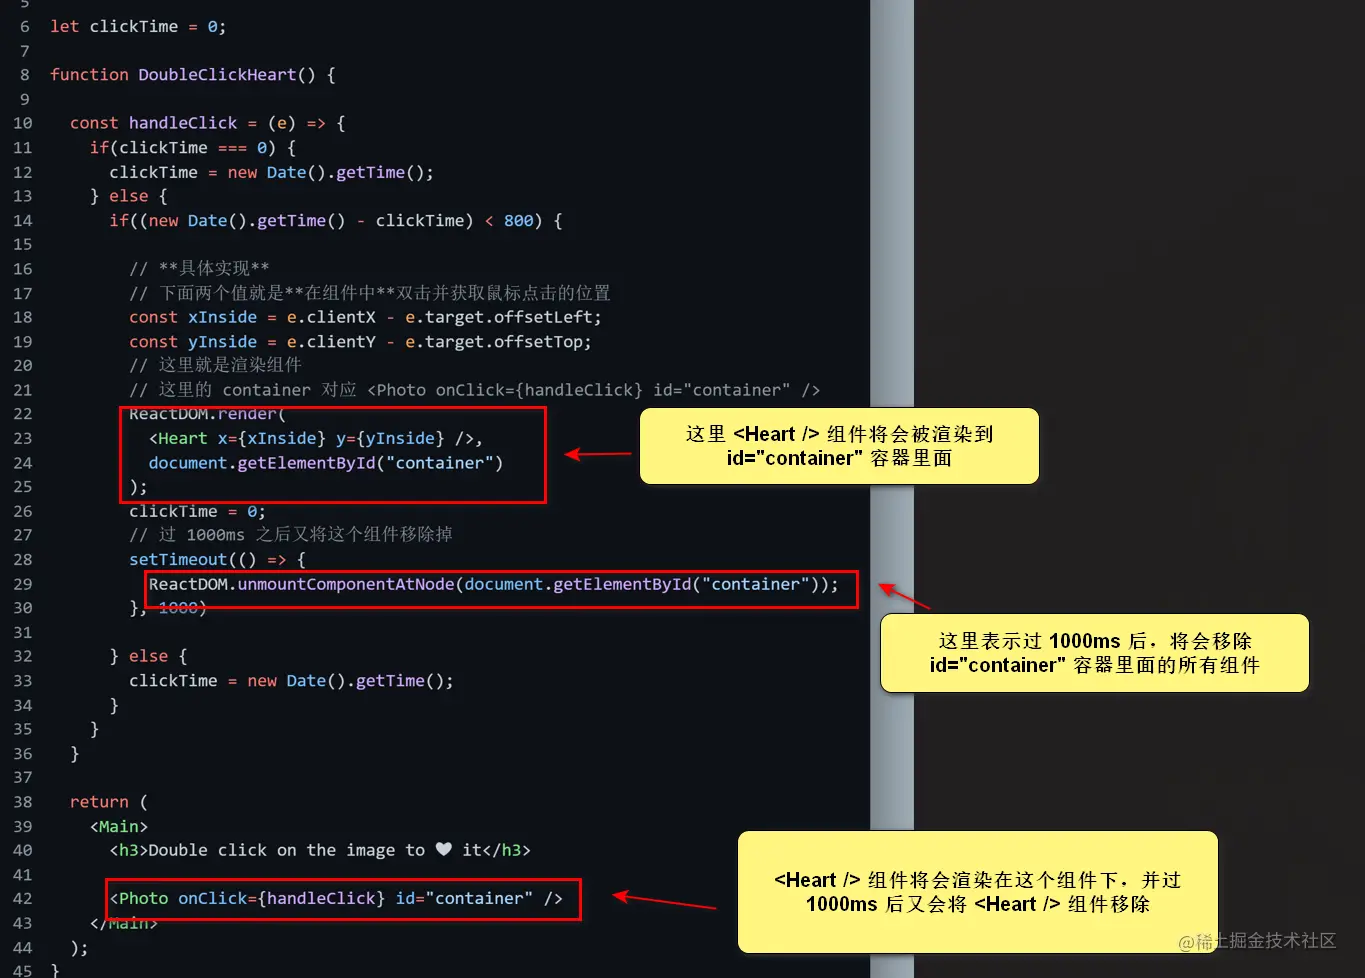
The complete code is as follows (the code in the above picture):
import React from "react";
import ReactDOM from "react-dom";
import Heart from "./Heart";
import { Main, Photo } from "./styled";

let clickTime = 0;

function DoubleClickHeart() {

  const handleClick = (e) => {
    if(clickTime === 0) {
      clickTime = new Date().getTime();
    } else {
      if((new Date().getTime() - clickTime) < 800) {

        // **Concrete implementation**
        // The following two values are * * double click in the component and get the mouse click position
        const xInside = e.clientX - e.target.offsetLeft;
        const yInside = e.clientY - e.target.offsetTop;
        // Here is the rendering component
        // The container here corresponds to < photo onclick = {handleclick} id = "container" / >
        ReactDOM.render(
          <Heart x={xInside} y={yInside} />,
          document.getElementById("container")
        );
        clickTime = 0;
        // Remove this component after 1000ms
        setTimeout(() => {
          ReactDOM.unmountComponentAtNode(document.getElementById("container"));
        }, 1000)

      } else {
        clickTime = new Date().getTime();
      }
    }
  }

  return (
    <Main>
      <h3>Double click on the image to ❤ it</h3>

      <Photo onClick={handleClick} id="container" />
    </Main>
  );
}

export default DoubleClickHeart;
Copy code
Now you have achieved the effect of double clicking the red heart.
last
This blog is more about reactdom Render and reactdom The combination of unmountcomponentatnode and the two methods may have a better implementation method. You can comment and introduce it (HA HA)
The complete source code of this blog is in here
I will 50 Projects in 50 Days All the examples in are implemented with React Hooks.
github address is here: 50-mini-projects-with-react