1. Overview of Sonar
Sonar is an open platform for code quality management.Through the plug-in mechanism, Sonar can integrate different testing tools, code analysis tools, and continuous integration tools.
Unlike continuous integration tools such as Hudson/Jenkins, Sonar does not simply display the results of different code inspection tools (such as FindBugs, PMD, and so on) directly on the Web On the page, these results are reprocessed through different plug-ins, and changes in code quality are measured quantitatively, which makes it easy to manage code quality for projects of different sizes and types.
In terms of support for other tools, Sonar not only provides IDE support, but also allows you to view results online in tools such as Eclipse and IntelliJ IDEA; Sonar also provides interface support for a number of continuous integration tools, making it easy to use Sonar in continuous integration.
In addition, Sonar's plug-ins support programming languages other than Java, as well as internationalization and document reporting.
Sonar's function is to check if the code has a BUG.In addition to checking for bugs in your code, there are other features, such as: what is your code comment rate, some suggestions for code, and suggestions for grammar.So it is called quality management.
Sonar's related downloads and documentation can be found in the following links: http://www.sonarqube.org/downloads/.
It is important to note that the latest version of Sonar requires at least JDK version 1.8 and above.
II. Deployment of Sonar
Note: Next configuration needs to be blog based Jenkins+Gitlab for continuous integration The environment is deployed.
The software packages and plug-ins required in the deployment environment are available through this link Download.
The plug-ins needed for Sonar can also be downloaded at https://docs.sonarqube.org/display/PLUG!
[root@jenkins ~]# wget https://binaries.sonarsource.com/Distribution/sonarqube/sonarqube-5.6.zip
[root@jenkins ~]# unzip sonarqube-5.6.zip
[root@jenkins ~]# mv sonarqube-5.6 /usr/local/sonarqube
[root@jenkins ~]# ln -s /usr/local/sonarqube/bin/linux-x86-64/sonar.sh /usr/local/bin
3. Install MySQL database
sonar needs to use database, MySQL, Oracle, SQL server are all supported, this blog article uses MySQL database.If the MySQL database already exists in your environment, you don't need to redeploy it, just create the database and users!
For simple and fast deployment of Mysql database, install Mysql database by script, Download One-click installation of mysql
Friendly Tip: sonar does not seem to support mysql 5.5. It is recommended to install mysql 5.6 or later. The script provided installs MySQL 5.7!
[root@jenkins ~]# ls mysql*
mysql-5.7.22-linux-glibc2.12-x86_64.tar.gz  mysql.sh
[root@jenkins ~]# sh mysql.sh
Starting MySQL.. SUCCESS!
mysql: [Warning] Using a password on the command line interface can be insecure.
[root@jenkins ~]# mysql -u root -p123               #The password for the root provided by the script is 123
#Log on to mysql database
mysql> create database sonar character set utf8 collate utf8_general_ci;
mysql> grant all on sonar.* to 'sonar'@'%' identified by '123.com';
mysql> grant all on sonar.* to 'sonar'@'localhost' identified by '123.com';
mysql>  flush privileges;
3. Configuring Sonar
[root@jenkins ~]# vim /usr/local/sonarqube/conf/sonar.properties
#Edit sonar's main profile
sonar.jdbc.username=sonar
sonar.jdbc.password=123.com                   #Specify the user and password to connect to the database
sonar.jdbc.url=jdbc:mysql://localhost:3306/sonar?useUnicode=true&characterEncoding=utf8&rewriteBatchedStatements=true&useConfigs=maxPerforman
#Define the address and port to connect to the mysql database (remove comments by default)
sonar.web.host=0.0.0.0
sonar.web.port=9000                # Define the IP address and port where Sonar provides Web page listening
#Next, configure sonar to support Chinese pages and PHP language
[root@jenkins ~]# cd /usr/local/sonarqube/extensions/plugins/
[root@jenkins plugins]# ls *.jar            #Make sure you have both jar packages in this directory
sonar-l10n-zh-plugin-1.11.jar  sonar-php-plugin-2.9-RC1.jar
[root@jenkins ~]# sonar.sh start                 #Start sonar
[root@jenkins ~]# tail -2 /usr/local/sonarqube/logs/sonar.log
2020.02.13 14:59:03 INFO  ce[o.s.ce.app.CeServer] Compute Engine is up
2020.02.13 14:59:03 INFO  app[o.s.p.m.Monitor] Process[ce] is up
#Ensure that the sonar log contains the above two lines
[root@jenkins ~]# ss -lnt | grep 9000
LISTEN     0      25           *:9000                     *:*
#Make sure the port of sonar is already listening
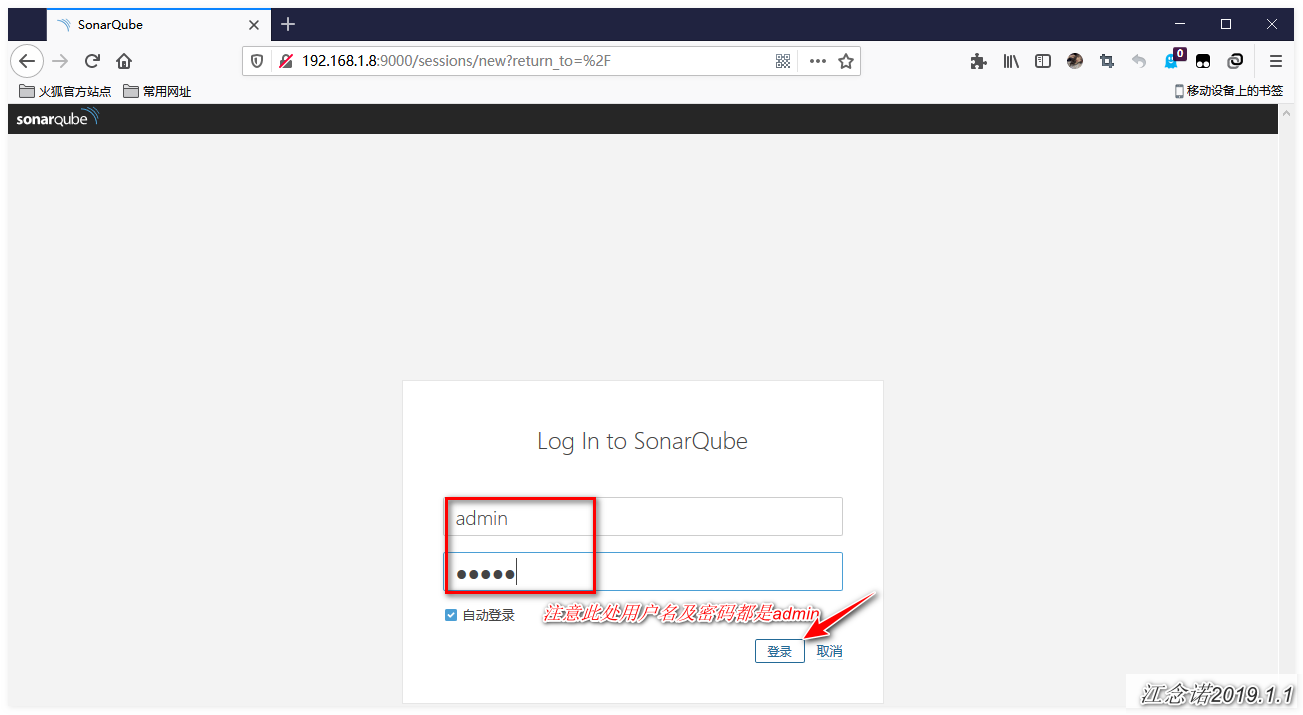
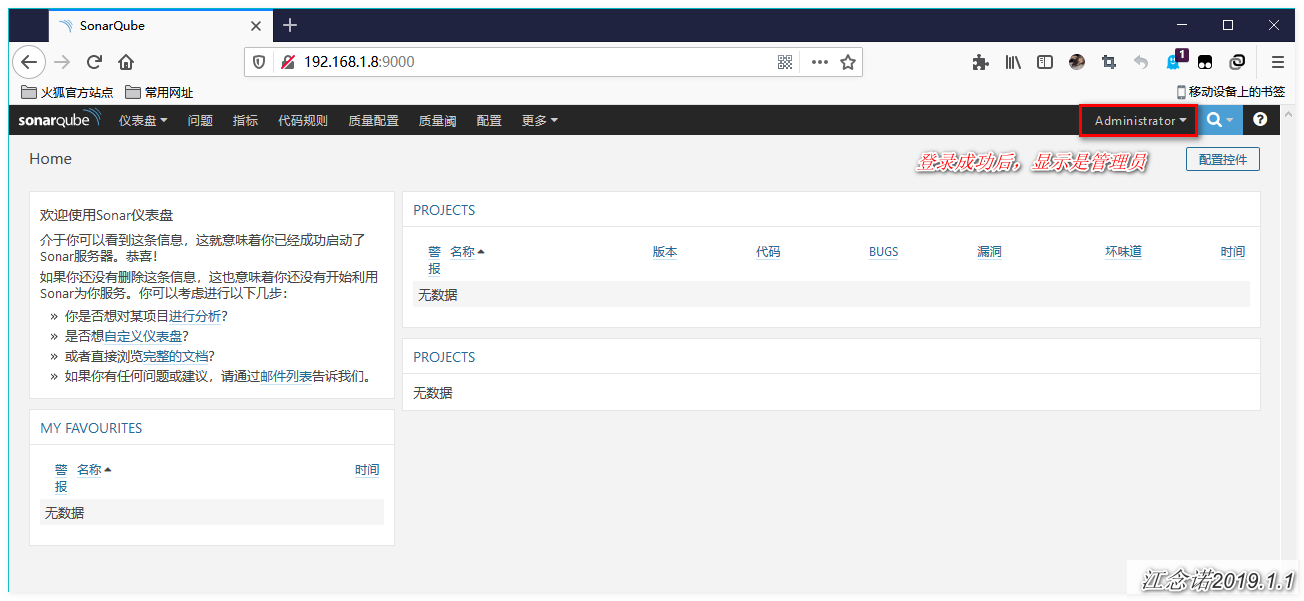
Visit sonar's web page as follows: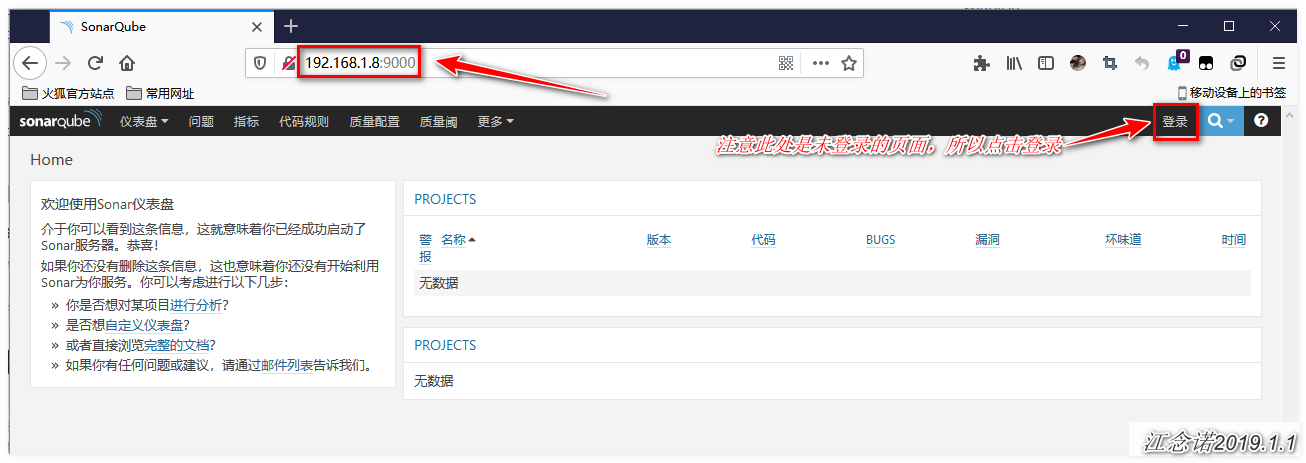
4. Configure Sonar for code scanning
[root@jenkins ~]# wget https://binaries.sonarsource.com/Distribution/sonar-scanner-cli/sonar-scanner-cli-3.3.0.1492-linux.zip
[root@jenkins ~]# unzip sonar-scanner-cli-3.3.0.1492-linux.zip
[root@jenkins ~]# mv sonar-scanner-3.3.0.1492-linux/ /usr/local/sonar-scanner
[root@jenkins ~]# ln -s /usr/local/sonar-scanner/bin/sonar-scanner /usr/local/bin/
[root@jenkins ~]# ln -s /usr/local/sonar-scanner/bin/sonar-scanner /usr/bin
[root@jenkins ~]# vim /usr/local/sonar-scanner/conf/sonar-scanner.properties
sonar.host.url=http://localhost:9000
sonar.sourceEncoding=UTF-8
#The following is copied from sonar's main configuration file: /usr/local/sonarqube/conf/sonar.properties to connect to the database
sonar.jdbc.username=sonar
sonar.jdbc.password=123.com
sonar.jdbc.url=jdbc:mysql://localhost:3306/sonar?useUnicode=true&characterEncoding=utf8&rewriteBatchedStatements=true&useConfigs=maxPerformance
5. Test Code Scanning Function
[root@jenkins ~]# unzip testalyzer-master.zip     #This package is available from the connection at the beginning of the blog
[root@jenkins ~]# cd testalyzer-master/projects/languages/php/php-sonar-runner-unit-tests/
[root@jenkins php-sonar-runner-unit-tests]# cat sonar-project.properties
#Look at what's contained in the file below
sonar.projectKey=org.sonarqube:php-ut-sq-scanner     #Custom keys, which automatically override previous test results if the keys are the same
sonar.projectName=PHP :: PHPUnit :: SonarQube Scanner        #Name of the web interface display
sonar.projectVersion=1.0      #Edition
sonar.sources=src        #Package Storage Path
sonar.tests=tests       #Test Path
sonar.language=php        #Language to test
sonar.sourceEncoding=UTF-8          #Encoding Format
sonar.php.coverage.reportPath=reports/phpunit.coverage.xml
sonar.php.tests.reportPath=reports/phpunit.xml
#This means that the profile must be present in the project before it can be scanned

#Testing PHP code
[root@jenkins php-sonar-runner-unit-tests]# pwd    #Determine the current path
/usr/src/testalyzer-master/projects/languages/php/php-sonar-runner-unit-tests
[root@jenkins php-sonar-runner-unit-tests]# sonar-scanner    #Testing
#Testing js code
[root@jenkins php-sonar-runner-unit-tests]# cd /root/testalyzer-master/projects/languages/javascript/javascript-sonar-runner
[root@jenkins javascript-sonar-runner]# sonar-scanner      #Testing
When you have finished testing js and PHP, you can see the following in the sonar's web interface: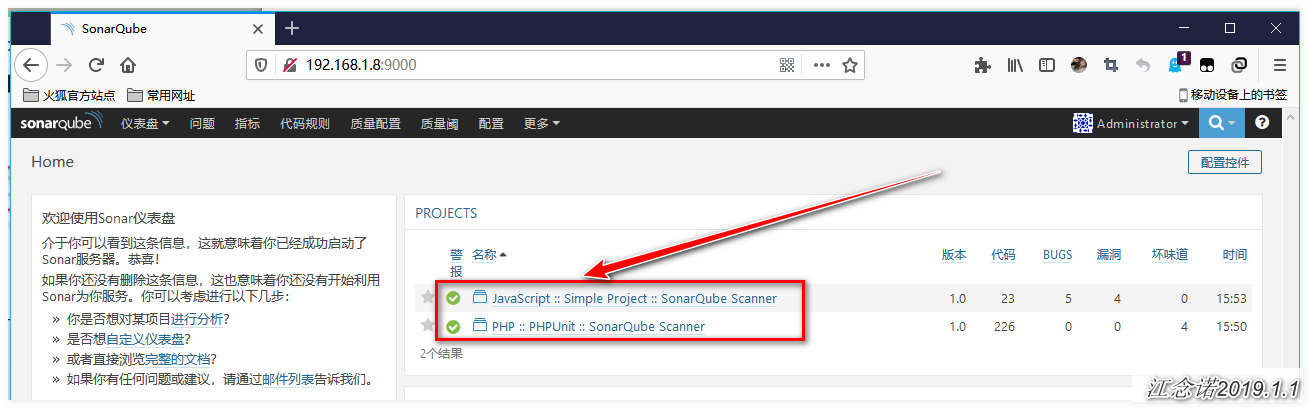
Click to view the details, as shown in the following figure: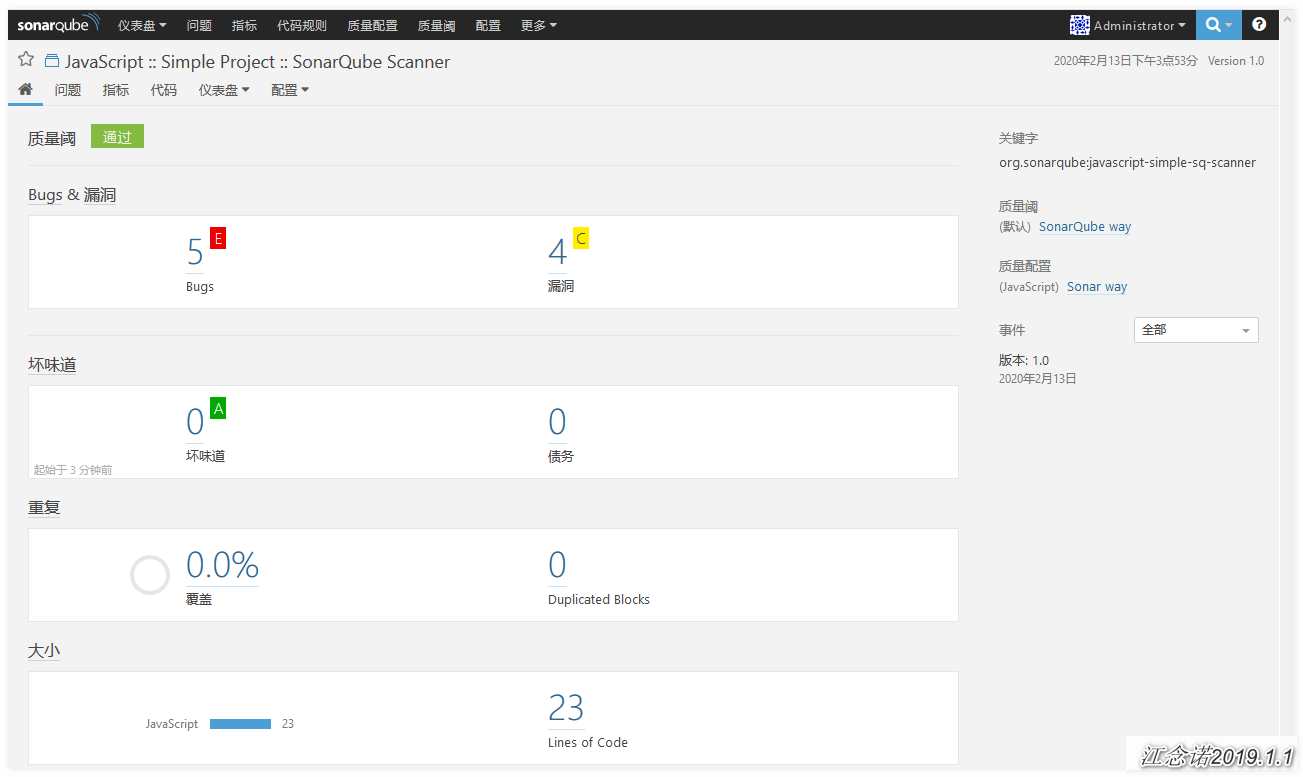
6. Configure Jenkins to turn on Sonar
Logging in to the web interface of Jenkins requires the installation of plug-ins, both online and offline. Here, I choose the offline installation, which I can install on my own.
1) Click on: System Management -> Plug-in Management -> Advanced, then drop-down page:
Download required plug-ins Install in "sonar" - > "gerrit-trigger" - > "sonar-gerrit", in the order of online installation: "SonarQube Scanner" - > "Gerrit Trigger" - > "Sonar Gerrit Plugin"
Figure: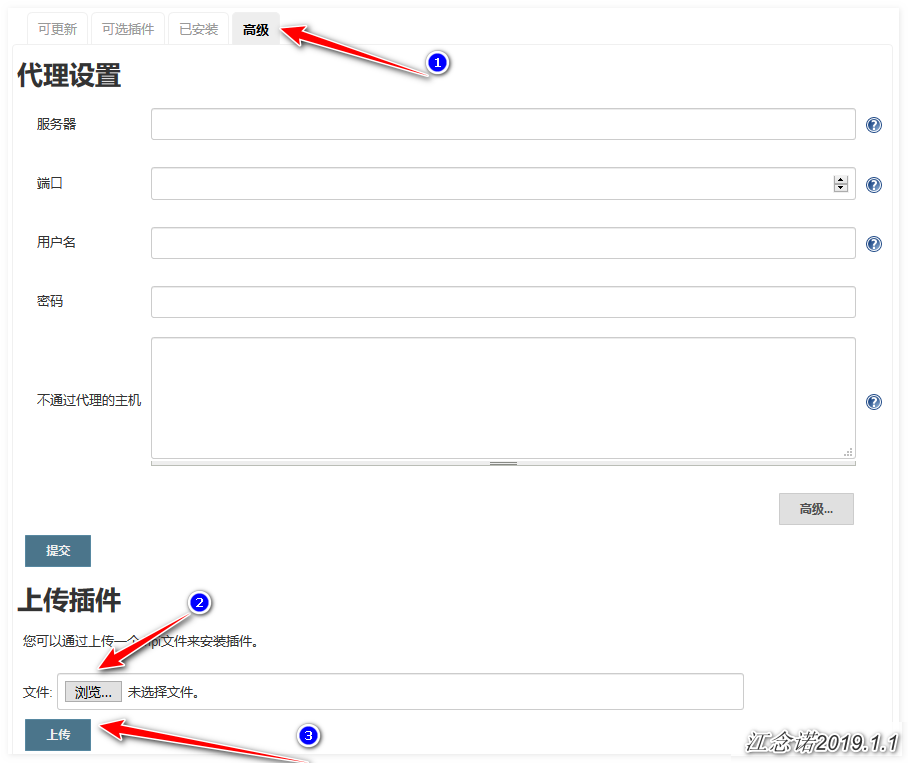
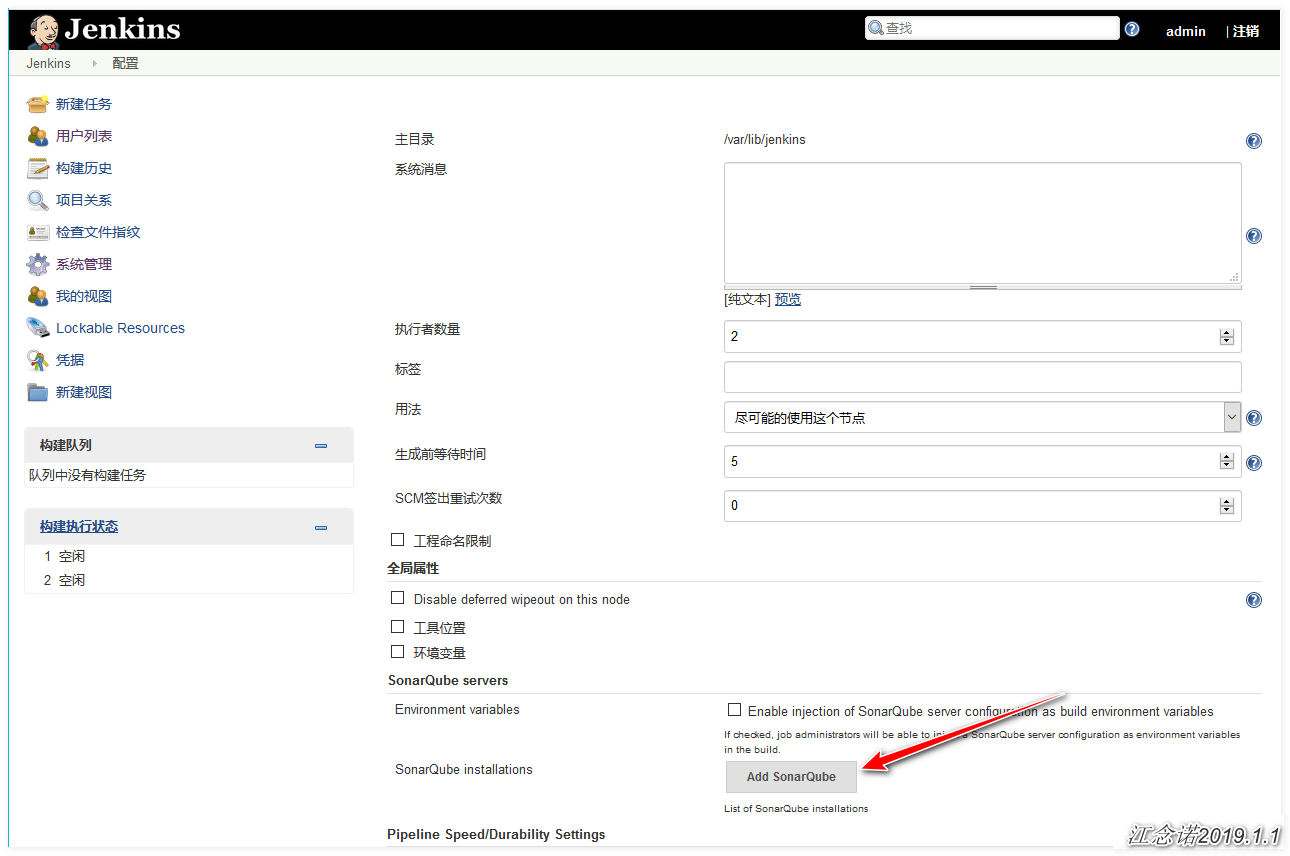
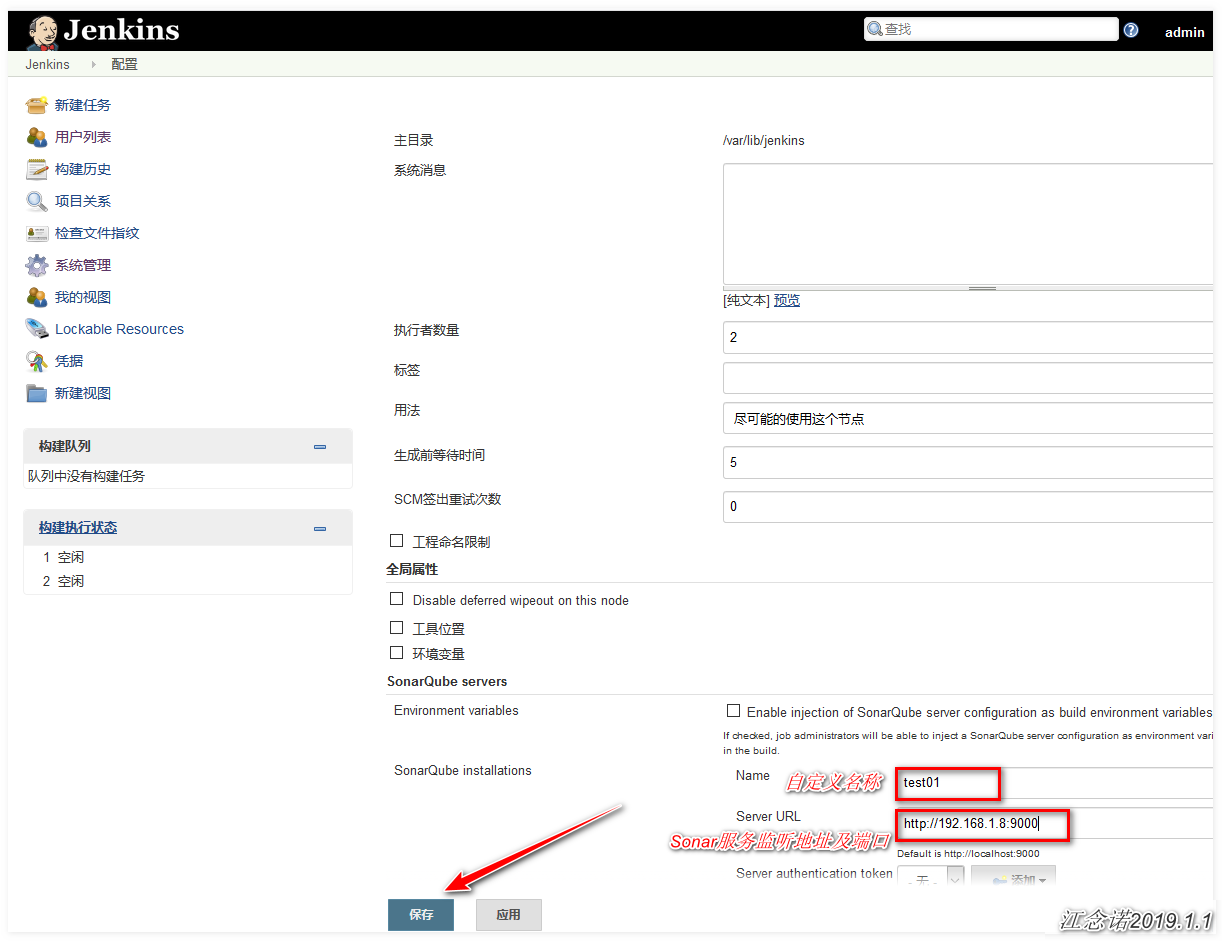
2) Click in turn: System Management - > System Settings, as follows:
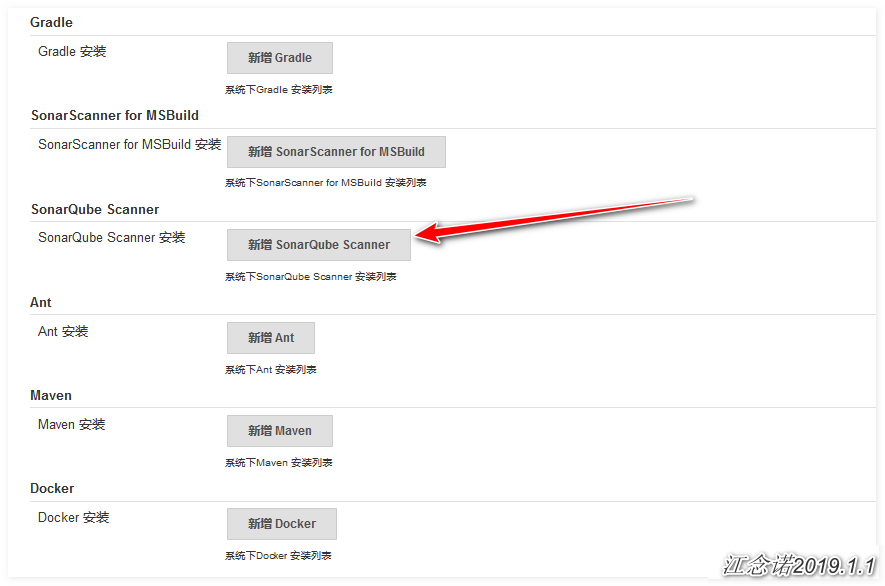
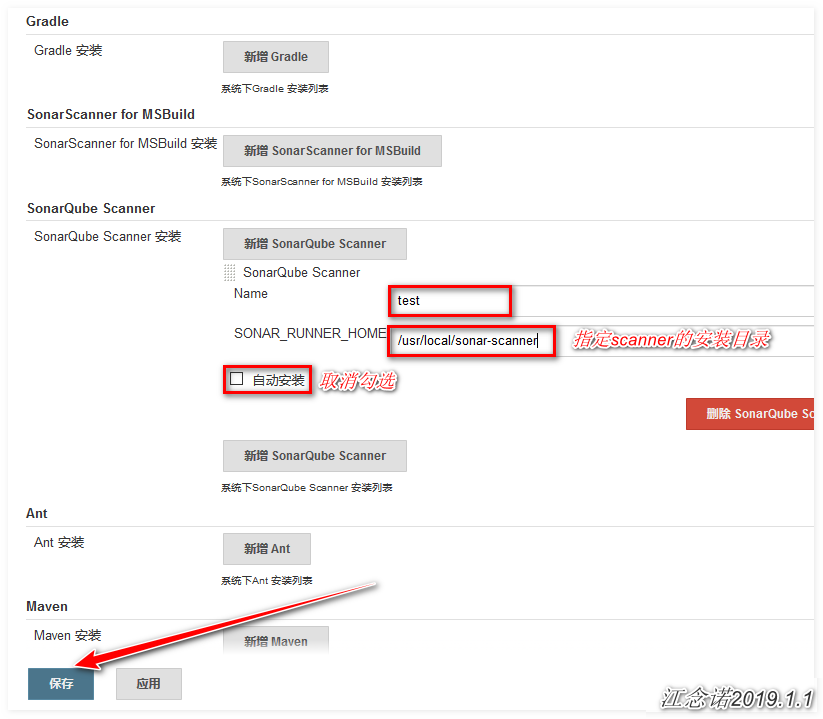
3) Click on: System Administration --> Global Tool Configuration, then drop-down page:
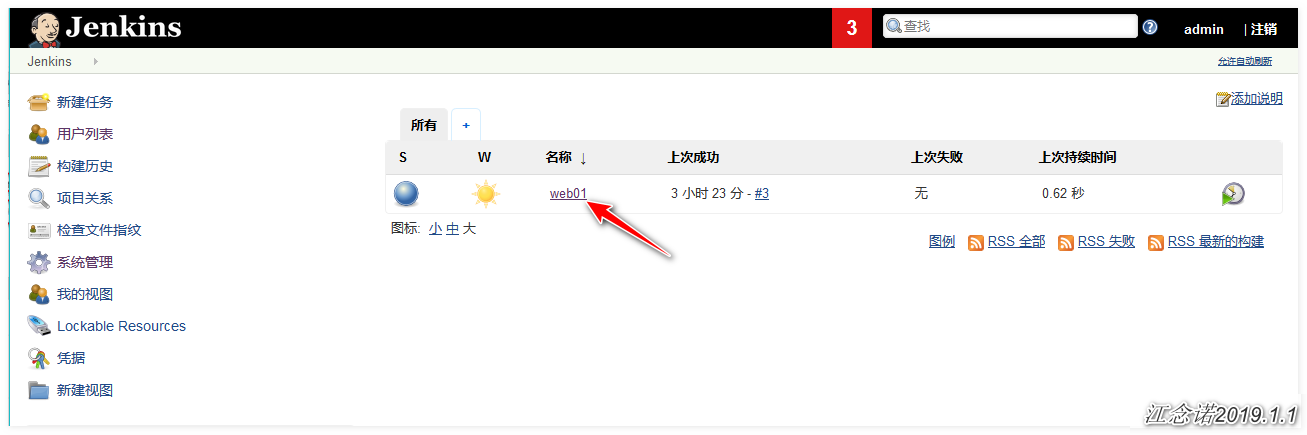
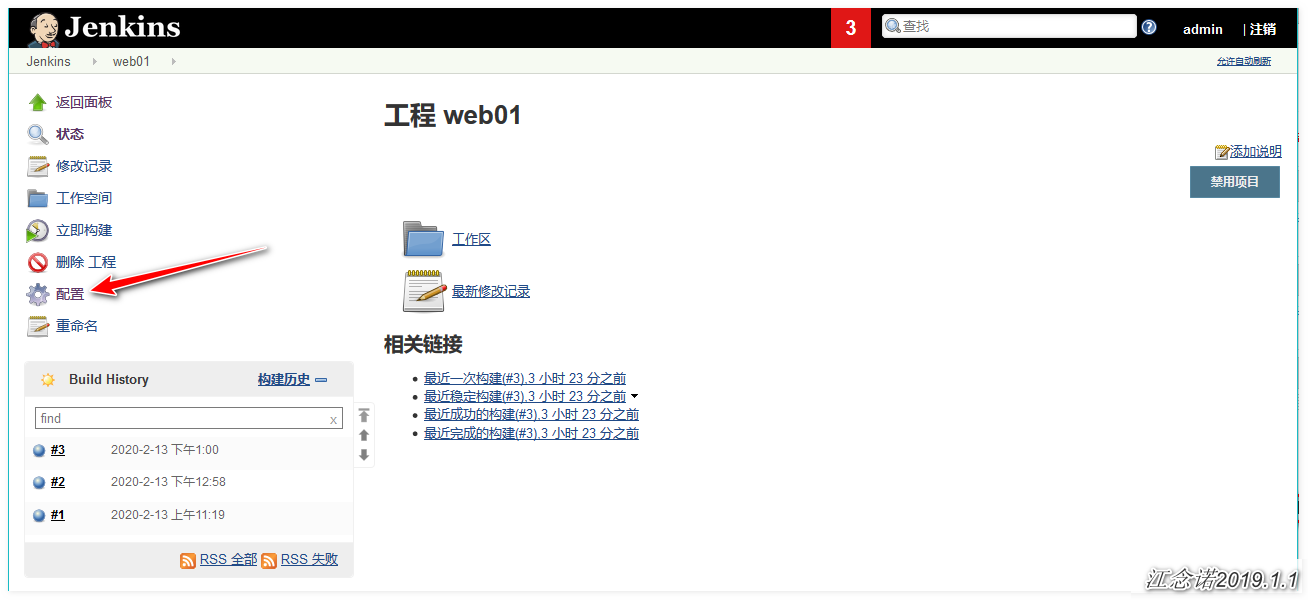
4) Enter the project built in the previous post as follows:
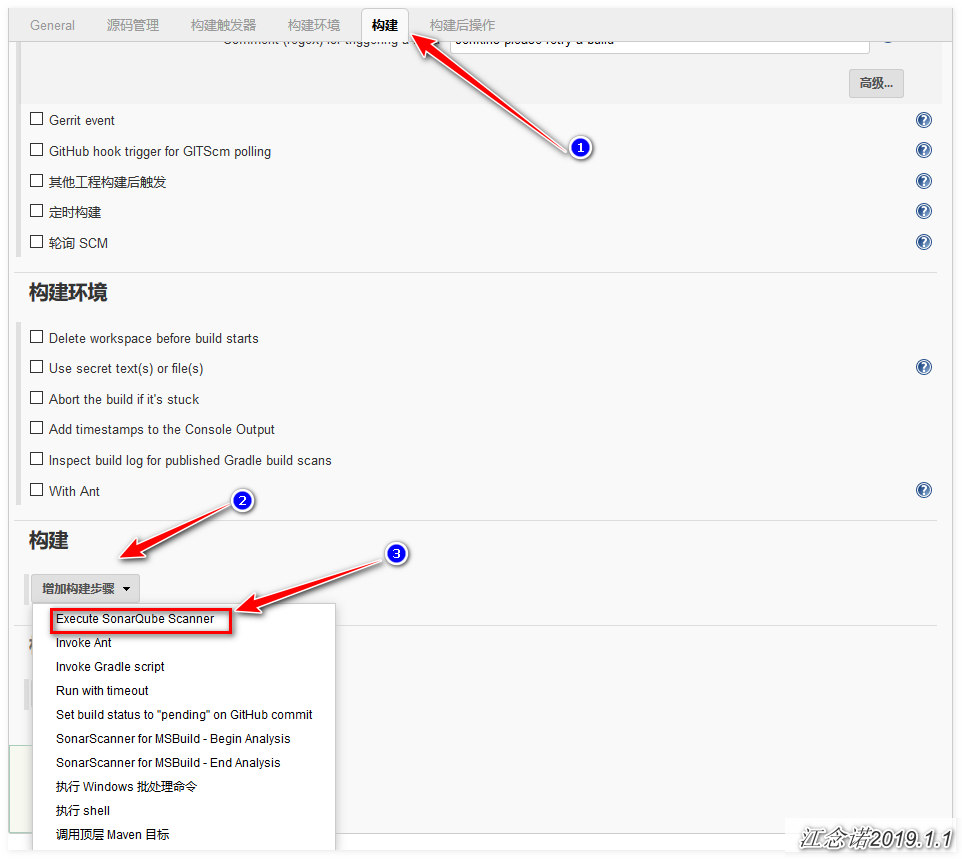
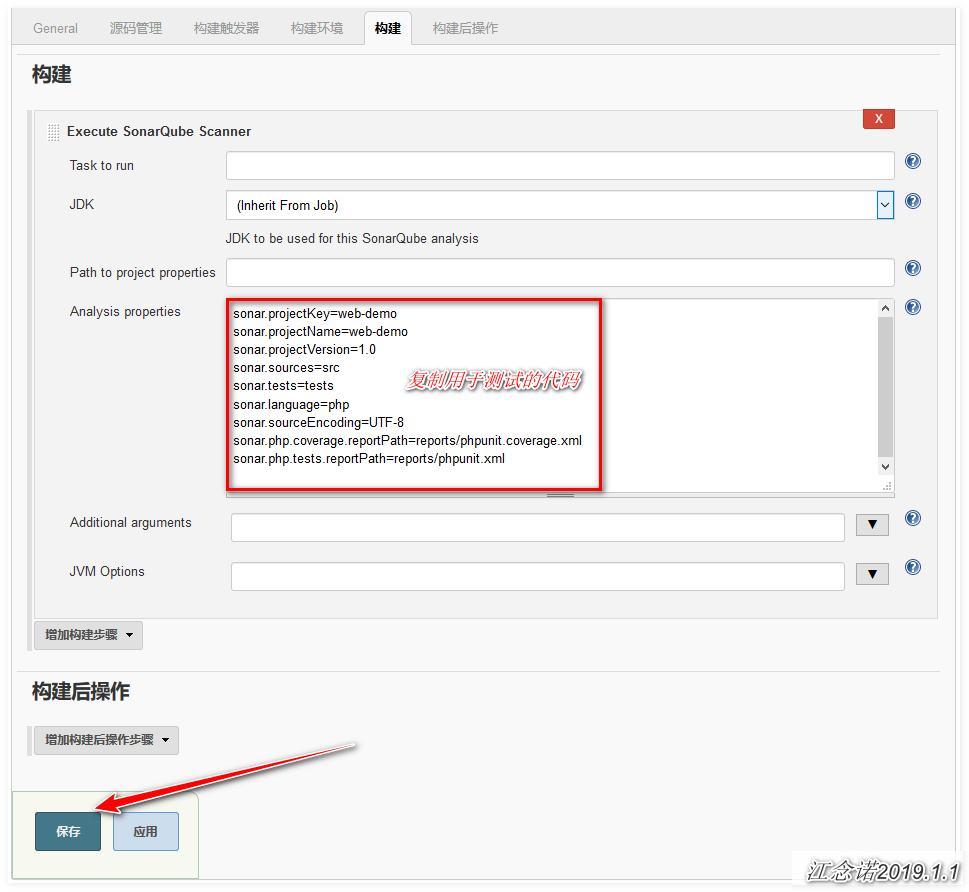
For ease of distinction, enter the following code:
sonar.projectKey=web-demo
sonar.projectName=web-demo
sonar.projectVersion=1.0
sonar.sources=src
sonar.tests=tests
sonar.language=php
sonar.sourceEncoding=UTF-8
sonar.php.coverage.reportPath=reports/phpunit.coverage.xml
sonar.php.tests.reportPath=reports/phpunit.xml
5) Back to the terminal, submit the code to gitlab to enable Sonar auto-scan
[root@jenkins ~]# cp -r testalyzer-master/projects/languages/php/php-sonar-runner-unit-tests/* test01/
[root@jenkins ~]# cd test01/
[root@jenkins test01]# git add .
[root@jenkins test01]# git commit -m "test sonar"
[root@jenkins test01]# git push origin master
Figure:
If it doesn't appear, it's recommended to check on the Jenkins page to see if it's built successfully!
7. Configure Jenkins for mail alarm
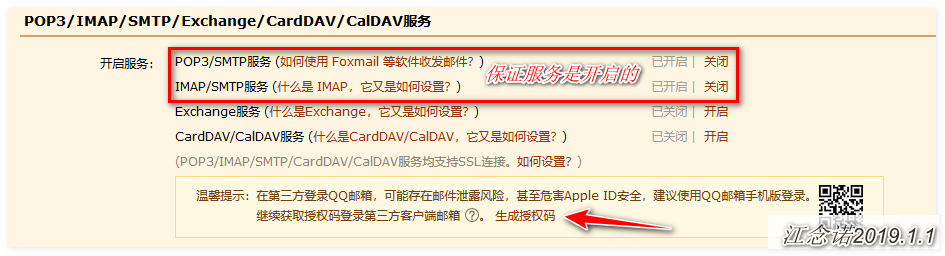
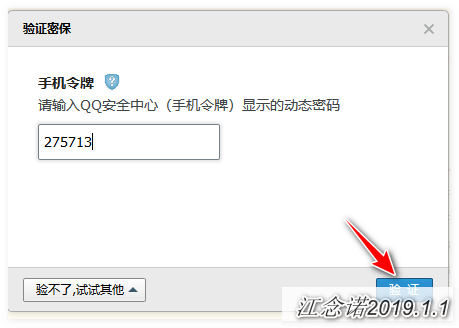
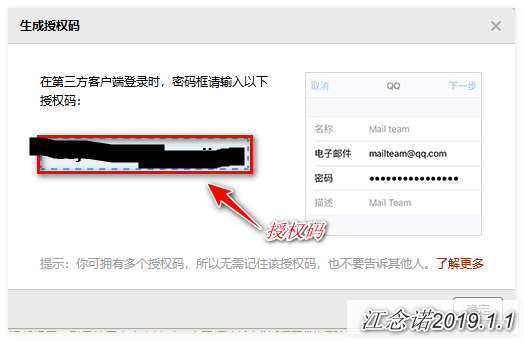
1) Obtain mailbox authorization number
This time take QQ mailbox as an example:

2) Configure mail alarm:
In the web interface of Jenkins, click: System Administration --> System Settings, then drop down to enter the system administrator's mailbox address and save: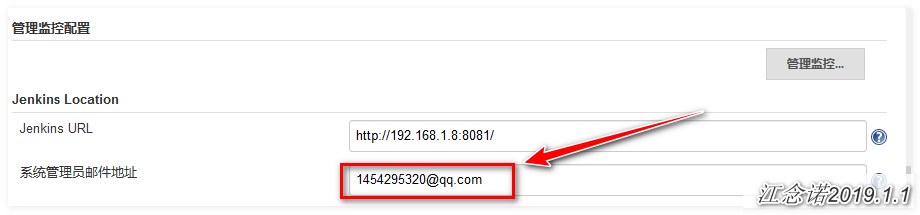
Drop-down list, continue to fill!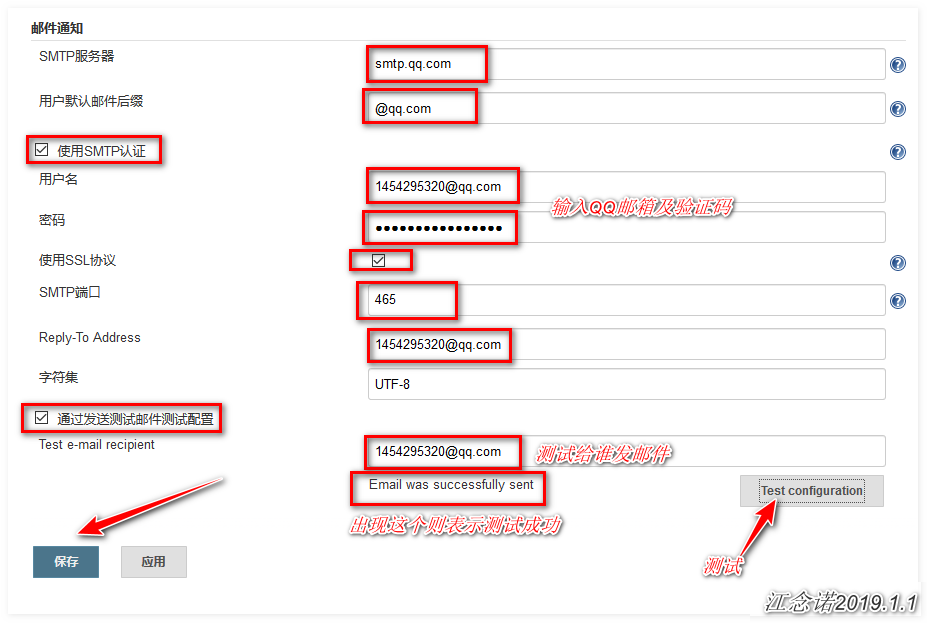
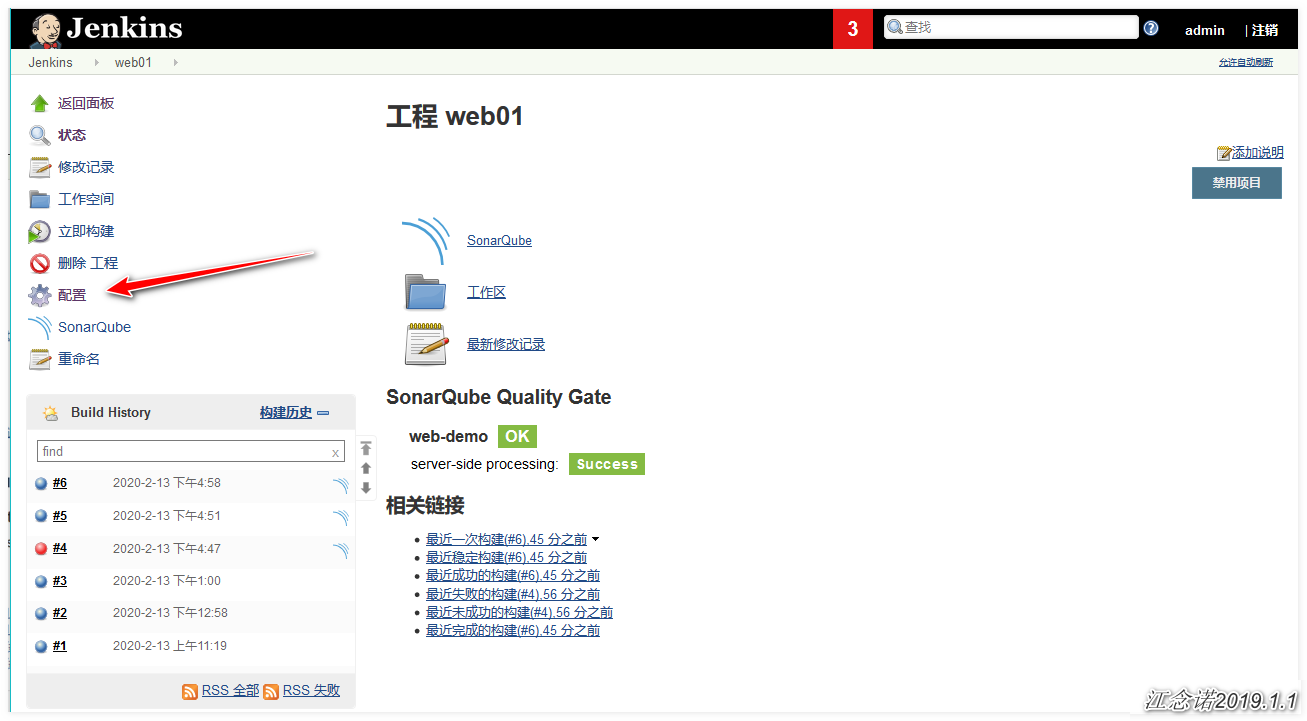
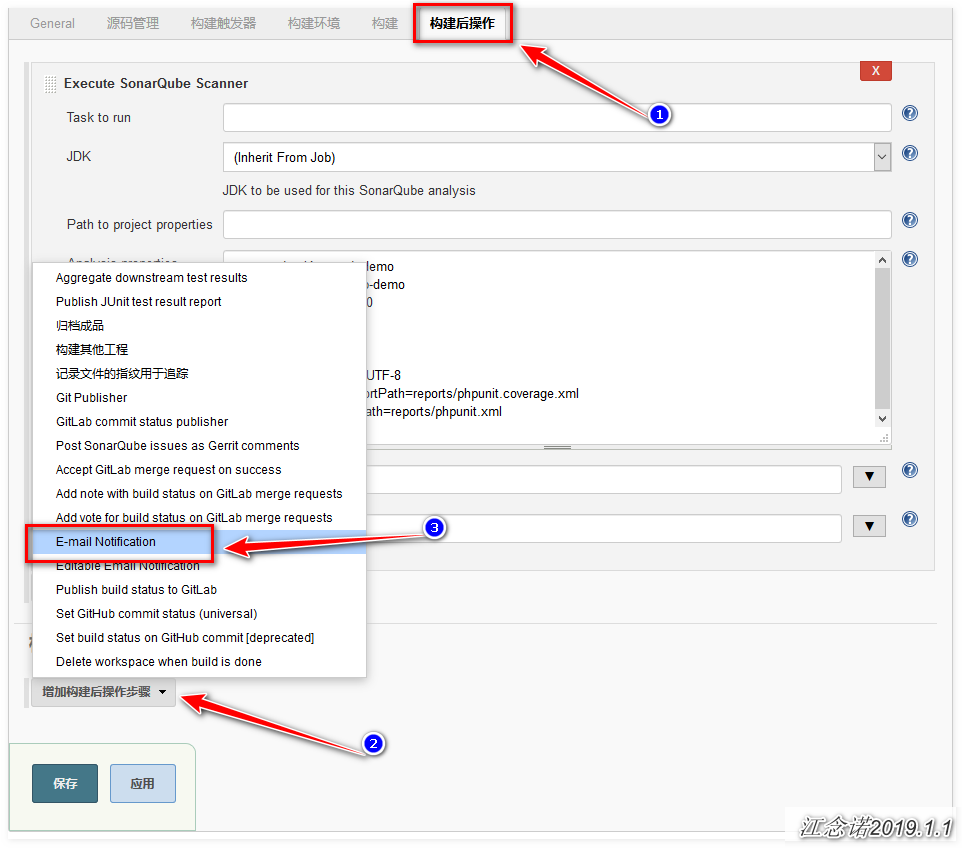
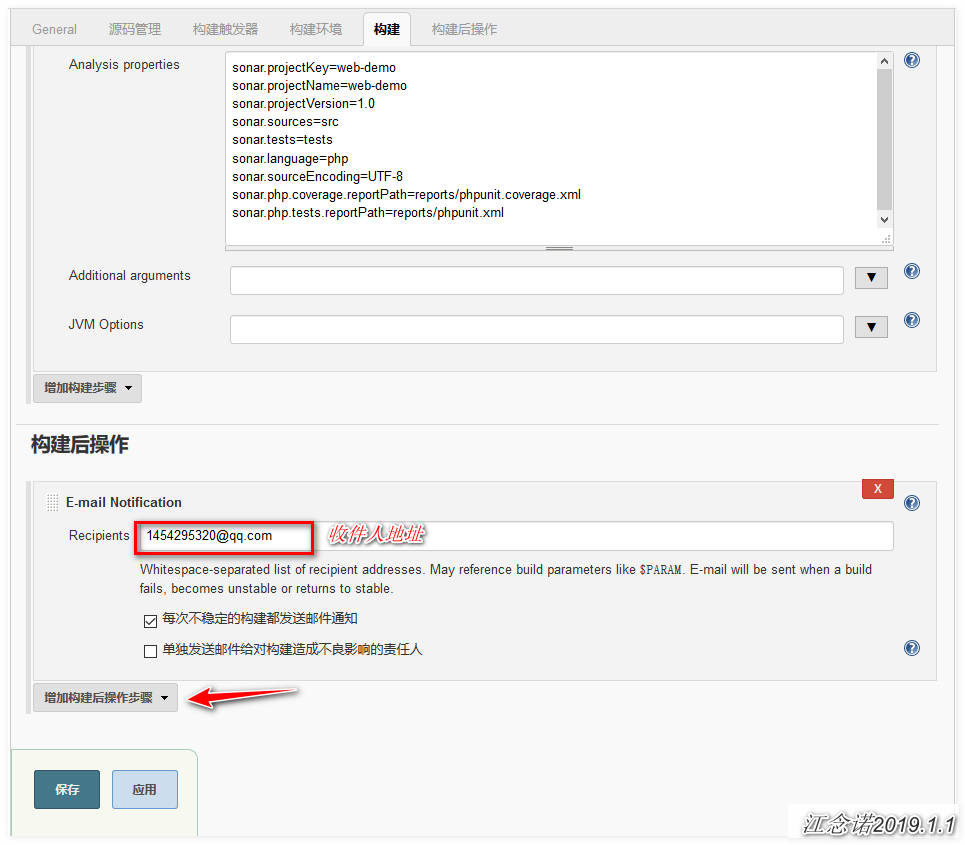
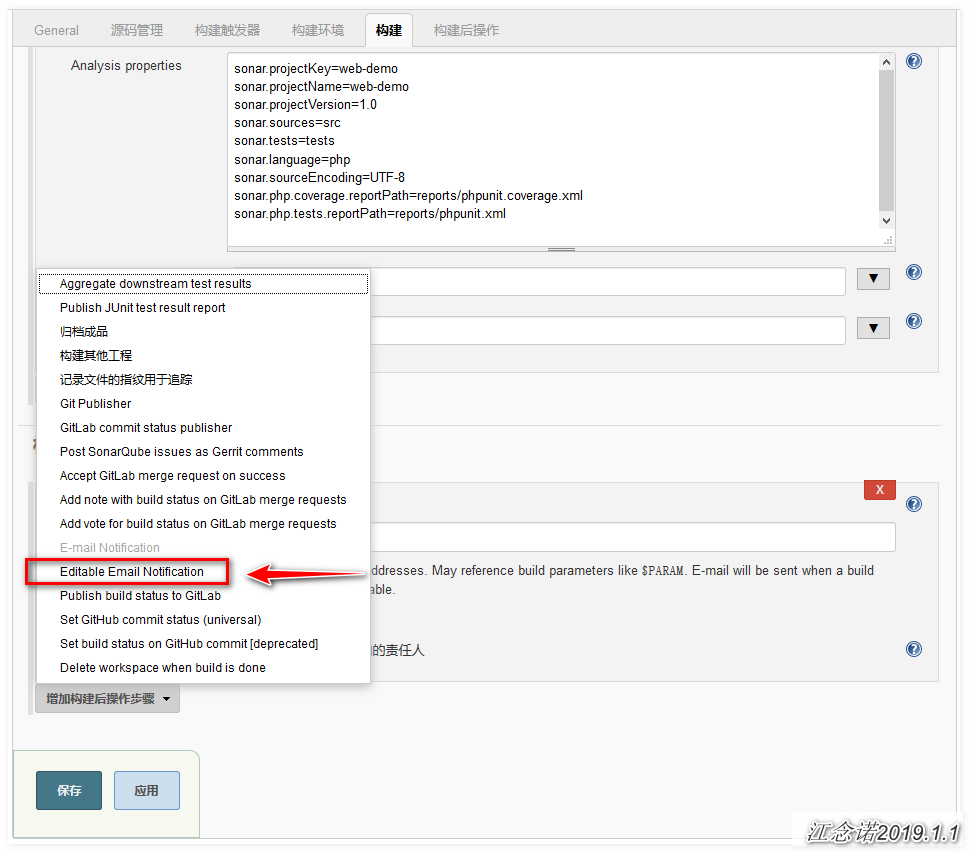
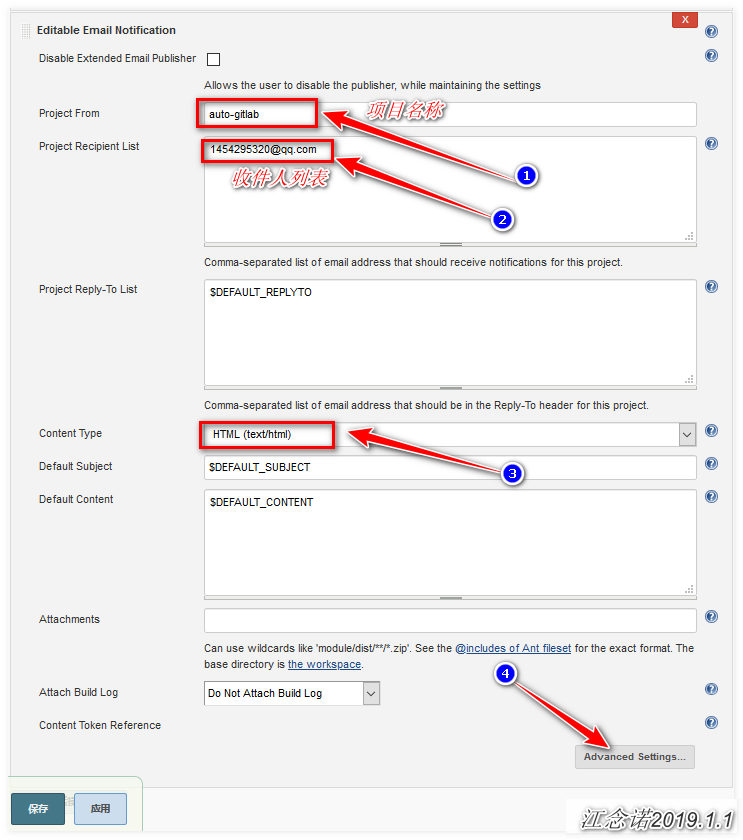
3) Configuration Items
4) Testing
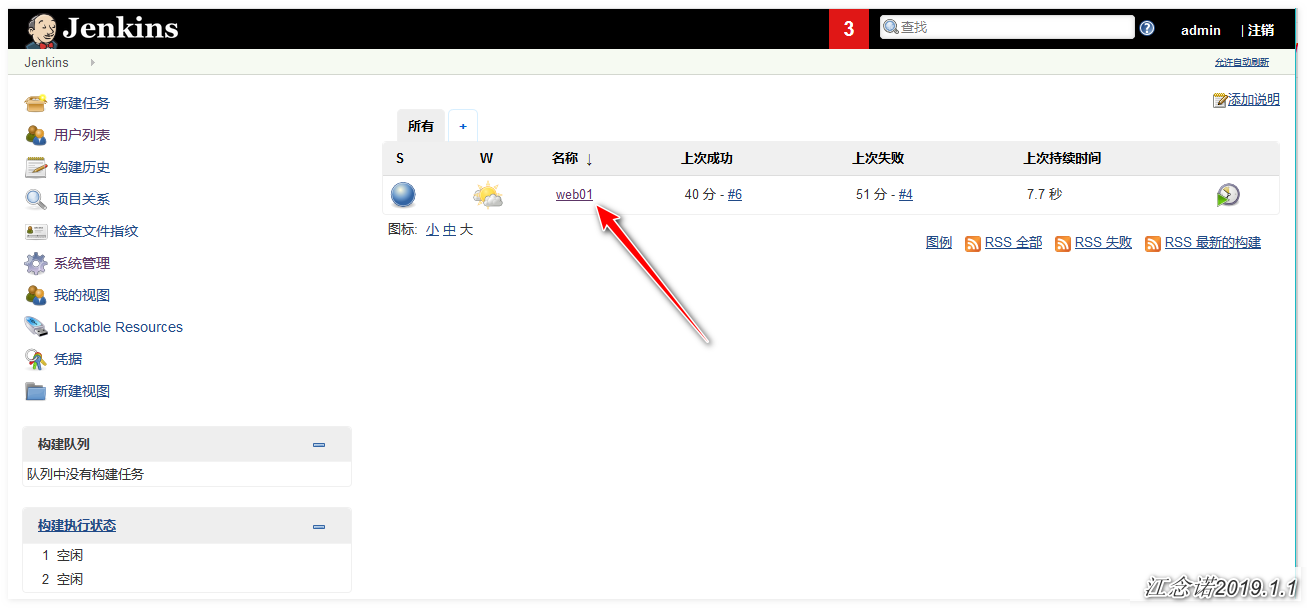
Restart the gitlab service and rebuild the project as follows:
[root@jenkins ~]# gitlab-ctl restart
Figure: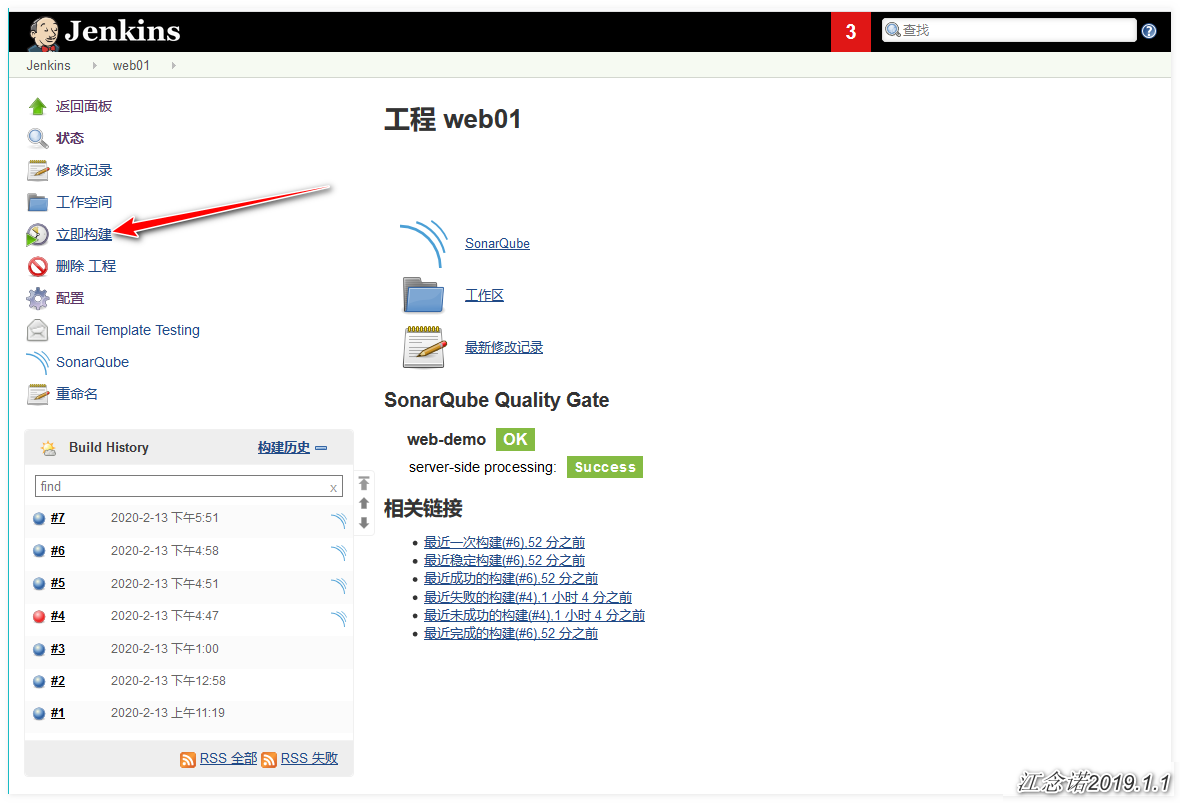
The following messages were received: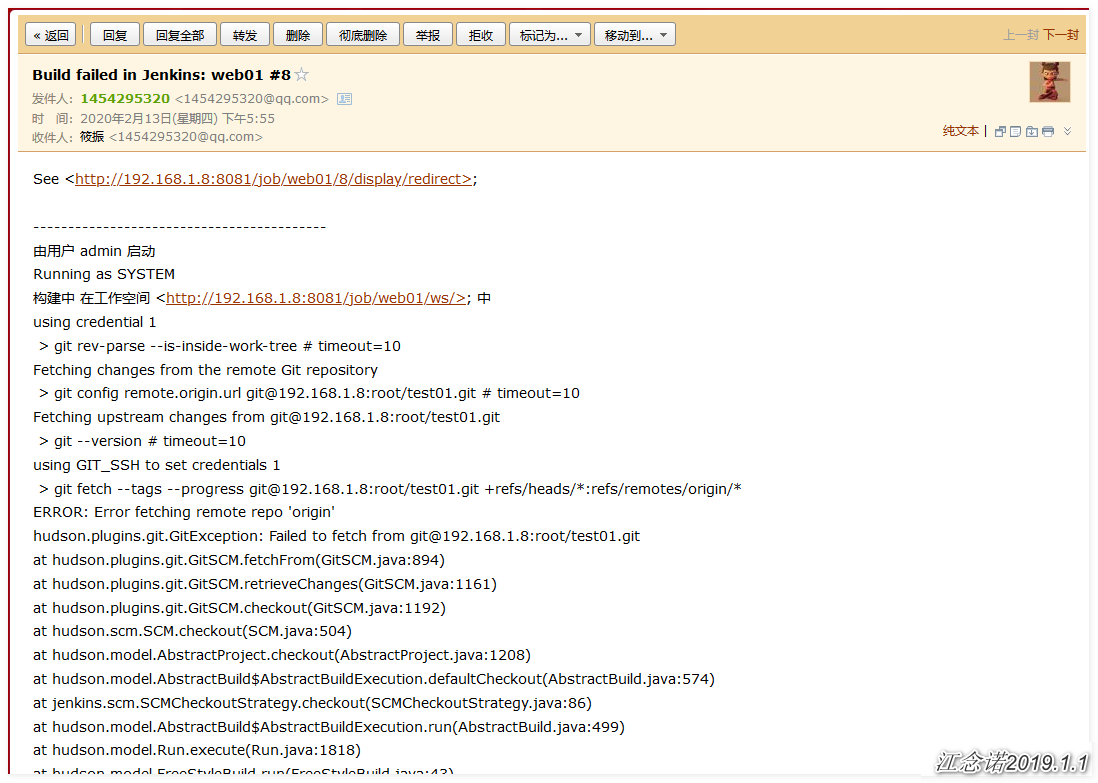
To this end of the article, thank you for reading -----------