What is Nacos
Nacos is one of the important components in Spring Cloud Alibaba ecosystem, which is used to discover, configure and manage microservices. Nacos provides a set of simple and easy-to-use feature sets, which can quickly realize dynamic service discovery, service configuration, service metadata and traffic management.
Download and install
# Download source code
git clone https://github.com/alibaba/nacos.git

# Install to local warehouse
cd nacos/
mvn -Prelease-nacos clean install -U
Startup service
cd distribution/target/nacos-server-0.7.0/nacos/bin

# Linux
./startup.sh -m standalone

# Windows
startup.cmd
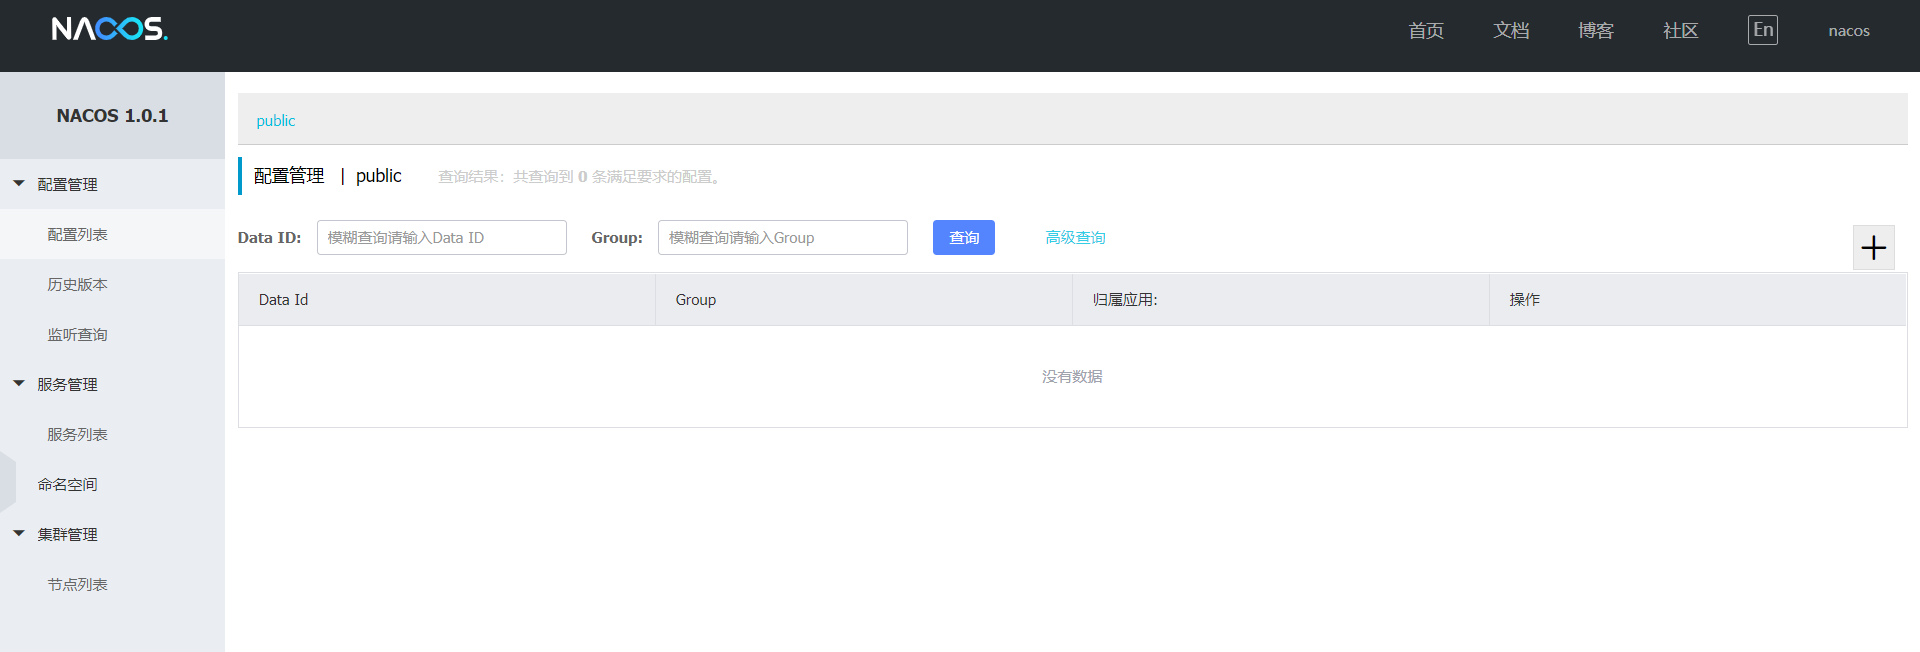
After startup, access http://192.168.127.132:8848/nacos
Sign in
Account number: nacos
Password: nacos
[failed to transfer and save the pictures in the external link. The source station may have anti-theft chain mechanism. It is recommended to save the pictures and upload them directly (img-rwixvir-1583813947206) (https://qiniuyun.antoniopening.com/nacosf2df89cf11bf6e3. PNG))
Nacos console
Service provider
Introducing dependency
In pom.xml, we mainly add the spring cloud starter Alibaba Nacos discovery dependency
<dependency>
    <groupId>org.springframework.cloud</groupId>
    <artifactId>spring-cloud-starter-alibaba-nacos-discovery</artifactId>
</dependency>
Related configuration
The address of Nacos is mainly configured in application.yml
spring:
  application:
    # service name
    name: service-provider
  cloud:
    nacos:
      discovery:
        # Service registry
        server-addr: 192.168.127.132:8848
In the Application entry class, mainly add the annotation @ EnableDiscoveryClient to enable the service registration and discovery function
import org.springframework.boot.SpringApplication;
import org.springframework.boot.autoconfigure.SpringBootApplication;
import org.springframework.cloud.client.discovery.EnableDiscoveryClient;

@SpringBootApplication
@EnableDiscoveryClient
public class ProviderApplication {

    public static void main(String[] args) {
        SpringApplication.run(ProviderApplication.class, args);
    }
}
Controller
Create a RestController to provide the RestFul API for testing the provided services
import org.springframework.beans.factory.annotation.Value;
import org.springframework.web.bind.annotation.GetMapping;
import org.springframework.web.bind.annotation.PathVariable;
import org.springframework.web.bind.annotation.RestController;

@RestController
public class EchoController {

    @GetMapping(value = "/echo/{keyword}")
    public  String echo(@PathVariable(value = "keyword") String keyword) {
        return "Hello Nacos Provider " + keyword + ";
    }
}
Verify success
Launch project, browser access http://192.168.127.132:8848/nacos
 Provider service is online
You will find a service registered in Nacos with the service provider name
Visit the website at this time http://localhost:8848/echo/hi , the browser responds to the following:
Hello Nacos Provider hi
Service consumers
Introducing dependency
In pom.xml, we mainly add spring cloud starter Alibaba Nacos discovery and spring cloud starter openfeign dependency
<dependency>
    <groupId>org.springframework.cloud</groupId>
    <artifactId>spring-cloud-starter-alibaba-nacos-discovery</artifactId>
</dependency>

<dependency>
    <groupId>org.springframework.cloud</groupId>
    <artifactId>spring-cloud-starter-openfeign</artifactId>
</dependency>
Related configuration
In the Application entry class, add the annotation @ EnableDiscoveryClient to enable service registration and discovery, and add the annotation @ EnableFeignClients to enable Feign client
import org.springframework.boot.SpringApplication;
import org.springframework.boot.autoconfigure.SpringBootApplication;
import org.springframework.cloud.client.discovery.EnableDiscoveryClient;
import org.springframework.cloud.openfeign.EnableFeignClients;

@SpringBootApplication
@EnableDiscoveryClient
@EnableFeignClients
public class ConsumerApplication {
    public static void main(String[] args) {
        SpringApplication.run(ConsumerApplication.class, args);
    }
}
Service
Create business layer interface, and specify which service to call through @ FeignClient("service name") annotation
import org.springframework.cloud.openfeign.FeignClient;
import org.springframework.web.bind.annotation.GetMapping;
import org.springframework.web.bind.annotation.PathVariable;

@FeignClient(value = "service-provider")
public interface EchoService {

    @GetMapping(value = "/echo/{keyword}")
    String echo(@PathVariable(value = "keyword") String keyword);

}
Controller
Create Controller call service
import com.funtl.spring.cloud.alibaba.consumer.service.EchoService;
import org.springframework.beans.factory.annotation.Autowired;
import org.springframework.web.bind.annotation.GetMapping;
import org.springframework.web.bind.annotation.PathVariable;
import org.springframework.web.bind.annotation.RestController;

@RestController
public class TestEchoController {

    @Autowired
    private EchoService echoService;

    @GetMapping(value = "/feign/echo/{keyword}")
    public String echoFeign(@PathVariable(value = "keyword") String keyword) {
        return echoService.echo(keyword);
    }
}
Verify success
Launch project, visit website http://localhost:8080/feign/echo/hi
[failed to transfer the pictures in the external link. The source station may have anti-theft chain mechanism. It is recommended to save the pictures and upload them directly (img-80vsd3v9-1583813947209) (https://qiniuyundns.antoniopening.cloud/nacosde5e0974a2e4e63. PNG))
You will find that a service named service consumer has been registered in Nacos
Visit again at this time http://localhost:8080/echo/hi , the browser will also respond to the following:
Hello Nacos Provider hi

