Virtualization deployment under Linux
1, Kvm installation conditions
intel vmx
amd svm
2, Kvm virtualization installation
First, check whether your software exists. If it does not exist, download it directly
dnf group install "Virtualization Client" "Virtualization Hypervisor" "Virtualization Tools" -y
	Virtualization Client			#Virtualized client
	Virtualization Hypervisor		#Virtualization tools
	Virtualization Tools			#Virtualization core Suite
3, Kvm virtualization related information
Service Name: libvirtd
Virtualization core: qemu/kvm
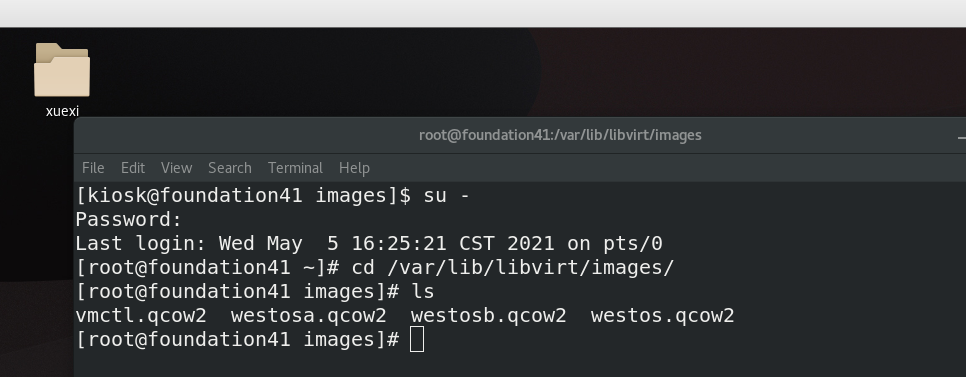
Virtualized storage directory (virtualized hard disk): / var/lib/libvirt/images
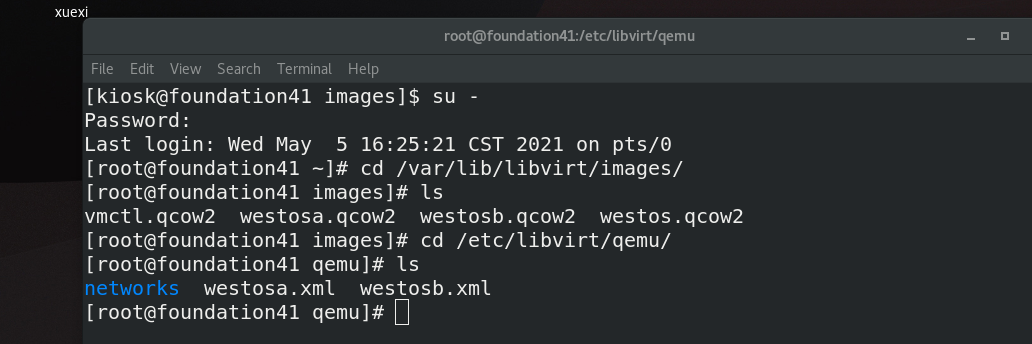
Virtualization hardware information: / etc/libvirt/qemu


Generally, the newly given virtual machine memory 8g is locked space
How to build an unlocked hard disk
qemu-img create -f qcow2 /var/lib/libvirt/images/westosvm.qcow2 8G -o lazy_refcounts=off
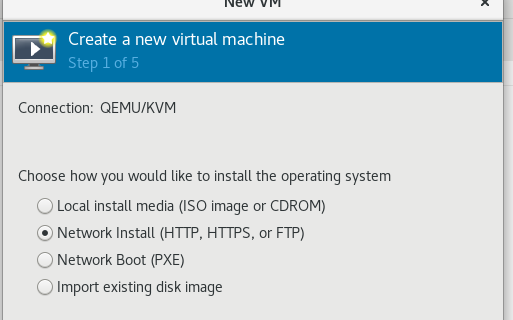
Select this hard disk for manual installation (the fourth option)

The first is image installation
The second is network resource installation
The third is to use network boot installation
The fourth is to pour the existing installed into the virtual machine
4, Manually install the virtual machine (graphical mode)
Step 1: press the button in the upper left corner to select the installation method

Step 2: select the installation package and system version

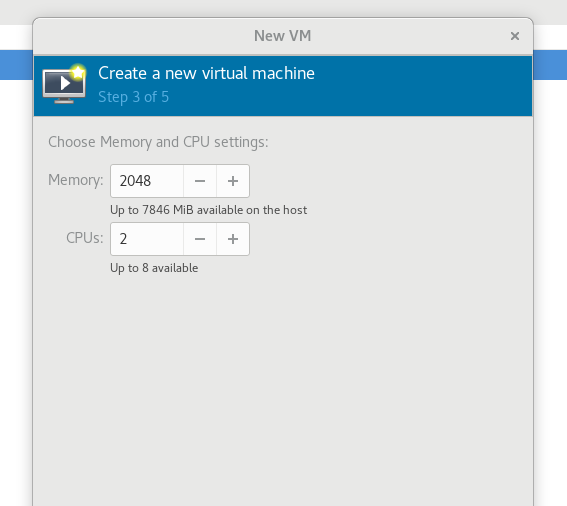
Step 3: allocate memory and cpu cores
If you want to open a drawing, the memory must be greater than 2048

Step 4: set up a virtual hard disk with memory

Set a name and select network mode as bridge

5, Virtual machine management commands
virt-viewer westos		Show virtual machines
virt-manager			Turn on the virtual machine controller
virsh list				List running virtual machines
virsh list --all		List all virtual machines
virsh start westos		Turn on virtual machine
virsh shutdown westos	Shut down the virtual machine normally
virsh destory westos	power failure westos virtual machine
Command add delete network card
virsh attach-interface --domain westosa --source br0 --type bridge --model virtio --live --config
virsh detach-interface westosa --mac "52:54:00:54:f2:49" --type bridge --live --config
Command add delete another hard disk
qemu-img create -f qcow2 /var/lib/libvirt/images/westospwc1.qcow2 8G -o lazy_refcounts=off	#Create a new hard disk
virsh attach-disk westosa /var/lib/libvirt/images/westospwc1.qcow2 vdb --live --config	add to
virsh detach-disk westosa vdb --live --config	delete
6, Virtual machine transmission in Linux system
First step
westos:172.25.254.41 the virtual machine westosa is installed by default
Westosvm: 172.25.254.14 there is no virtual machine by default
Step two
Install virtual machine components in westosvm
dnf group install "Virtualization Client" "Virtualization Hypervisor" "Virtualization Tools" -y
Step 3
Copy the files of westosa in westos to westosvm
scp /var/lib/libvirt/images/westosa.qcow2 root172.25.254.14:/var/lib/libvirt/images
scp /etc/libvirt/qemu/westosa.xml root@172.25.254.14:/var/lib/libvirt/images
The corresponding solution of "KVM is not available"
lsmod | grep kvm		See about in the kernel module kvm Is the part of already loaded
modprobe kvm			If it's not loaded, load it in
grep -i -E '(vmx|svm|lm)' /proc/cpuinfo
#These are to see if virtualization is supported
#How to start
virsh define westos.xml		Recovering virtual machines from hardware information files
virsh create westos.xml		Open the virtual machine through the hardware information file and disappear after the virtual machine is closed
virsh undefine westos		Delete virtual machine hardware information
7, Virtual machine snapshot
qemu-img create -f qcow2 -b
/var/lib/libvirt/images/westos.qcow2
/var/lib/libvirt/images/westos1.qcow2
Westos1 is newly generated. In the first step of the graphics mode, select the import mode, and then select westos1 and fill in the system version number
8, Scripts use virtual machines
1. Create virtual machine by script
test -z $1 && {
	echo "Please enter characters"
	exit
}
test -e "/etc/libvirt/qemu/$1.xml" && {
	echo "$1 existence"
	exit
}
qemu-img create -f qcow2 /var/lib/libvirt/images/$1.qcow2 8G -o lazy_refcounts=off &>/dev/null

virt-install \
		--name $1 \
		--memory 2048 \
		--vcpus 1 \
		disk /var/lib/libvirt/images/$1.qcow2,size=8,bus=virtio \
		--network bridge=br0,model=virtio \
		--location http://172.25.254.41/rhel8.2 \
		--os-variant rhel8.2 &>/dev/null &
$1 indicates the character to be typed later
2. Create virtual machine snapshot by script
test -z $1 && {
	echo "Please enter characters"
	exit
}
test -e "/etc/libvirt/qemu/$1.xml" && {
	echo "$1 existence"
	exit
}
qemu-img create -f qcow2 -b /var/lib/libvirt/images/westos.qcow2 /var/lib/libvirt/images/$1.qcow2 &>/dev/null

virt-install \
		--name $1 \
		--memory 2048 \
		--vcpus 1 \
		disk /var/lib/libvirt/images/$1.qcow2,size=8,bus=virtio \
		--network bridge=br0,model=virtio \
		--import \
		--os-variant rhel8.2 &>/dev/null &
3. Script reset virtual machine snapshot
	test -z $1 && {
	echo "Please enter characters"
	exit
}
test -e "/etc/libvirt/qemu/$1.xml" && {
	echo "$1 non-existent"
	exit
}
virsh destroy $1

qemu-img create -f qcow2 -b /var/lib/libvirt/images/westos.qcow2 /var/lib/libvirt/images/$1.qcow2 &>/dev/null
virsh start $1
virt-viewer $1 &