To experience the macOS system, besides buying an Apple computer, you can also use Hei Apple and virtual machines. The "Hei Apple" is troublesome, mainly in terms of drivers. If you just want to experience it, a virtual machine approach is recommended.
So this article brings you a tutorial and a mirror Download for installing macOS 12 Monterey using VMware.
Virtual Machine Installation macOS
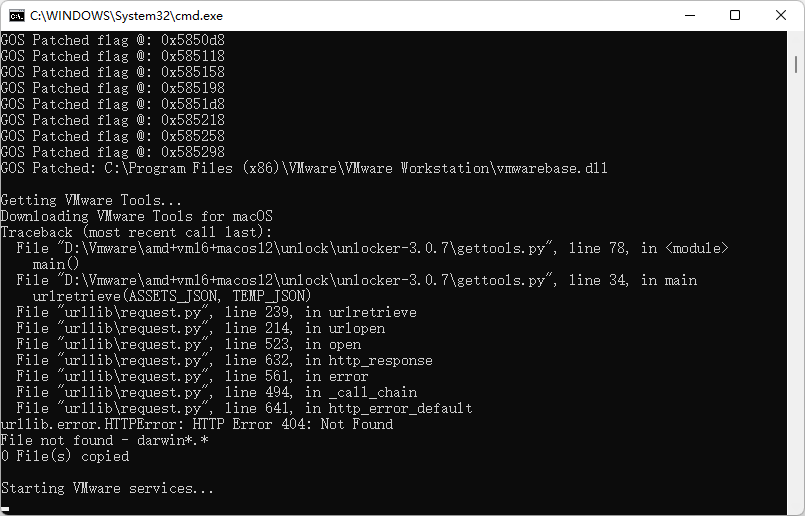
1. First download and install the latest version of VMware, then you need an Unlocker patch to enable VMware to support the installation of the macOS system. Unlock the Unlocker and run the "win-install.cmd" file as the right-click administrator until it is unlocked.
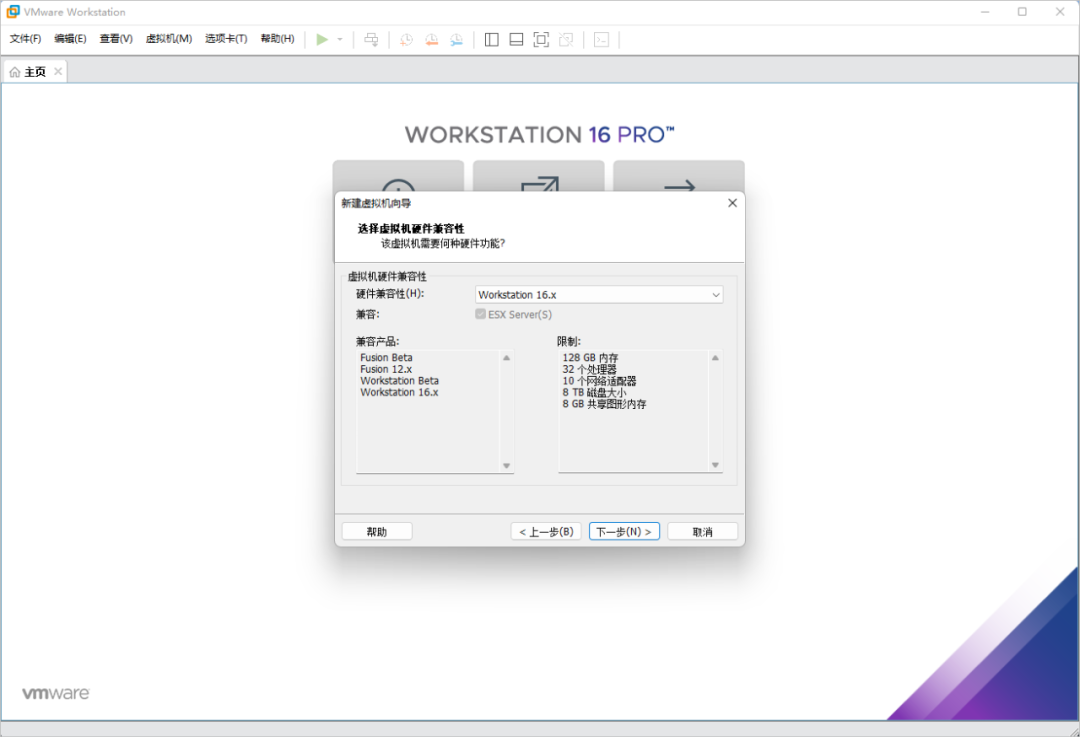
2. Run VMware Virtual Machine - Create New Virtual Machine - Customize - Select Workstation 16.x. Next, choose "Install the operating system later".
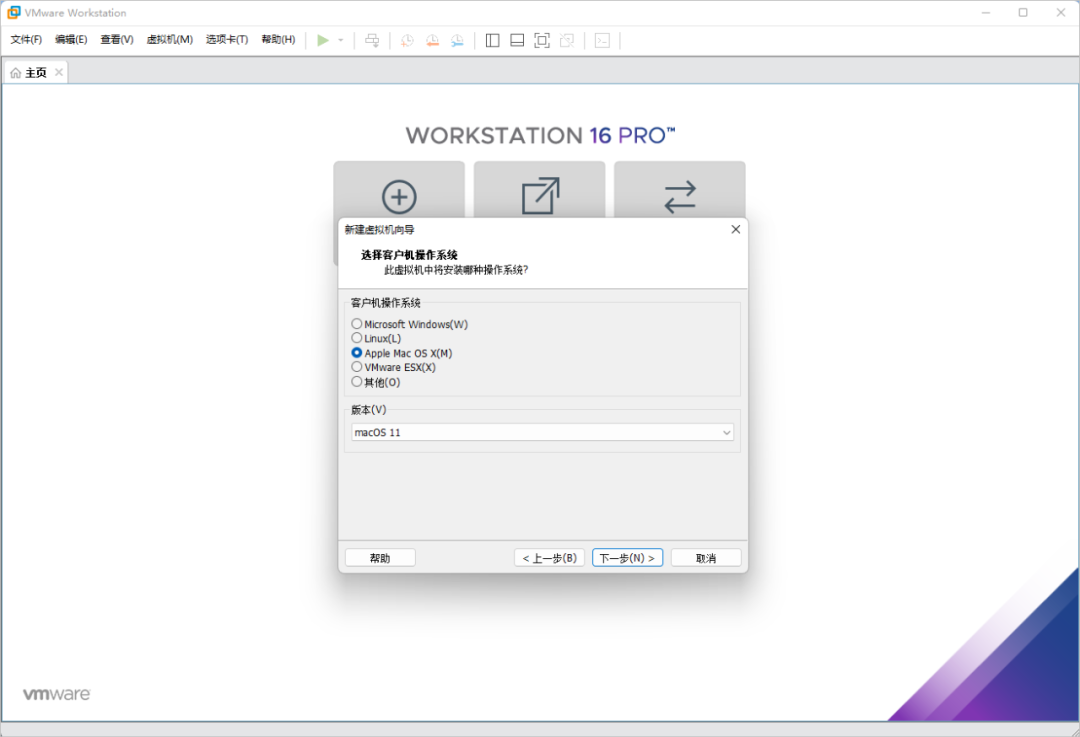
3. Next, choose Apple Mac OS X, version macOS 11, and proceed to the next step.
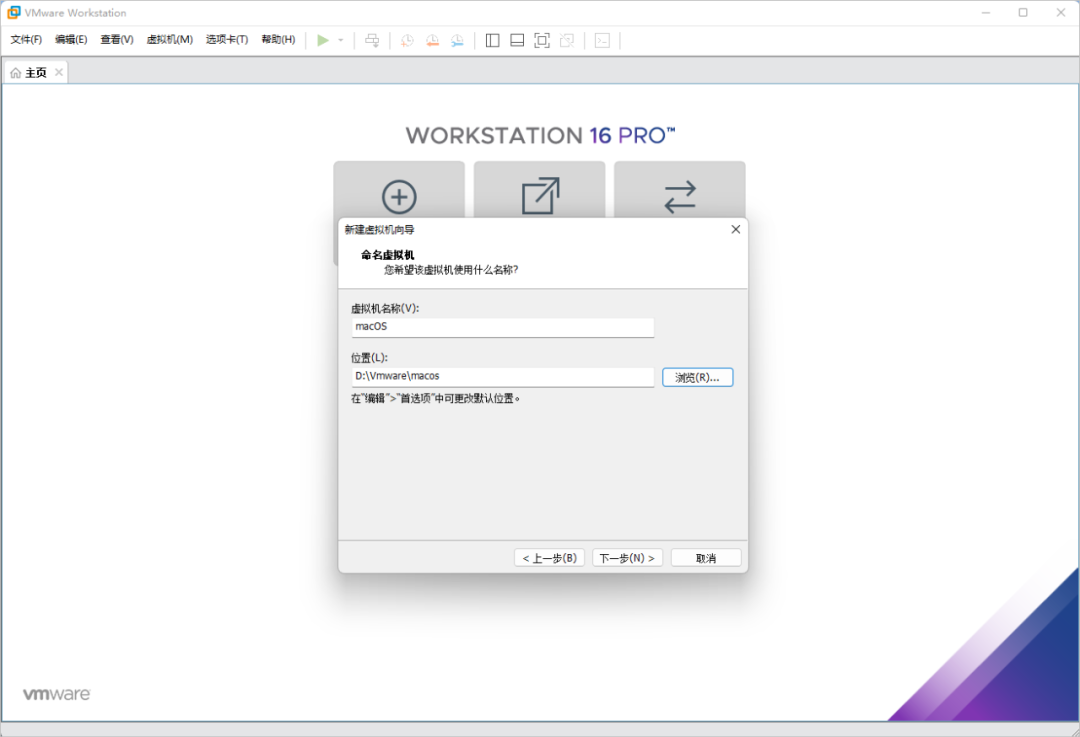
4. Enter the name of your virtual machine and the location where it will be saved. Set the path according to your situation and proceed to the next step.
5. Hardware settings will be adjusted to suit your computer. A minimum of 2 cores of processor is recommended. Memory is best set to 8 G or more. The network default NAT will allow the controller to select the recommended LSI Logic mode and the disk to select the recommended SATA mode as well. Then create a new virtual disk, set the disk capacity, proceed to the next step, set the location to save the disk files, and complete the hardware settings.
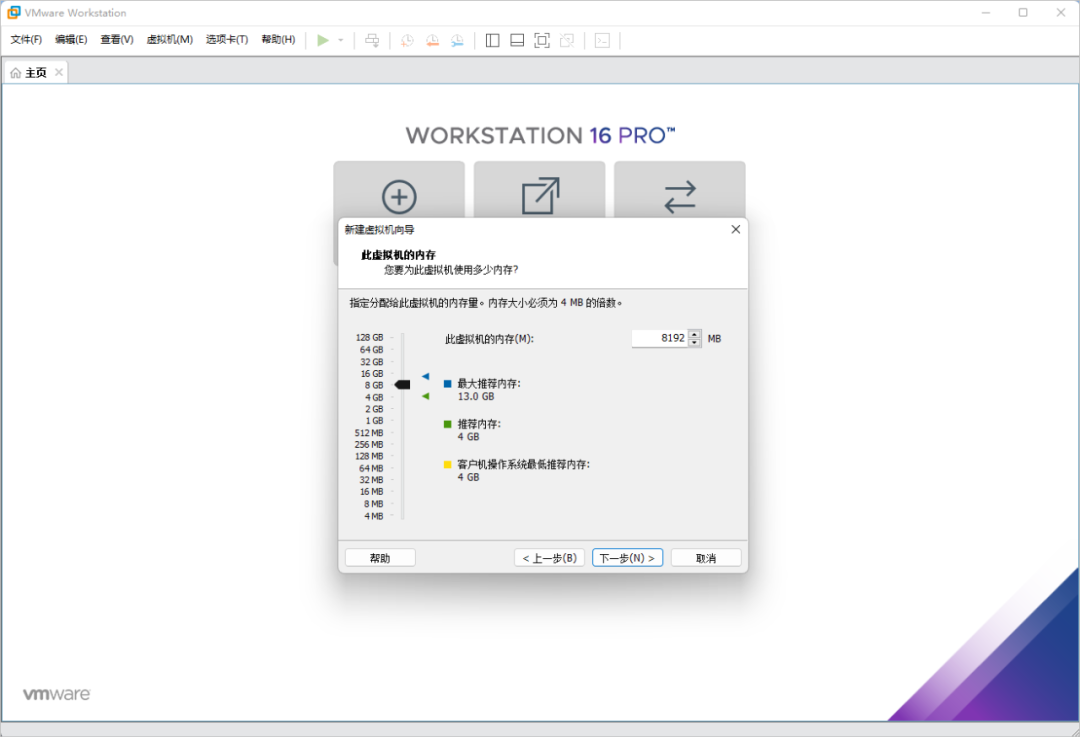
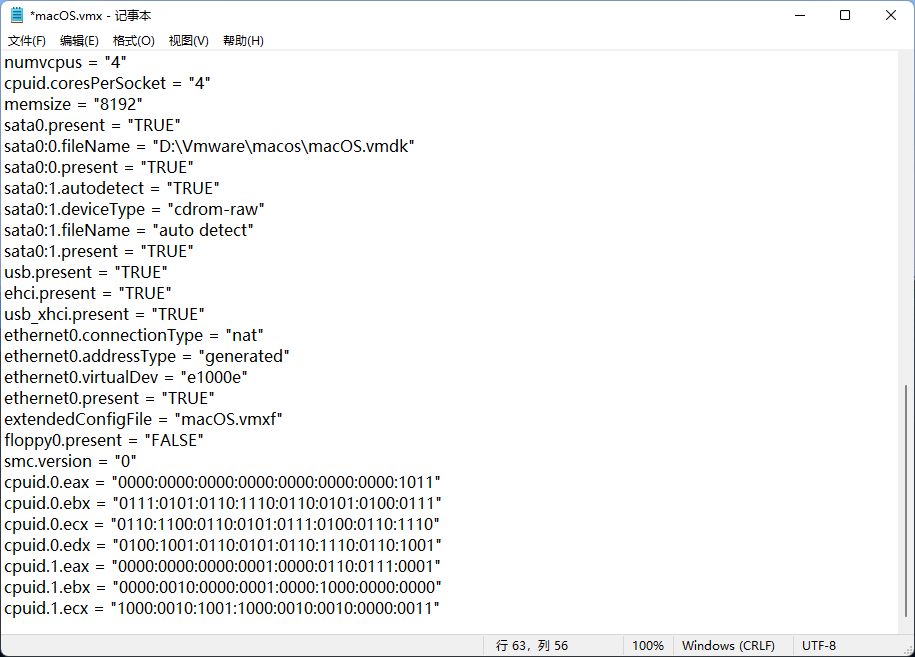
6. Modify the VMX file, open your MacOS virtual machine directory, find the "macOS.vmx" file, then open it with Notepad or other text editing software, add the following code at the bottom, add it according to your CPU, and save it.
[INTER Processor]
smc.version = "0"
cpuid.0.eax = "0000:0000:0000:0000:0000:0000:0000:1011"
cpuid.0.ebx = "0111:0101:0110:1110:0110:0101:0100:0111"
cpuid.0.ecx = "0110:1100:0110:0101:0111:0100:0110:1110"
cpuid.0.edx = "0100:1001:0110:0101:0110:1110:0110:1001"
cpuid.1.eax = "0000:0000:0000:0001:0000:0110:0111:0001"
cpuid.1.ebx = "0000:0010:0000:0001:0000:1000:0000:0000"
cpuid.1.ecx = "1000:0010:1001:1000:0010:0010:0000:0011"
cpuid.1.edx = "0000:1111:1010:1011:1111:1011:1111:1111"
featureCompat.enable = "FALSE"
[AMD Processor]
smc.version = "0"
cpuid.0.eax = "0000:0000:0000:0000:0000:0000:0000:1011"
cpuid.0.ebx = "0111:0101:0110:1110:0110:0101:0100:0111"
cpuid.0.ecx = "0110:1100:0110:0101:0111:0100:0110:1110"
cpuid.0.edx = "0100:1001:0110:0101:0110:1110:0110:1001"
cpuid.1.eax = "0000:0000:0000:0001:0000:0110:0111:0001"
cpuid.1.ebx = "0000:0010:0000:0001:0000:1000:0000:0000"
cpuid.1.ecx = "1000:0010:1001:1000:0010:0010:0000:0011"
cpuid.1.edx = "0000:0111:1000:1011:1111:1011:1111:1111"
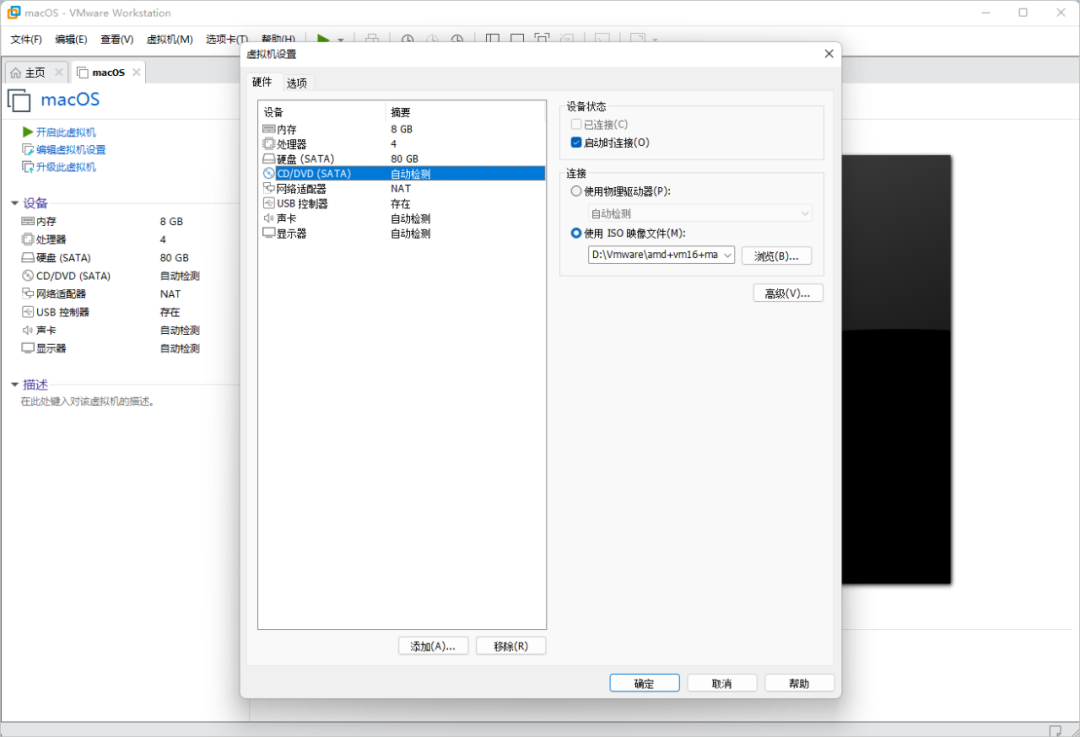
7. Click Edit Virtual Machine - CD/DVD Settings - Select the macOS image file you downloaded, confirm and start the virtual machine installation.
8. Start the installation, followed by a long installation process, patience and so on (due to time relations, more detailed use experience and optimization will be updated later). Or you can refer to this first: One-click quick experience with macOS Catalina in VMware Virtual Machine (10.15) Articles.
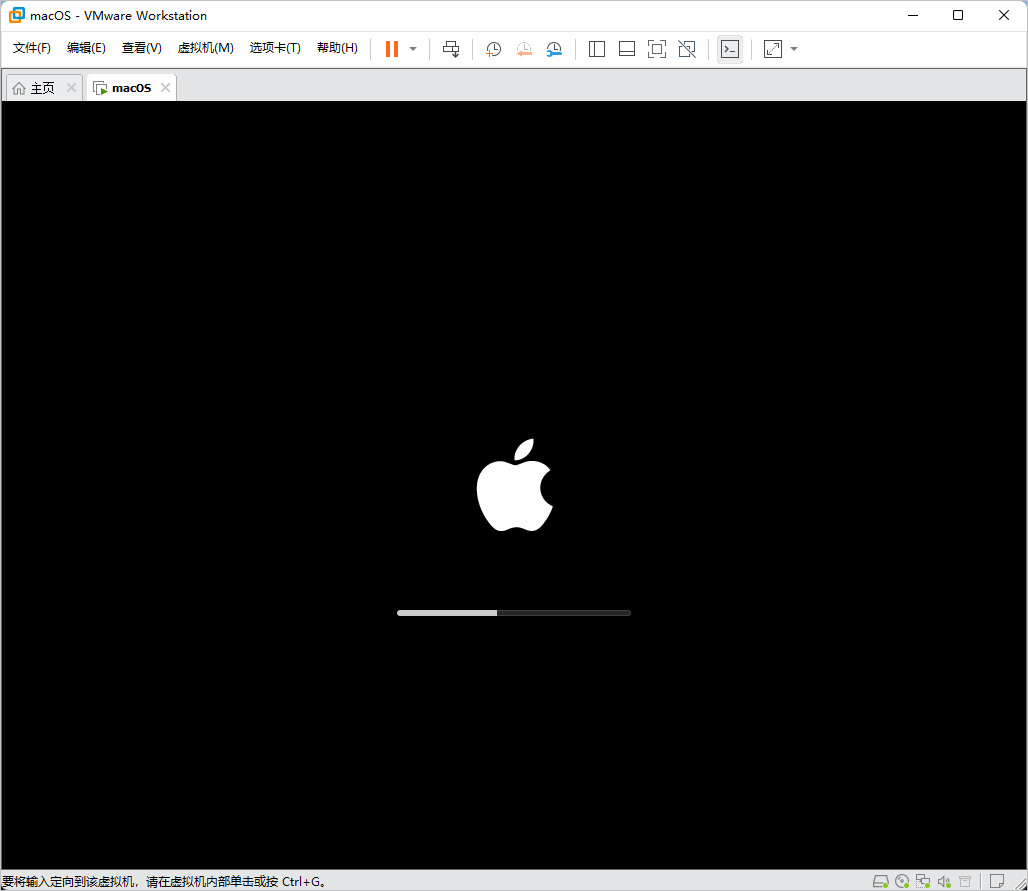
In addition, if "Failed to Start Virtual Machine" appears, after turning off the virtual machine, check to see if step 7 was added correctly. If a five-country language interface appears, turn off the virtual machine and try using Unlocker again.
summary
Installing a macOS system using a virtual machine will result in a poor performance experience, not suitable for everyday work, but a playful experience. In addition, do not bother with low-configuration computers, at least have a solid-state hard disk and more than 16G memory, otherwise card into PPT...
VMware Download
- Official download:
https://www.vmware.com/cn/products/workstation-pro.html
macOS Mirrors and Tools
- Disk download:
https://pan.baidu.com/s/1SAvfzFGXwQ2OHFlbeULb_w (extraction code: s2tm)