1. Vue: First vue-cli project
1. What is vue-cli
vue-cli is an officially provided scaffold for quickly generating a vue project template;
A predefined directory structure and code base is like choosing a skeleton project when we create a Maven project, which is scaffolding and makes our development faster.
Main functions:
- Unified directory structure
- Local Debugging
- Hot Deployment
- unit testing
- Integrated Packaging Online
2. Environment
- Download Node.js: https://nodejs.org/zh-cn/download/
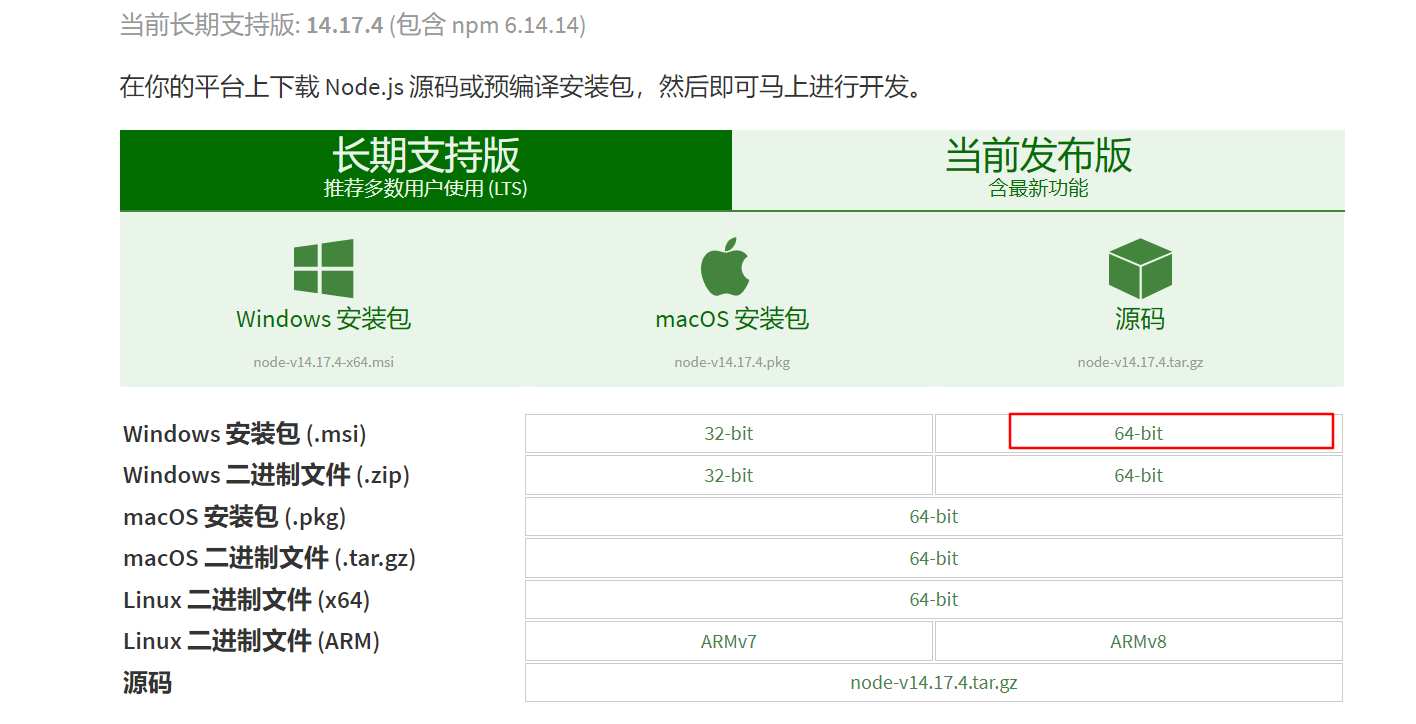
Download according to your computer and needs
Install Brainless Next Step
- Git : https://git-scm.com/downloads
Mirror: https://npm.taobao.org/mirrors/git-for-windows/
Need a different version of Git to look in the mirror
Confirm node.js installed successfully
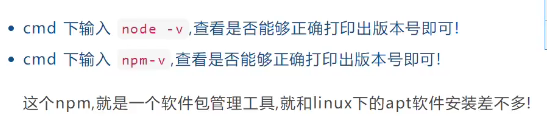
Example: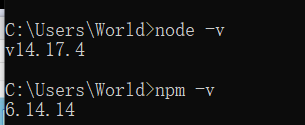
For Node.js is faster and needs to download Node.js Taobao Mirror Accelerator
// -g Global Installation
npm install cnpm -g
[External chain picture transfer failed, source station may have anti-theft chain mechanism, it is recommended to save the picture and upload it directly (img-IfsJf0cr-1628077944627)(Vue entry.assets/image-20210802113444399.png)]

Installation directory: C:\Users\World\AppData\Roaming\npm
AppData is a hidden file and you need to check hidden items to see it

Install vue-cli
cnpm install vue-cli -g
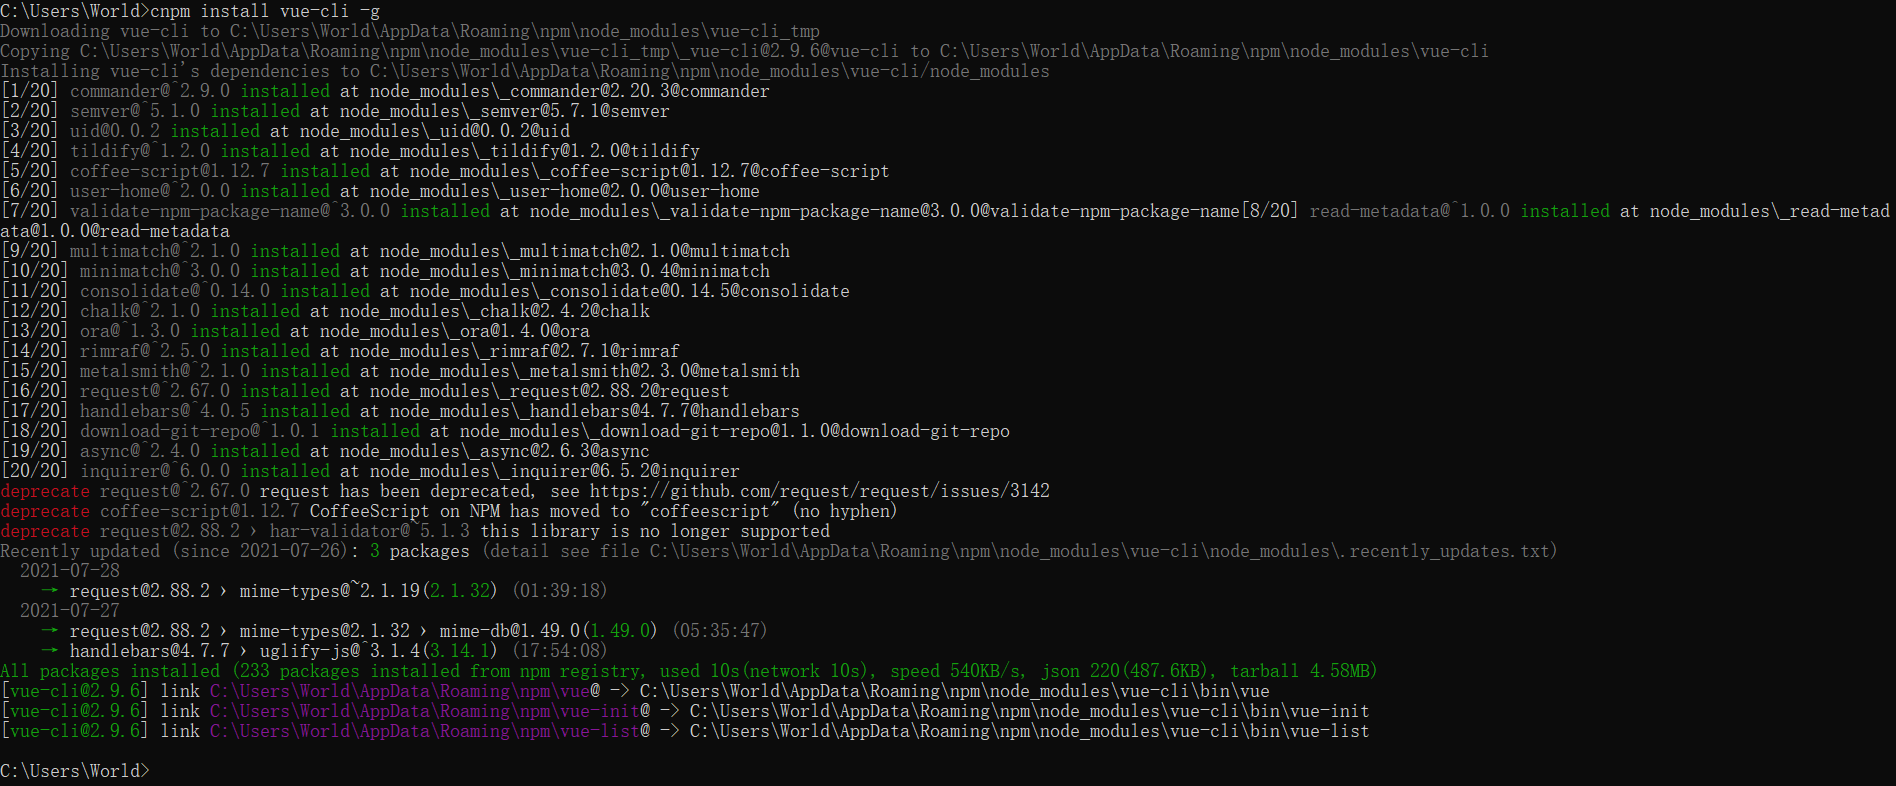
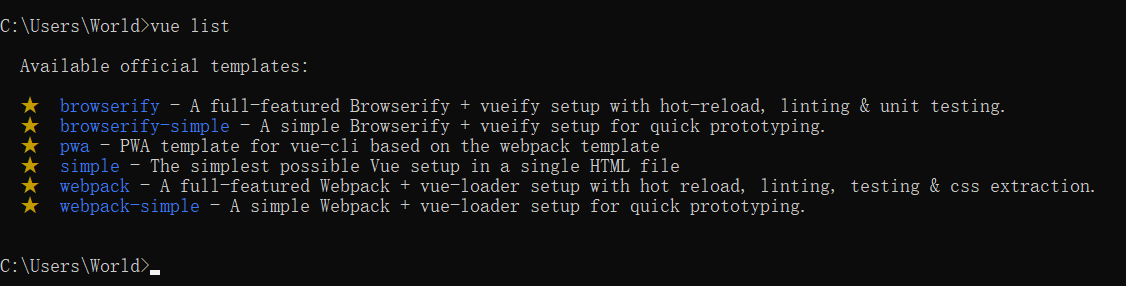
# All tests were successfully installed
# To see which templates can be used to create vue applications, we usually choose webpack
vue list
3. First vue-cli program
1. Find a place to create a new directory: D:\project\vue
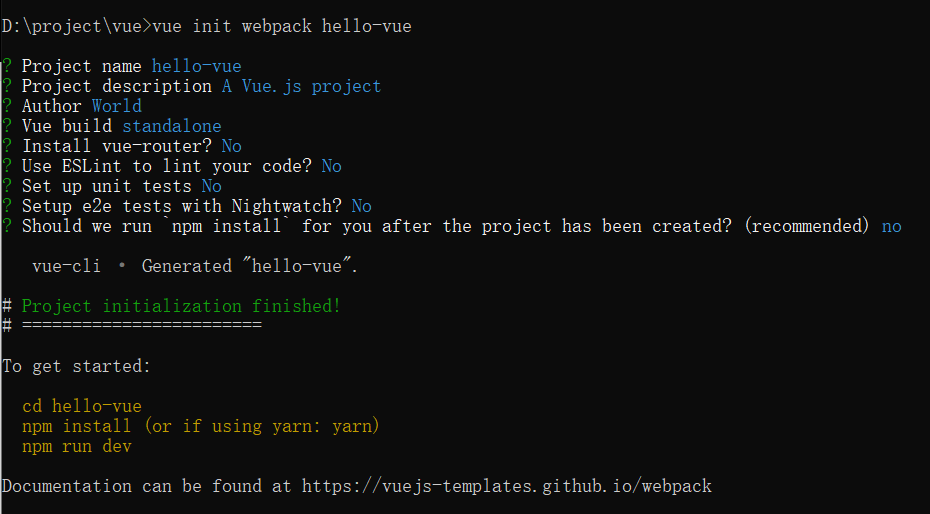
2. Create a vue application based on the webpack template
# Here myvue is the name of the project and can be named according to your needs
vue init webpack myvue
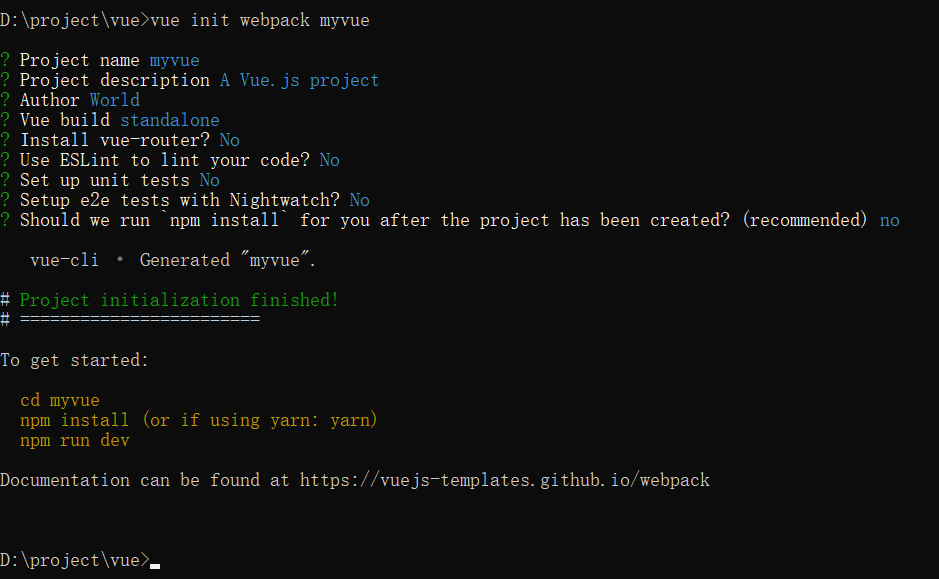
All the way no
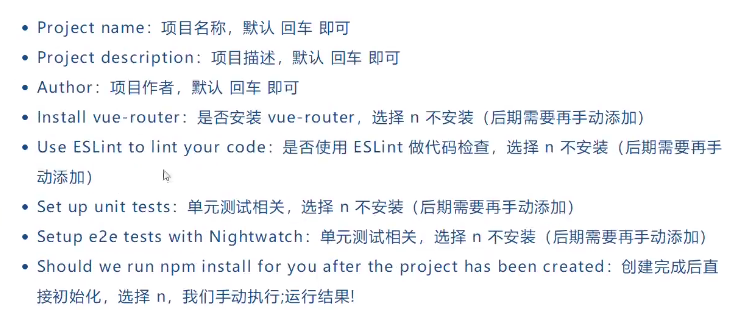
Explain:
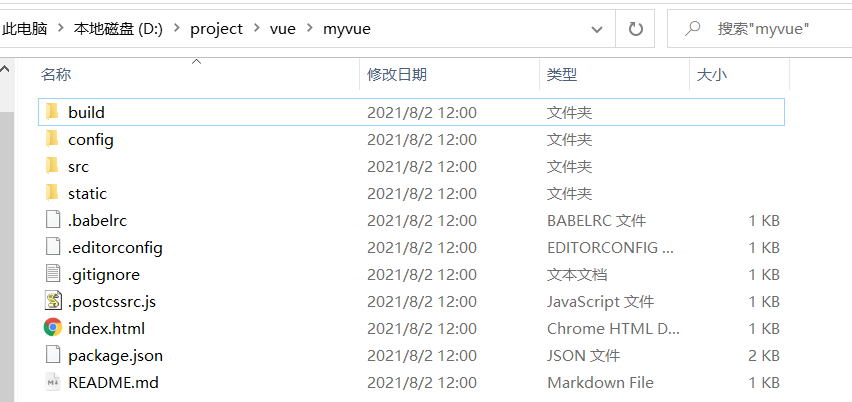
Creation complete
Initialize and run
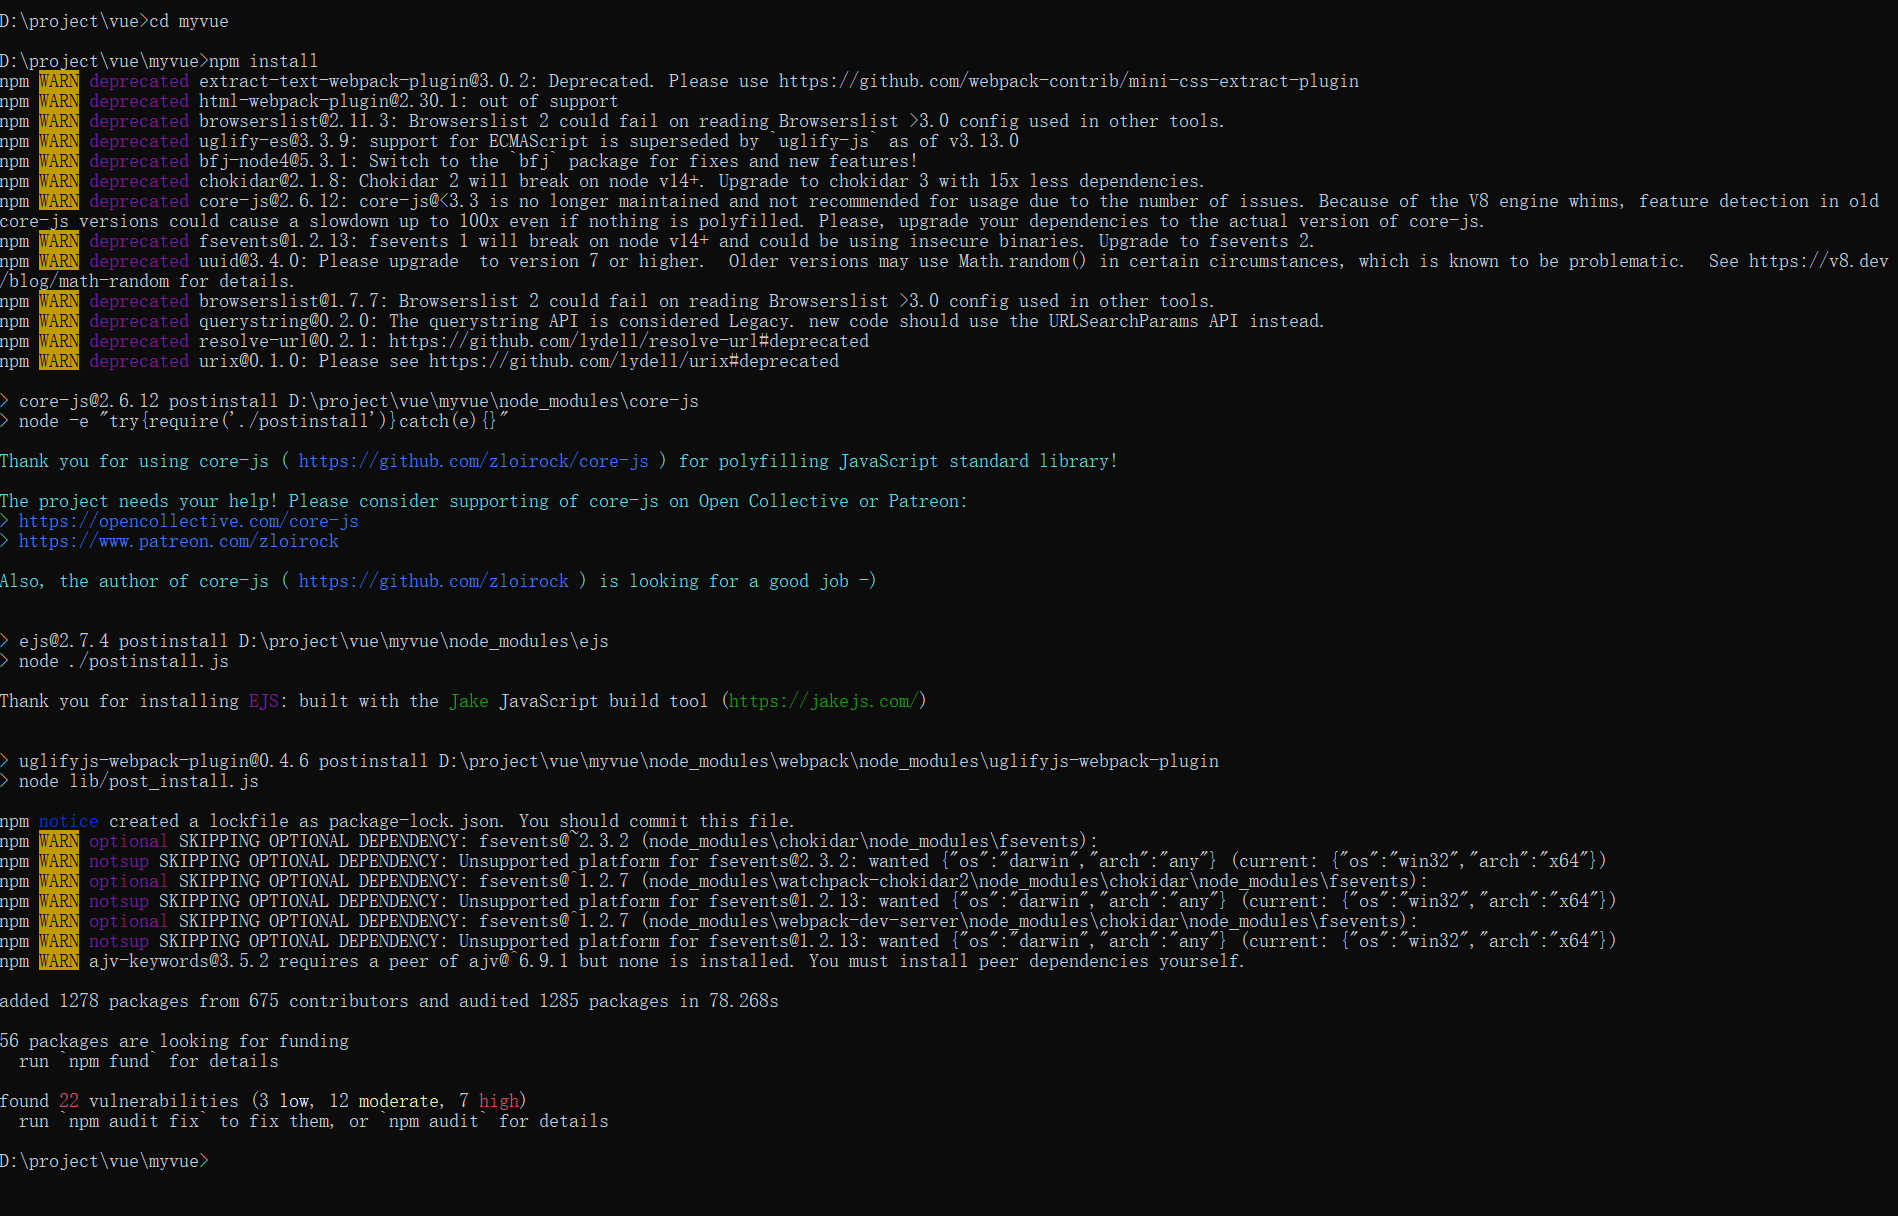
# When running a command in the command window, it is best to run the command as an administrator, otherwise problems may occur that cannot be run
cd myvue	#Go to this directory
npm install	#Initialization
npm run dev	#Function
Initialization
Repair:
# repair
npm audit fix

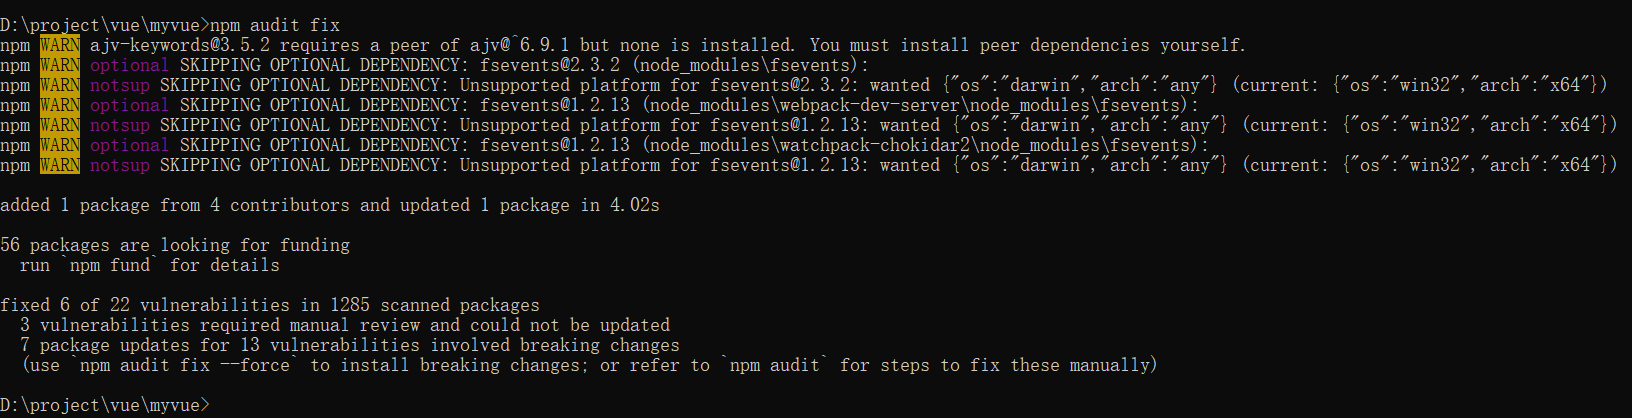
Repair complete
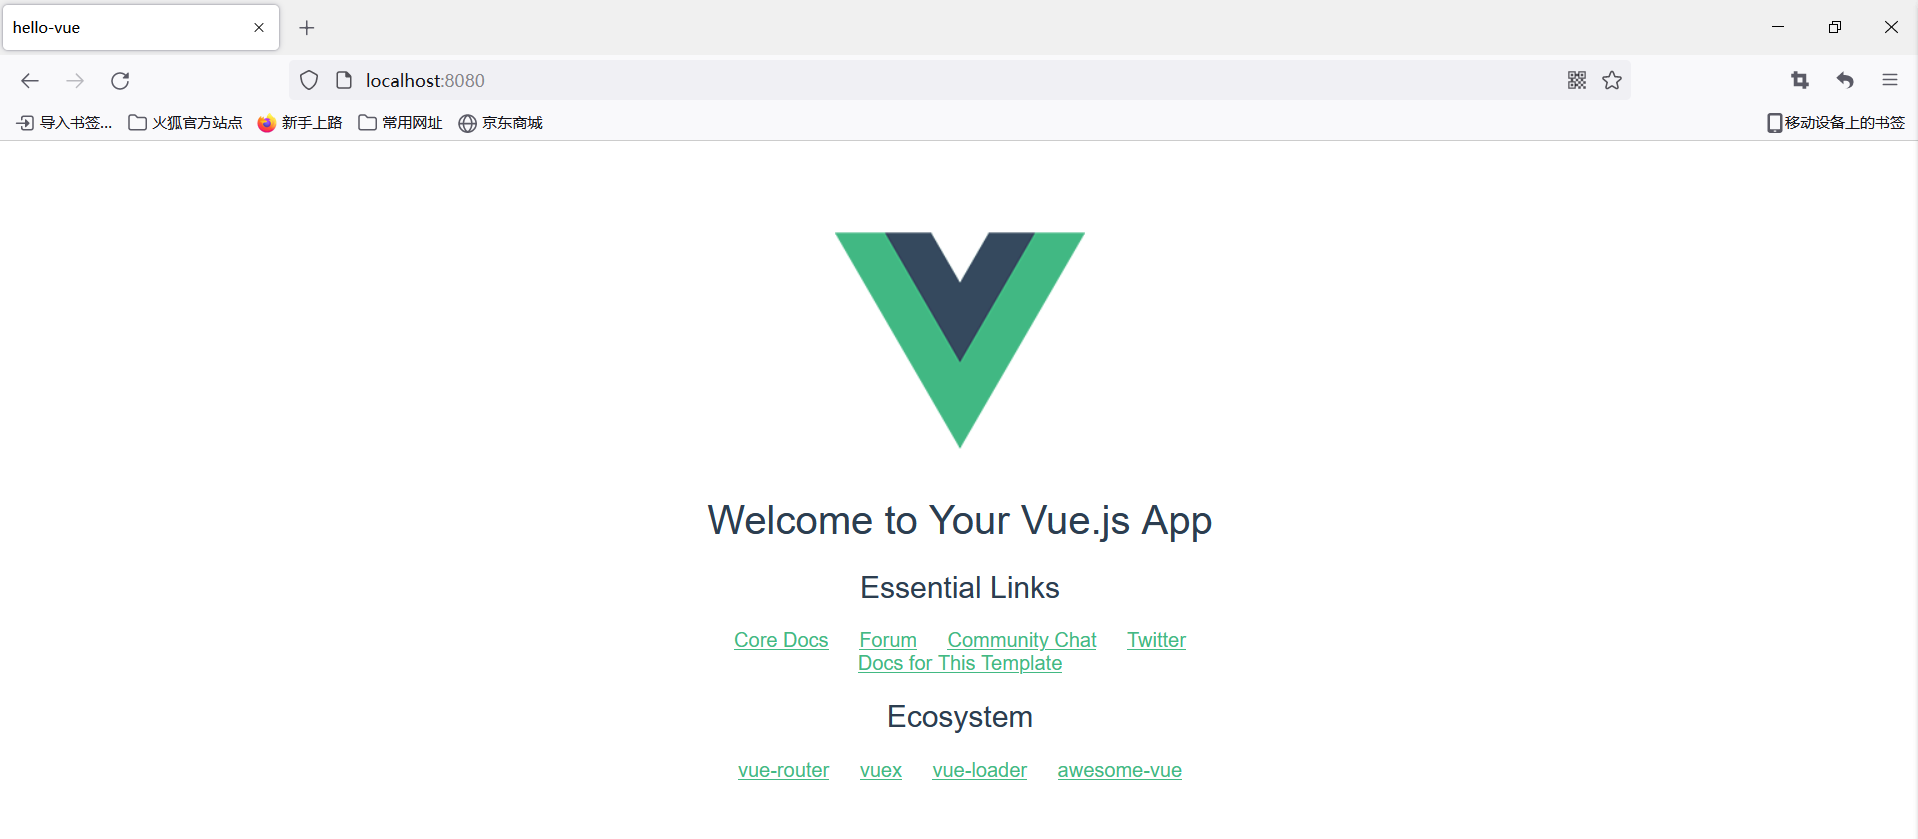
Function

Visit: http://localhost:8080

Stop: Ctrl+C

You can use the IDEA open project to open a better view of the project structure
4. What is a Webpack
Essentially, webpack is a static module bundler for modern JavaScript applications. When a webpack processes an application, it recursively builds a dependency graph that contains each module the application needs, then packages all of them into one or more bundles
Webpack is the most popular modular management and packaging tool for front-end resources, which packages many loosely coupled modules into front-end resources that are deployed in a production environment according to dependencies and rules. You can also separate the modules that are loaded on demand from the code and wait until they are actually needed to load asynchronously. Through the loader transformation, any form of resource can be used as a module, such as CommonsJS, AMD, ES6, cSs, JSON, CoffeeScript, LESS, etc.
With the tide of mobile Internet, more and more websites have evolved from Web page mode to WebApp mode. They run in modern browsers and use new technologies such as HTML5, CSS3, ES6 to develop rich features. Web pages are not only the basic needs of browsers. WebApp is usually a SPA (Single Page Application), where each view is loaded asynchronously, which results in more and more JS code being loaded during page initialization and usage, which presents a huge challenge to front-end development processes and resource organizations.
The main difference between front-end development and other development work is that the front-end is based on multilingual, multilevel coding and organization work, and the front-end product delivery is browser-based. These resources run to the browser by incremental loading. How to organize these fragmented code and resources in the development environment and ensure that they are fast on the browser side? Elegant loading and updating requires a modular system, which is an ideal modular system that front-end engineers have been exploring for years.
5. Evolution of Modularization
1) Script Tags
<script src="module1.js"></script>
<script src="module2.js"></script>
<script src="module3.js"></script>
<script src="module4.js"></script>
This is the furthest way to load JavaScript files. If each file is viewed as a module, their interfaces are usually exposed to global scope, that is, defined in a window object, where calls to different modules are scoped.
Of course, there are also some drawbacks, such as:
- Variable conflicts are prone in global scope
- Files can only follow
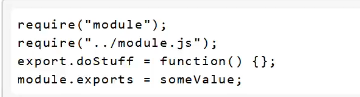
2)CommonsJS
Server-side NodeJS follows the CommonsJS specification, the core idea of which is to allow modules to synchronously load other required dependent modules through a require method, then through exports or modules. Exports to export interfaces that need to be exposed
Advantage
- Server-side modules are easy to reuse
- More than 450,000 module packages are available in NPM
- Easy to use
shortcoming
- Synchronous module loading is not appropriate in a browser environment. Synchronous means blocking the load and browser resources are loaded asynchronously
- Multiple modules cannot be loaded in parallel without blocking
Realization
- Server-side NodeJS
- Browserify, a browser-side CommonsJS implementation, can use NPM modules, but the compiled and packaged files are larger
- modules-webmake, similar to Browserify, but less flexible than Browserify
- wreq, the predecessor of Browserify
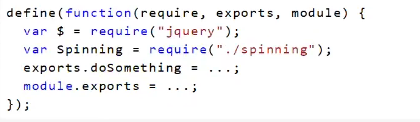
3)AMD
The Asynchronous Module Definition specification is actually a main interface definition (id?, dependencies?, factory); It specifies all dependent dependencies when declaring a module, and it is passed to the factory as a parameter, which executes ahead of time for dependent modules.

Advantage
- Suitable for loading modules asynchronously in a browser environment
- Multiple modules can be loaded in parallel
shortcoming
- Increased development costs make it difficult to read and write code. Semantic Impairment in Module Definition
- Not conforming to the general pattern of thinking, it is a compromise implementation
Realization
- RequireJS
- curl
4)CMD
The Commons Module Definition specification is similar to the AMD specification, as simple as possible, and maintains great compatibility with the Modules specifications of Commons JS and NodeJS.
Advantage
- Dependency Near, Delayed Execution
- Very easy to run in NodeJS
shortcoming
- Dependent on SPM packaging, module loading logic is biased
Realization
- Sea.js
- connlie
5) ES6 module
The EcmaScript6 standard adds module system definitions at the JavaScript language level. The ES6 module is designed to be as static as possible so that the dependencies of the module, as well as the input and output variables, can be determined at compile time. Both CommonsJS and AMD modules can only determine these at runtime.

Advantage
- Easy static analysis
- Future-oriented EcmaScript standards
shortcoming
- The standard is not yet implemented on the native browser side
- New commands, new versions of odeJS support
Realization
- Babel
Expected module system
Compatible with many module styles, you can make the best use of existing code, not only JavaScript modularization, but also css, pictures, fonts and other resources.
6. Install Webpack
WebPack is a module loader and packaging tool that combines various resources such as JS, JSX, ES6, SASS, LESS. Pictures and so on are processed and used as modules.
6.1 Installation
npm install webpack -g
npm install webpack-cli -g

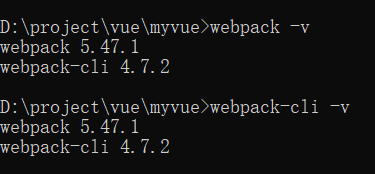
Test Installation Successful
webpack -v
webpack-cli -v
6.2 Configuration
Create a webpack.config.js configuration file
- Entry: Entry file, specifying which file WebPack uses as the entry for the project.
- output: output, specifying that the WebPack places the processed file in the specified path
- Module:module, which handles various types of files
- plugins: Plug-ins, such as hot updates, code reuse, etc.
- resolve:Set path pointing
- watch:listen for direct packaging after file changes
6.3 Use webpack
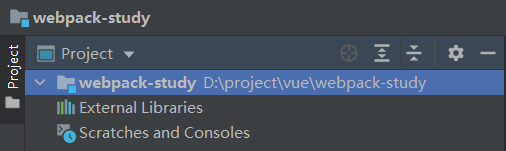
1. Create Project
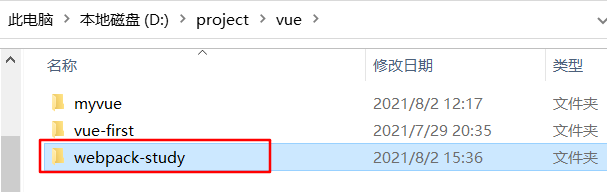
2. Open this file with IDEA
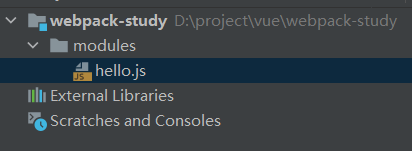
3. Create a directory called modules to store resource files such as JS modules
4. Create module files inside modules, hello.js
// Expose a method
exports.sayHi= function () {
    document.write("<div>hello webpack</div>");
}
5. Create a name named main under modules. The entry file for js, which sets the entry property when packaging
// require imports a module and calls the methods in that module
var hello = require("./hello")
hello.sayHi();
6. Create a webpack under the project directory. Config. JS configuration file, packaged using webpack command
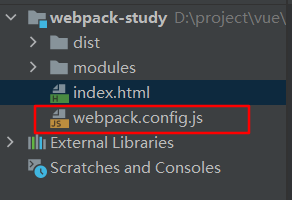
module.exports = {
    entry: './modules/main.js',
    output: {
        filename: "./js/bundle.js"
    }
};
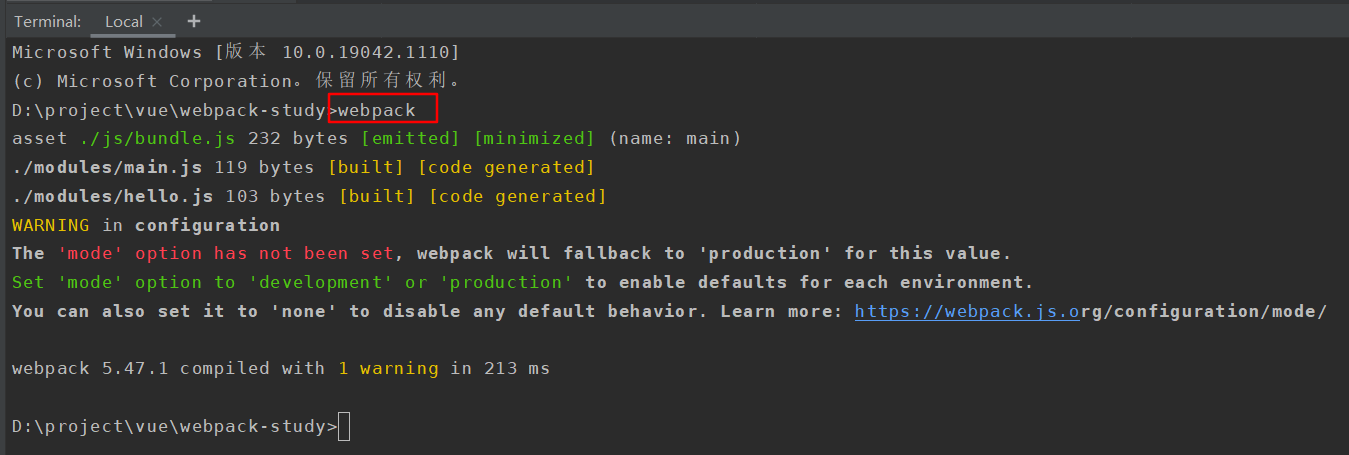
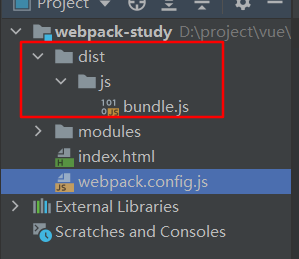
6.3. 1 Packaging
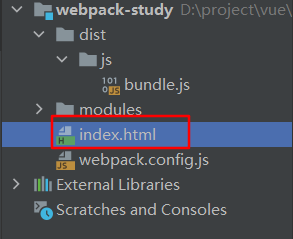
7. Create HTML pages under the project directory, index.html, import packaged JS files
<!DOCTYPE html>
<html lang="en">
    <head>
        <meta charset="UTF-8">
        <title>webpack</title>
    </head>
    <body>

        <!--Front-end modular development-->
        <script src="dist/js/bundle.js"></script>

    </body>
</html>
8. Run as follows
2. Vue:vue-router routing
1) Description
When learning, you can open official documents and look at them while learning, which will help you to master them
The Vue Router is a Vue.js Official Route Manager, it and Vue. The core of JS is deep integration, which makes it easy to build but also to apply, including the following functions:
- Nested Route/Attempt Table
- Modular, component-based routing configuration
- Routing parameters, training, wildcards
- Based on Vue. Attempted transition effect of JS transition system
- Fine-grained navigation control
- Links with automatically activated CSS class es
- HTML5 historical mode or hash mode, automatically downgraded in IE9
- Customized scrollbar behavior
2) Installation
Test learning based on the first vue-cli, look at node_first Is there a vue-router in modules
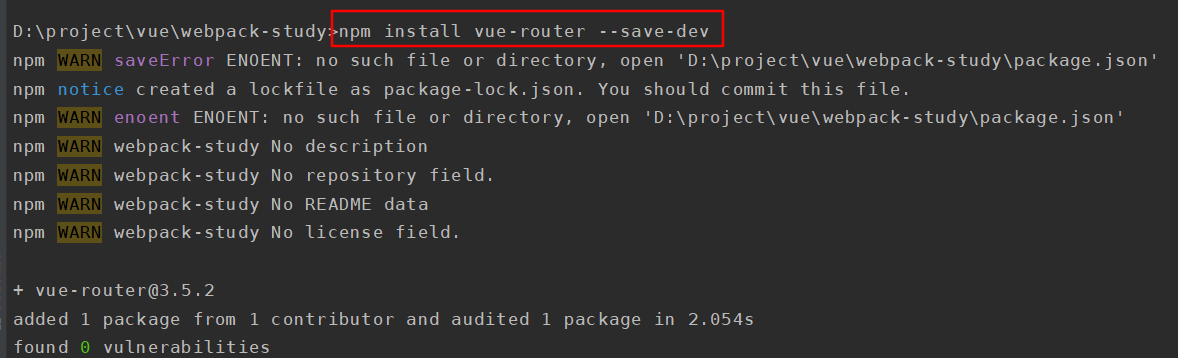
vue-router is a plug-in package, so you still need to use npm to install it, open the command line in the project directory to install it
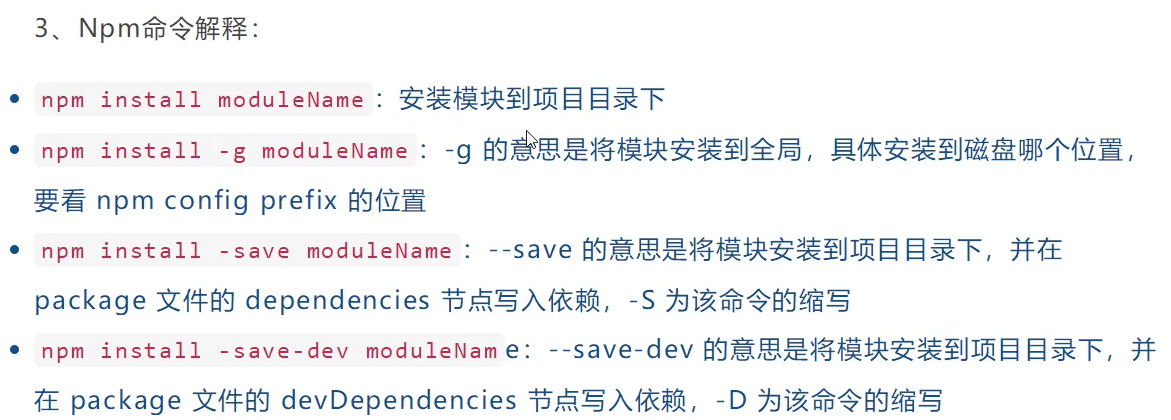
npm install vue-router --save-dev
3) Testing
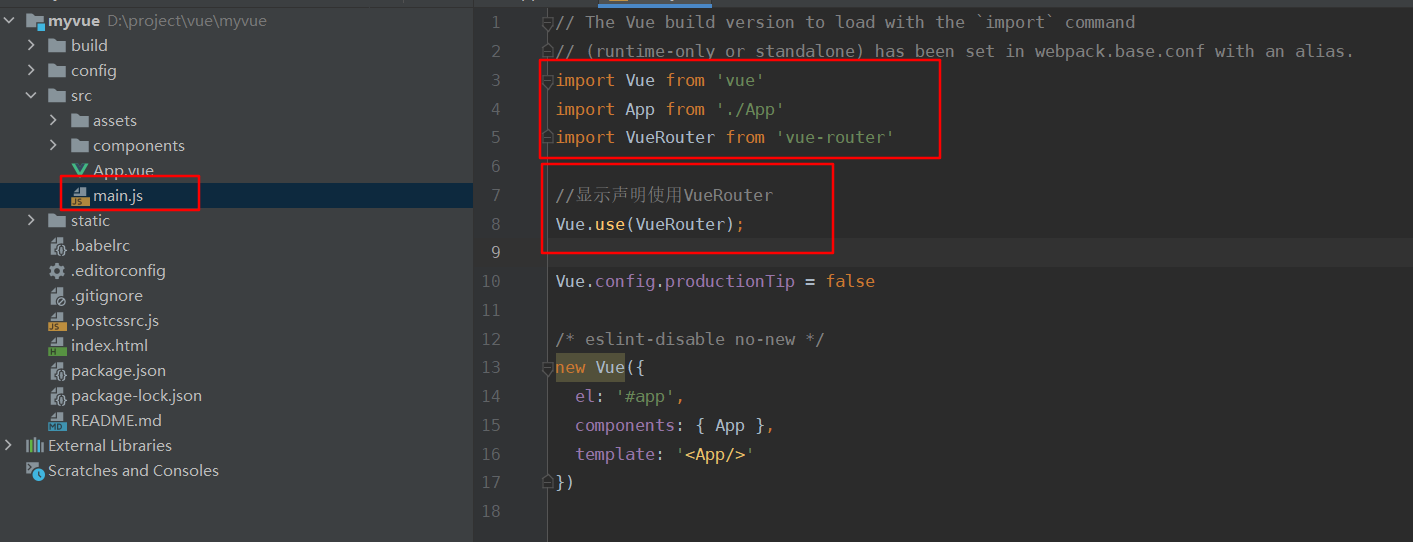
1. If you use it in a modular project, you must pass the Vue.use() explicit installation routing
import Vue from 'vue'
import VueRouter from 'vue-router'

Vue.use(VueRouter);
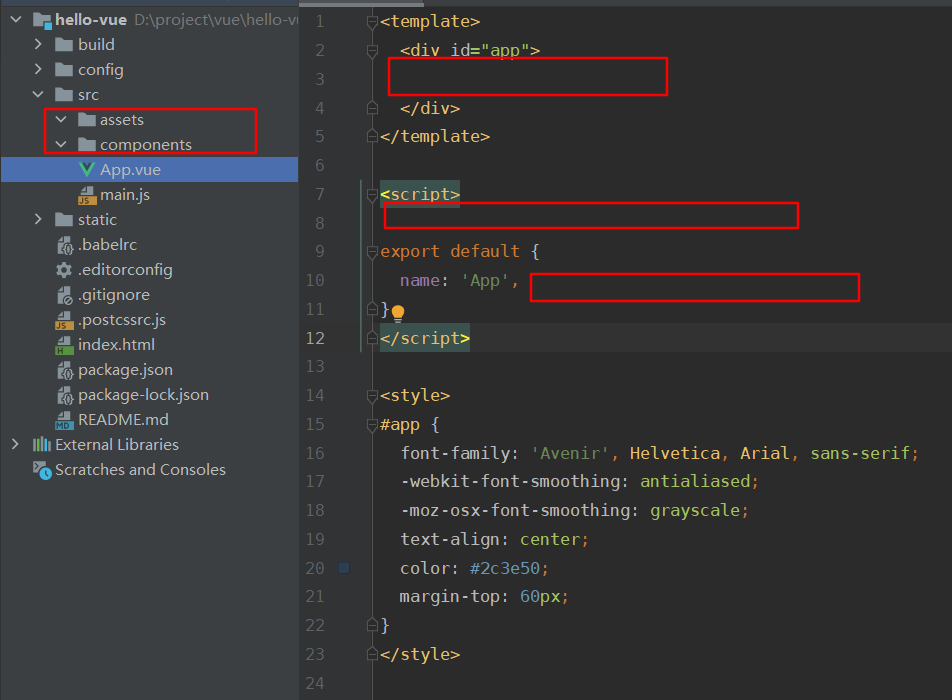
2. Delete the contents under the components and assets files to facilitate test learning.
3. Create Components in the components directory. Vue component, as follows
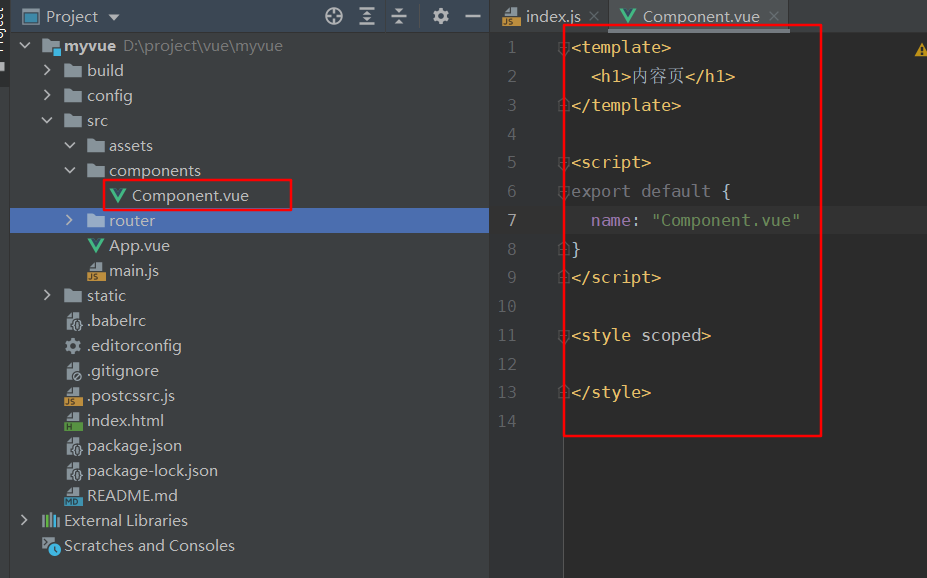
<template>
  <h1>Content Page</h1>
</template>

<script>
export default {
  name: "Component.vue"
}
</script>

<style scoped>

</style>
4. Create Main in the components directory. Vue component, as follows
<template>
  <h1>home page</h1>
</template>

<script>
export default {
  name: "Main"
}
</script>

<style scoped>

</style>
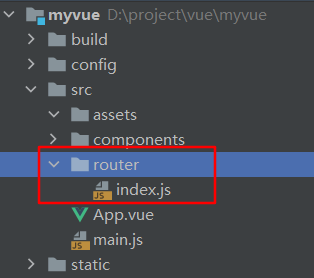
5. Create a router directory under the src directory, and then create an index in it. JS
import Vue from 'vue'
import VueRouter from 'vue-router'
//Import Defined Components
import Content from '../components/Component'
import Main from '../components/Main'

//Install Route
Vue.use(VueRouter);

//Configure export routes
export default new VueRouter({
  routes: [
    {
      //Routing Path
      path: '/content',
      //Name
      name: 'content',
      //Jumped Components
      component: Content
    },
    {
      //Routing Path
      path: '/main',
      //Name
      name: 'main',
      //Jumped Components
      component: Main
    }
  ]
});
6. Modify main.js file
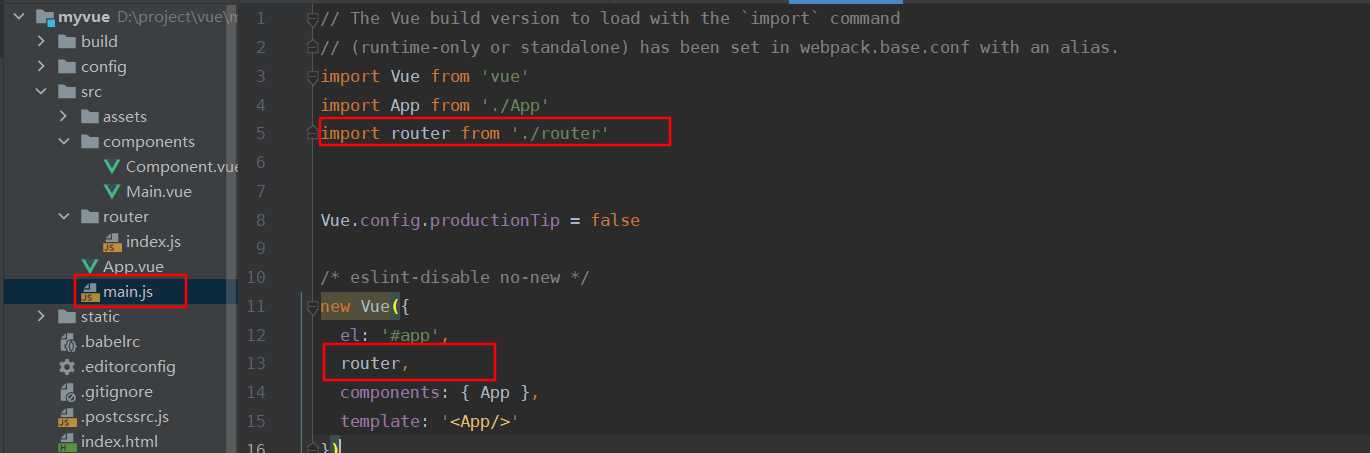
import Vue from 'vue'
import App from './App'

//Import the created route configuration directory
import router from './router'

//Tips given in closing production mode
Vue.config.productionTip = false

/* eslint-disable no-new */
new Vue({
  el: '#app',
  //Configure Routing
  router,
  components: { App },
  template: '<App/>'
})
7. Modify App.vue file
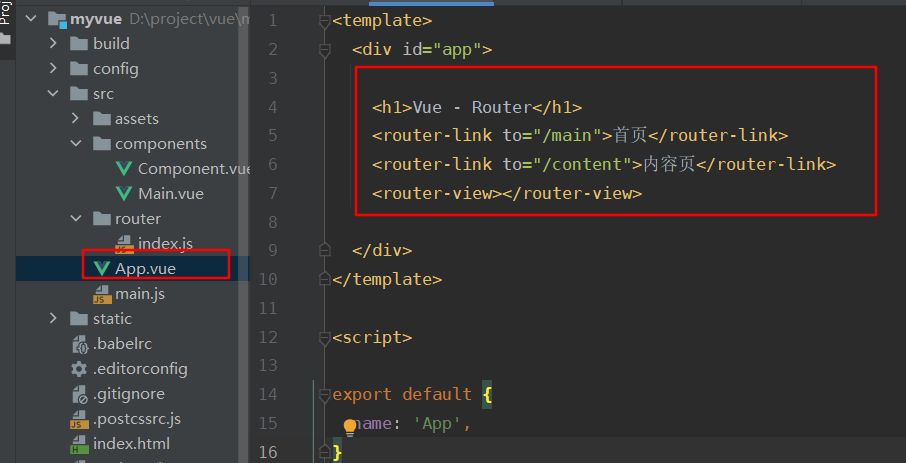
<template>
  <div id="app">

    <h1>Vue - Router</h1>
    <router-link to="/main">home page</router-link>
    <router-link to="/content">Content Page</router-link>
    <router-view></router-view>

  </div>
</template>

<script>

export default {
  name: 'App',
}
</script>

<style>
#app {
  font-family: 'Avenir', Helvetica, Arial, sans-serif;
  -webkit-font-smoothing: antialiased;
  -moz-osx-font-smoothing: grayscale;
  text-align: center;
  color: #2c3e50;
  margin-top: 60px;
}
</style>
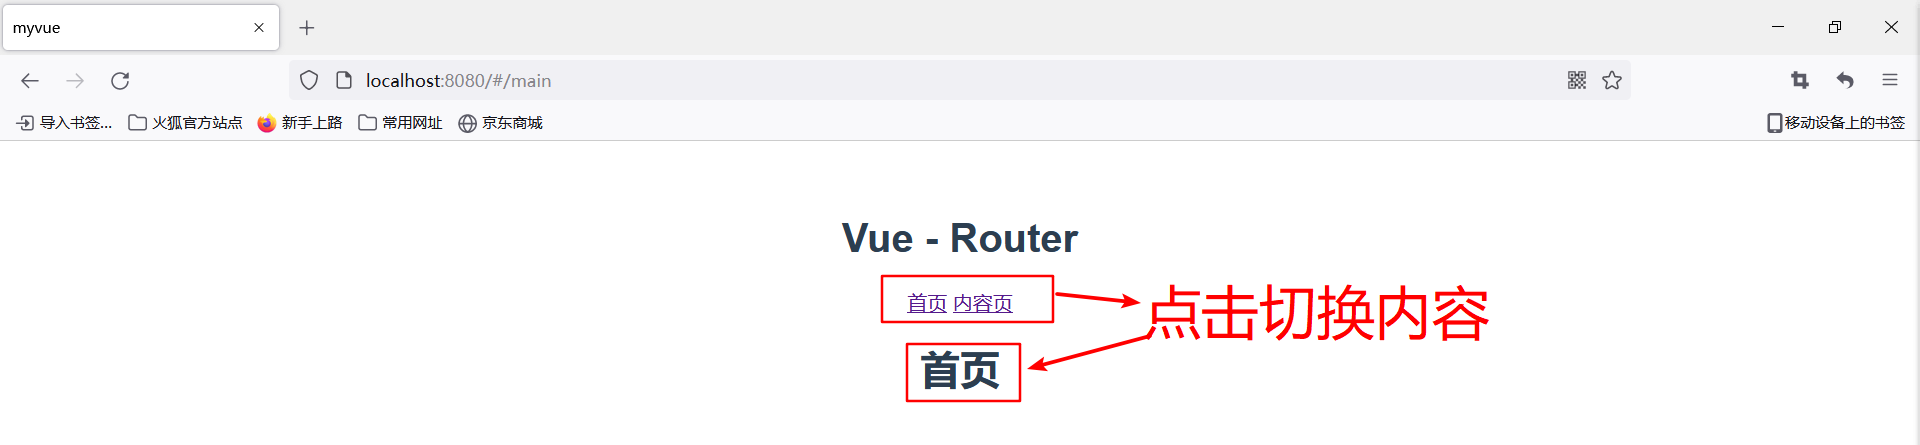
3.1 Run

3. Vue: Quick start in actual combat
Get started quickly with the ElementUI component library
1) Create a project
1.1 Note:
The command line is best run in administrator mode, otherwise there may be problems where the command cannot run
1. Create a project, hello-vue
vue init webpack hello-vue
See the directory "First vue-cli program" in English
2. Installation dependencies and plug-ins
# Enter Project
cd hello-vue

# Install vue-router
npm install vue-router --save-dev

# Install element-ui
npm i element-ui -S

# Installation Dependency
npm install

# There are red numbers, errors, use the following line of commands to repair
npm audit fix

# Install SASS Loader
cnpm install sass-loader node-sass --save-dev

# Start test
npm run dev
Run successful browser access as follows:
2) Start
- Open a project with IDEA, delete something that's not useful
- Create two directories under src
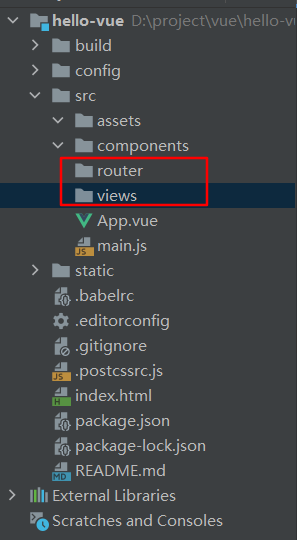
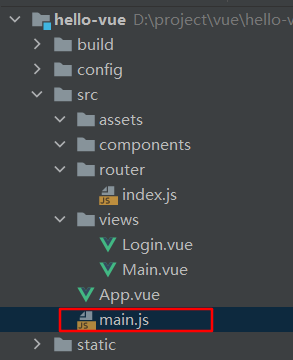
- Create components in the views directory, Main.vue
<template>
  <h1>home page</h1>
</template>

<script>
export default {
  name: "Main"
}
</script>

<style scoped>

</style>
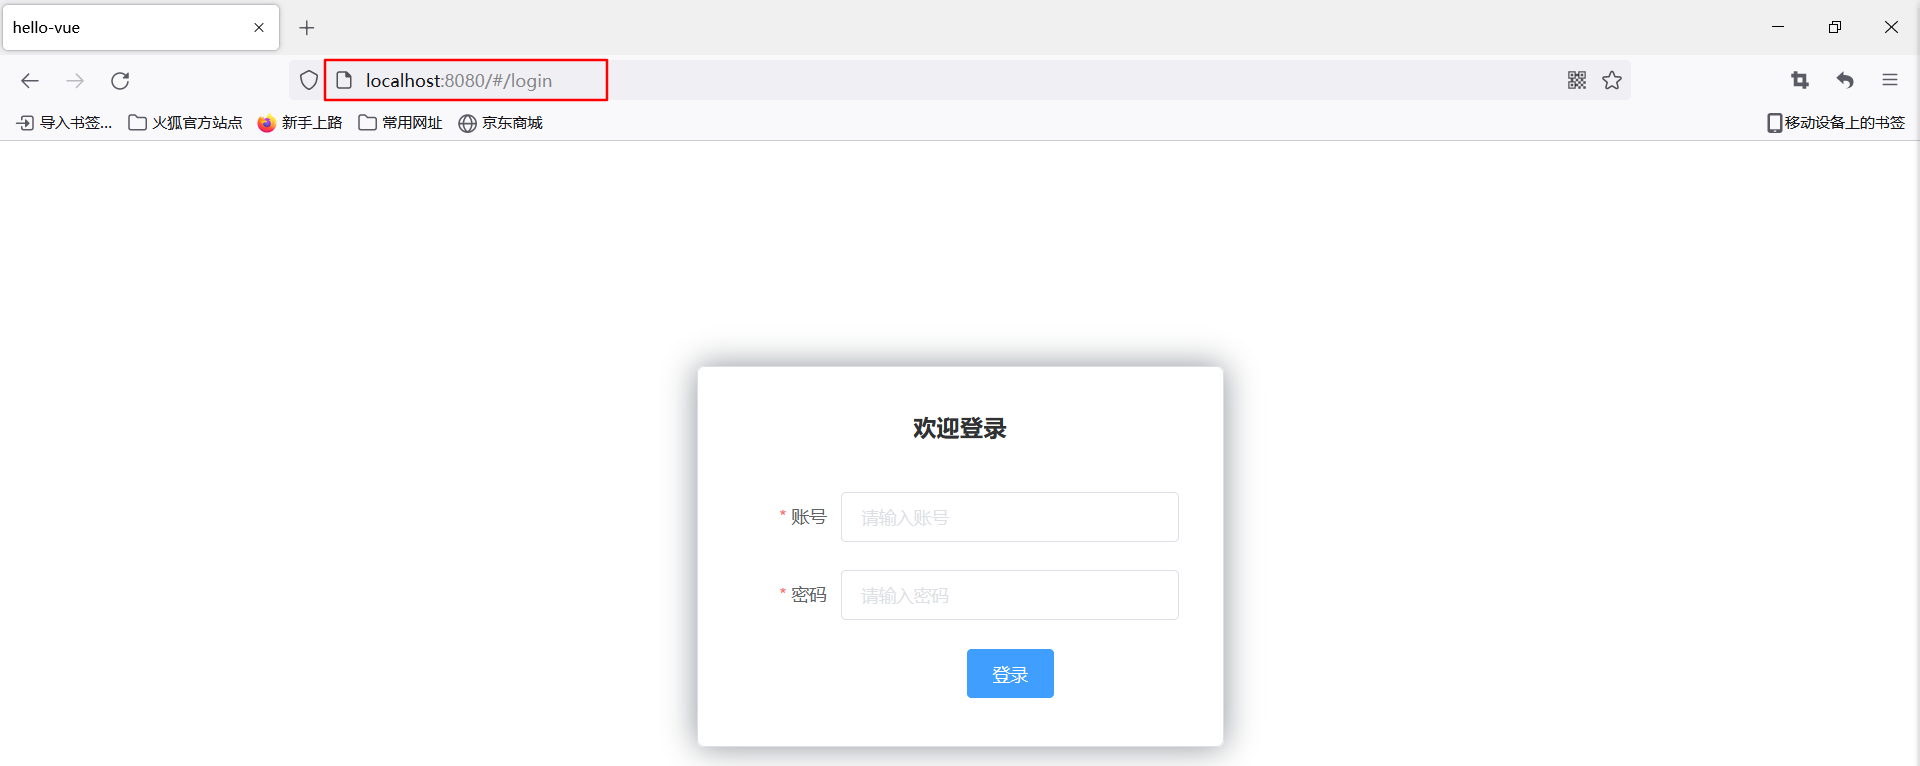
- Create a component in the views directory, Login.vue
<template>
<div>
<el-form ref="loginForm" :model="form" :rules="rules" label-width="80px" class="login-box">
<h3 class="login-title">Welcome to login</h3>
<el-form-item label="Account number" prop="username">
<el-input type="text" placeholder="Please enter an account" v-model="form.username"/>
</el-form-item>
<el-form-item label="Password" prop="password">
<el-input type="password" placeholder="Please input a password" v-model="form.password"/>
</el-form-item>
<el-form-item>
<el-button type="primary" v-on:click="onSubmit('loginForm')">Sign in</el-button>
</el-form-item>
</el-form>
<el-dialog title="Reminder" :visible.sync="dialogVisible" width="30%" :before-close="handleClose">
<span>Please enter your account number and password</span>
<span slot="footer" class="dialog-footer">
<el-button type="primary" @click="dialogVisible = false">Determine</el-button>
</span>
</el-dialog>
</div>
</template>
<script>
export default {
name: "Login",
data(){
return{
form:{
username:'',
password:''
},
//Form validation, need to add prop attribute in the el-form-item element
rules:{
username:[
{required:true,message:"Account cannot be empty",trigger:"blur"}
],
password:[
{required:true,message:"Password cannot be empty",tigger:"blur"}
]
},
//Dialog Show and Hide
dialogVisible:false
}
},
methods:{
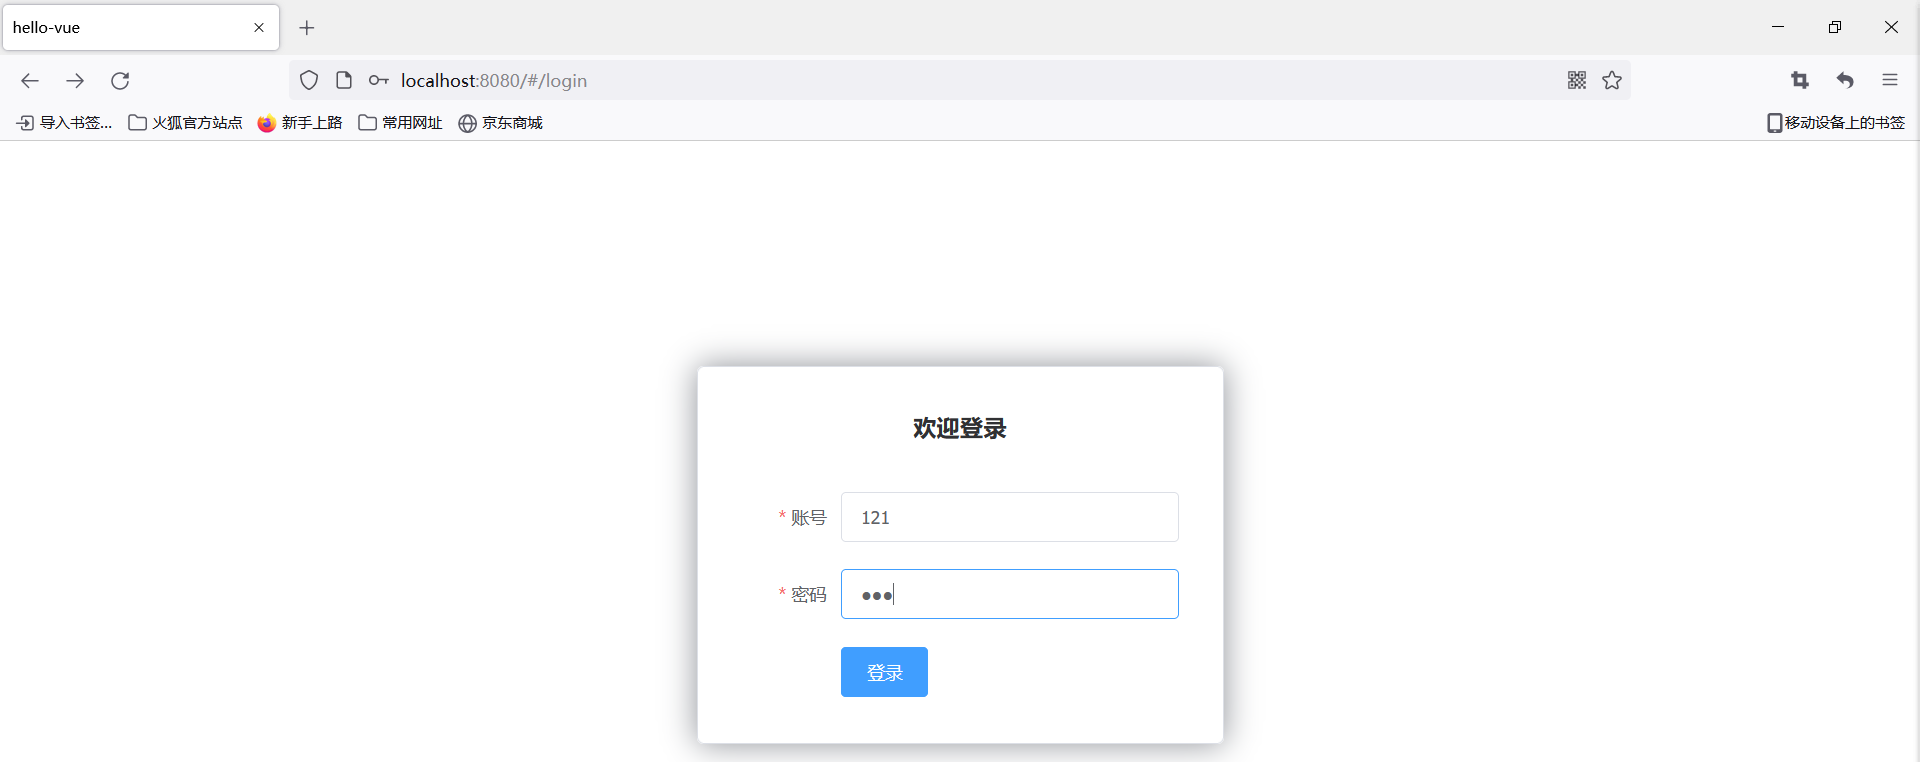
onSubmit(formName){
//Bind Validation for Forms
this.$refs[formName].validate((valid)=>{
if(valid){
//Routing to a specified interface using vue-router is called programmatic navigation
this.$router.push('/main');
}else{
this.dialogVisible=true;
return false;
}
});
}
}
}
</script>
<style lang="scss" scoped>
.login-box{
border:1px solid #DCDFE6;
width: 350px;
margin:180px auto;
padding: 35px 35px 15px 35px;
border-radius: 5px;
-webkit-border-radius: 5px;
-moz-border-radius: 5px;
box-shadow: 0 0 25px #909399;
}
.login-title{
text-align:center;
margin: 0 auto 40px auto;
color: #303133;
}
</style>
- Create a routing profile, index, in the router directory. JS
//Import vue
import Vue from 'vue';
import VueRouter from 'vue-router';
//Import Components
import Main from "../views/Main";
import Login from "../views/Login";
//Use
Vue.use(VueRouter);
//export
export default new VueRouter({
  routes: [
    {
      //Logon Page
      path: '/main',
      component: Main
    },
    //home page
    {
      path: '/login',
      component: Login
    },
  ]
})
- Modify main.js
import Vue from 'vue'
import App from './App'

import router from "./router"

import ElementUI from 'element-ui'
import 'element-ui/lib/theme-chalk/index.css'

Vue.use(router)
Vue.use(ElementUI)

Vue.config.productionTip = false

new Vue({
  el: '#app',
  router,
  render:h=>h(App)
});
- Modify App.vue
<template>
  <div id="app">
      <router-view></router-view>
  </div>
</template>

<script>

export default {
  name: 'App',
}
</script>

<style>
</style>
3) Run
npm run dev
Errors may occur. The problem is that the dependent version is too high. Modify the dependent version to be lower. Modify as follows:
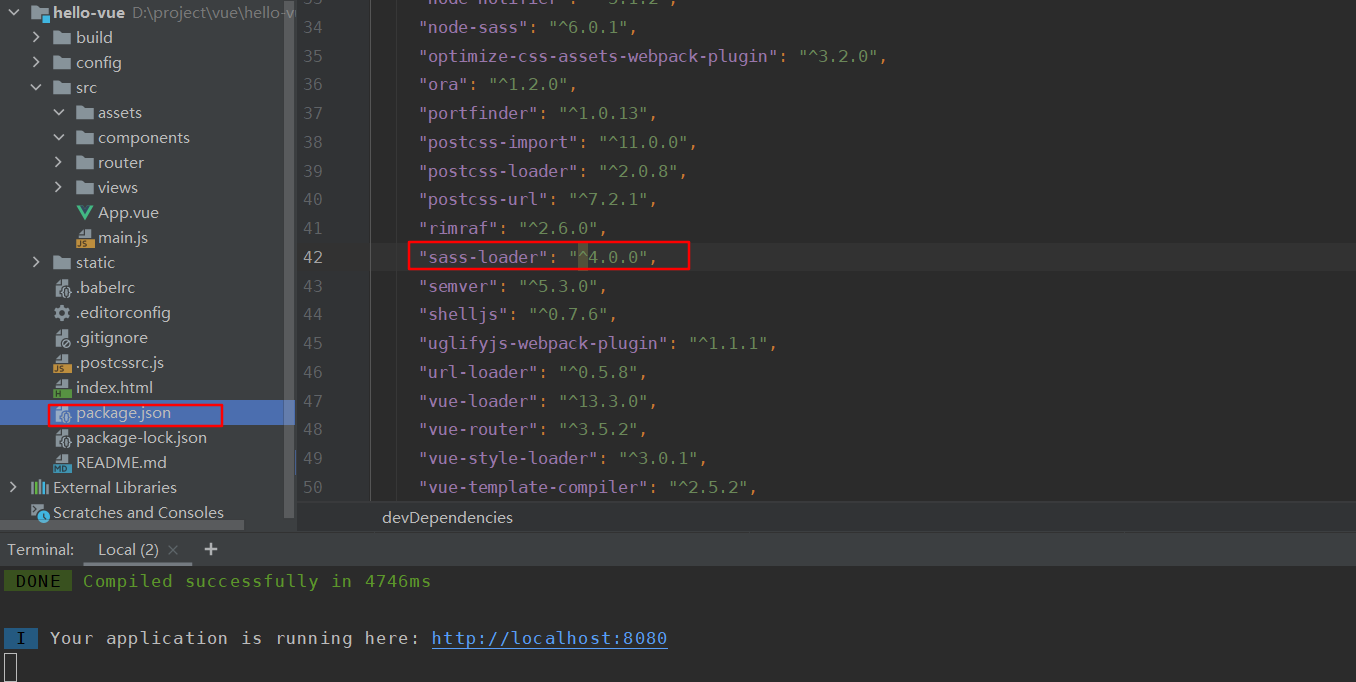
Reinstall the dependency because you modified it
# Use cnpm Taobao Accelerator here, faster, don't Miss dependencies
cnpm install
Start again
npm run dev
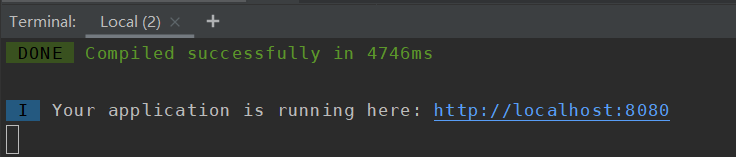
Page effect:

1. Routing Nesting
- Create a directory in the views directory, user
- Create two components in the user directory, UserList.vue, UserProfile.vue

<template>
  <h1>User List</h1>
</template>

<script>
export default {
  name: "UserList"
}
</script>

<style scoped>

</style>
<template>
  <h1>Personal information</h1>
</template>

<script>
export default {
  name: "UserProfile"
}
</script>

<style scoped>

</style>
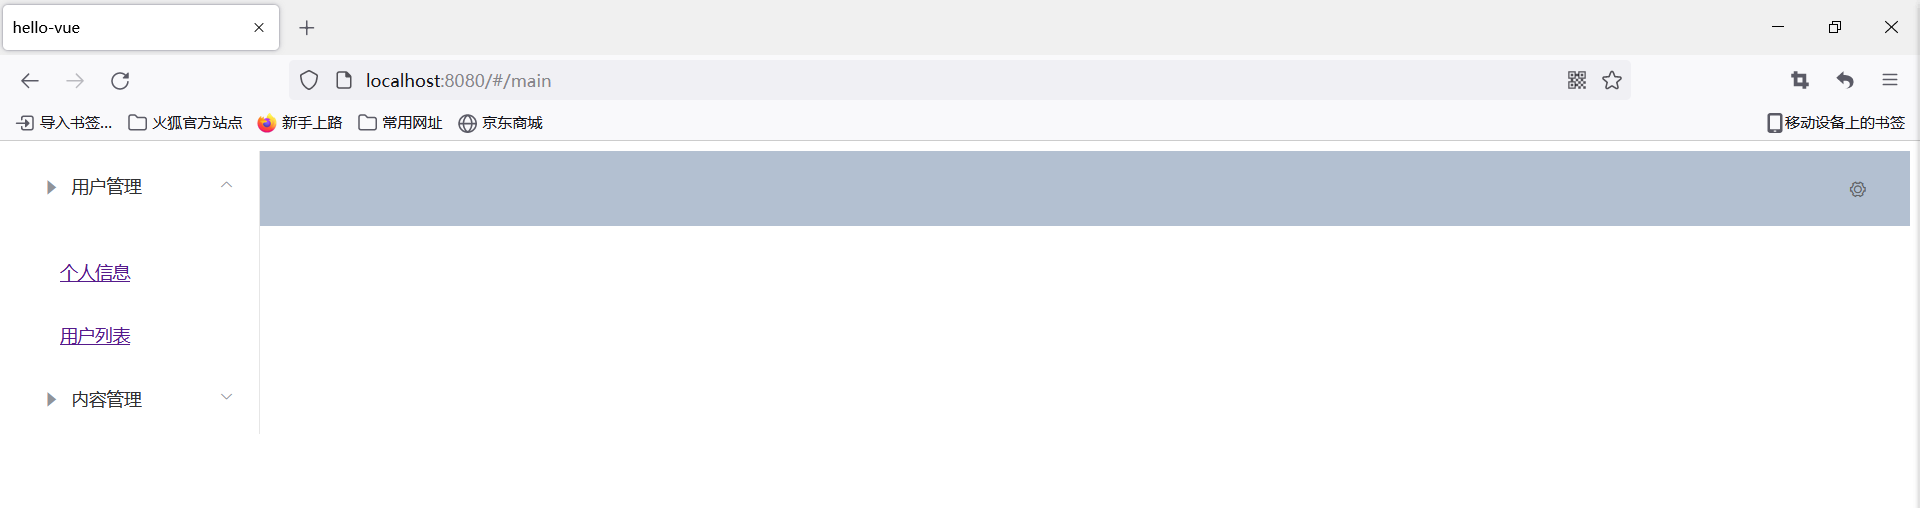
- Modify Main in the views directory. The Vue components are as follows:
<template>
  <div>
    <el-container>
      <el-aside width="200px">
        <el-menu :default-openeds="['1']">
          <el-submenu index="1">
            <template slot="title"><i class="el-icon-caret-right"></i>user management</template>
            <el-menu-item-group>
              <el-menu-item index="1-1">
                <!--Insert place-->
                <router-link to="/user/UserProfile">Personal information</router-link>
              </el-menu-item>
              <el-menu-item index="1-2">
                <!--Insert place-->
                <router-link to="/user/UserList">User List</router-link>
              </el-menu-item>
            </el-menu-item-group>
          </el-submenu>
          <el-submenu index="2">
            <template slot="title"><i class="el-icon-caret-right"></i>Content Management</template>
            <el-menu-item-group>
              <el-menu-item index="2-1">Classified Management</el-menu-item>
              <el-menu-item index="2-2">Content List</el-menu-item>
            </el-menu-item-group>
          </el-submenu>
        </el-menu>
      </el-aside>

      <el-container>
        <el-header style="text-align: right; font-size: 12px">
          <el-dropdown>
            <i class="el-icon-setting" style="margin-right: 15px"></i>
            <el-dropdown-menu slot="dropdown">
              <el-dropdown-item>Personal information</el-dropdown-item>
              <el-dropdown-item>Log out</el-dropdown-item>
            </el-dropdown-menu>
          </el-dropdown>
        </el-header>
        <el-main>
          <!--Show views here-->
          <router-view />
        </el-main>
      </el-container>
    </el-container>
  </div>
</template>
<script>
export default {
  name: "Main"
}
</script>
<style scoped lang="scss">
.el-header {
  background-color: #B3C0D1;
  color: #333;
  line-height: 60px;
}
.el-aside {
  color: #333;
}
</style>
- Modify the index in the router directory. Routing configuration for JS
//Import vue
import Vue from 'vue';
import VueRouter from 'vue-router';
//Import Components
import Main from "../views/Main";
import Login from "../views/Login";

import UserList from "../views/user/UserList";
import UserProfile from "../views/user/UserProfile";
//Use
Vue.use(VueRouter);
//export
export default new VueRouter({
  routes: [
    {
      //Logon Page
      path: '/main',
      component: Main,
      //Nested Route
      children: [
        {
          path: '/user/UserProfile',
          component: UserProfile
        },
        {
          path: '/user/UserList',
          component: UserList
        }
      ]
    },
    //home page
    {
      path: '/login',
      component: Login
    },
  ]
});
- Run the project
npm run dev
- Browser Access
-
Enter your account password at will Click Login
-
-
Go to main page
-
-
Click on personal information or user list to show content
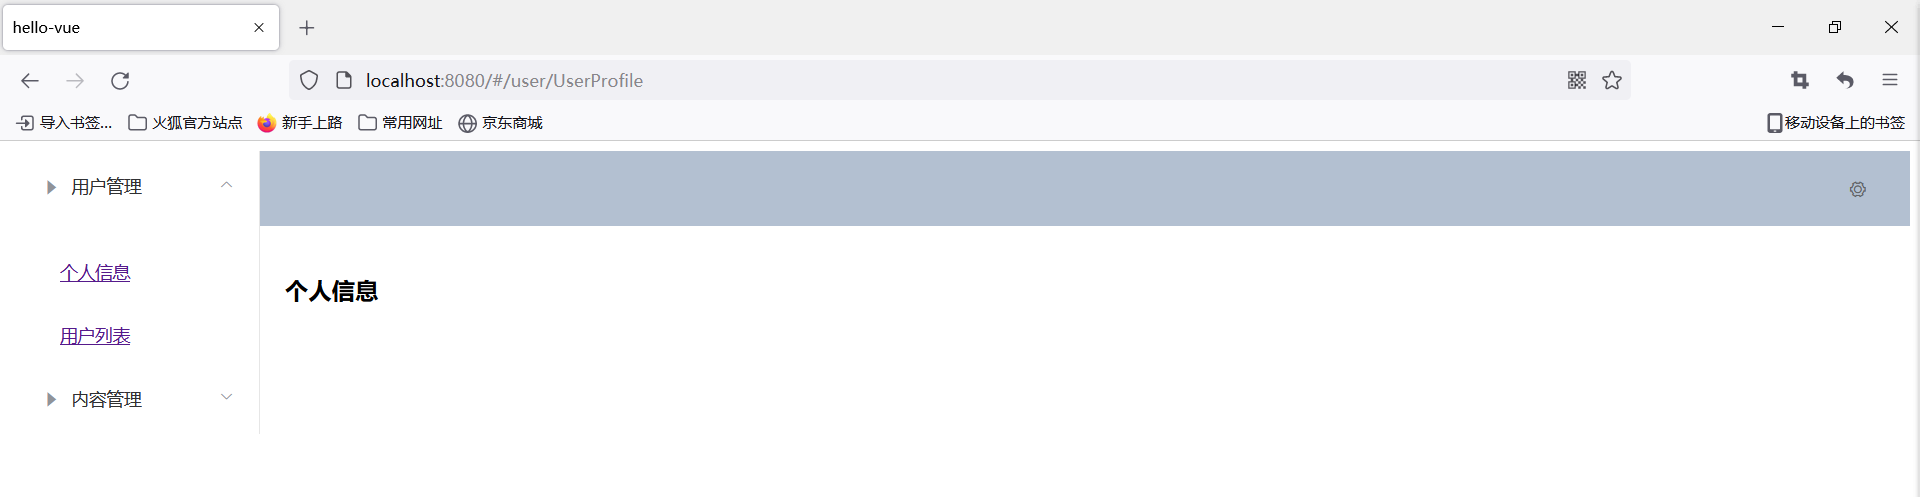
-
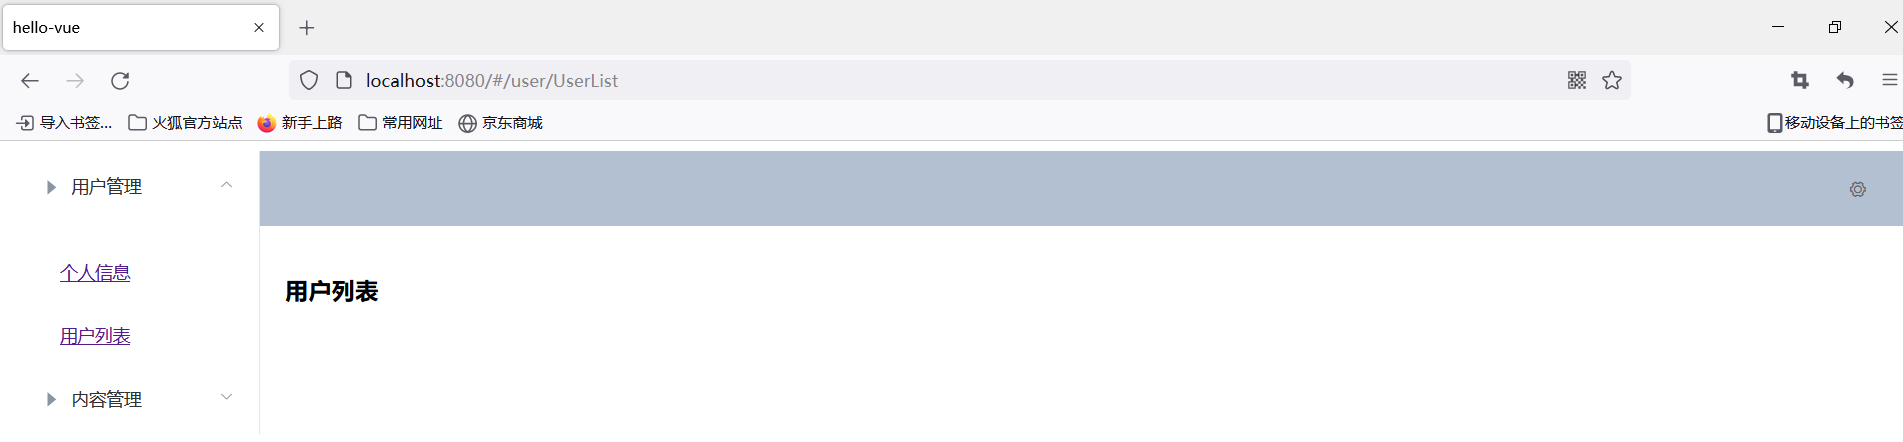
-
2. Parameter Passing and Redirection
1) Parameter transfer
- Modify Main.vue
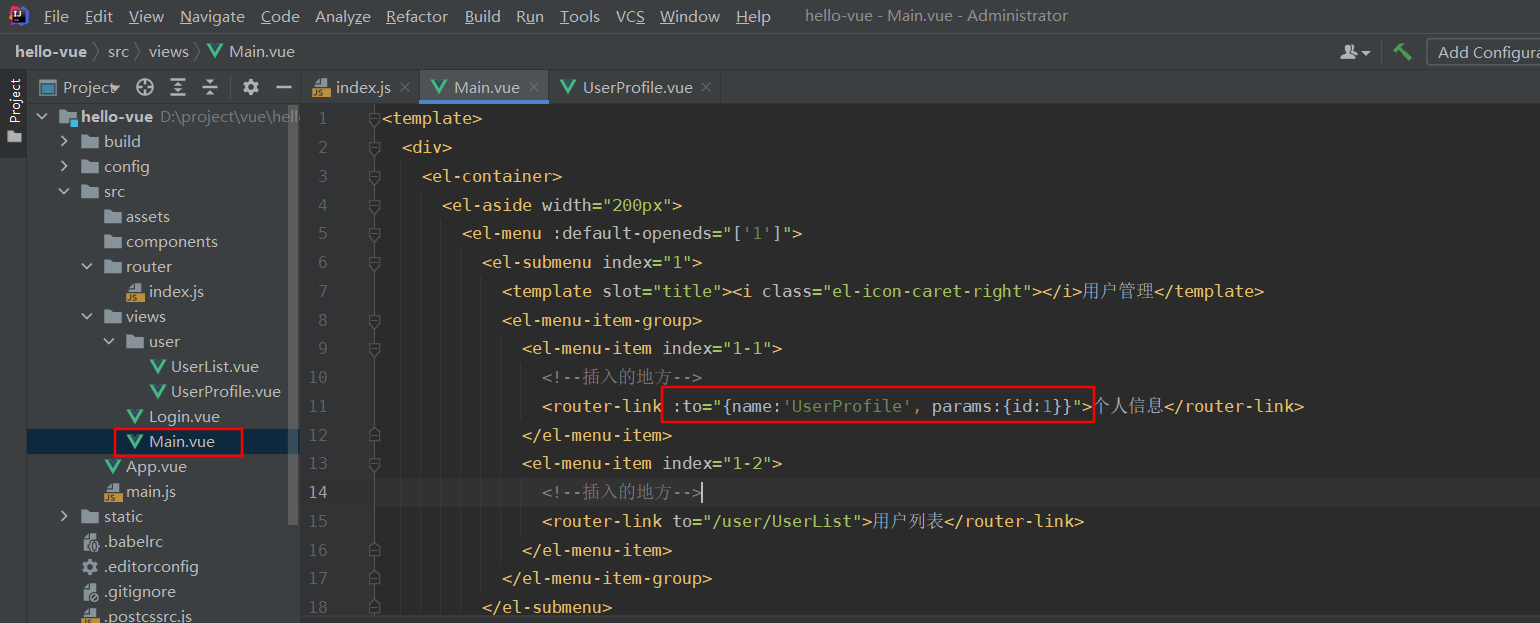
:to="{name:'UserProfile', params:{id:1}}"
- Modify Routing Configuration

path: '/user/UserProfile/:id',
props: true,
name: 'UserProfile',
- Modify UserProfile.vue component
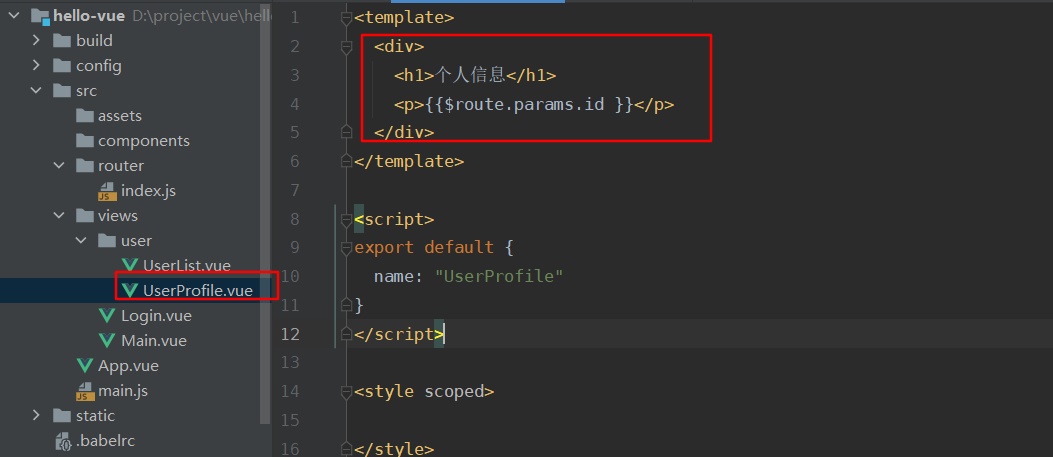
<!-- All elements, more than one element, cannot be placed directly under the root node -->
<div>
   <h1>Personal information</h1>
   <p>{{$route.params.id }}</p>
</div>
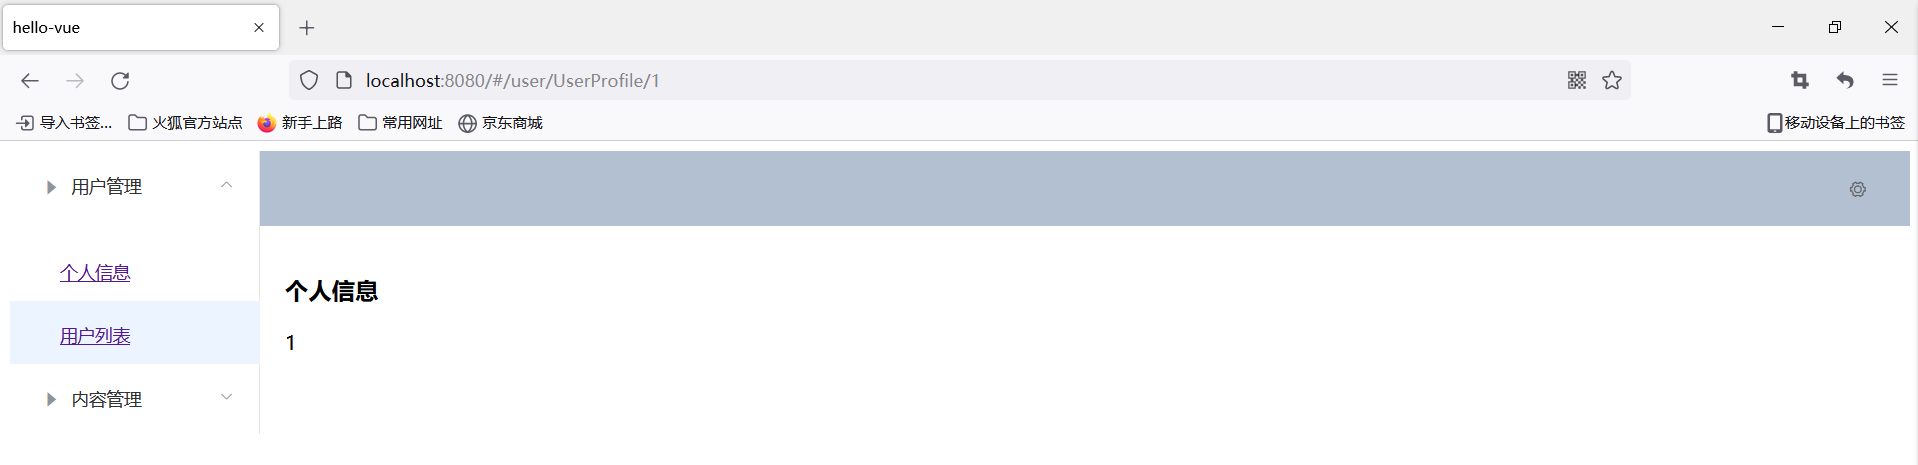
Running effect
Go to the main page and click on personal information
2) Redirection
- Modify Routing Configuration
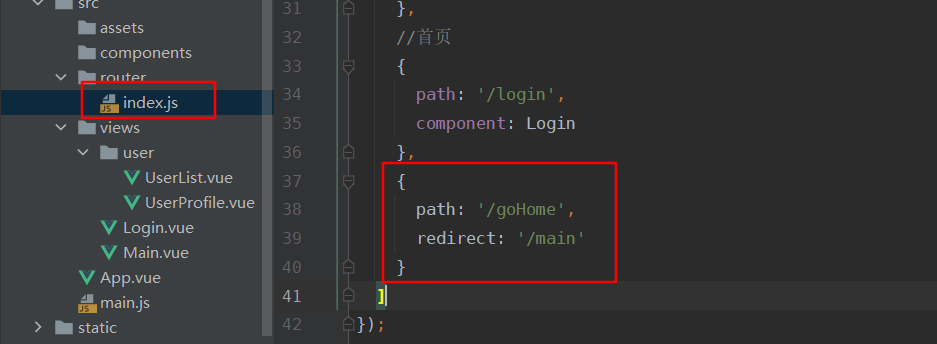
{
  path: '/goHome',
  redirect: '/main'
}
- Modify Main.vue
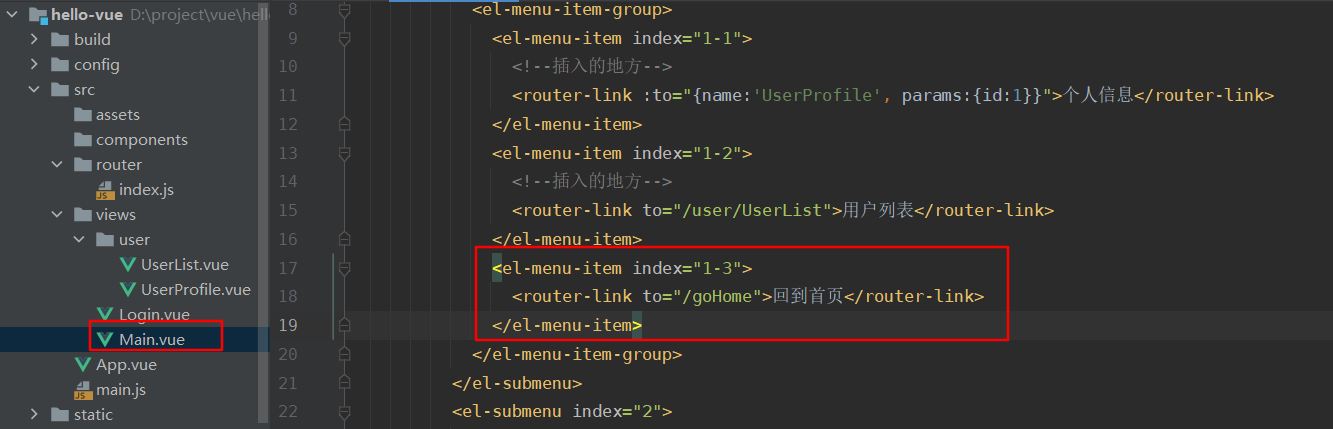
<el-menu-item index="1-3">
    <router-link to="/goHome">Back to Home Page</router-link>
</el-menu-item>
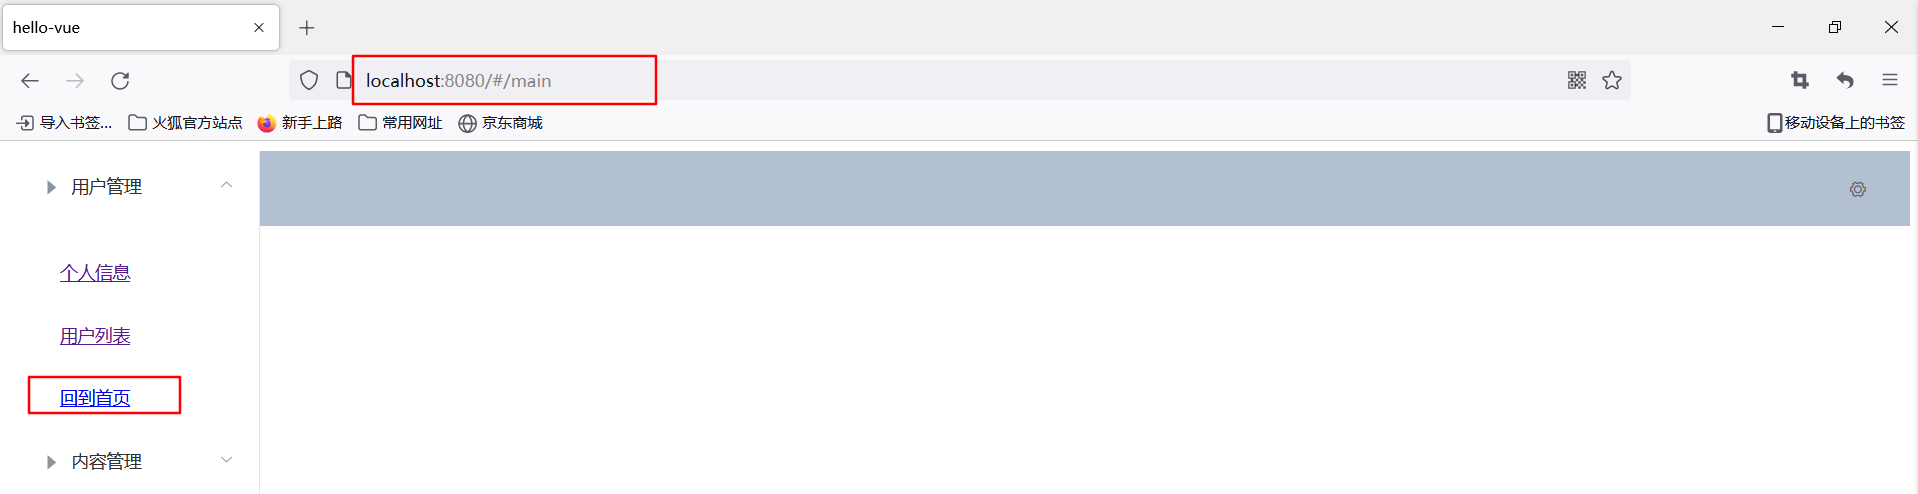
The results are as follows:
After clicking on personal information, click back to the home page, and jump back to the home page
3. Routing Mode and 404
1) Routing Mode
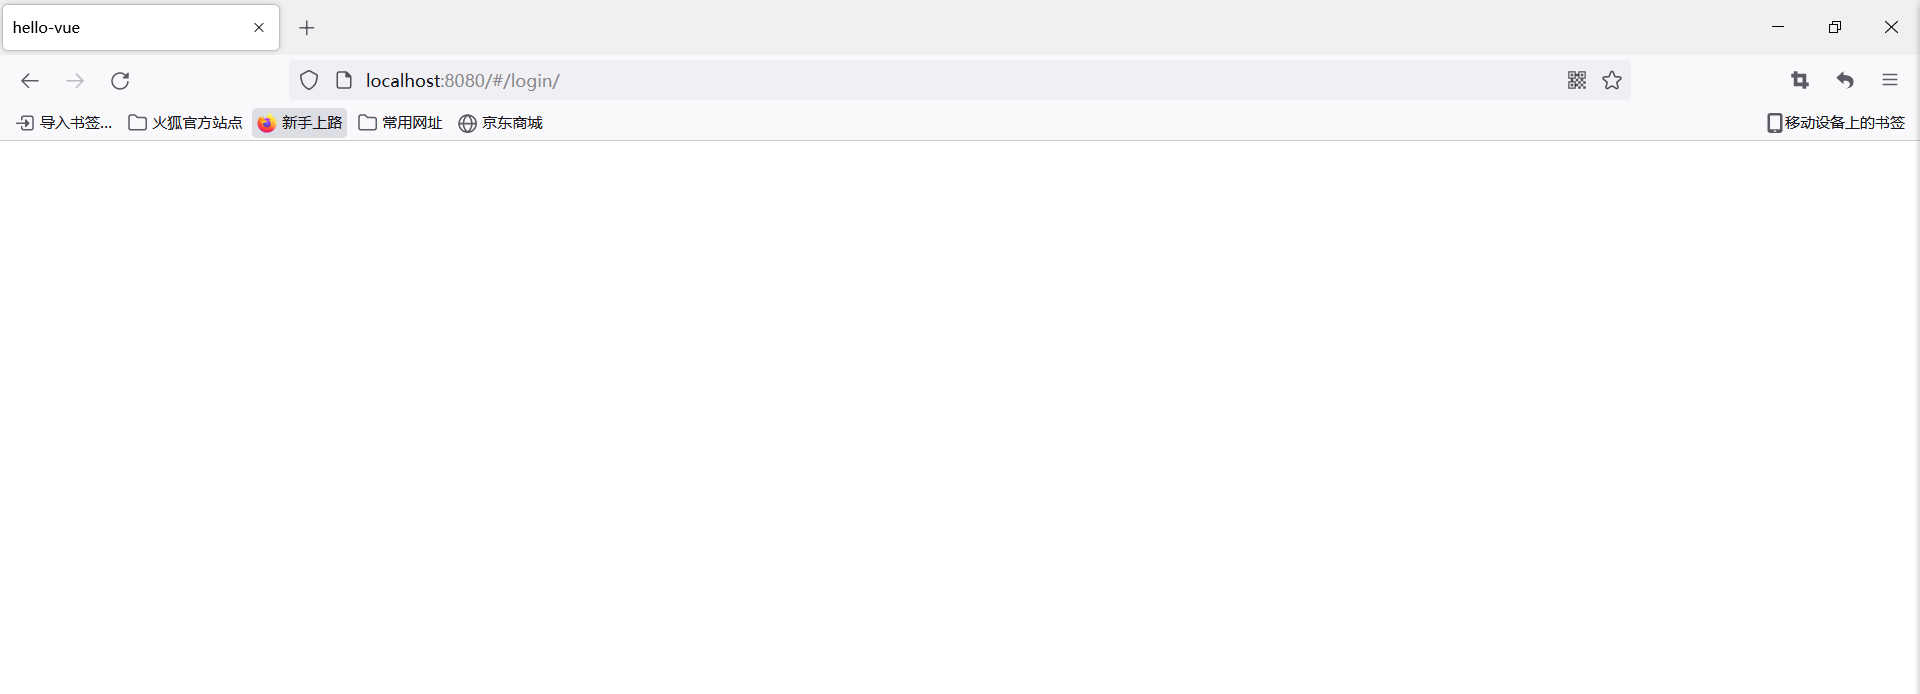
There are two routing modes, one with # and the other without
- hash: http://localhost:8080/#/login/
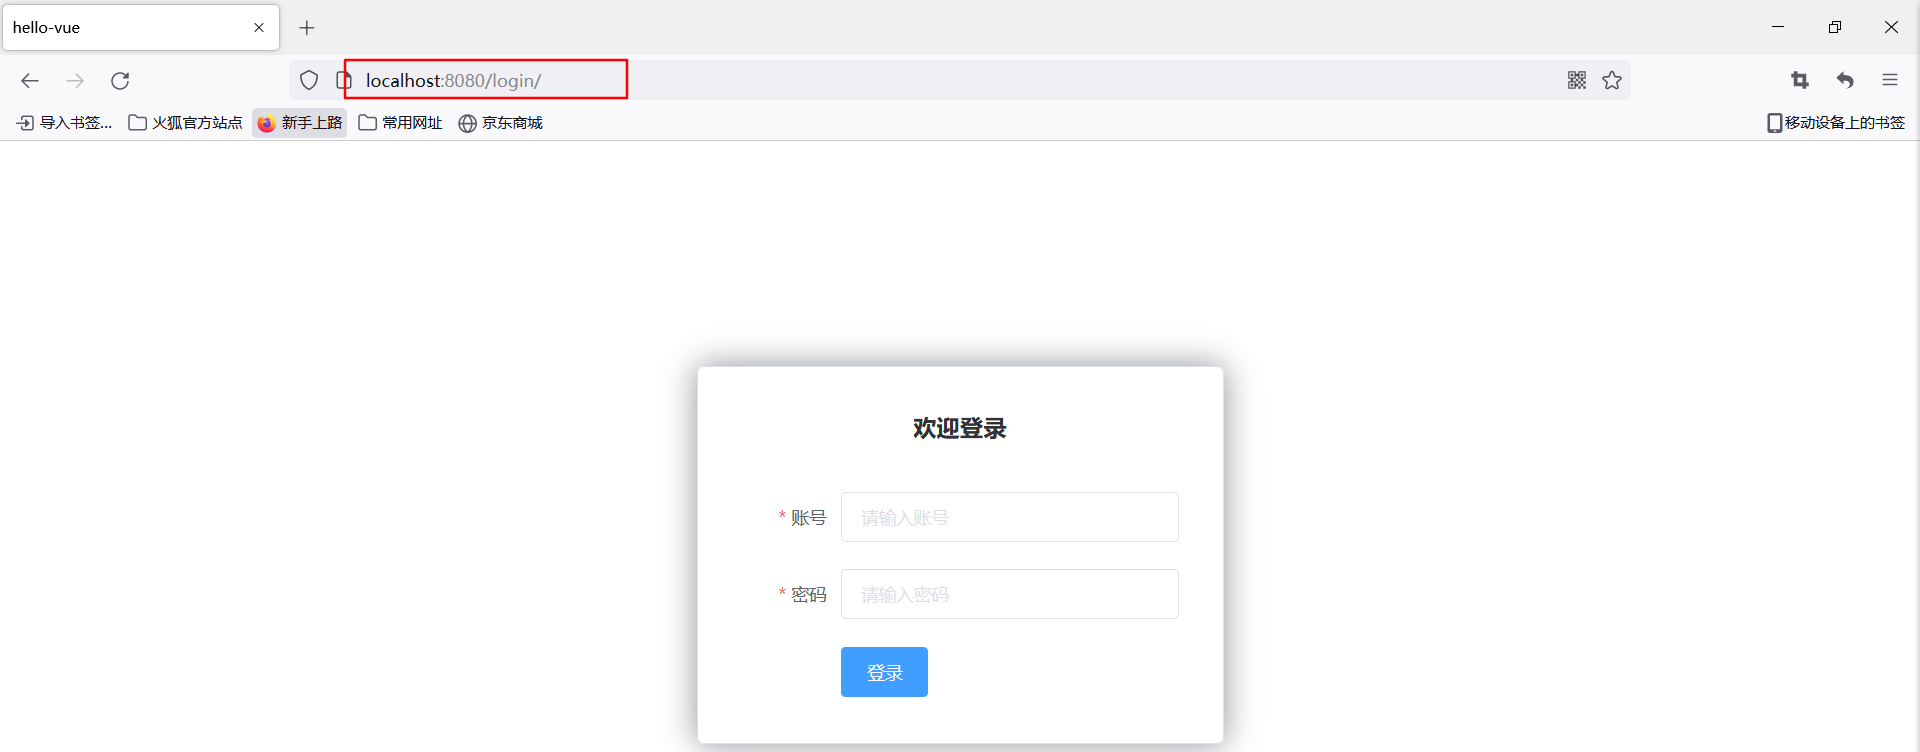
Now it's normal to access pages without #

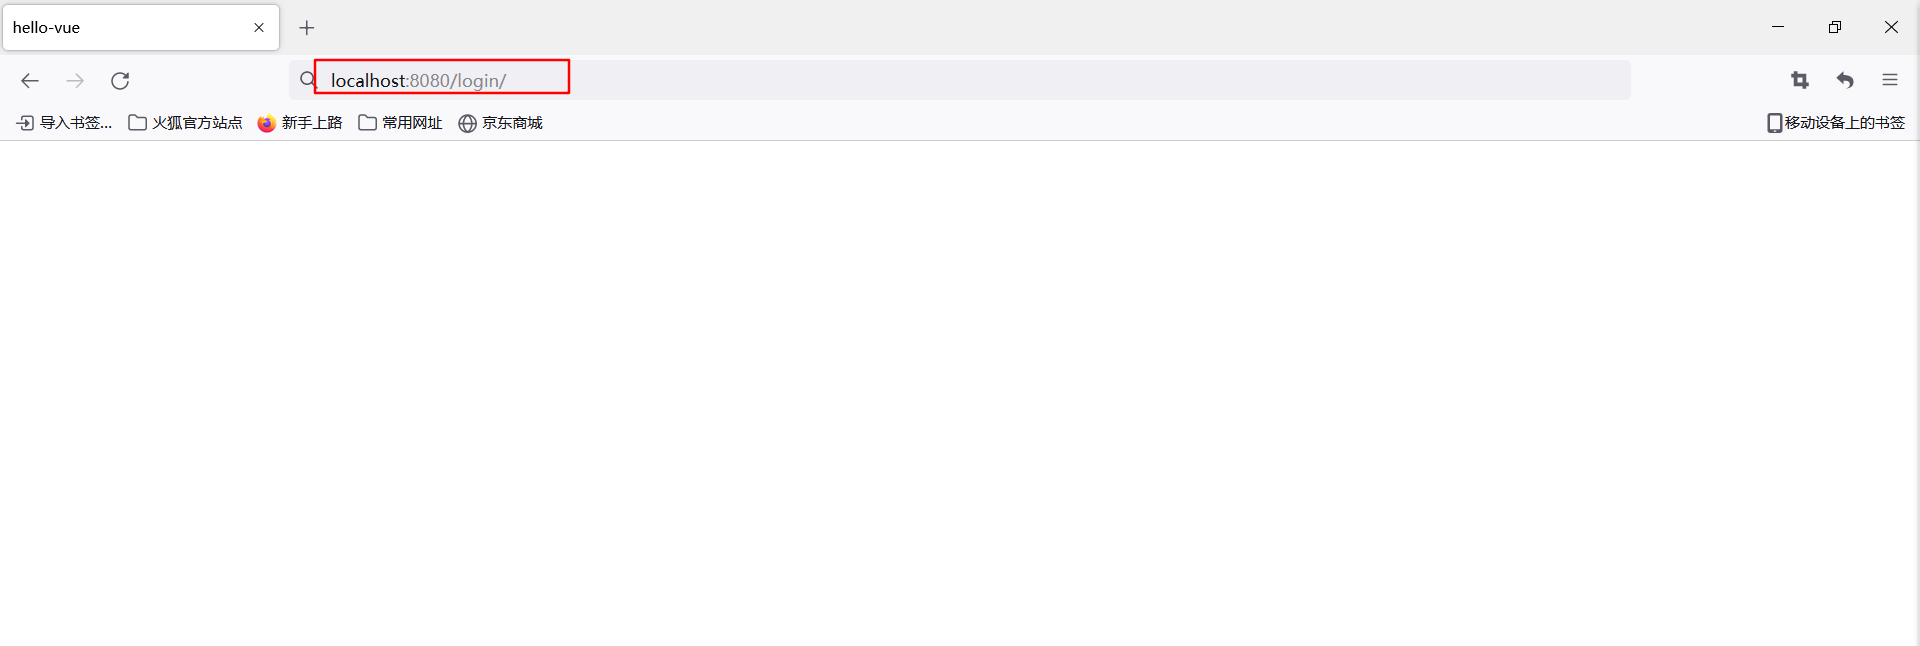
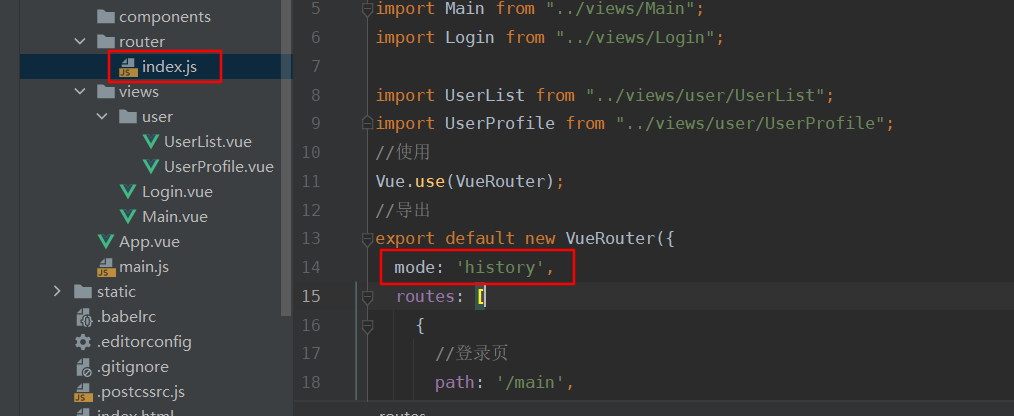
- history: http://localhost:8080/login/
- Modify routing configuration, add
mode: 'history',
Effect:
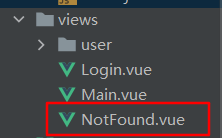
2)404
- In views. Create component in Vue directory, NotFound.vue
<template>
  <div>
    <h1>404, Oh, your page is missing</h1>
  </div>
</template>

<script>
export default {
  name: "NotFound"
}
</script>

<style scoped>

</style>
- Import NotFound into the routing profile. Vue component, configuring routing

import NotFound from "../views/NotFound";
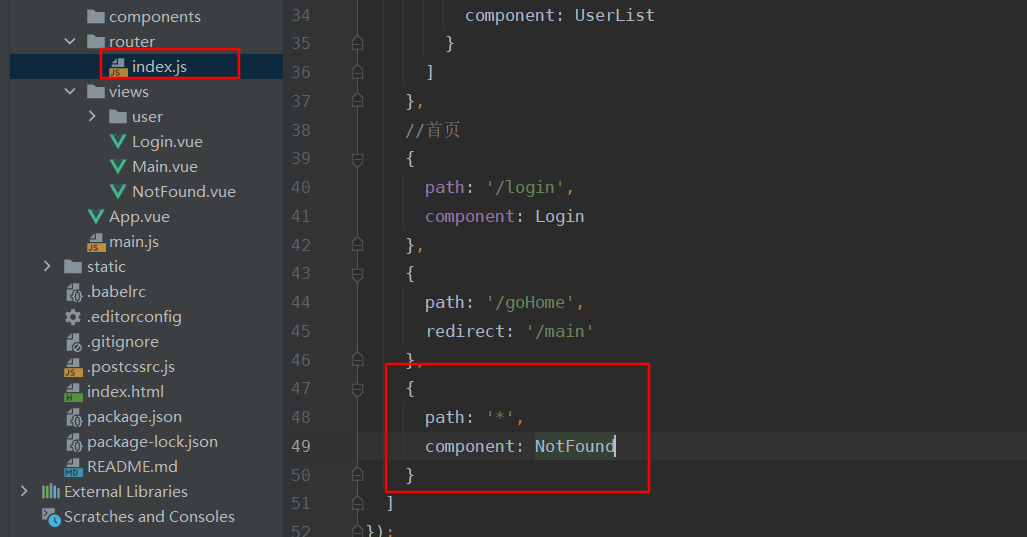
{
    path: '*',
    component: NotFound
}
- Enter an incorrect access web address in the browser address bar as follows:

4. Routing hooks and asynchronous requests
1) Routing hook
beforeRouteEnter: Executes before entering a route
beforeRouteLeave: Executes before leaving a route
Example:
- In UserProfile. Add the following code to the Vue component

beforeRouteEnter:(to, from, next)=>{
	console.log("Before entering the route");
	next();
},
beforeRouteLeave:(to, from, next)=>{
	console.log("After entering the route");
	next();
}
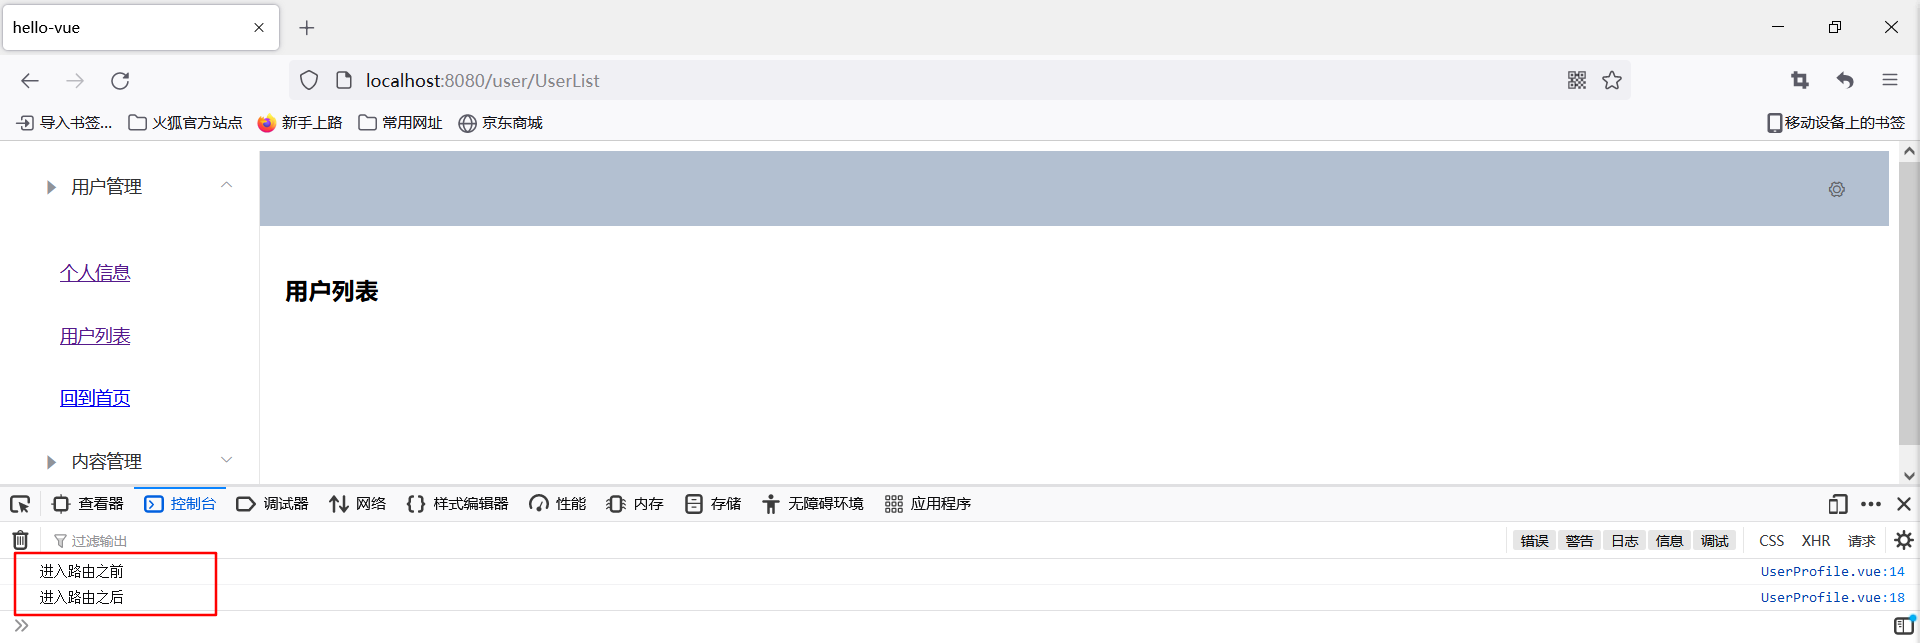
- Run the project, log in, go to the home page, use the right button or F12 to open the browser check, enter the console, click on personal information in the right menu first, then click on the user list to view the console output information, as follows:
Parameter description:
- To: Path information that the router will jump to
- from: path information before route jump
- next: control parameters for routing
- next(): jump to the next page
- next('/path'): Change the direction of a route to jump to another route
- next(false): return to the original page
- Next((vm) =>{}) is only available in beforeRouteEnter, where VM is a component instance
2) Use asynchronous requests in hook functions
- Install Axios
npm install --save vue-axios # If the later run is unsuccessful, execute this command a few more times, and install it several more times, as the project may fail due to missing packages

- In mian. Reference to Axios in JS

import axios from 'axios'
import VueAxios from 'vue-axios'

Vue.use(VueAxios, axios)
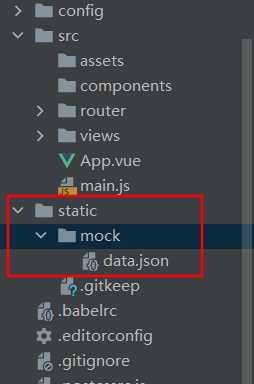
- Create a mock directory in the static directory and a json file, data, in the mock directory. json
- data.json is as follows:
{
  "name": "World",
  "url": "https://baidu.com",
  "page": 1,
  "isNonProfit":true,
  "address": {
    "street": "With light gate",
    "city": "Xi'an, Shaanxi",
    "country": "China"
  },
  "links": [
    {
      "name": "B station",
      "url": "https://www.bilibili.com/"
    },
    {
      "name": 4399,
      "url": "https://www.4399.com/"
    },
    {
      "name": "Baidu",
      "url": "https://www.baidu.com/"
    }
  ]
}
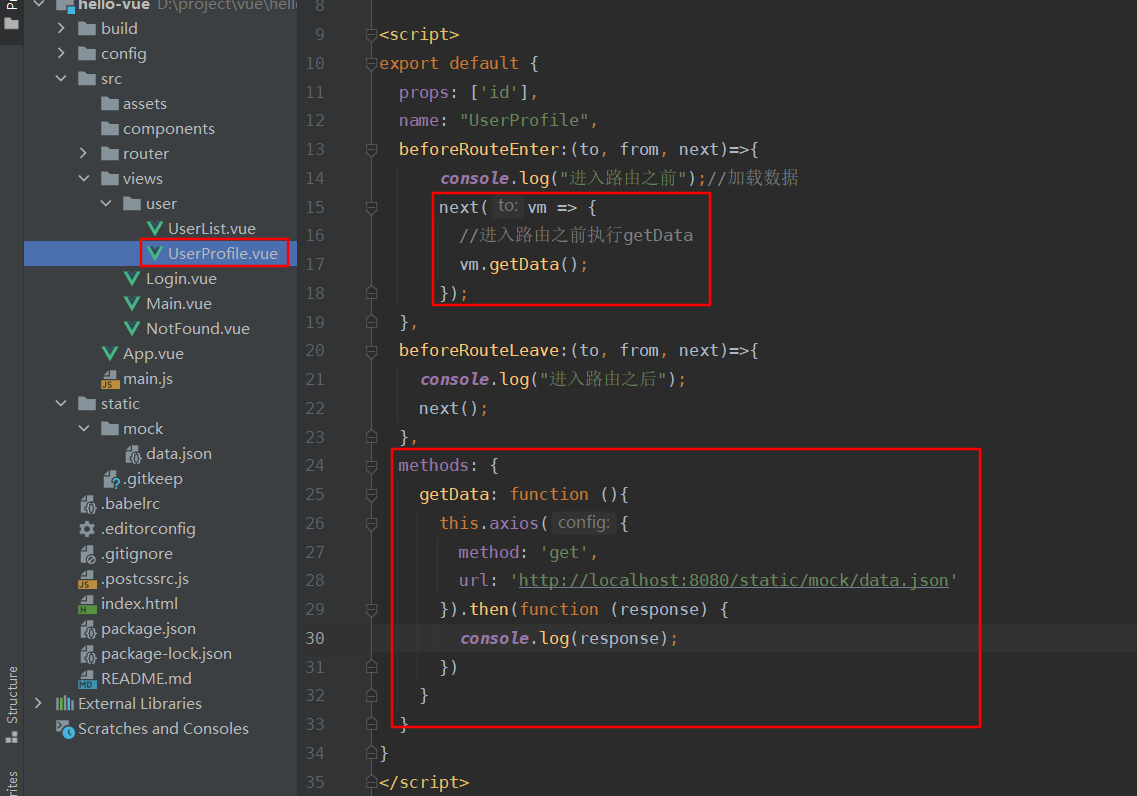
- Modify UserProfile.vue component
<template>
<!-- All elements, more than one element, cannot be placed directly under the root node -->
<div>
    <h1>Personal information</h1>
    <p>{{$route.params.id }}</p>
    </div>
</template>

<script>
    export default {
        props: ['id'],
        name: "UserProfile",
        beforeRouteEnter:(to, from, next)=>{
            console.log("Before entering the route");//Loading data
            next(vm => {
                //Execute getData before entering the route
                vm.getData();
            });
        },
        beforeRouteLeave:(to, from, next)=>{
            console.log("After entering the route");
            next();
        },
        methods: {
            getData: function (){
                this.axios({
                    method: 'get',
                    url: 'http://localhost:8080/static/mock/data.json'
                }).then(function (response) {
                    console.log(response);
                })
            }
        }
    }
</script>

<style scoped>

</style>
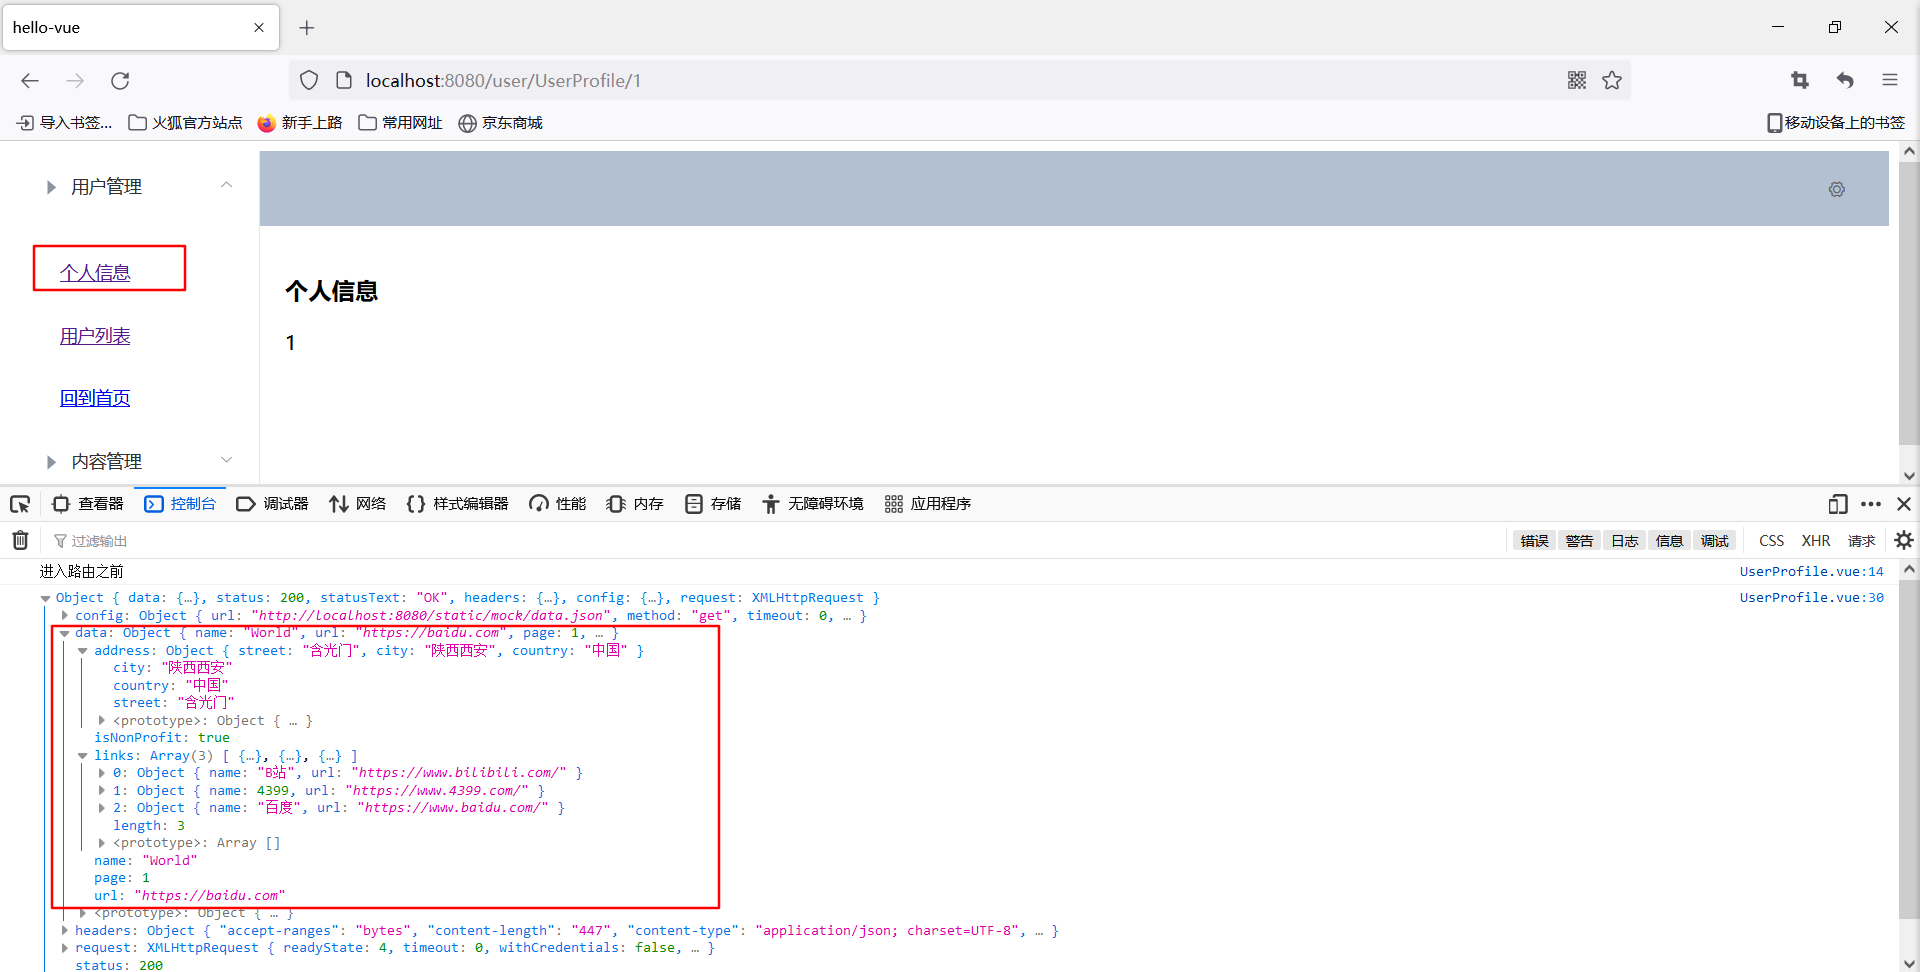
- Run the project, go to the home page, open the console, and click on personal information as follows:
Thank you for watching. This article is written according to the introduction of Vue, which is the narrative of madness encountered at station b. It will be mostly similar to it, but there are also some differences
os #If the later run is unsuccessful, execute this command a few more times, and install it a few more times, as the project may fail due to missing packages
[Outer Chain Picture Transfer in Progress...(img-2DTig0Tv-1628077944676)]

- stay mian.js References in Axios

[Outer Chain Picture Transfer in Progress...(img-K4DtUy4r-1628077944677)]

```js
import axios from 'axios'
import VueAxios from 'vue-axios'

Vue.use(VueAxios, axios)
- Create a mock directory in the static directory and a json file, data, in the mock directory. json
[img-YQ5O1ZYJ-1628077944678)]
- data.json is as follows:
{
  "name": "World",
  "url": "https://baidu.com",
  "page": 1,
  "isNonProfit":true,
  "address": {
    "street": "With light gate",
    "city": "Xi'an, Shaanxi",
    "country": "China"
  },
  "links": [
    {
      "name": "B station",
      "url": "https://www.bilibili.com/"
    },
    {
      "name": 4399,
      "url": "https://www.4399.com/"
    },
    {
      "name": "Baidu",
      "url": "https://www.baidu.com/"
    }
  ]
}
- Modify UserProfile.vue component
[img-RaSgPGSM-1628077944678)]
<template>
<!-- All elements, more than one element, cannot be placed directly under the root node -->
<div>
    <h1>Personal information</h1>
    <p>{{$route.params.id }}</p>
    </div>
</template>

<script>
    export default {
        props: ['id'],
        name: "UserProfile",
        beforeRouteEnter:(to, from, next)=>{
            console.log("Before entering the route");//Loading data
            next(vm => {
                //Execute getData before entering the route
                vm.getData();
            });
        },
        beforeRouteLeave:(to, from, next)=>{
            console.log("After entering the route");
            next();
        },
        methods: {
            getData: function (){
                this.axios({
                    method: 'get',
                    url: 'http://localhost:8080/static/mock/data.json'
                }).then(function (response) {
                    console.log(response);
                })
            }
        }
    }
</script>

<style scoped>

</style>
- Run the project, go to the home page, open the console, and click on personal information as follows:
[Img-NQqWcAK-1628077944679)]
Thank you for watching. This article is written according to the introduction of Vue, which is the narrative of madness encountered at station b. It will be mostly similar to it, but there are also some differences