    When it comes to water ripple effects, we need to talk about Ripple. Since Android 5.0, google has introduced a set of UI design language material design, commonly known as material design. One of the most intuitive effects is ripple effect (ripple effect), that is, clickable controls will have a wave effect. The effect is Ripple Dirawable. Let's study this Ripple Drawable today.
    The biggest advantage is convenience and simplicity. You can write only one xml and set it to the background where you need special effects control, without rewriting it.
    First, create a new project, create an xml file under the drawable directory, change the root name to ripple, and add color, that is, the color of your ripple effect. As follows:
<ripple  android:color="@color/colorAccent" xmlns:android="http://schemas.android.com/apk/res/android">
</ripple>
Then you need to set the control to set the background s. as follows
<Button
        android:background="@drawable/my_water"
        android:clickable="true"
        android:gravity="center"
        android:layout_height="56dp"
        android:layout_width="match_parent"
        android:text="Hello World!"></Button>
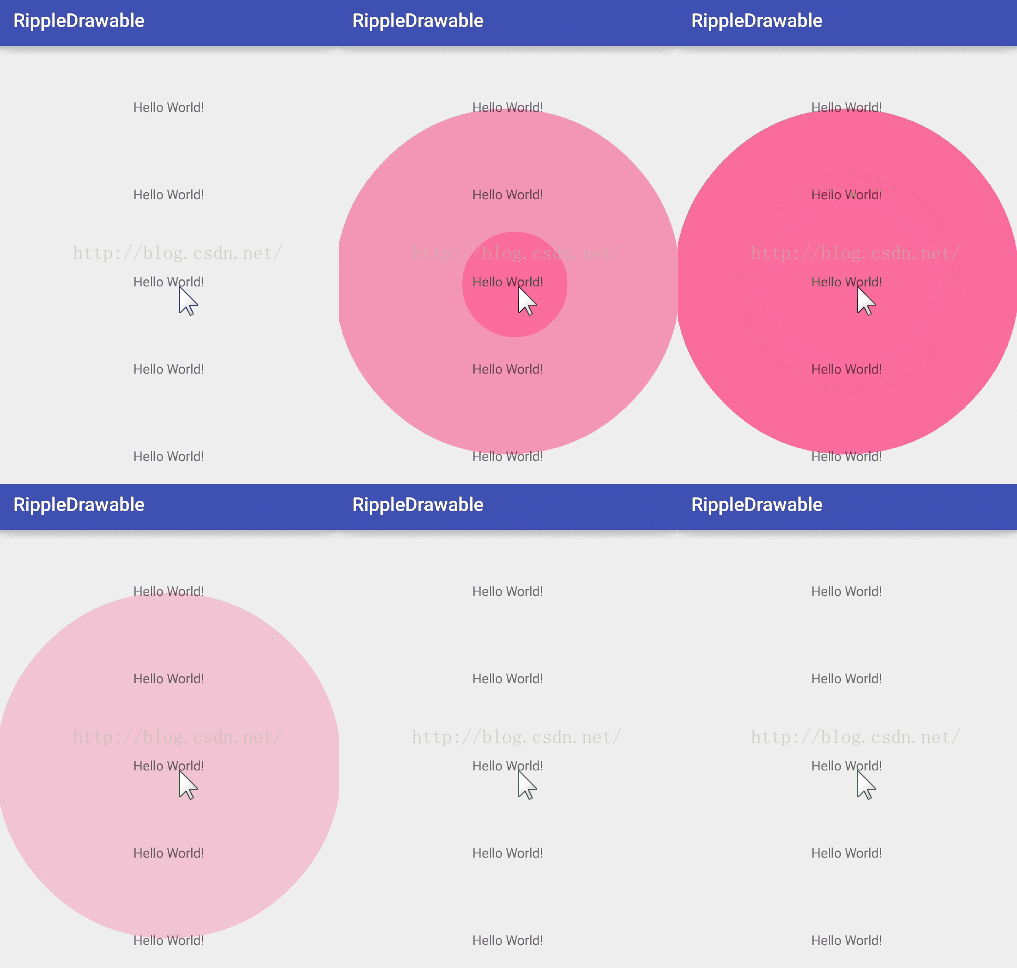
The click effect is as follows:

    I don't know how to make gif diagrams, copy others. That is to say, here is the ripple effect without borders. If your click doesn't work
    1. Look at xml carefully. Is there any problem?
    2. Is backgroundset
    3. Is clicable set up?
    4. Android 5.0 or above, depending on the mobile phone you run, or the simulator API is not more than 21?
    How ugly is it without borders? It's usually used less, isn't it? Again, with borders, it's easy to add a line of item s to this xml file
<ripple  android:color="@color/colorAccent" xmlns:android="http://schemas.android.com/apk/res/android">
<item android:drawable="@color/colorAccent" android:id="@android:id/mask"></item>
</ripple>
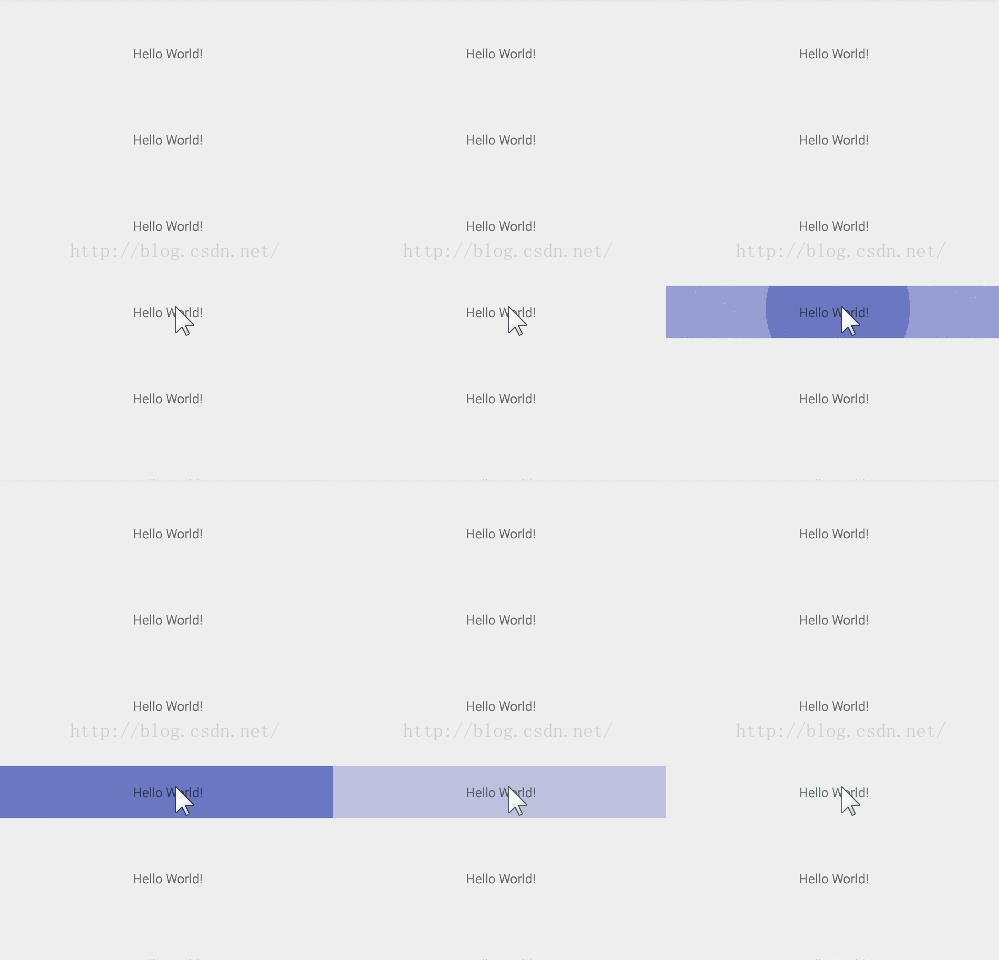
The click effect is as follows:

    Here you will find that the color set by item is useless, because the color of ripple effect is set at the root node, but you have to set the color of item again. If you don't set it, it will crash and the id will die.
    1.item's color and id must be written
    2. The color of ripple effect is set by the root node.
    3. id in item must be written, and it's a dead mask.
    In many cases, like the above, we use less, we use more, our own button shape as the background, how to combine the two? First of all, the shape of the ripple effect can be defined by ourselves, for example, the following two kinds:
    1. Can be replaced by our own pictures, the effect map will not be pasted.
<ripple  android:color="@color/colorAccent" xmlns:android="http://schemas.android.com/apk/res/android">
<item android:drawable="@mipmap/ic_launcher" android:id="@android:id/mask"></item>
</ripple>
2. We can replace it with our own shape, and the effect map is not pasted.
<ripple  android:color="@color/colorAccent" xmlns:android="http://schemas.android.com/apk/res/android">
<item android:drawable="@drawable/my_shape" android:id="@android:id/mask"></item>
</ripple>
These two are also used less in our project, we want to first display their shape, and then click on the ripple effect. How to write it? As follows:
<ripple  android:color="@color/colorAccent" xmlns:android="http://schemas.android.com/apk/res/android">
    <item android:drawable="@color/colorPrimary" android:id="@android:id/mask"></item>
    <item>
        <selector>
            <item
                android:drawable="@drawable/my_shape"
                android:state_pressed="false">
            </item>
        </selector>
    </item>
</ripple>
In this way, write a selector selector selector in item. pressed true and false show the shape of the control before and after clicking.
Project Links

