Web Server Setup
Introduction to Web Services
The process by which a server interacts with a browser using the HTTP protocol
- The browser determines the URL of the web page
- Browser requests IP address resolved by domain name server
- The browser requests a TCP link from the host's port 80
- The server confirms the connection request and the process of establishing the connection is complete
- Browser sends request page message
- Server to index. The specific content of the HTML page responds to the browser
- WWW Server Closes TCP Connection
- The browser will index the page. Text information from HTML is displayed on the screen
If index. The HTML page contains non-text information such as images, so the browser needs to establish a new TCP connection for each image, get the image from the server, and display it
Uniform Resource Locator
URLs are a concise representation of where and how resources can be accessed from the Internet. URLs provide an abstract way to identify the location of a resource and use this method to locate the resource. That is, users can use URLs to indicate which protocol to use to access which files on which server.
The URL s are formatted as follows:
<Protocol Type>://<Host>:<Port>/<Path>
Protocol Type: The way URL s are accessed. Common protocol types are Hypertext Transfer Protocol (HTTP), File Transfer Protocol (FTP), and News (NEWS).
Ports and paths can sometimes be omitted. When the port of HTTP is 80, you can usually omit it. If you use a port other than 80, you need to specify the port number
Example: http://www.fudan.edu.cn/student/index.html http://www.fudan.edu.cn:8080/student/index.html
Apache Server
Apache is pronounced from a patchy server, meaning a patched server. After several modifications, Apache has become one of the most popular Web server software in the world
Apache features: simple, fast, stable performance, and can be used as a proxy server
The main features of Apache:
- Can run on all computer platforms
- Supports the latest HTTP protocol
- Supports virtual hosts
- Simple and powerful file-based configuration
- Supports Common Gateway Interface CGI
- Support for Java Servlets
- Integrated Perl Scripting Programming Language
Configuring Apache services
Set up basic web services
Install Apache Package
Prepare: Configure IP address, configure local yum source
yum -y install httpd
rpm -qa | grep httpd   #View Apache version
Start the service and set boot-up self-start
systemctl enable --now httpd
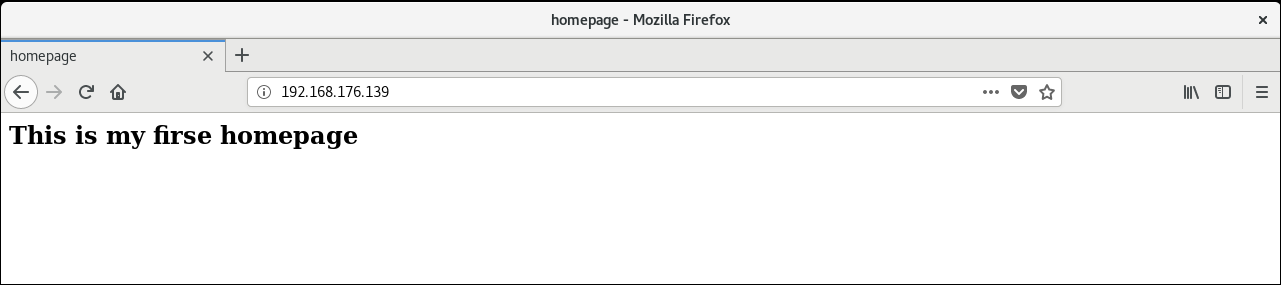
Enter in web browser http://ip Address, test page appears

Write web page index in HTML language. Html, stored under path/var/www/html
<!--Written in/var/www/html/index.html File -->
<html>
<title>homepage</title>
<body>
	<h2>This is my firse homepage</h2>
</body>
</html>
Restart httpd service
systemctl restart httpd
Use ip address to access website
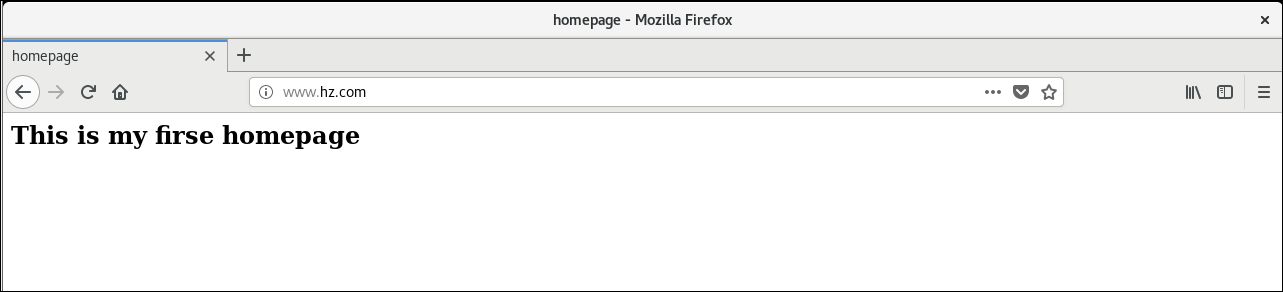
Use domain names to access websites
Preparations: Configure the DNS server and set up corresponding records in the DNS server, which will not be discussed here.
# Modify DNS global profile named.conf
listen-on port 53 { any; };
allow-query     { any; };

# Main profile named.rfc1912.zones
zone "hz.com" IN {
        type master;
        file "hz.com.zone";
        allow-update { none; };
};

# Create forward parsing zone file hz.com.zone
$TTL 1D
@       IN SOA  @ dns.lnjd.com. (
                                        0       ; serial
                                        1D      ; refresh
                                        1H      ; retry
                                        1W      ; expire
                                        3H )    ; minimum
        NS      @
        A       127.0.0.1
        AAAA    ::1
dns     IN      A       192.168.176.139
www     IN      A       192.168.176.139

# Modify the configuration file/etc/resolv.conf
nameserver 192.168.176.139
Restart DNS Service
systemctl restart named
Use the domain name www.hz.com Visit Web Page
Create virtual directory
The virtual directory is a directory outside the Apache server home directory and is not included in the Apache server home directory, but it is the same subdirectory as the home directory from the client's perspective. Each virtual directory has an alias through which clients access the virtual directory
In the main configuration file of the Apache server httpd.conf, set the virtual directory through the Alias directive. By default, the file already has two virtual directories, /icons and/manual, with physical paths corresponding to /var/www/icons and/var/www/manual
Create physical directories and web page content
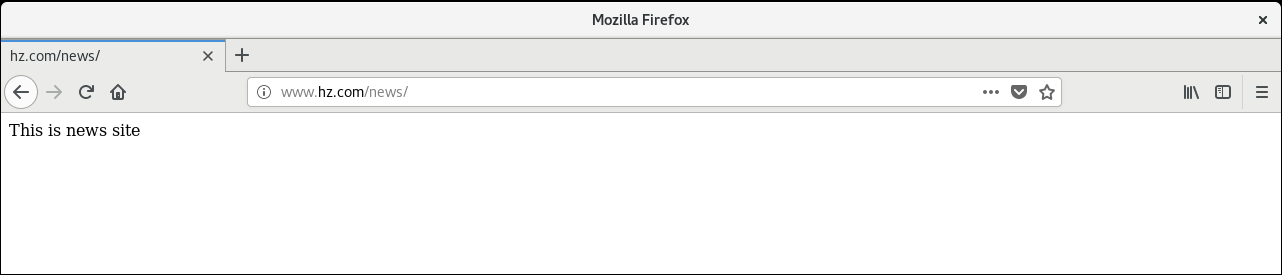
mkdir -p /xuni
echo This is news site > /xuni/index.html
chmod 705 /xuni/index.html   # Give other users read and execute permissions
Configure the main profile httpd.conf
# Add Statement--In <ifModule dir_ Module > tag, can be added anywhere
# Apache2. Version 4 Configuration
Alias /news "/xuni"
<Directory /xuni>
     Options All
     AllowOverride None
     Require all granted
</Directory>

# If version 2.2
Alias /news "/xuni"
<Directory /xuni>
     Order allow,deny
     Allow from all
</Directory>
DirectoryIndex index.html index.php
Indicates that only the IP address or domain name is entered, the page displayed by default, with multiple parameters spaced by spaces
Restart httpd service
systemctl restart httpd
Enter in Browser http://www.hz.com/news Accessing virtual directories
Creating a virtual directory based on user authentication
Create physical directories and web page content
mkdir -p /authentication
echo This is authentication homepage > /authentication/index.html
Configure the main profile httpd.conf
# Add Virtual Directory
Alias /rz "/authentication"
<Directory "/authentication">
    Options Indexes
    AllowOverride Authconfig
    AuthType basic
    AuthName "Input user and password"
    AuthUserFile /var/www/html/htpasswd
    Require valid-user
</Directory>
- Options: Sets the server characteristics in a specific directory. The Indexes parameter allows directory browsing and lists directories in a directory when there are no Web page files specified by the DirectoryIndex parameter in the directory being accessed.
- AllowOverride: Set how to use access control files. htpasswd, which is the access method used to configure the corresponding directory. If set to None, all instructions are prohibited and ignored. htpasswd, if set to Authconfig, indicates instructions to turn on authentication, authorization, and security;
- AuthType:baisc as Basic Authentication
- AuthName: Indicates the prompt that appears when the browser pops up the authentication dialog
- AuthUserFile: User password file specified
- Require: Set the user allowed access to the virtual directory, valid-user means that all users in the password file can access it, and if only user1 users are allowed access, set it to Require User user1
Generate authentication file
[root@localhost conf]# htpasswd -c /var/www/html/htpasswd user1
New password:
Re-type new password:
Adding password for user user1
Parameter-c means that a new password file is created and no user needs to be added
Restart httpd service
systemctl restart httpd
test
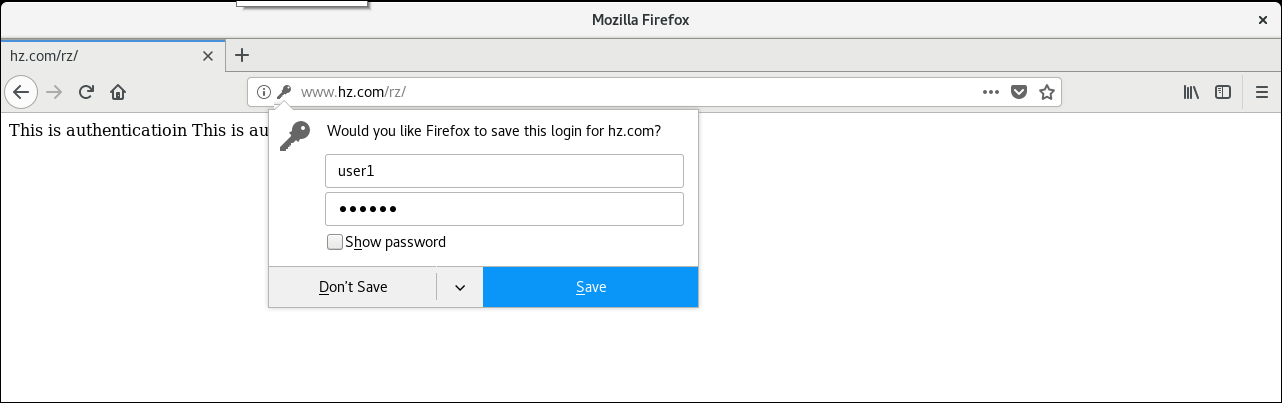
Enter in Browser http://www.hz.com/rz Accessing a virtual directory requires entering a user name and password
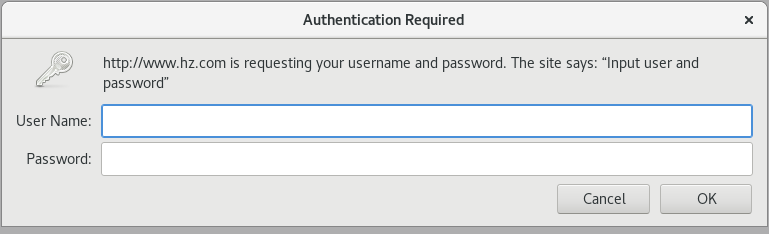
Successfully accessed the web page after entering the correct user and password
Create a virtual directory with access rights
Create physical directories and web page content
mkdir -p /power
echo This is power homepage > /power/index.html
Configure Main Profile
# Apache2.4 Configuration
# Allow all access requests, but deny access requests from specific IP or IP segments
Alias /qx "/power"
<Directory /power>
    Options Indexes
    AllowOverride None
    <RequireAll>
       Require all granted   # Require all denied rejects all access requests
       Require not ip 192.168.176.154
    </RequireAll>
</Directory>
# Allow access requests on a specific IP or IP side only
Alias /qx "/power"
<Directory /power>
    Options Indexes
    AllowOverride None
    Require ip 192.168.176.154 192.168.1
</Directory>


# Apache2.2 Configuration
Alias /qx "/power"
<Directory /power>
    Options Indexes
    AllowOverride None
    Order deny,allow
    Deny from 192.168.176.154
</Directory>
Apache2. Start using mod_in 4 Authz_ Host is a new module for access control and other authorization checks. Originally in Apache2. The Order,Allow,Deny instructions below version 2 that implement site access control need to be replaced with new Require access control instructions.
When using the require directive, you need to add tag pairs outside the directive, otherwise restart Apache2.4 An error will occur when loading the rule:'negative Require directive has no effect in directive'.
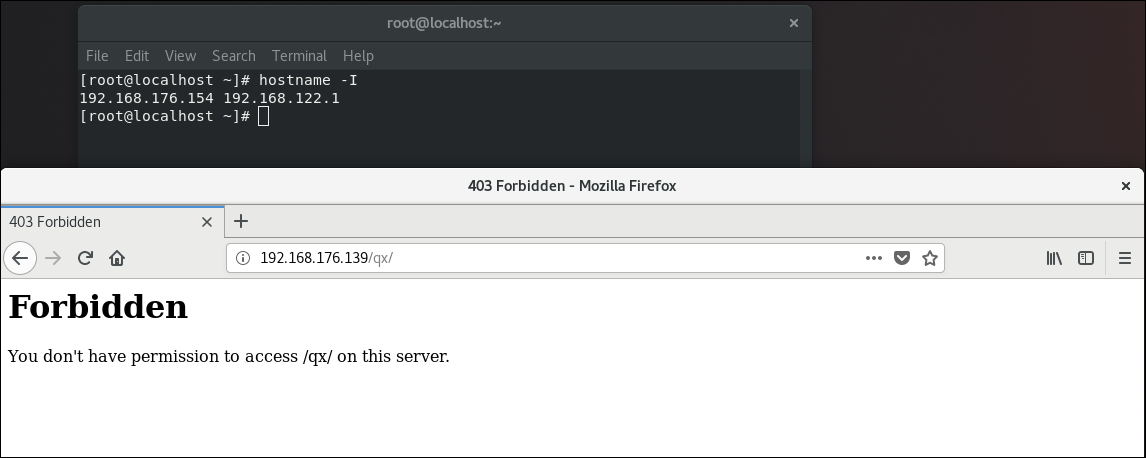
Access to virtual directory using browser on host 192.168.176.154 with ip address is denied
(ip access to virtual directory because DNS service is not configured)
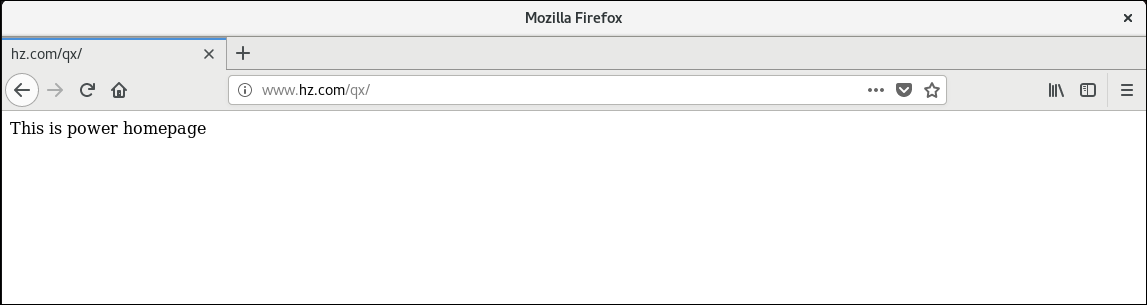
Accessing the virtual directory on the apache server (ip 192.168.176.139) was successful
Configure Personal Home Page Features
Create Users and Home Directories
useradd user1 # Auto-create user home directory/home/user1 by default
Modify the configuration file/etc/httpd/conf.d/userdir.conf
#UserDir disabled     #Comment on this command to turn on the Personal Home page feature
UserDir public_html   Specify the home directory of your home page as public_html
Create directories and web content
mkdir /home/user1/public_html
echo This is user1 homepage > /home/user1/public_html/index.html
chmod 705 /home/user1   # Give other users read and execute permissions
Restart httpd service
systemctl restart httpd
Accessing user1 person directory on apache server (ip 192.168.176.139) successfully

Configure virtual hosts based on different ports
Port number-based virtual host technology can establish multiple sites on one IP address, only one IP address is needed for the server, all virtual hosts share the same IP, and the virtual hosts are distinguished by different port numbers.
When setting the configuration of a port-number-based virtual host, you need to use the Listen statement to set the interface you are listening on.
Overview of virtual hosts
Virtual hosts are network servers that divide a certain amount of disk space for users to place sites, apply components, and so on, and provide necessary site functions, data storage and transmission functions. Virtual Host, also known as Site Space
There are three ways to set up multiple sites using virtual host technology, namely port-based virtual host technology, IP address-based virtual host technology and name-based virtual host technology.
Modify the main profile httpd.conf
Listen 8080
Listen 8000
<VirtualHost 192.168.176.139:8000>
  DocumentRoot /var/www/port8000
  DirectoryIndex index.html
  Serveradmin root@hz.com
  ErrorLog logs/port8000-error_log
  CustomLog logs/port8000-access_log commom
</VirtualHost>
<VirtualHost 192.168.176.139:8080>
  DocumentRoot /var/www/port8080
  DirectoryIndex index.html
  Serveradmin root@hz.com
  ErrorLog logs/port8080-error_log
  CustomLog logs/port8080-access_log commom
</VirtualHost>
You can also create them in the / etc/httpd/conf.d directory. File at the end of conf, add the appropriate content
The system reads httpd. After the conf main configuration file, it continues to read from the conf.d directory to. File at end of conf
Create directories and web content
mkdir -p /var/www/port8000
mkdir -p /var/www/port8080
echo This is site of port 8000 > /var/www/port8000/index.html
echo This is site of port 8080 > /var/www/port8080/index.html
Restart httpd service
systemctl restart httpd
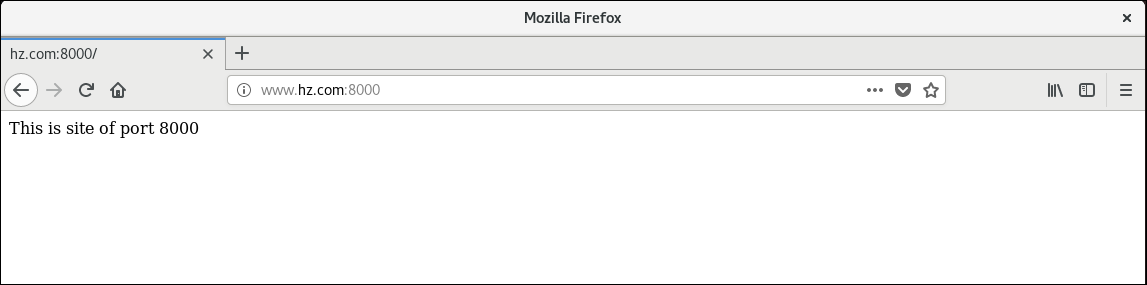
Visit the website
Access Web Site 8000 Port
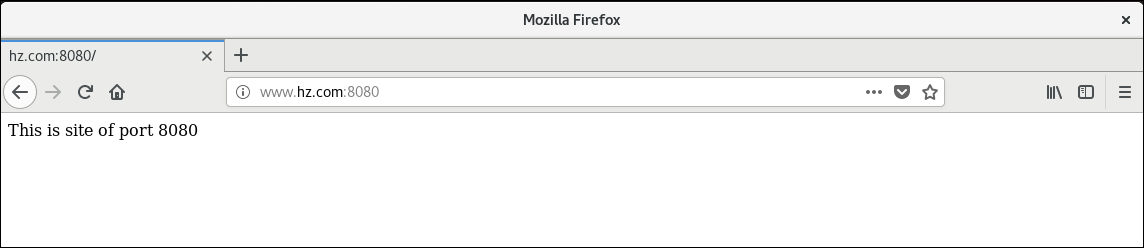
Access the website port 8080
Configure IP address-based virtual hosts
Set the IP address of the server
Method One: Add a network card
 Method 2: Use ip addr add 192.168.176.140 dev ens160 Temporarily add one IP address
Configure the main profile httpd.conf
Listen 80   # If configured in conf.d directory, do not listen on a port repeatedly, otherwise error occurs
<VirtualHost 192.168.176.139>
  DocumentRoot /var/www/ip1
  DirectoryIndex index.html
  Serveradmin root@hz.com
  ErrorLog logs/port8000-error_log
  CustomLog logs/port8000-access_log commom
</VirtualHost>
<VirtualHost 192.168.176.140>
  DocumentRoot /var/www/ip2
  DirectoryIndex index.html
  Serveradmin root@hz.com
  ErrorLog logs/port8080-error_log
</VirtualHost>
~
Create directories and web page files
mkdir -p /var/www/ip1
mkdir -p /var/www/ip2
echo This is site of ip1 > /var/www/ip1/index.html
echo This is site of ip2 > /var/www/ip2/index.html
Restart httpd service
systemctl restart httpd
Visit Sites
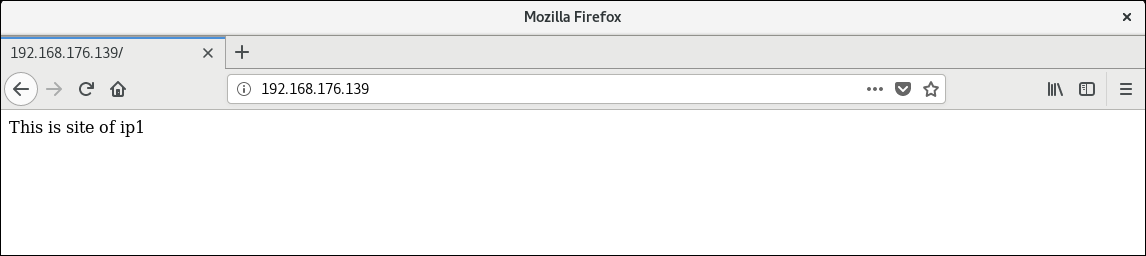
Enter in Browser http://192.168.176.139 Visit Sites

input http://192.168.176.140 Visit Sites
Configure name-based virtual hosts
Name-based virtual host technology can set up multiple sites on different domain names, servers only have one IP address, and servers need to be configured with multiple domain names, which can be distinguished by different domain names.
Set up domain name in DNS server
$TTL 1D
@       IN SOA  @ dns.lnjd.com. (
                                        0       ; serial
                                        1D      ; refresh
                                        1H      ; retry
                                        1W      ; expire
                                        3H )    ; minimum
        NS      @
        A       127.0.0.1
        AAAA    ::1
dns     IN      A       192.168.176.139
www     IN      A       192.168.176.139
web1    IN      A       192.168.176.139
web2    IN      A       192.168.176.139
Modify the configuration file/etc/resolv.conf
nameserver 192.168.176.139 #Specify DNS server address
Configure the main profile httpd.conf
NameVirtualHost 192.168.139:80
<VirtualHost 192.168.176.139>
  ServerName web1.hz.com
  DocumentRoot /var/www/web1
  DirectoryIndex index.html
  Serveradmin root@hz.com
  ErrorLog logs/port8000-error_log
  CustomLog logs/port8000-access_log commom
</VirtualHost>
<VirtualHost 192.168.176.139>
  ServerName web2.hz.com
  DocumentRoot /var/www/web2
  DirectoryIndex index.html
  Serveradmin root@hz.com
  ErrorLog logs/port8080-error_log
  CustomLog logs/port8080-access_log commom
</VirtualHost>
~
Create directories and web content
mkdir -p /var/www/web1
mkdir -p /var/www/web2
echo This is site of web1 > /var/www/web1/index.html
echo This is site of web2 > /var/www/web2/index.html
Restart the name service and httpd service
systemctl restart named
systemctl restart httpd
Visit Sites
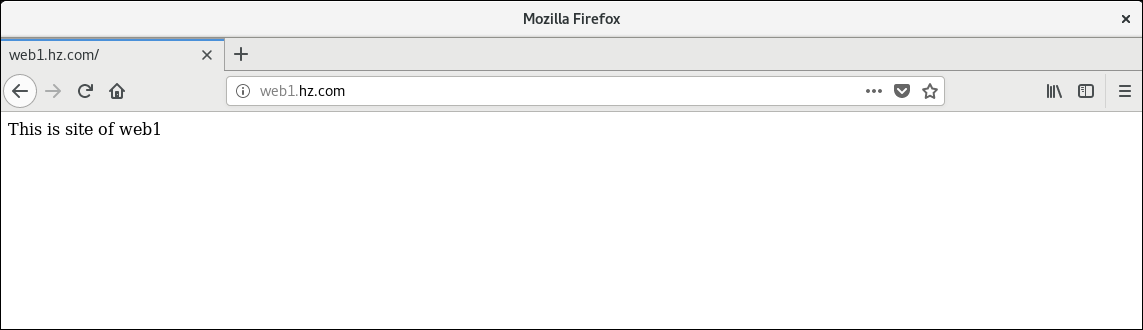
Enter in Browser http://web1.hz.com Visit the first website
input http://web2.hz.com Visit the second website
