preface
My last stubbornness - the slogan of not changing windows was defeated by reality. Installing dual systems will affect the part of deep learning that has been done well. Installing virtual machines can't use hardware GPU. I accidentally found that windows has such a thing, and many people are already using it.
PS: after the installation, it was found that the default is Disk C, and then uninstall and prepare to install it to other disk letters. It didn't work, so we had to install it in C first and then migrate to other disks.
1, Preparation before installation
1. Settings - Windows Update - Windows preview experience plan - join Dev channel and install the latest development version of windows (Win10 21H2 version or Win11 version)
2. Settings - privacy and security - Developer options - Open developer mode;
3. Download Windows Powershell from Microsoft Store;
2, Start installation
4. Control panel - programs and functions - enable or disable Windows functions - check [Windows subsystem for Linux] and [virtual machine platform] - restart immediately;
5. Download WSL kernel upgrade package: open Microsoft official documents Download from Step 4 (as shown below), or Click this link directly to download;
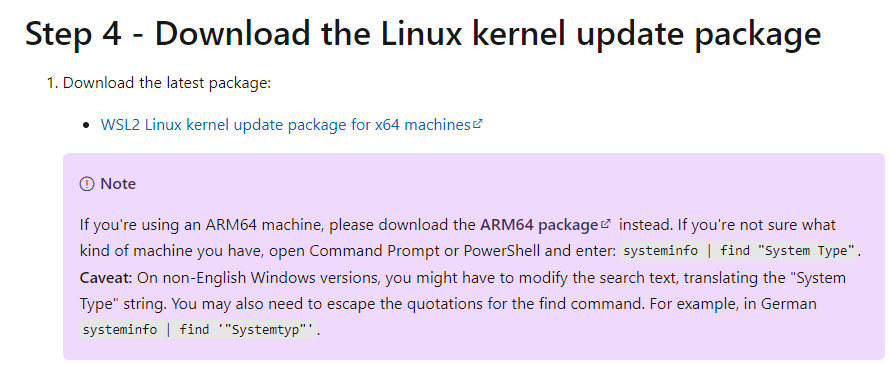
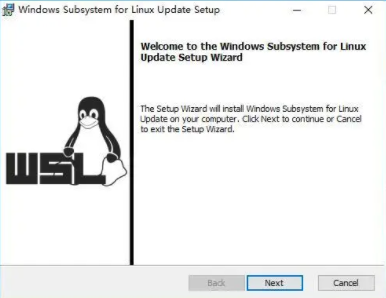
The operation is very simple. Just Next all the way!
6. Set the version of WSL to WSL2, search Windows powershell in the start menu, and then enter:
wsl --set-default-version 2
View the installable versions of Ubuntu:
wsl --list --online

7. Install Ubuntu (Methods 1 and 2 install disk C by default, and method 3 is deleted by me)
Mode 1 (Disk C):
Install Ubuntu-20.04 by entering the following command in Windows powershell:
wsl --install -d Ubuntu-20.04
Mode 2 (Disk C):
Search for Ubuntu in [Microsoft Store], then select the system to be installed, and click start after installation
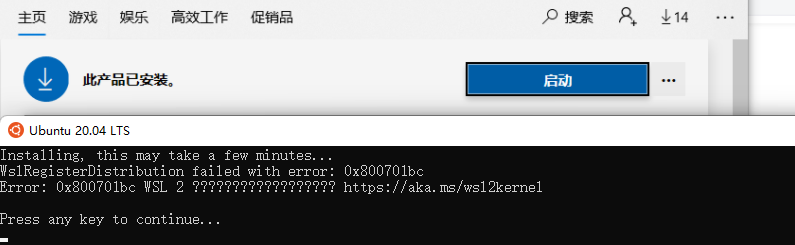
(PS: there is an error here, indicating that there is no operation step 5)
8. Set Ubuntu user name and password

Just enter the password, which is not displayed by default, and then press enter to complete the interface:
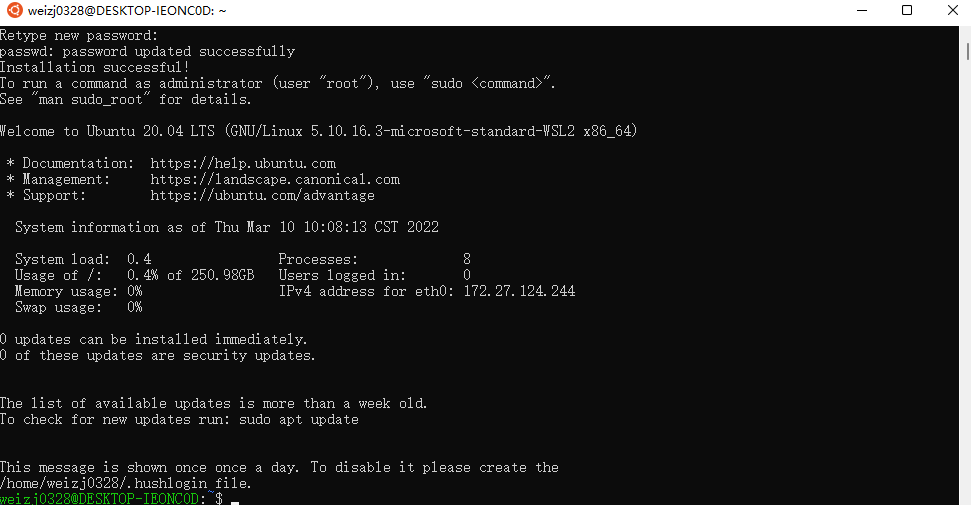
Then you can turn off this interface!
3, Replace mirror source
9. In the start menu, double-click to open Ubuntu 20 04 lts icon, enter the following command in the command line to back up the image source and prevent it from being used in the future:
sudo cp /etc/apt/sources.list /etc/apt/sources.list.bak
Edit the software source, and then enter:
sudo nano /etc/apt/sources.list
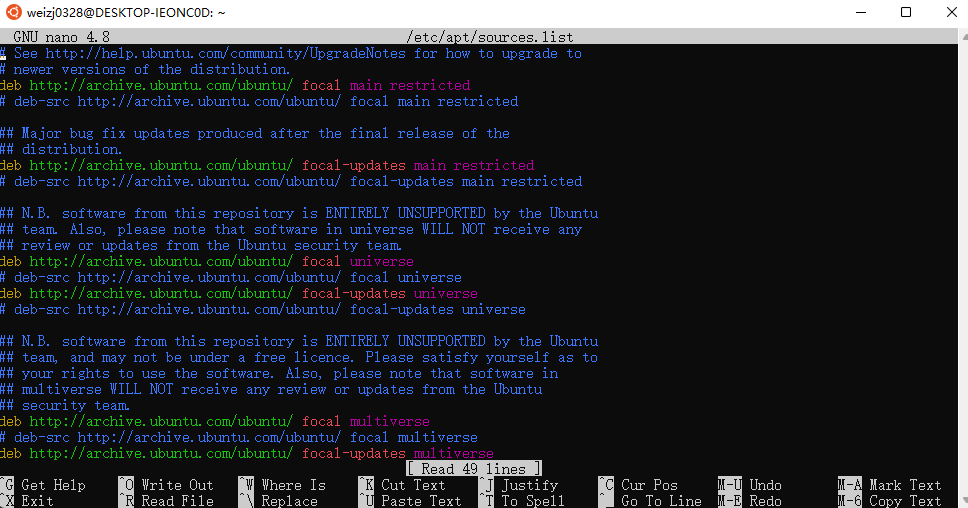
Delete the above contents and replace with ALI source address:
deb http://mirrors.aliyun.com/ubuntu/ focal main restricted universe multiverse
deb-src http://mirrors.aliyun.com/ubuntu/ focal main restricted universe multiverse

deb http://mirrors.aliyun.com/ubuntu/ focal-security main restricted universe multiverse
deb-src http://mirrors.aliyun.com/ubuntu/ focal-security main restricted universe multiverse

deb http://mirrors.aliyun.com/ubuntu/ focal-updates main restricted universe multiverse
deb-src http://mirrors.aliyun.com/ubuntu/ focal-updates main restricted universe multiverse

deb http://mirrors.aliyun.com/ubuntu/ focal-proposed main restricted universe multiverse
deb-src http://mirrors.aliyun.com/ubuntu/ focal-proposed main restricted universe multiverse

deb http://mirrors.aliyun.com/ubuntu/ focal-backports main restricted universe multiverse
deb-src http://mirrors.aliyun.com/ubuntu/ focal-backports main restricted universe multiverse
You can also change to other sources (be sure to match your Ubuntu version):
Tsinghua source:
deb https://mirrors.tuna.tsinghua.edu.cn/ubuntu/ focal main restricted universe multiverse
# deb-src https://mirrors.tuna.tsinghua.edu.cn/ubuntu/ focal main restricted universe multiverse
deb https://mirrors.tuna.tsinghua.edu.cn/ubuntu/ focal-updates main restricted universe multiverse
# deb-src https://mirrors.tuna.tsinghua.edu.cn/ubuntu/ focal-updates main restricted universe multiverse
deb https://mirrors.tuna.tsinghua.edu.cn/ubuntu/ focal-backports main restricted universe multiverse
# deb-src https://mirrors.tuna.tsinghua.edu.cn/ubuntu/ focal-backports main restricted universe multiverse
deb https://mirrors.tuna.tsinghua.edu.cn/ubuntu/ focal-security main restricted universe multiverse
# deb-src https://mirrors.tuna.tsinghua.edu.cn/ubuntu/ focal-security main restricted universe multiverse multiverse
Netease source:
deb http://mirrors.163.com/ubuntu/ wily main restricted universe multiverse
deb http://mirrors.163.com/ubuntu/ wily-security main restricted universe multiverse
deb http://mirrors.163.com/ubuntu/ wily-updates main restricted universe multiverse
deb http://mirrors.163.com/ubuntu/ wily-proposed main restricted universe multiverse
deb http://mirrors.163.com/ubuntu/ wily-backports main restricted universe multiverse
deb-src http://mirrors.163.com/ubuntu/ wily main restricted universe multiverse
deb-src http://mirrors.163.com/ubuntu/ wily-security main restricted universe multiverse
deb-src http://mirrors.163.com/ubuntu/ wily-updates main restricted universe multiverse
deb-src http://mirrors.163.com/ubuntu/ wily-proposed main restricted universe multiverse
deb-src http://mirrors.163.com/ubuntu/ wily-backports main restricted universe multiverse
Then press Ctrl + O, press enter, press Ctrl + X to exit editing mode, and then update the source:
sudo apt update
Repair the damaged package, try to uninstall the wrong package and reinstall the correct version:
sudo apt-get -f install
Update software:
sudo apt-get update
Then you can close the window.
4, Installation graphical interface
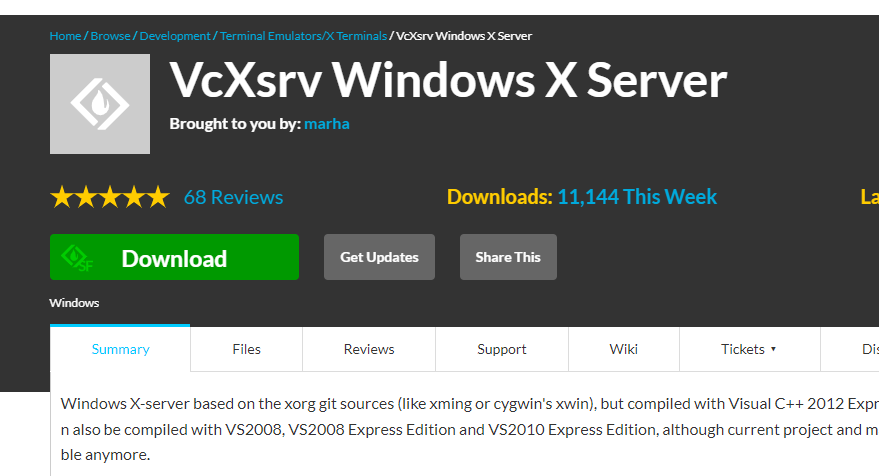
10. download Graphical interface program VcXsrv , the browser download speed is very slow, you can use Xunlei to download
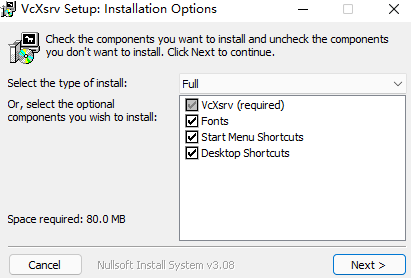
All the way to next, the installation path can be changed

Double click the XLaunch icon on the desktop to start setting (according to your preferences):
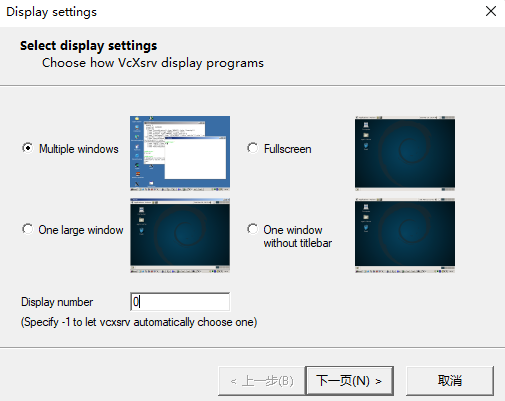
Note: the default setting of Display number is - 1. In some places, it is said to be set to 0
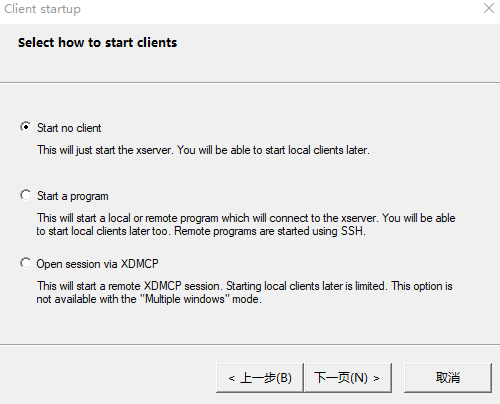
Direct next step:
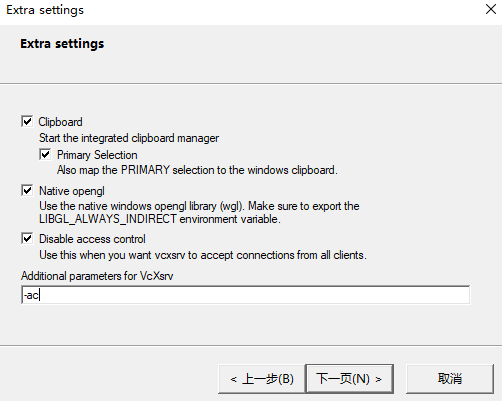
***
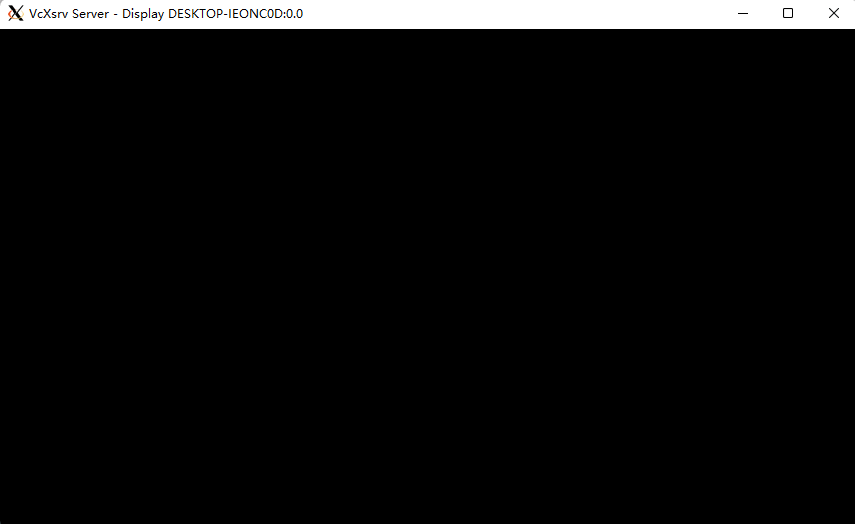
Leave it in the background. Find and open windows Terminal in the start menu,

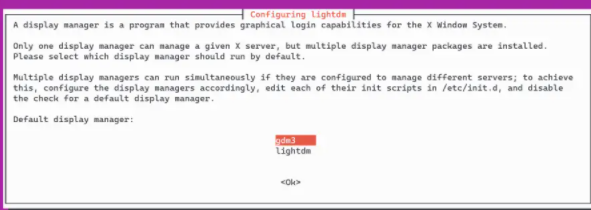
Click the down arrow, select Ubuntu-20.04, and then how to make the black screen interface display. There are various desktop environments such as xfce4 and gnome. Choose to install by yourself:
sudo apt install xfce4
After a long time, don't panic when reporting an error. Just run again:
sudo apt-get update
sudo apt install xfce4
Choose any one:
It is another long waiting time. After the installation is completed, enter:
nano ~/.bashrc
Move the cursor to the end through the keyboard direction key and add a line:
export DISPLAY="`grep nameserver /etc/resolv.conf | sed 's/nameserver //'`:0"
Then press Ctrl + O, press enter, and press Ctrl + X to exit editing mode. Enter:
source ~/.bashrc
startxfce4
You can see that the black screen interface has been displayed. If the IP address remains unchanged, you can enter startxfce4 every time. If the IP address changes, you can enter the following two commands every time to display the interface:
sudo service dbus restart

sudo DISPLAY=$(grep -m 1 nameserver /etc/resolv.conf | awk '{print $2}'):0.0 XDG_SESSION_TYPE=x11 xfce4-session
5, Warning handling
Some warnings or errors may appear when displaying the graphical interface, and start to solve them
first:
_IceTransmkdir: Owner of /tmp/.ICE-unix should be set to root
Enter the following command to view temporary directory permissions:
ls -al /tmp/

You can see that the user here is my own user name instead of root. I just enter the following command (modify it according to my own user name):
sudo chown root:weizj0328 /tmp/.ICE-unix
Then check the directory permission again and find that it has become root permission:

the second:
A pile of warnings contains the following sentence:
failed to connect to system D-Bus
It seems that it's because of the computer firewall. Go to the firewall settings to set all VcXsrv permissions to allow, and then install something that you don't know is useful or useless:
sudo apt install dbus
In fact, some warnings don't matter, but obsessive-compulsive disorder can't stand it. If you don't decide to restart the computer, you can basically solve most of the problems. If you don't believe it, try it!!!
Third:
After entering the desktop, open the browser to display as follows:
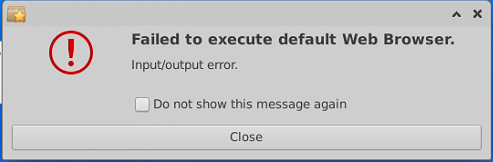
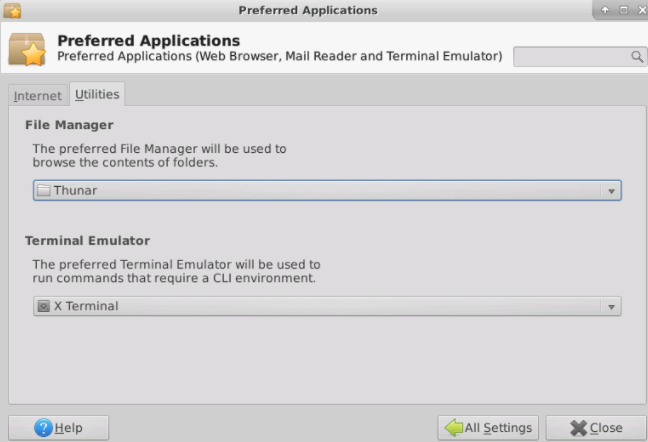
Solution One: in the upper left corner of the interface, applications - > Settings - > xfce 4 setting Manager - > preferred applications - > Web browser, modify the settings:
Solution Two: open the Terminal Emulator in the graphical interface and enter:
sudo apt-get update
sudo apt-get upgrade
Download and install Firefox browser:
sudo apt install firefox
6, Migration subsystem
Don't try to occupy the resources of disk C. take it away,
1. Download Migration tool LxRunOffline , lxrunoffline-v3 is downloaded here 5.0-msvc, and then decompress;
2. In the LxRunOffline decompression directory, hold down SHIFT and right-click the mouse, select "open Powershell window here", enter the interface and enter:
.\LxRunOffline.exe list
You can query the current subsystems and locations of this machine. Enter:
whoami
You can query the current user name

3. Use the command to close wsl:
wsl --shutdown
wsl -l -v

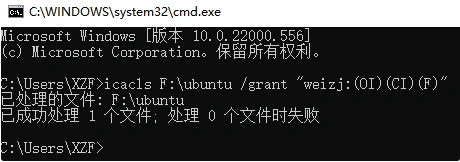
4. Create a new folder in the drive letter to be migrated (I am creating an Ubuntu folder in drive F), then modify the folder permissions, press and hold win+R, enter cmd, and then enter in the command line window:
icacls F:\ubuntu /grant "weizj:(OI)(CI)(F)"
Where F:\Ubuntu is my target migration path and weizj is my user name (found by whoami above)
5. Use lxrunoffline move to migrate, - n specify the system name to migrate, - d specify the migration path of your new system:
lxrunoffline move -n Ubuntu-20.04 -d F:\Ubuntu
A series of warnings may pop up here, which can be ignored, but when the following errors occur
$  .\LxRunOffline move -n Ubuntu-20.04 -d F:\Ubuntu
[ERROR] Couldn't set the case sensitive attribute of the directory "\\?\C:\Users\*****\AppData\Local\Packages\CanonicalGroupLimited.UbuntuonWindows_79rhkp1fndgsc\LocalState\".
Reason: Indicates that the directory trying to be deleted is not empty.
The solution: download this version LxRunOffline , and then repeat the above operation.
6. Use the following command to view the current subsystem installation directory:
lxrunoffline get-dir -n Ubuntu-20.04

It's almost like this. If there are any problems in subsequent use, please add again!
Next notice: build a deep learning environment and install cuda and pytorch.