Visual Custom Item Template provides windows or user controls that allow us to customize any xaml layout, just like windows that come with WPF, for easy reuse. The item template I created is very simple. The window inherits from the INotifyPropertyChanged interface and implements the method. Then it defines two attribute fields. The following steps begin:
First create a WPF project: Wpf Application 1, and then create a Window called BaseWindow.
<Window x:Class="WpfApplication1.BaseWindow"
        xmlns="http://schemas.microsoft.com/winfx/2006/xaml/presentation"
        xmlns:x="http://schemas.microsoft.com/winfx/2006/xaml"
        xmlns:d="http://schemas.microsoft.com/expression/blend/2008"
        xmlns:mc="http://schemas.openxmlformats.org/markup-compatibility/2006"
        xmlns:local="clr-namespace:WpfApplication1"
        mc:Ignorable="d"  WindowStartupLocation="CenterScreen"
   SizeToContent="WidthAndHeight"
        Title="BaseWindow" Height="800" Width="800">
    <Window.Resources>
    </Window.Resources>
    <Grid>
        <StackPanel Margin="20">
        </StackPanel>
    </Grid>
</Window>
Background code:
using System;
using System.Collections.Generic;
using System.Collections.ObjectModel;
using System.ComponentModel;
using System.Linq;
using System.Text;
using System.Threading.Tasks;
using System.Windows;
using System.Windows.Controls;
using System.Windows.Data;
using System.Windows.Documents;
using System.Windows.Input;
using System.Windows.Media;
using System.Windows.Media.Imaging;
using System.Windows.Shapes;
using System.Windows.Threading;

namespace WpfApplication1
{
    /// <summary>
    /// Interaction logic of BaseWindow.xaml
    /// </summary>
    public partial class BaseWindow : Window, INotifyPropertyChanged
    {
        public BaseWindow()
        {
            InitializeComponent();
            this.DataContext = this;
        }

        #region attribute
        private Guid _id = Guid.NewGuid();
        public Guid Id
        {
            get
            {
                return _id;
            }
            set
            {
                _id = value;
                RaisedPropertyChanged("Id");
            }
        }
        private string _name = string.Empty;
        public string FirstName {
            get
            {
                return _name;
            }

            set
            {
                _name = value;
                RaisedPropertyChanged("FirstName");
            }
        }
        #endregion
        #region Current Thread Scheduler
        private static readonly Dispatcher _dispatcher = Dispatcher.CurrentDispatcher;
        #endregion

        #region property change notification
        public event PropertyChangedEventHandler PropertyChanged = delegate { };
        protected void RaisedPropertyChanged(string property)
        {
            PropertyChanged(this, new PropertyChangedEventArgs(property));
        }
        #endregion
    }
}

Select Export Template:
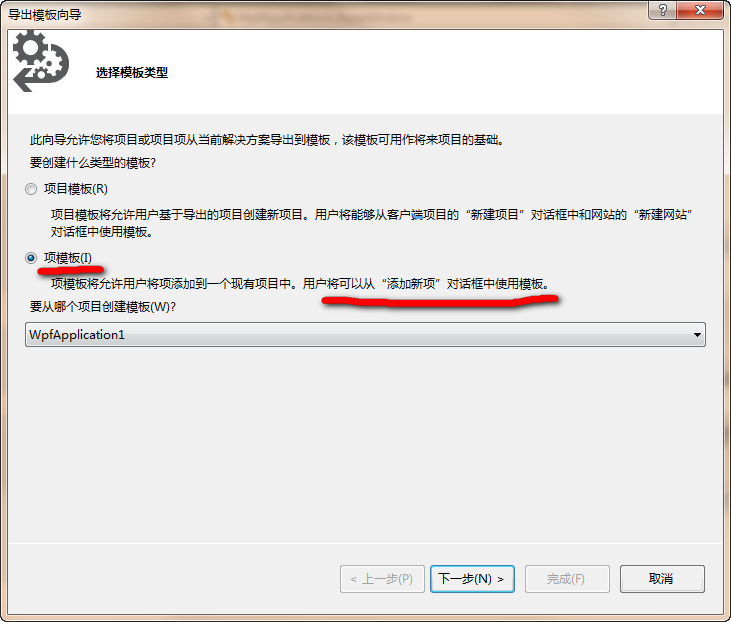
Select Item Template: Pay attention to the description of the red line on the right. Click Next:

Select the "BaseWindow": Click Next":
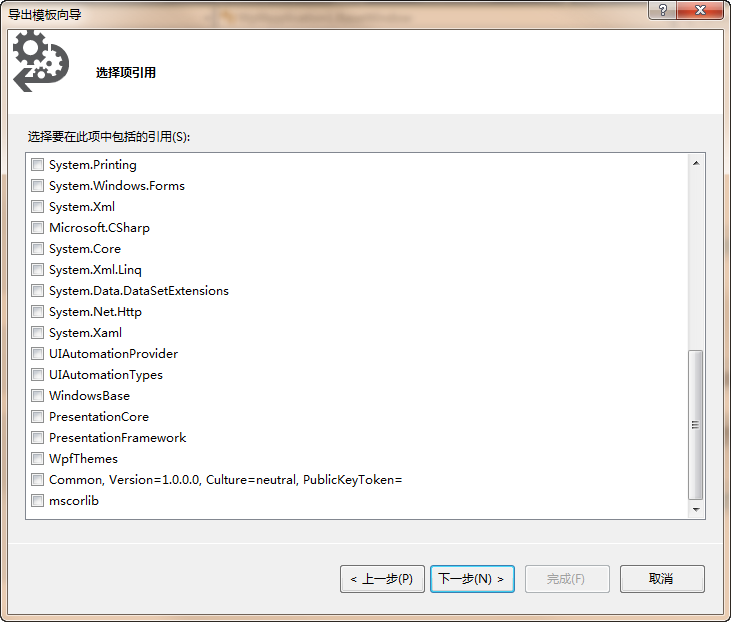
Because I'm using "Selector Reference" in the wpf project, I don't choose anything. If I choose, I pack a reference into a zip file. Click Next:

Enter "template name", "template description" and "icon image" optionally. I use a png image here. Note the "Output Location". This location is everywhere. Clicking on the "Finish" button will generate a folder under this path. After success, it will automatically open the folder under this path:

Restart VS, open the original Wpf Application 1 project, right-click on the project-add-new item:

The exported item template "DZPBaseWindow" is displayed in the list and can be used like a normal Windows.