1. Preface
Interest came to play with the rainbow text of WPF. Instead of making gradient colors with linear gradient brush, it refers to the rainbow text with independent color for each text. Although there is no practical value, I hope that the use of ItemsControl to split text and the use of tool classes to provide incremental and random variables in this article can give readers some inspiration.
2. Use the Run of TextBlock
<code id="copy_target_0" class="language-XML hljs"><TextBlock>
    <Run Foreground="#4a0e68">b</Run>
    <Run Foreground="#b62223">l</Run>
    <Run Foreground="#fdd70c">o</Run>
    <Run Foreground="#f16704">c</Run>
    <Run Foreground="#69982d">k</Run>
    <Run Foreground="#0075a5">.</Run>
    <Run Foreground="#0b0045">R</Run>
    <Run Foreground="#4a0e68">u</Run>
    <Run Foreground="#b62223">n</Run>
</TextBlock></code>

Using the Run of TextBlock is the basic method. There are other methods to format TextBlock. For details, please refer to text-block#formatting-text This document.
3. Write code
This scheme is to use code to split the string, then insert it into TextBlock character by character, and then put it into StackPanel. The implementation method is very boring, so I won't write it.
4. Use ItemsControl
The third scheme is implemented with ItemsControl. Although this scheme will make some detours, it is interesting enough and can expand other playing methods.
First, because string is a collection, it can actually be used as ItemsSource of ItemsControl. However, writing 'ItemsSource = "somestring" directly on Xaml will report an error. You can wrap it with ContentControl and write it as follows:
<code id="copy_target_1" class="language-XML hljs"><ContentControl Content="ItemsControl" >
    <ContentControl.Template>
        <ControlTemplate TargetType="ContentControl">
            <ItemsControl ItemsSource="{TemplateBinding Content}" >
            </ItemsControl>
        </ControlTemplate>
    </ContentControl.Template>
</ContentControl></code>
Then set the ItemsPanel of ItemsControl to arrange the contents horizontally; Set DataTemplate to display the split characters on TextBlock:
<code id="copy_target_2" class="language-XML hljs"><ItemsControl ItemsSource="{TemplateBinding Content}" >
    <ItemsControl.ItemsPanel>
        <ItemsPanelTemplate>
            <StackPanel Orientation="Horizontal" />
        </ItemsPanelTemplate>
    </ItemsControl.ItemsPanel>
    <ItemsControl.ItemTemplate>
        <DataTemplate>
            <TextBlock Text="{Binding}" />
        </DataTemplate>
    </ItemsControl.ItemTemplate>
</ItemsControl></code>
Next, in order to display different colors for each character, you need to implement a Collection class, instantiate it on Xaml, and put the colors used in it:
<code id="copy_target_3" class="language-XML hljs"><common:RepeatCollection x:Key="RepeatCollection">
    <SolidColorBrush>#4a0e68</SolidColorBrush>
    <SolidColorBrush>#b62223</SolidColorBrush>
    <SolidColorBrush>#fdd70c</SolidColorBrush>
    <SolidColorBrush>#f16704</SolidColorBrush>
    <SolidColorBrush>#69982d</SolidColorBrush>
    <SolidColorBrush>#0075a5</SolidColorBrush>
    <SolidColorBrush>#0b0045</SolidColorBrush>
</common:RepeatCollection></code>
The code of this RepeatCollection is as follows. It is actually a circular queue. Each time the getter method of Next is called, an element will be taken down (would it be better to call CircleCollection?):
<code id="copy_target_4" class="language-CS hljs">public class RepeatCollection : Collection<object>
{
    private int _offset;

    public object Next
    {
        get
        {
            if (this.Count == 0)
                return null;

            var result = this[_offset];
            _offset++;
            if (_offset > this.Count - 1)
                _offset = 0;

            return result;
        }
    }
}</code>
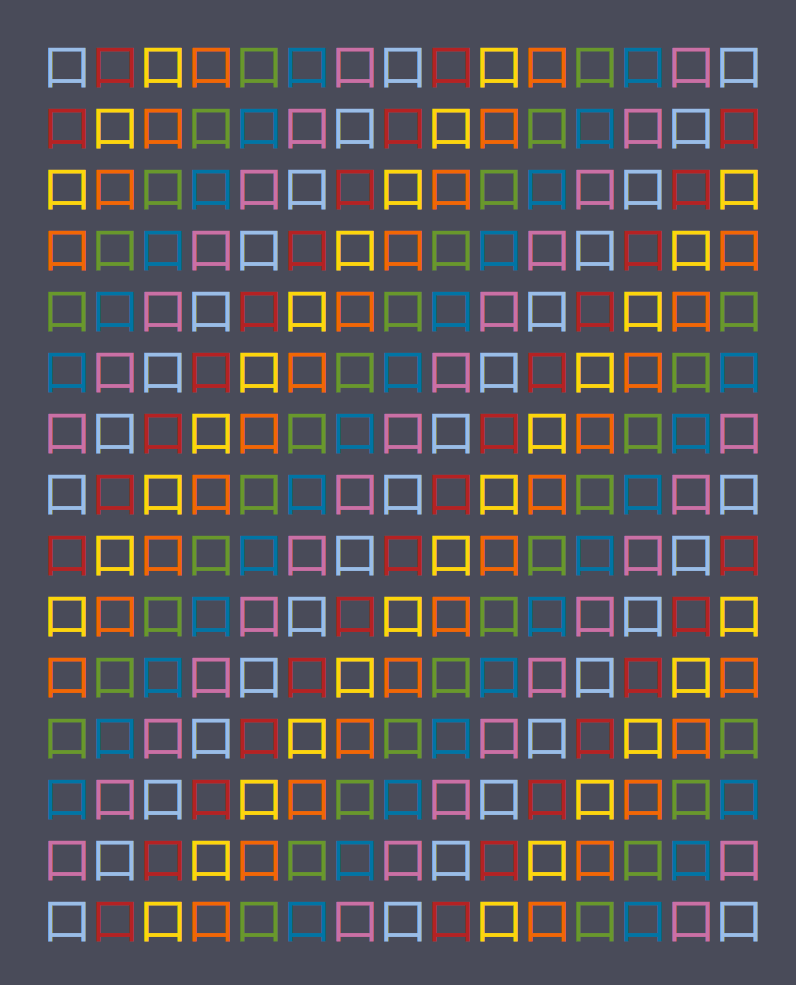
Finally, the foregroup of TextBlock is bound to the Next attribute of the collection to realize that each TextBlock uses different colors:
[ ]
]
5. Animation
From the third scheme, I tried several animations.
First, I wrote a TimeSpanIncreaser class, which contains three properties: Start, Setp and Next. The code of Next is as follows:
<code id="copy_target_6" class="language-CS hljs">public override TimeSpan Next => Start + (_current += Step);</code>
Its function is to increment the value returned by the Next property every time it is called.
Back to Xaml, first define an instance in Resources:
<code id="copy_target_7" class="language-XML hljs"><common:TimeSpanIncreaser x:Key="TimeSpanIncreaser" Step="0:0:0.2" /></code>
Then add this paragraph to TextBlock:
<code id="copy_target_8" class="language-XML hljs"><TextBlock.RenderTransform>
    <TranslateTransform Y="-90" />
</TextBlock.RenderTransform>
<FrameworkElement.Triggers>
    <EventTrigger RoutedEvent="FrameworkElement.Loaded">
        <BeginStoryboard>
            <Storyboard>
                <DoubleAnimation BeginTime="{Binding Next, Source={StaticResource TimeSpanIncreaser}}"
                                 Storyboard.TargetName="TextElement"
                                 Storyboard.TargetProperty="(UIElement.RenderTransform).(TranslateTransform.Y)"
                                 To="0"
                                 Duration="0:0:0.7">
                    <DoubleAnimation.EasingFunction>
                        <BounceEase EasingMode="EaseOut" />
                    </DoubleAnimation.EasingFunction>
                </DoubleAnimation>
            </Storyboard>
        </BeginStoryboard>
    </EventTrigger>
</FrameworkElement.Triggers></code>
Each TextBlock uses the same animation, but the start time of the animation is incremented one by one. The running effect is as follows:

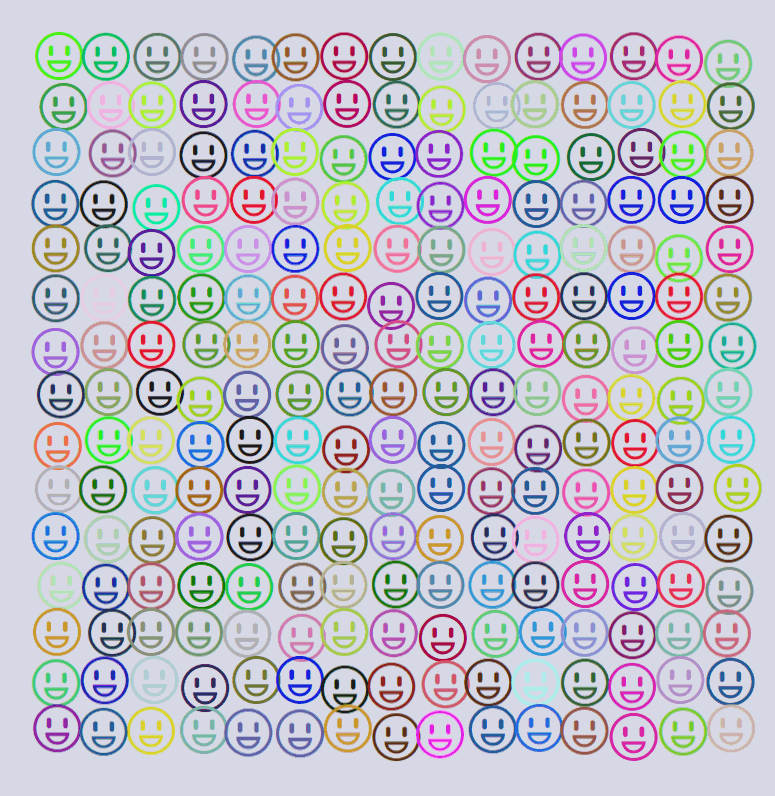
More boldly, ItemsControl nested ItemsControl can achieve the following effects:
Or, instead of playing incremental, play random this time. First implement these two classes and then instantiate them. I won't post the code. You can understand what functions they implement by looking at the name:
<code id="copy_target_9" class="language-XML hljs"><common:RandomColorCreator x:Key="RandomColorCreator" />
<common:RandomDoubleCreator x:Key="RandomDoubleCreator" Max="20" /></code>
Then bind the foreround of TextBlock and the X and Y of TranslateTransform animation to the Next attribute of these two instances:
<code id="copy_target_10" class="language-XML hljs"><TextBlock.Foreground>
    <SolidColorBrush Color="{Binding Next, Source={StaticResource RandomColorCreator}}" />
</TextBlock.Foreground>
<TextBlock.RenderTransform>
    <TranslateTransform />
</TextBlock.RenderTransform>
<FrameworkElement.Triggers>
    <EventTrigger RoutedEvent="FrameworkElement.Loaded">
        <BeginStoryboard>
            <Storyboard>
                <DoubleAnimation AutoReverse="True"
                                 RepeatBehavior="Forever"
                                 Storyboard.TargetName="TextElement"
                                 Storyboard.TargetProperty="(UIElement.RenderTransform).(TranslateTransform.X)"
                                 To="{Binding Next, Source={StaticResource RandomDoubleCreator}}"
                                 Duration="0:0:.08" />
                <DoubleAnimation AutoReverse="True"
                                 RepeatBehavior="Forever"
                                 Storyboard.TargetName="TextElement"
                                 Storyboard.TargetProperty="(UIElement.RenderTransform).(TranslateTransform.Y)"
                                 To="{Binding Next, Source={StaticResource RandomDoubleCreator}}"
                                 Duration="0:0:.1" />
            </Storyboard>
        </BeginStoryboard>
    </EventTrigger>
</FrameworkElement.Triggers></code>
Another animation without practical value was born:
6. Finally
Although it's a pity that it's useless, I can only comfort myself that "the result is not important, the most important thing is to enjoy the process".
https://github.com/DinoChan/wpf_design_and_animation_lab
Author: dino C
source: https://www.cnblogs.com/dino623/p/wpf_rainbow_text.html
Copyright: This article is licensed under the "CC BY 4.0" knowledge sharing license agreement.