Hello, I'm Conard Li. Last week, I posted a Wasm article, mainly analyzing the Wasm theme at this year's Google Developer Conference:
Wasm brings infinite possibilities to Web development
In fact, I am personally interested in Rust. In today's article, I will take you to complete a small Demo to actually apply Rust to React project.
Wasm
Before we start, let's review Wasm:
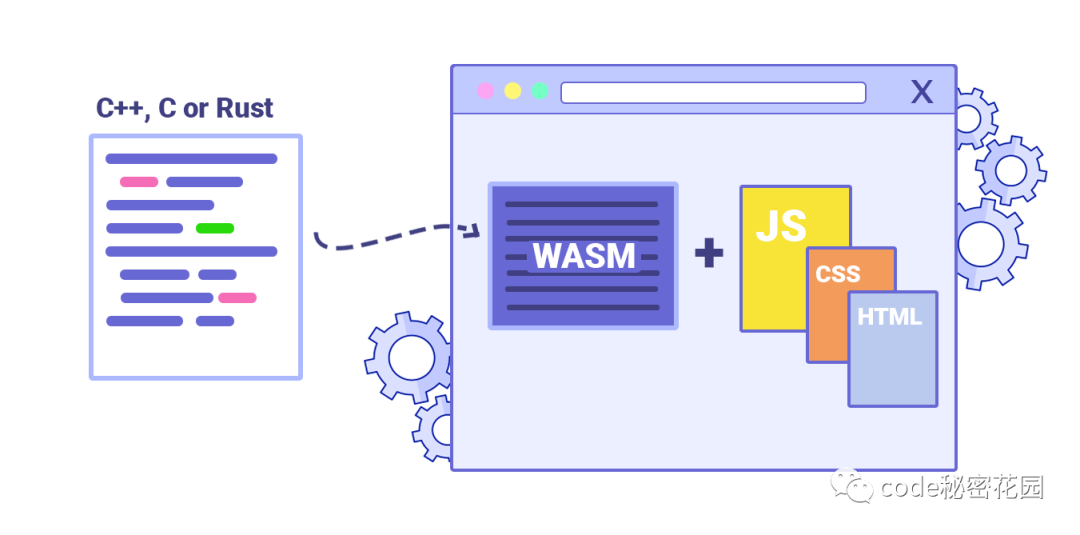
Web assembly is a binary instruction format, called Wasm for short, which can run on a virtual machine suitable for stack.
The significance of Web assembly is to become a portable compilation target of programming language, making it possible to deploy client and server applications on the Web.
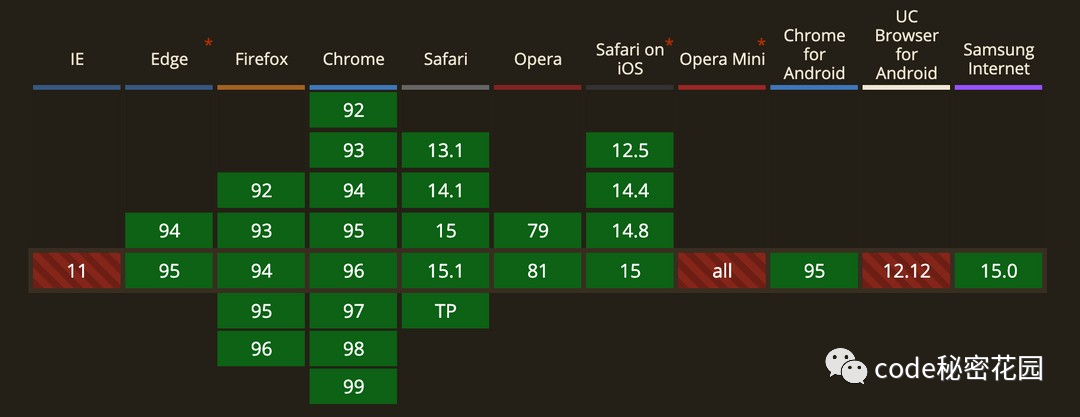
Wasm has a compact binary format that provides us with near native network performance. As it becomes more and more popular, many languages have written binding tools that compile into Web assemblies.
Why Rust
Rust is a fast, reliable and memory saving programming language. Among the most popular programming languages of stackoverflow in the past six years, it has been ranked the top for many times, mainly because the language itself has many advantages, such as:
- Memory security
- Type safety
- Eliminate data competition
- Compile before use
- Build (and encourage) on zero abstraction
- Minimal runtime (no stop world garbage collector, no JIT compiler, no VM)
- Low memory consumption (programs can run in resource constrained environments, such as small microcontrollers)
- For bare metal machines (for example, write an OS kernel or device driver and use Rust as a 'high-level' assembler) "
In addition, Rust has made a great contribution to the field of web assembly. It is very simple to write web assembly with Rust.
However, the purpose of Rust is not to replace JavaScript, but to complement it. Because the learning curve of Rust language is very steep, it is almost impossible to completely replace Web development with it.
Therefore, we usually use it in the tool chain of Web development or some very large data calculation operations in the front-end page.
Pre knowledge
Before starting development, you need to know some pre knowledge. Not much about React. Let's take a look at some important concepts related to Rust.
cargo
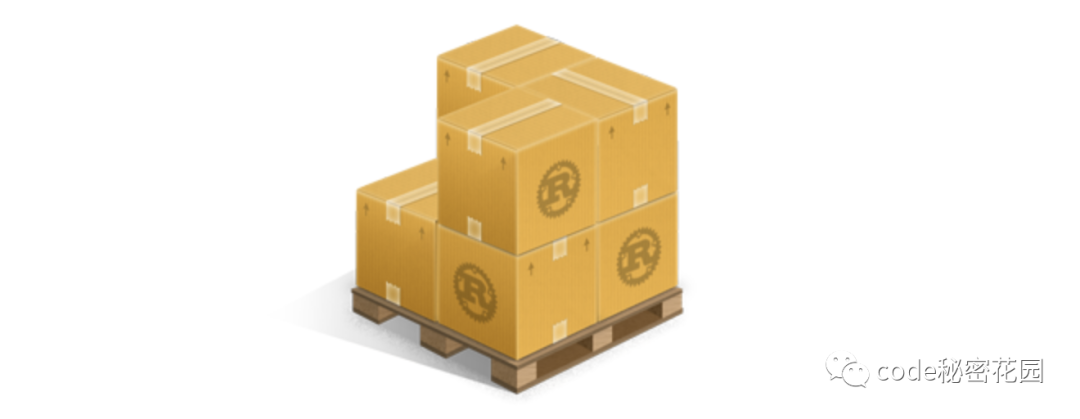
cargo is the code organization and package management tool of t rust. You can compare it to npm in node.js.
cargo provides a series of powerful functions, from project establishment, construction to test, operation to deployment, providing as complete a means as possible for the management of trust projects. At the same time, it is also closely combined with the various characteristics of the trust language and its compiler rustc itself.
rustup
Rustup is the installation and tool chain management tool of Rust, and the official website recommends using rustup to install Rust.

Rustup installs tools such as rustc (trust compiler) and cargo in the bin directory of cargo, but these tools are only agents of components in the Rust tool chain. What really works is the components in the tool chain. Different versions of tool chains can be specified through the command of rustup.
wasm-bindgen
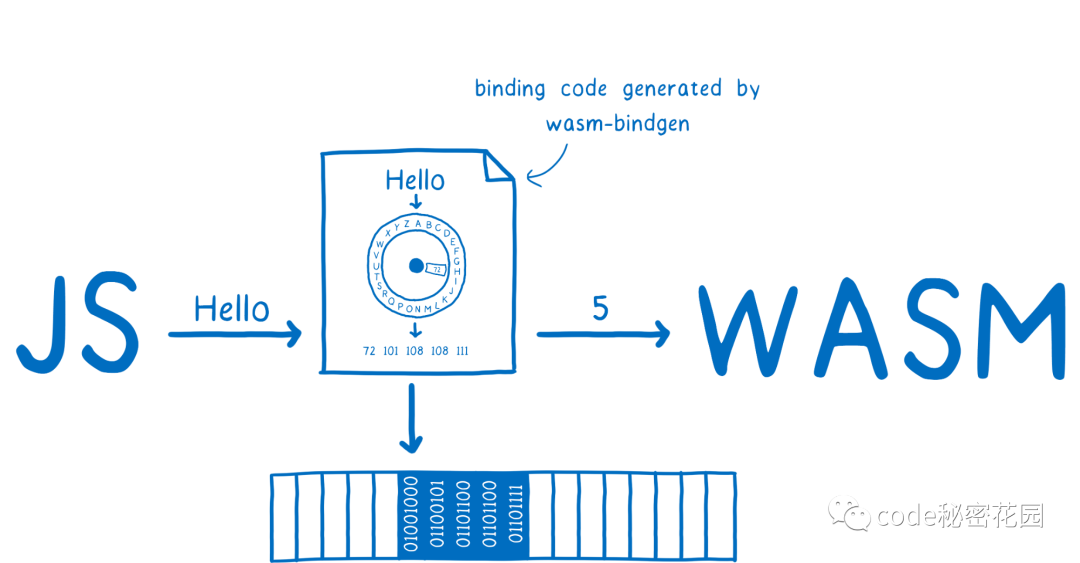
Wasm binden provides a bridge between JS and Rust types. It allows JS to call the Rust API using strings or use the Rust function to catch JS exceptions.
The core of wasm binden is to facilitate communication between javascript and Rust using wasm. It allows developers to directly use the structure of Rust, javascript classes, strings and other types, not just integer or floating-point types supported by wasm.
wasm-pack

Wasm pack, developed and maintained by Rust / Wasm working group, is now the most active web assembly application development tool.
Wasm pack supports packaging code into npm modules and comes with a wasm pack plugin. With it, we can easily combine Rust with existing JavaScript applications.
wasm32-unknown-unknown
Through the target command of rustup, you can specify the target platform of compilation, that is, on which operating system the compiled program runs.
Wasm pack compiles the code using the wasm32 unknown unknown unknown object.
Well, after understanding some knowledge about Rust, let's finish this Demo together.
Let's do a Demo
Before starting, make sure that Node and Rust are installed on your computer. You can enter npm and rustup on the command line to see if you can find the command. If not, install it yourself first.
Initialize a simple React program
First, let's initialize a React project and execute npm init on the command line:
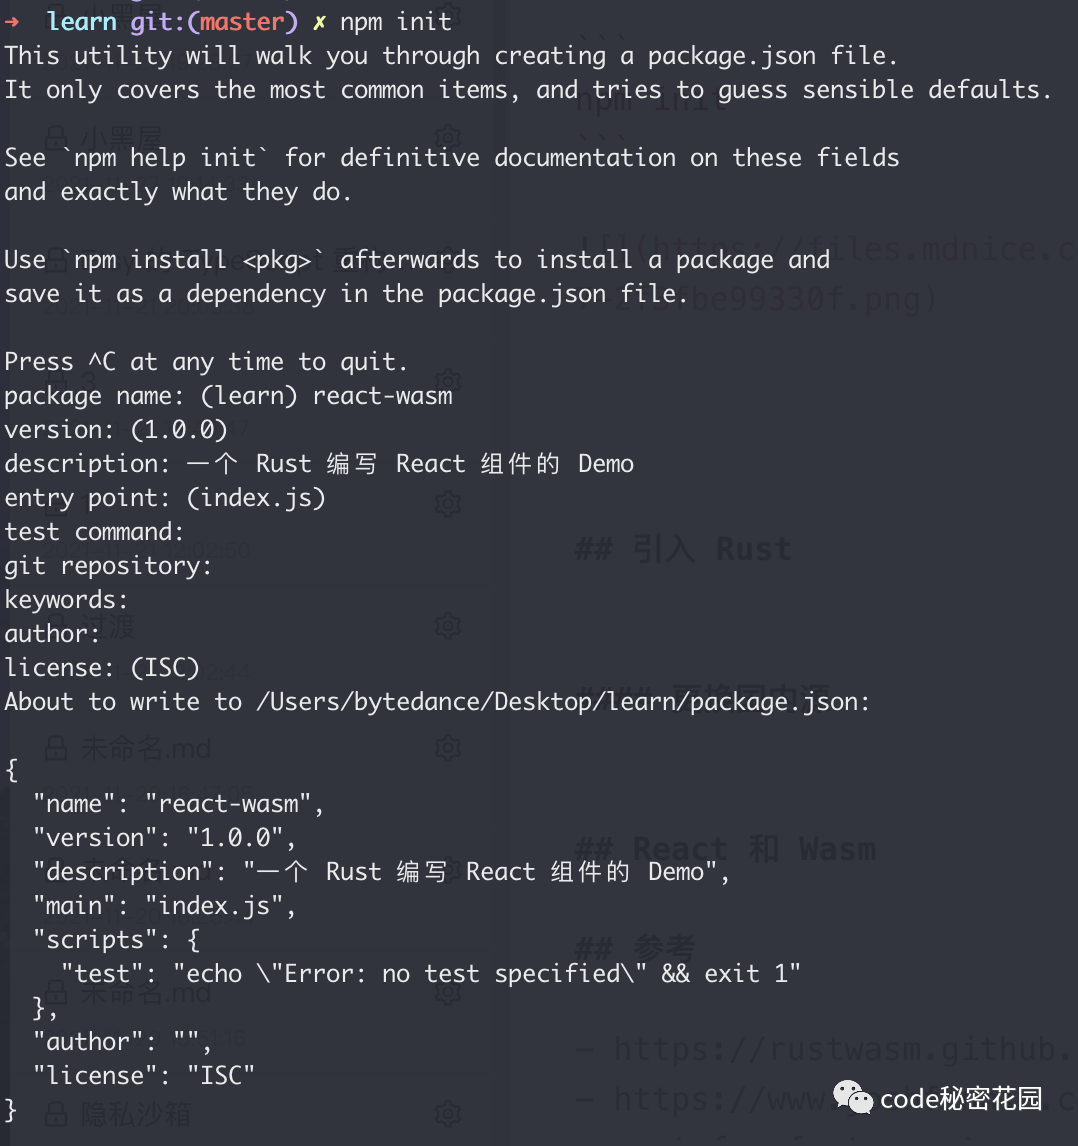
Then, we install some necessary packages for development projects:
$ npm i react react-dom
$ npm i -D webpack webpack-cli webpack-dev-server html-webpack-plugin
$ npm i -D babel-core babel-loader @babel/preset-env @babel/preset-react
Then, we create some common folders in the project: src, page, public, build, and dist.
We create an index.jsx in the page folder and write some test code:
import React from 'react';
import ReactDOM from 'react-dom';

ReactDOM.render(<h1>code Secret Garden Hello, world!</h1>, document.getElementById('root'));
Then, we create two configuration files for babel and webpack:
.babelrc:
{
    "presets": [
        "@babel/preset-env",
        "@babel/preset-react"
    ]
}
webpack.config.js:
const HtmlWebpackPlugin = require('html-webpack-plugin');

const path = require('path');

module.exports = {
  entry: './page/index.jsx',
  output: {
    path: path.resolve(__dirname, 'dist'),
    filename: 'bundle.[hash].js',
  },
  devServer: {
    compress: true,
    port: 8080,
    hot: true,
    static: './dist',
    historyApiFallback: true,
    open: true,
  },
  module: {
    rules: [
      {
        test: /.(js|jsx)$/,
        exclude: /node_modules/,
        use: {
          loader: 'babel-loader',
        },
      },
    ],
  },
  plugins: [
    new HtmlWebpackPlugin({
      template: `${__dirname }/public/index.html`,
      filename: 'index.html',
    }),
  ],
  mode: 'development',
  devtool: 'inline-source-map',
};
Then, create an index.html under public:
<!DOCTYPE html>
<html lang="en">

<head>
    <meta charset="UTF-8">
    <meta name="viewport" content="width=device-width, initial-scale=1.0">
    <title>code Secret Garden</title>
</head>

<body>
    <div id="root"></div>
</body>

</html>
Now check your package.json to see if it is the same as mine:
{
  "name": "react-wasm",
  "version": "1.0.0",
  "description": "One Rust to write React Component Demo",
  "main": "src/index.jsx",
  "scripts": {
    "dev": "webpack server"
  },
  "keywords": [],
  "author": "ConardLi",
  "license": "MIT",
  "dependencies": {
    "react": "^17.0.2",
    "react-dom": "^17.0.2"
  },
  "devDependencies": {
    "@babel/core": "^7.16.0",
    "@babel/preset-env": "^7.16.4",
    "@babel/preset-react": "^7.16.0",
    "babel-loader": "^8.2.3",
    "html-webpack-plugin": "^5.5.0",
    "webpack": "^5.64.2",
    "webpack-cli": "^4.9.1",
    "webpack-dev-server": "^4.5.0"
  }
}
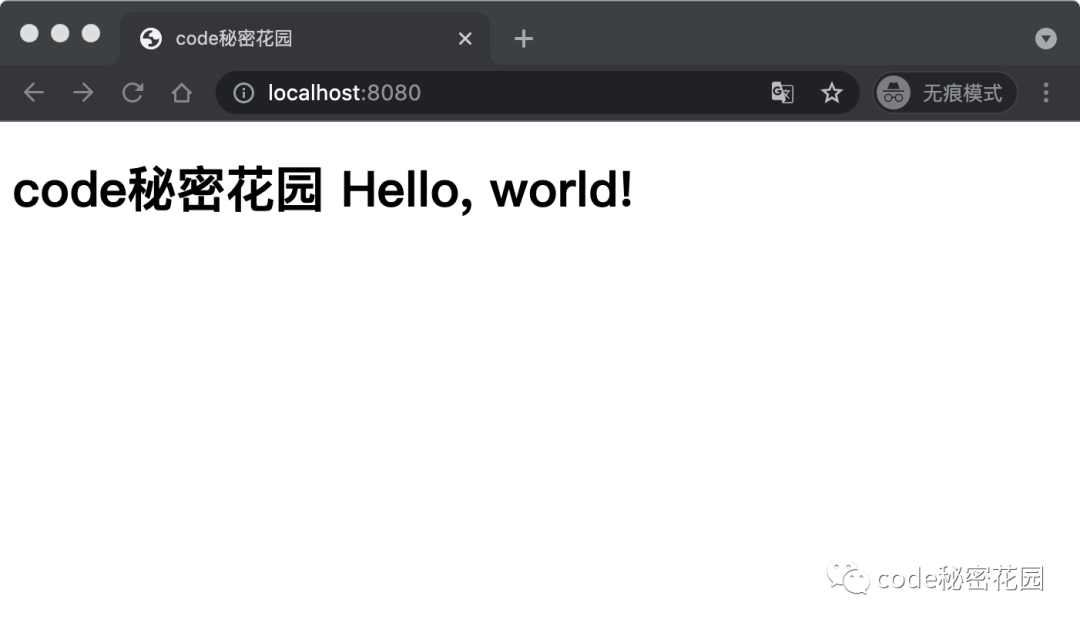
Next, execute npm install and then npm run dev to run a very simple React application:
Introducing Rust
Well, let's write our Rust component (don't forget to review the rust pre knowledge mentioned above). First, we use rust's package management tool cargo to initialize a simple rust application:
cargo init --lib .
After execution, a Cargo.toml and an src/lib.rc file will be created.
Then, we introduce the wasm binden package into Cargo.toml. In addition, we need to tell the compiler that the package is a cdylib:
[package]
name = "react-wasm"
version = "1.0.0"
edition = "2021"

[lib]
crate-type = ["cdylib"]

[dependencies]
wasm-bindgen = "0.2"
Now, you can try to execute the following cargo build:
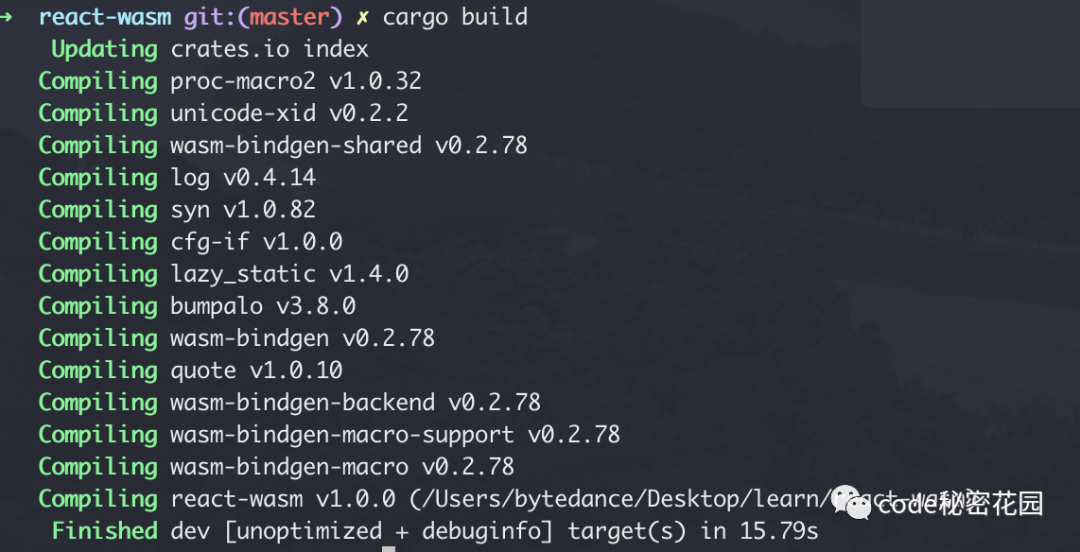
The first execution may be slow. You can Google how to configure cargo as a domestic source.
Well, the above is just to test the build, which is not useful yet. Let's execute the compilation target:
$ rustup target add wasm32-unknown-unknown
After specifying the compilation target wasm32 unknown unknown, we can apply it to our React program. Next, we write two simple functions for src/lib.rs:
use wasm_bindgen::prelude::*;

#[wasm_bindgen]
extern "C" {
    fn alert(s: &str);
}

#[wasm_bindgen]
pub fn big_computation() {
    alert("This is a super time-consuming complex computing logic");
}

#[wasm_bindgen]
pub fn welcome(name: &str) {
   alert(&format!("Hi I am {} ,I am here code Secret garden!", name));
}
To ensure the normal operation of our Rust application, we recompile it with wasm32 unknown unknown:
$ cargo build --target wasm32-unknown-unknown
Then we install wasm binden cli, a command-line tool, so that we can use the WebAssembly code we created:
$ cargo install -f wasm-bindgen-cli
After installation, we can use the web assembly generated by Rust to create a package for our React Code:
$ wasm-bindgen target/wasm32-unknown-unknown/debug/react_wasm.wasm --out-dir build
After execution, the compiled JavaScript package and optimized Wasm code will be saved to our build directory for use by React program.
Applying Wasm in React
Next, let's try to use these Wasm codes in our React program. Now we add some common npm scripts to package.json:
  "build:wasm": "cargo build --target wasm32-unknown-unknown",
  "build:bindgen": "wasm-bindgen target/wasm32-unknown-unknown/debug/rusty_react.wasm --out-dir build",
  "build": "npm run build:wasm && npm run build:bindgen && npx webpack",
Then we can package all the code by executing npm run build.
Next, we also need to install the Webpack plug-in of Wasm pack mentioned above, which can help us package Wasm code into NPM module:
npm i -D @wasm-tool/wasm-pack-plugin
Finally, update our webpack.config.js and add the following configuration:
const WasmPackPlugin = require("@wasm-tool/wasm-pack-plugin");

  ...

  plugins: [
    ...
    new WasmPackPlugin({
      crateDirectory: path.resolve(__dirname, ".")
    }),
  ],
  ...
  experiments: {
    asyncWebAssembly: true
  }
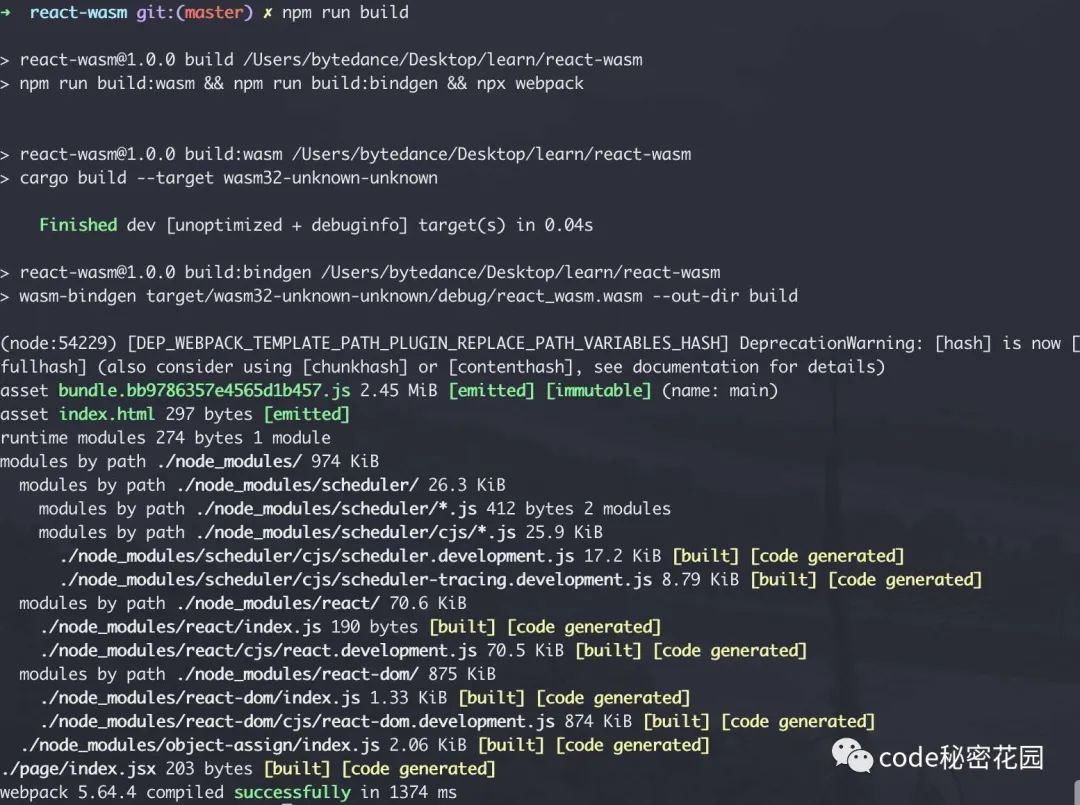
Next, execute these commands: npm run build:wasm, npm run build: binden, and npm run build. There should be no errors.
Finally, we call the Wasm module we just created in our React component:
import React, { useState } from "react";
import ReactDOM from "react-dom";

const wasm = import("../build/rusty_react");

wasm.then(m => {
  const App = () => {
    const [name, setName] = useState("");
    const handleChange = (e) => {
      setName(e.target.value);
    }
    const handleClick = () => {
      m.welcome(name);
    }

    return (
      <>
        <div>
          <h1>Hi there</h1>
          <button onClick={m.big_computation}>Run Computation</button>
        </div>
        <div>
          <input type="text" onChange={handleChange} />
          <button onClick={handleClick}>Say hello!</button>
        </div>
      </>
    );
  };

  ReactDOM.render(<App />, document.getElementById("root"));
});
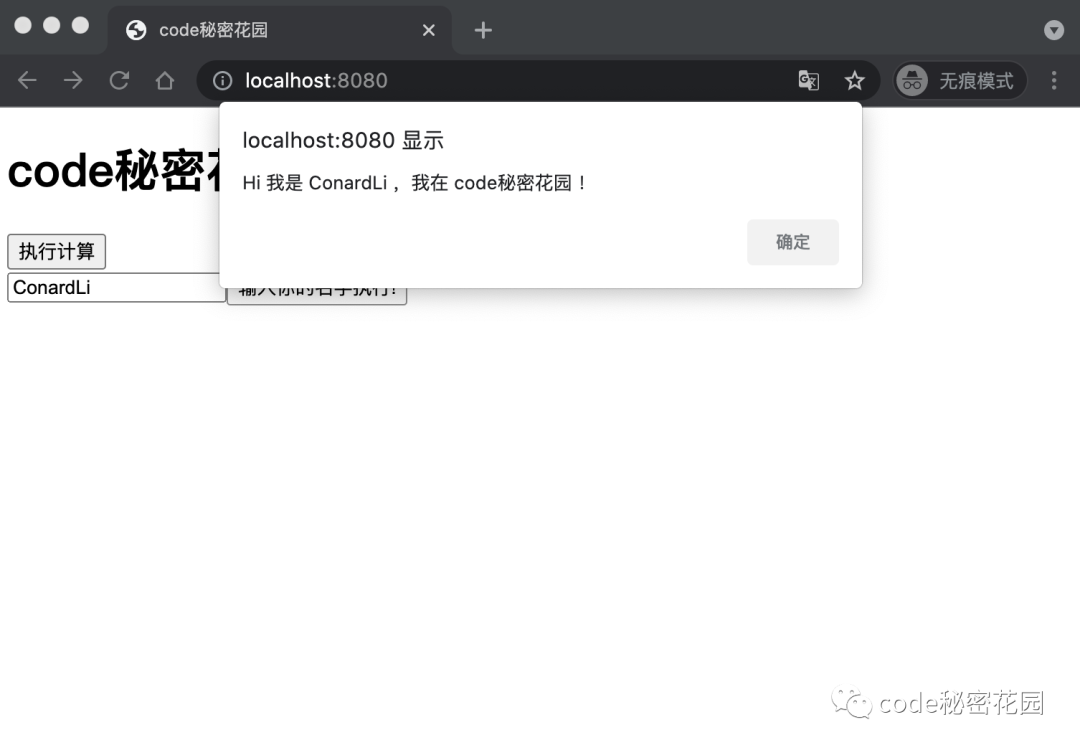
Next, you can happily use Rust in the React component!
reference resources
- https://www.rust-lang.org/learn
- https://rustwasm.github.io/
- https://www.joshfinnie.com/blog/using-webassembly-created-in-rust-for-fast-react-components/