This article is mainly about "tossing", that is, playing. It is likely that it is not easy to use overload after configuration If you just want to try, you can use my configuration directly My Nvim configuration , fork from Nvim configuration for ayamir
The details of related applications and plug-ins are not introduced here. There are many on the Internet and the documents are written in detail
Because I don't often use Windows, I only have the configuration under Linux
What you need
The default is WBT homoson / packer Nvim is used to manage Neovim plug-ins. This article focuses on the \ LaTeX configuration on this basis, rather than how to build a user-friendly Neovim, so other basic things will not be listed
name | explain |
|---|---|
lervag/vimtex | $\ LaTeX $file type plug-in for Vim and Neovim |
mhinz/neovim-remote | For editor and PDF interaction |
TeXLive | TeX Live offers a $\ LaTeX $environment |
KDE/okular | PDF viewer (of course, you can choose any other one that supports VimTeX reverse retrieval) |
Install and configure VimTex
The configuration varies from person to person and can be modified according to specific conditions
If you use your own configuration, add the following code to the Lua file of the configuration plug-in:
use {
    'lervag/vimtex',
    opt = true,
    config = function ()
        vim.g.vimtex_view_general_viewer = 'okular'
        vim.g.vimtex_compiler_latexmk_engines = {
            _ = '-xelatex'
        }
        vim.g.tex_comment_nospell = 1
        vim.g.vimtex_compiler_progname = 'nvr'
        vim.g.vimtex_view_general_options = [[--unique file:@pdf\#src:@line@tex]]
        vim.g.vimtex_view_general_options_latexmk = '--unique'
    end,
    ft = 'tex'
}
If you use the configuration of ayamir, you should modify both files Add the following code in lua/modules/editor/plugins/lua:
editor['lervag/vimtex'] = {
    opt = true,
    config = conf.vimtex,
    ft = 'tex'
}
In Lua / modules / Editor / plugins / config The following code is added to Lua:
function config.vimtex()
    vim.g.vimtex_view_general_viewer = 'okular'
    -- vim.g.vimtex_view_method = 'zathura'
    vim.g.vimtex_compiler_latexmk_engines = {
        _ = '-xelatex'
    }
    vim.g.tex_comment_nospell = 1
    vim.g.vimtex_compiler_progname = 'nvr'
    vim.g.vimtex_view_general_options = [[--unique file:@pdf\#src:@line@tex]]
    vim.g.vimtex_view_general_options_latexmk = '--unique'
end
Then enter Neovim and execute the command PackerInstall to install VimTeX
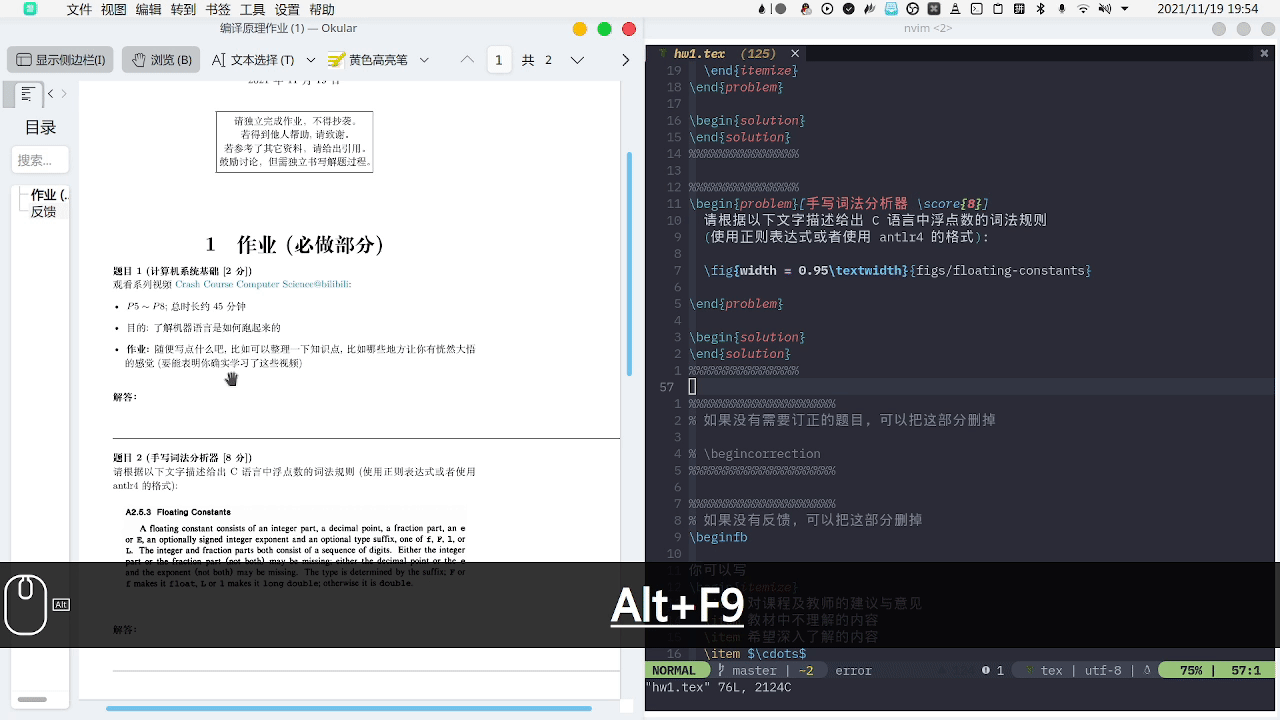
The above configuration specifies that the PDF software used for preview is okular. Then executing VimtexView in Neovim will automatically open the corresponding PDF file and locate it to the current location. Executing VimtexCompile will enter the real-time compilation state and open the corresponding PDF
Configure reverse retrieval
Install neovim remote
pip3 install neovim-remote
In the last step, only forward retrieval is realized, that is, locating from tex file to PDF file To realize reverse retrieval, you need to set a custom editor in Okular settings - > configure Okular - > editor, and fill in NVR -- Remote silent +% l% F
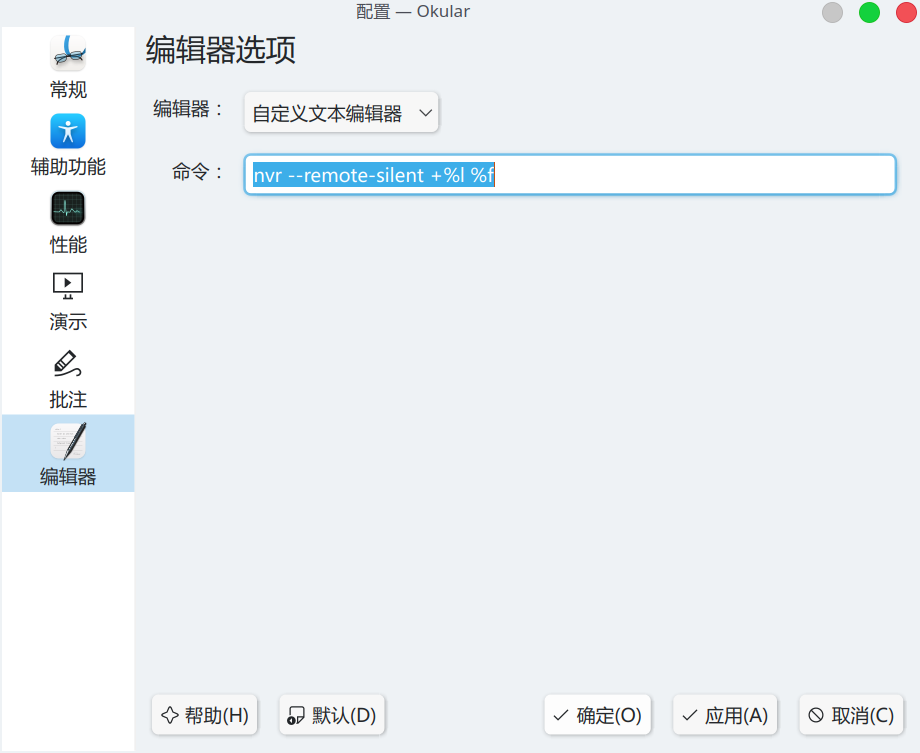
In this way, Shift + LeftClick in the PDF preview interface can locate the corresponding line of the tex file Note that Okular must be in preview mode, that is, the mouse pointer is in the shape of a hand In other PDF preview software (such as zathura), it is Ctrl + LeftClick
Common commands
command | effect |
|---|---|
VimtexCompile | Continuous compilation mode (real-time monitoring of file changes and compilation) |
VimtexClean | Clear intermediate files generated at compile time |
VimtexStop | Stop listening |
VimtexView | Preview PDF |
Most of the descriptions of the existing VimTex commands on the Chinese network are very strange. They say that \ ll is the compilation preview, \ lk is to stop listening, \ lv is the preview, and so on
First: not everyone sets < leader > to '\ \'
Second: if you change the key mapping, these keys will have no effect on VimTeX
Normal practice should not be to tell others shortcut keys, but should be commands, right?
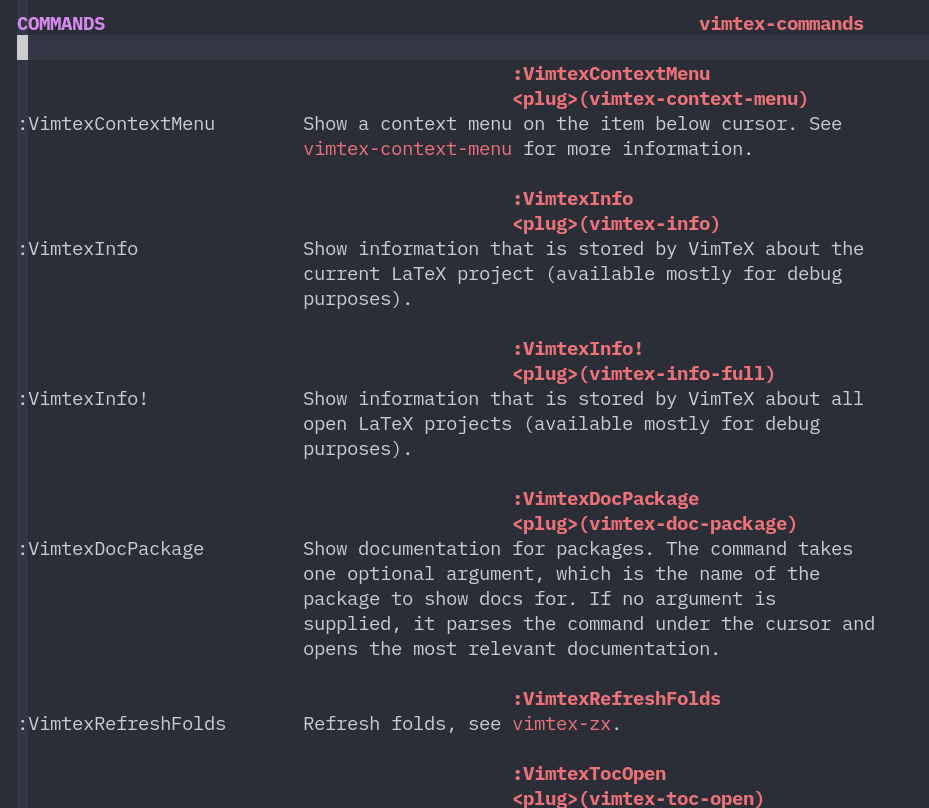
Of course, all commands can be found under the vimtex commands block through: help vimtex, and shortcut keys can be set as needed
[optional] complete with snippet and lsp
- adopt williamboman/nvim-lsp-installer Plug in texlab can be installed directly in Neovim: LspInstall texlab The effect is as follows (this picture should be demonstrated in vscode):
Through packer Nvim installation L3MON4D3/LuaSnip . need to match hrsh7th/nvim-cmp use
LuaSnip can fill in the configuration as follows:
function config.luasnip()
    require("luasnip").config.set_config {
        history = true,
        updateevents = "TextChanged,TextChangedI"
    }
    require("luasnip/loaders/from_vscode").load({paths={"./my_snippets"}})
end
load() can load a custom snippet. Note that the relative path is init Based on Lua my_ In the snippets folder, in addition to the json file of snippet, you also need a package json to indicate the language corresponding to each json file
The example tex.lua is as follows:
{
    "Simple Snippet Example": {
        "prefix": "text",
        "body": "this is inserted as text",
        "description": "descriptive description"
    }
}
package.json is as follows:
{
    "name": "snippets",
    "engines": {
        "vscode": "^1.11.0"
},
    "contributes": {
        "snippets": [
        {
            "language": "tex",
            "path": "./tex.json"
        }
        ]
    }
}
Overall structure:
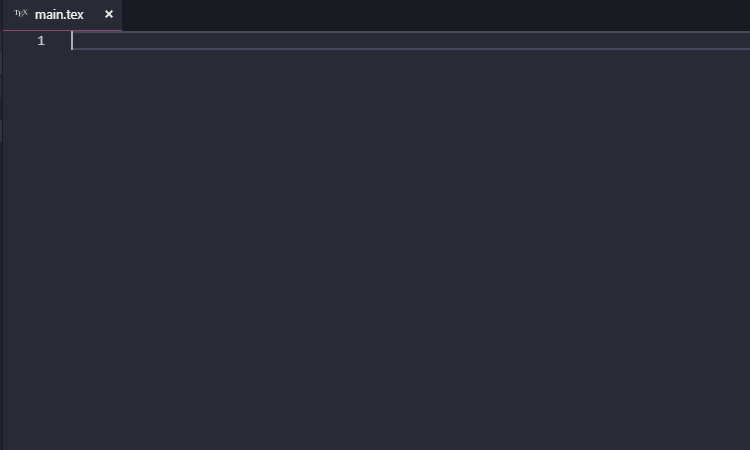
Try in the tex file:
It is more convenient to use rafamadriz/friendly-snippets Such off the shelf plug-ins
It is more convenient to use an off the shelf configuration (mentioned at the beginning)
The most convenient thing is not to toss about these. Use online overload or offline TexStudio