catalogue
preface
Before, I shared the production of javascript content on the homepage of Xiaomi's official website. I don't know if you have obtained the required knowledge through your last blog. This time, we will continue to explain the content of the registration interface after the last login. The content of this section is more to think about by yourself. You don't have to refer to my ideas, but you can use my ideas to make web pages. I believe it will also give you a lot of help. If there is anything wrong, please also point out my mistakes.
1, Observe page content
First, we need to jump to the login page of Xiaomi's official website to see its content: Login interface . We can see the following:
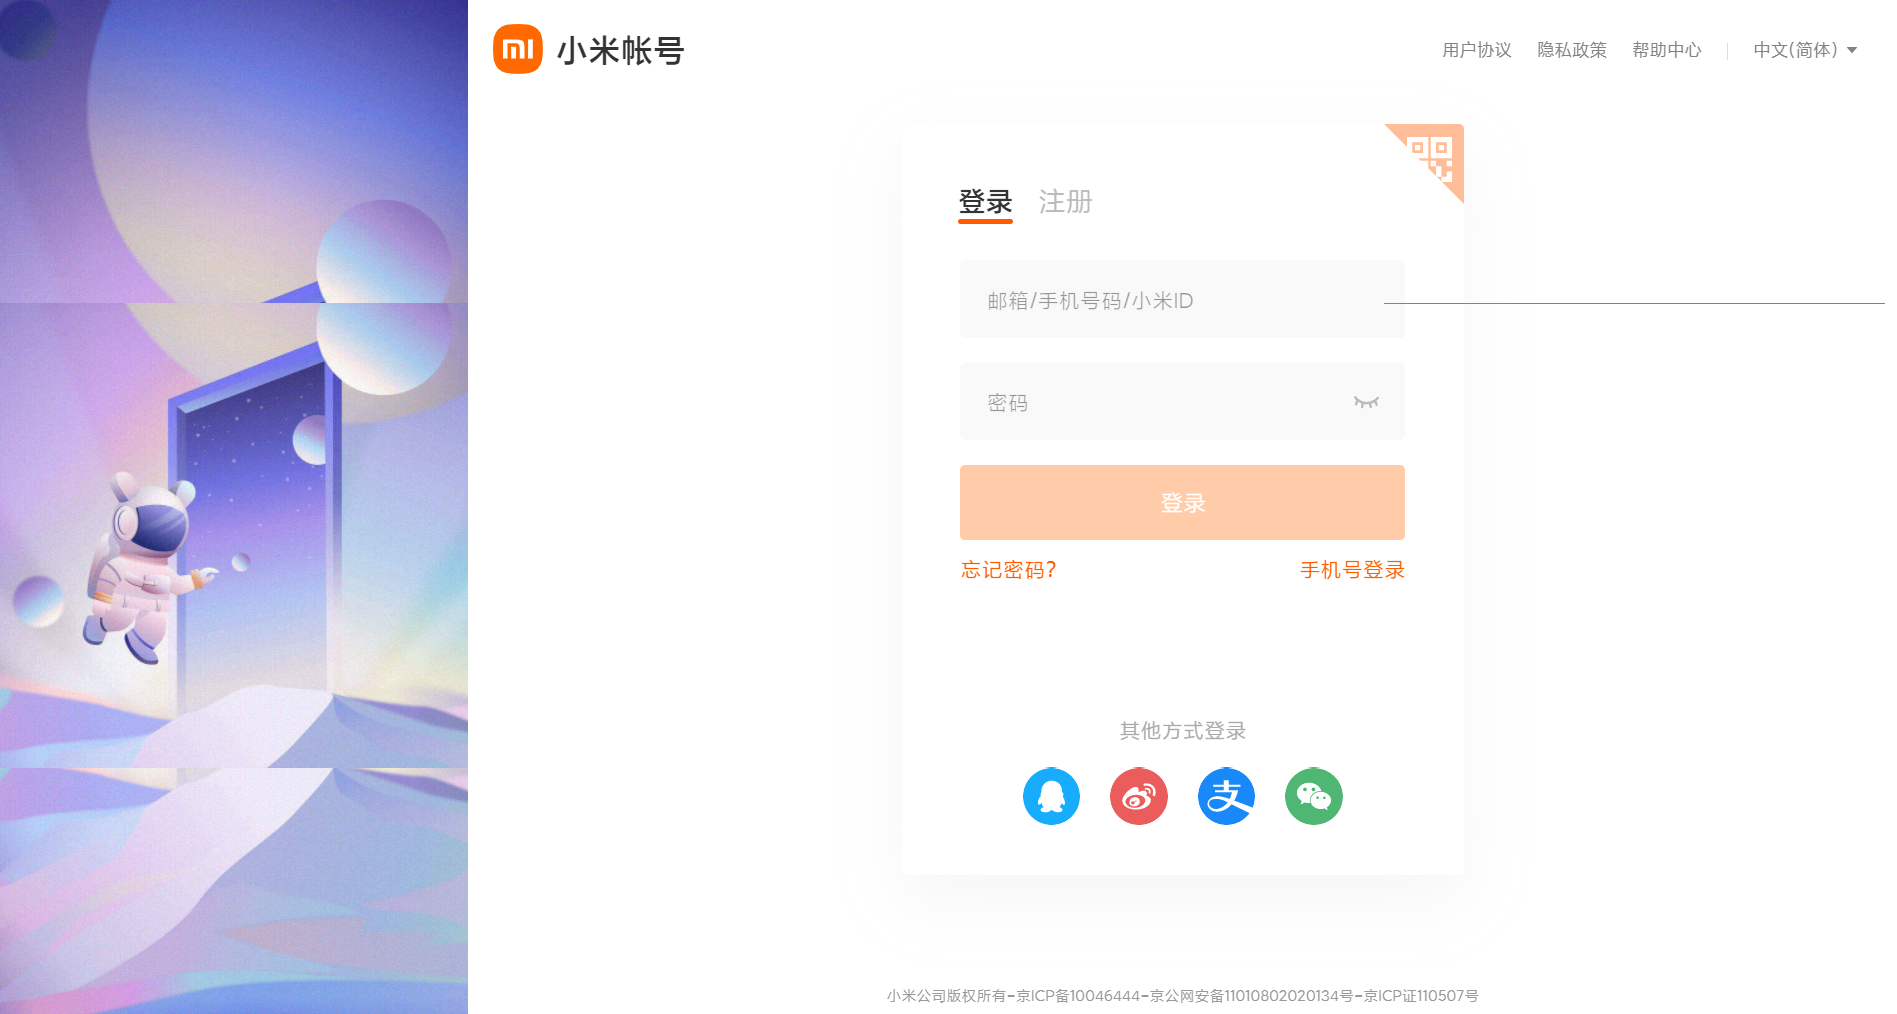
When we click Register, the interface will be switched.
We need to pay attention to the following codes:
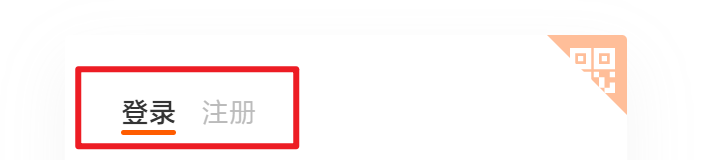
1. Log in to the bar below, and the position will be changed according to the clicked object
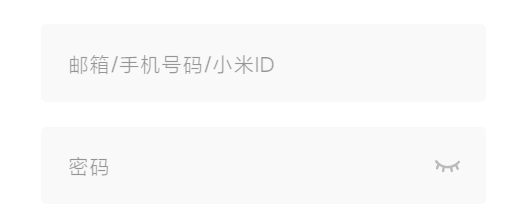
2. Panel of login interface
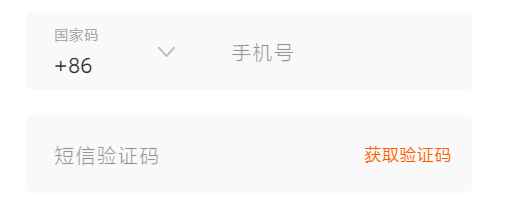
3. Panel of registration interface
4. Button that will light up after the conditions are met

How do they need to make the effect? Let's see.
2, Switching interface
Let's see how to achieve the specific effect of switching pages:
We can see that this effect is actually consistent with the rotation chart we have learned before. Therefore, we can infer what kind of methods and functions are needed to achieve the effect according to the effect of the rotation map. When we click Register, it will switch to the registered box, and the internal will also switch to the corresponding form. To do this, you need to prepare two basically consistent boxes to be inserted in translation. However, when I made the effect, I didn't put the two boxes together with floating, so I only made a simple display effect.
Let's take a look at the code implementation of javascript:
    // Move slider
    item[1].addEventListener('click', function() {
        reg1.classList.add('offreg');
        reg2.classList.remove('offreg');
        a1.classList.add('change');
        a2.classList.remove('change');
        animate(select, itemW);
    });
    item[0].addEventListener('click', function() {
        reg1.classList.remove('offreg');
        reg2.classList.add('offreg');
        a1.classList.remove('change');
        a2.classList.add('change');
        animate(select, 0);
    });
I have written a slow animation of animate here. We can use it to achieve the effect of moving the slider. I wrote this class name change by changing the height attribute to achieve the effect of appearance and disappearance. Here we need a1 and a2 attributes. Because the forms corresponding to these two buttons are actually different, what they convey is actually a link address. Therefore, the a link label is used to wrap the text. We need to select the a label and change its color separately.
The actual results are as follows:
3, Login form interface
In the login form interface, we can clearly see the following effects: checked, error prompt, unchecked.
Let's look at how to deal with these effects separately:
1. Selected effect
When we select, there are several effects: the background changes, the prompt text moves and becomes smaller, the border turns orange and has a shadow effect. This is the attribute we need to do. This process is still completed through the classlist method we learned and the CSS style addition. Only when the text appears, there is a change in time, so we need to add transition animation time to realize this intermediate change process.
.Bchange {
    /* Border change */
    box-shadow: 0 0 0 2px rgba(255, 92, 0, 0.2) !important;
    border-color: #ff5c00 !important;
}

.trueC {
    /* Correct information background color */
    background-color: #fff !important;
}
.above {
    /* Text movement */
    top: 6px!important;
    font-size: 12px!important;
}
We can see that these attributes are written with important mandatory attributes. The reason for this writing is to prevent the cascading nature in CSS code, because the code is executed from top to bottom, and the execution of the following code will overwrite the above code.
2. Error prompt
We can see that when the content is input, it is a normal judgment, but when there is nothing in the input box, the text color will be changed to red, the background color will be changed, and there are error prompt messages, and the text will return to the original position. In order to make an effect, we need to judge the information of the key every time. When our information is empty, we will generate error information; When our information is not empty, we display the style combination we need.
Let's take a look at how to generate an error message:
    function Error(parent, content) {
        var div = document.createElement('div');
        div.classList.add('error')
        div.innerHTML = content;
        parent.appendChild(div, parent.children);
    };
I use the function information to wrap the code that generates the error prompt and bring it in when I need to use it. Then bring in the values and objects I need, and I can insert this information.
Next, let's take a look at our actual code in the selected state:
    ichange.addEventListener('focus', function() {
        tchange.classList.add('above');
        bchange0.classList.add('Bchange');
        bchange0.classList.add('trueC');
        ichange.addEventListener('keyup', function() {
            if (this.value == '') {
                tchange.classList.add('C_change');
                bchange0.classList.remove('trueC');
                bchange0.classList.add('flaseC');
                flag0 = 0;
                // Error prompt
                if (num == 0) {
                    Error(user, 'Please enter the account number');
                    num = 1;
                }
            } else {
                ichange.innerHTML = this.value;
                tchange.classList.remove('C_change');
                bchange0.classList.add('trueC');
                bchange0.classList.remove('flaseC');
                flag0 = 1;
                // Error prompt
                if (num == 1) {
                    var div = user.querySelector('.error');
                    user.removeChild(div);
                    num = 0;
                }
            }
        });
    });
Here we see that I also wrote a num value at the error prompt to determine whether to execute. Why not execute the code together? Because when we press the button, this judgment will react constantly. But every time I delete the information, the error prompt has been deleted by me in the way of removechild. Then the browser will not be able to find the object it needs to delete, and the code will report an error, which is obviously not the result I need. And every time I press a key, it will trigger a bad event, resulting in a lot of new error prompts, so I can't delete the error prompts I need. So I used a motion we learned last time: throttle valve. When there is no internal information, num = 0, so I know that the value value does not exist and is empty, so I can insert the information. At this time, change num = 1. This operation will only be executed once because num becomes 1; When num == 1, the internal information has been inserted, that is, value is not equal to null, so the operation of deleting information is executed, and num becomes 0 again at this time. This operation avoids the problem of reusing the information prompted by judgment errors.
3. Unchecked effect
We are carefully looking at the effect of unchecking. We can see that when unchecking, if it is not empty, the text message will be fixed on it, and the wrong color will disappear. If it is empty, the wrong style will be maintained and the text will be put down. The effect here can be achieved by changing the content and adjusting it according to the wrong judgment code we write. Let's look at the code:
    Ichange.addEventListener('blur', function() {
        Tchange.classList.remove('above');
        phone.classList.remove('Bchange');
        phone.classList.remove('trueC');
        if (this.value == '') {
            Tchange.classList.add('C_change');
            label.classList.add('C_change');
            phone.classList.remove('trueC');
            phone.classList.add('flaseC');
            // Error prompt
            if (num == 0) {
                Error(phone0, 'Please enter the account number');
                num = 1;
            }
        } else {
            Tchange.classList.remove('C_change');
            label.classList.remove('C_change');
            Tchange.classList.add('above');
            phone.classList.remove('trueC');
            phone.classList.remove('flaseC');
            // Error prompt
            if (num == 1) {
                var div = phone0.querySelector('.error');
                phone0.removeChild(div);
                num = 0;
            }
        }
    });
We can see that there is not much difference in fact. What we need is to replace those things, which is the effect when we lose focus. The next password box can be made in the same way.
4. Password box
The password box also has an effect:
When we click the eye, there is a display password, and the effect of eye changing style. This effect is actually very simple. Without judging the error of password style, this style only needs to change its picture when we click the eye, and change the type of password box to text to display the password. Let's look at the code demonstration:
    // Show and hide passwords
    var eyes = pwd.querySelector('.mi-input-adornment');
    var eye = eyes.querySelectorAll('svg');
    var flag = 0;

    eyes.addEventListener('click', function() {
        if (flag == 0) {
            ichange1.type = 'text';
            eye[0].classList.add('off');
            eye[1].classList.remove('off');
            flag++;
        } else {
            ichange1.type = 'password';
            eye[0].classList.remove('off');
            eye[1].classList.add('off');
            flag--;
        }
    });
Here, the function of a switch is realized through flag, which is actually a kind of throttle valve.
4, Registration interface
In fact, the basic effect of the registration interface is the same as that of our login interface. Let's talk about the details here. Just pay more attention. Let's see the effect first:
We can see that the country code of the input box of the mobile phone number will also change color. Here is something to pay attention to. Note that when changing the color, this object should be selected together.
In addition, we can see that after the contents of the two boxes are filled in, the following registration button is highlighted. This effect can only be selected when conditions are met. You can use the disabled attribute to make the button attribute unable to be selected. But I didn't write it. Here's a word. You can try it yourself. Let's look at his code:
    var btn = document.querySelector('.now');
    document.addEventListener('keyup', function() {
        if (flag0 + flag1 == 2) {
            btn.classList.add('nowC');
        } else {
            btn.classList.remove('nowC');
        }
    });
You can see that there is a flag value change under our code. Only when the content is not empty, flag0 and flag1 will become value 1 to achieve the effect of 1 + 1 = 2. You can also use other methods. For example, when the two values are true, the result of and can be executed only when the result is true, and so on.
Finally, I'll show you the code of this form. You can make changes and write your own style code:
    //cell-phone number
    var phone = document.querySelector('.phone');
    var phone0 = document.querySelector('.phone0');
    var label = phone.querySelector('.mi-floating-label');
    var phone1 = document.querySelector('.phone1');
    var tel = phone.querySelector('.tel');
    var Ichange = tel.querySelector('.I_change');
    var Tchange = tel.querySelector('.T_change');

    Ichange.addEventListener('focus', function() {
        Tchange.classList.add('above');
        phone.classList.add('Bchange');
        phone.classList.add('trueC');
        Ichange.addEventListener('keyup', function() {
            if (this.value == '') {
                Tchange.classList.add('C_change');
                label.classList.add('C_change');
                phone.classList.remove('trueC');
                phone.classList.add('flaseC');
                flag0 = 0;
                // Error prompt
                if (num == 0) {
                    Error(phone0, 'Please enter your mobile phone number');
                    num = 1;
                }
            } else {
                Ichange.innerHTML = this.value;
                Tchange.classList.remove('C_change');
                label.classList.remove('C_change');
                phone.classList.add('trueC');
                phone.classList.remove('flaseC');
                flag0 = 1;
                // Error prompt
                if (num == 1) {
                    var div = phone0.querySelector('.error');
                    phone0.removeChild(div);
                    num = 0;
                }
            }
        });
    });
    Ichange.addEventListener('blur', function() {
        Tchange.classList.remove('above');
        phone.classList.remove('Bchange');
        phone.classList.remove('trueC');
        if (this.value == '') {
            Tchange.classList.add('C_change');
            label.classList.add('C_change');
            phone.classList.remove('trueC');
            phone.classList.add('flaseC');
            // Error prompt
            if (num == 0) {
                Error(phone0, 'Please enter the account number');
                num = 1;
            }
        } else {
            Tchange.classList.remove('C_change');
            label.classList.remove('C_change');
            Tchange.classList.add('above');
            phone.classList.remove('trueC');
            phone.classList.remove('flaseC');
            // Error prompt
            if (num == 1) {
                var div = phone0.querySelector('.error');
                phone0.removeChild(div);
                num = 0;
            }
        }
    });
We can see that the code is basically the same. We only need to pay attention to the changes in other values. For example, another label mentioned earlier should also be selected.
5, Link jump
When we click the login link page, we open the login interface. When we click the registration link page, we open the registration interface. How do you do this? We need to use the location method to make it. Here I attach the code to explain:
  // Link jump
    var login = document.querySelector(".login");
    var register = document.querySelector(".login0");
    console.log(login, register);

    login.addEventListener("click", function() {
        window.location.href = 'login.html' + '?' + 1;
    });
    register.addEventListener("click", function() {
        window.location.href = 'login.html' + '?' + 2;
    })
First, we need to get our a tag and add javascript to its href:; To realize the ability to prevent a note from jumping. Then we will manually start the two link jumps, and we will make him jump to login HTML page, but add two parameters we added ourselves.
  var temp = window.location.search.substr(1);
function Temp() {
        if (temp === '1') {
            item[0].click();
        }
        if (temp === '2') {
            reg1.classList.add('offreg');
            reg2.classList.remove('offreg');
            a1.classList.add('change');
            a2.classList.remove('change');
            select.style.left = "68px";
        }
    }
Then let's judge: when we click login, we don't respond or click the login button. If it is the registration button, it will change to the registration interface. This completes the operation.
Note that you need to use location Search obtains all the contents after the equal sign. You can log to see what search obtains, and then find the location we want to obtain to judge.
summary
Finally, when js code is transferred from other files to the web page, pay attention to that the code needs to use window Onload or other forms to import into HTML. This is because html is executed from top to bottom. Theoretically, js code is written below, but it will be very troublesome. Usually, our HTML code is very long, so we can use onload or DOMContentLoaded to write. The rest is to observe the rules in the code and simplify the content as possible, which is conducive to the loading of the web page. Thank you for watching.