Introduction of preface
It must be easy for everyone to encounter such problems when doing yolo target detection. In fact, I don't want to detect the items in a part of the picture. It doesn't matter
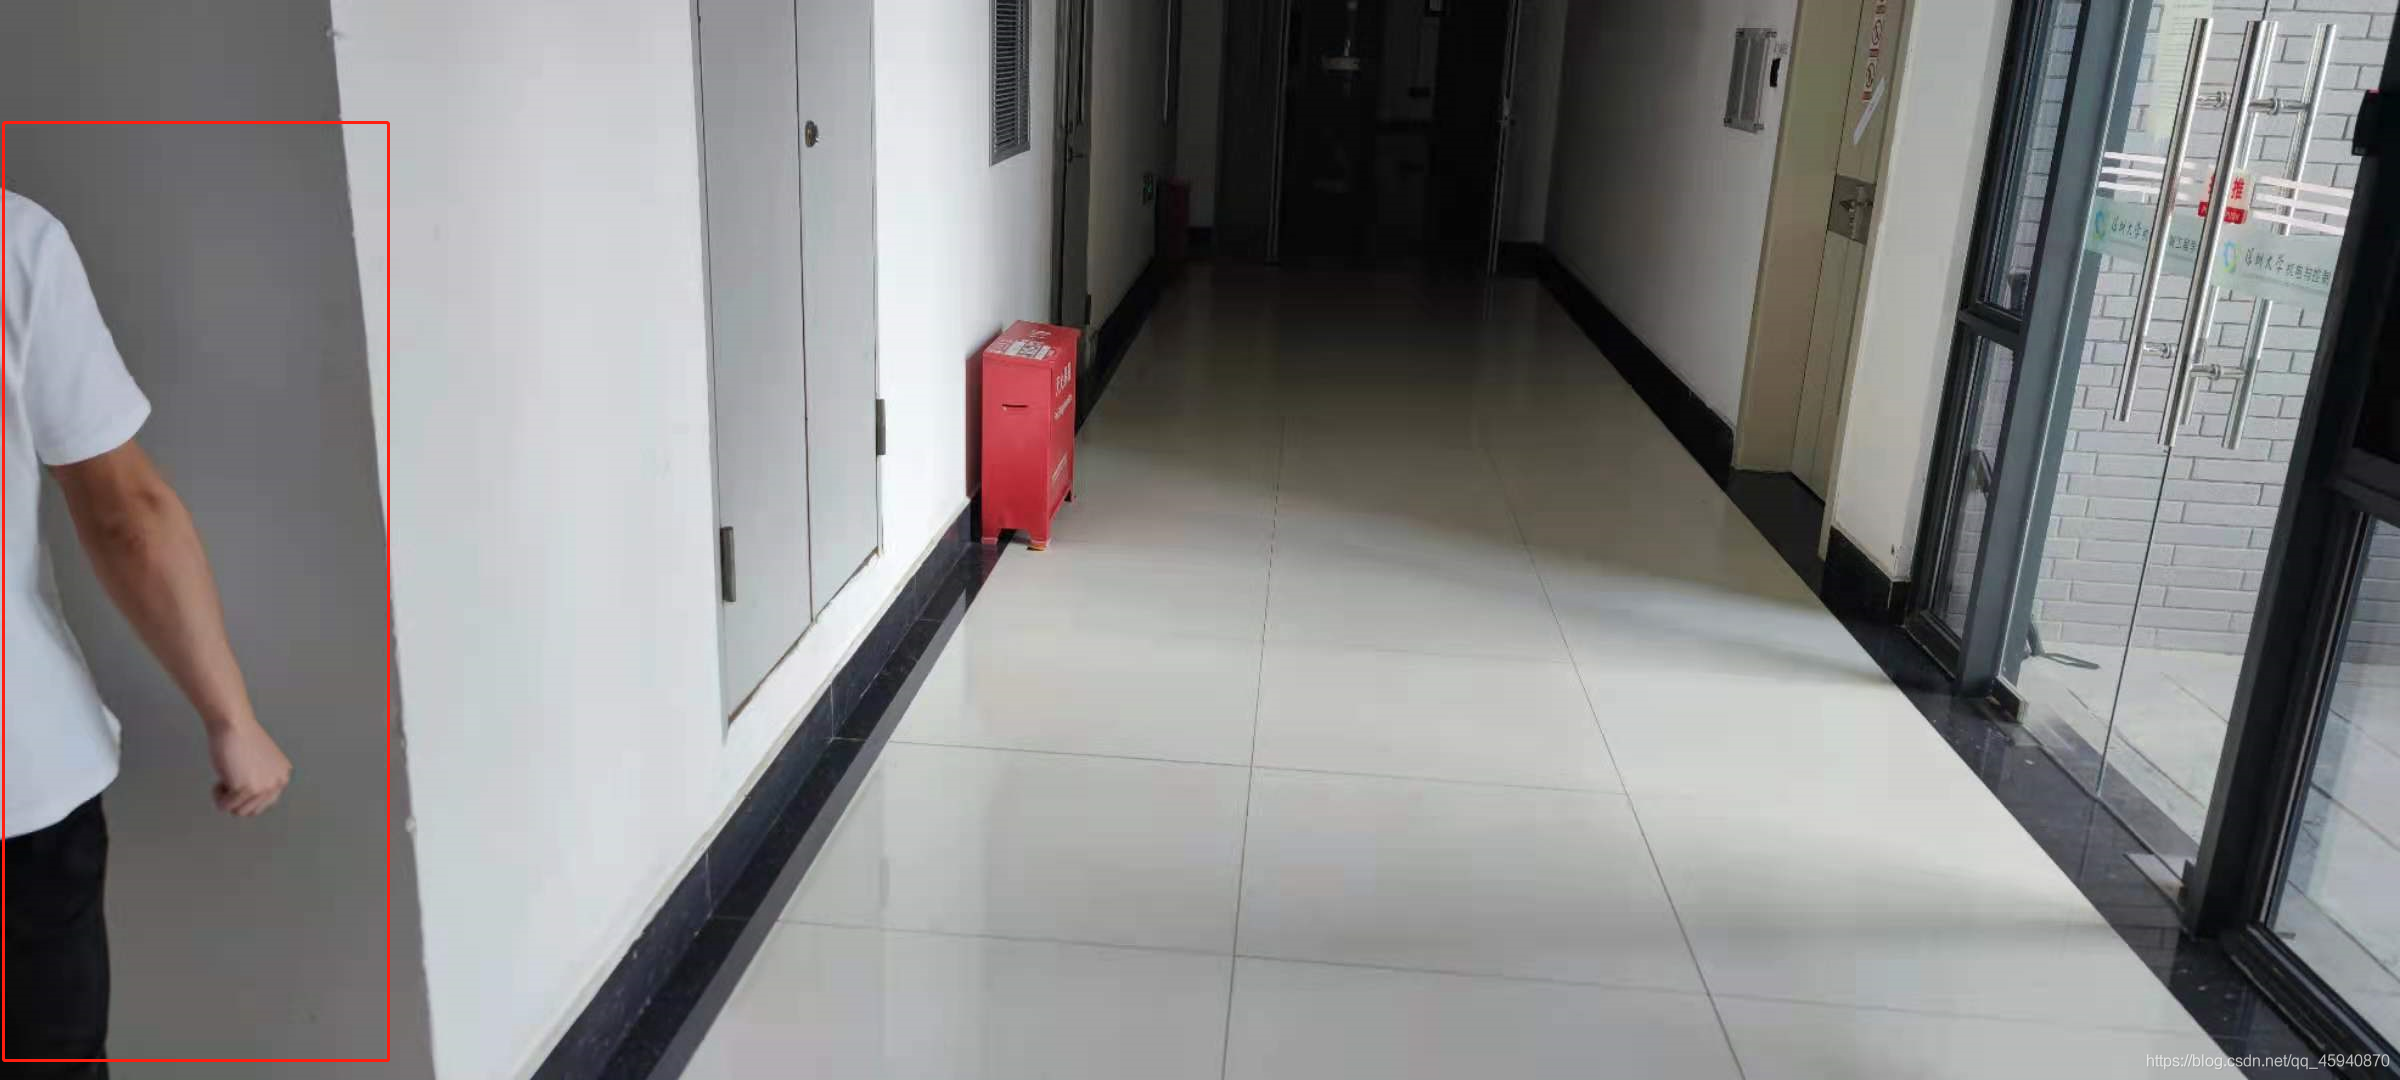
Just like this corner, I only want to detect the target of the front channel. This corner should be handed over to another camera for recognition, so I don't want to affect the whole detection result because a small part of objects appear here. Therefore, I want yolo not to detect this part of the area
Therefore, in order to realize this function, we can use a mask to cover this area, and let yolo pretend that "this area cannot be seen" during yolo detection, so as to successfully realize the purpose of yolo detection to ignore this piece of content;
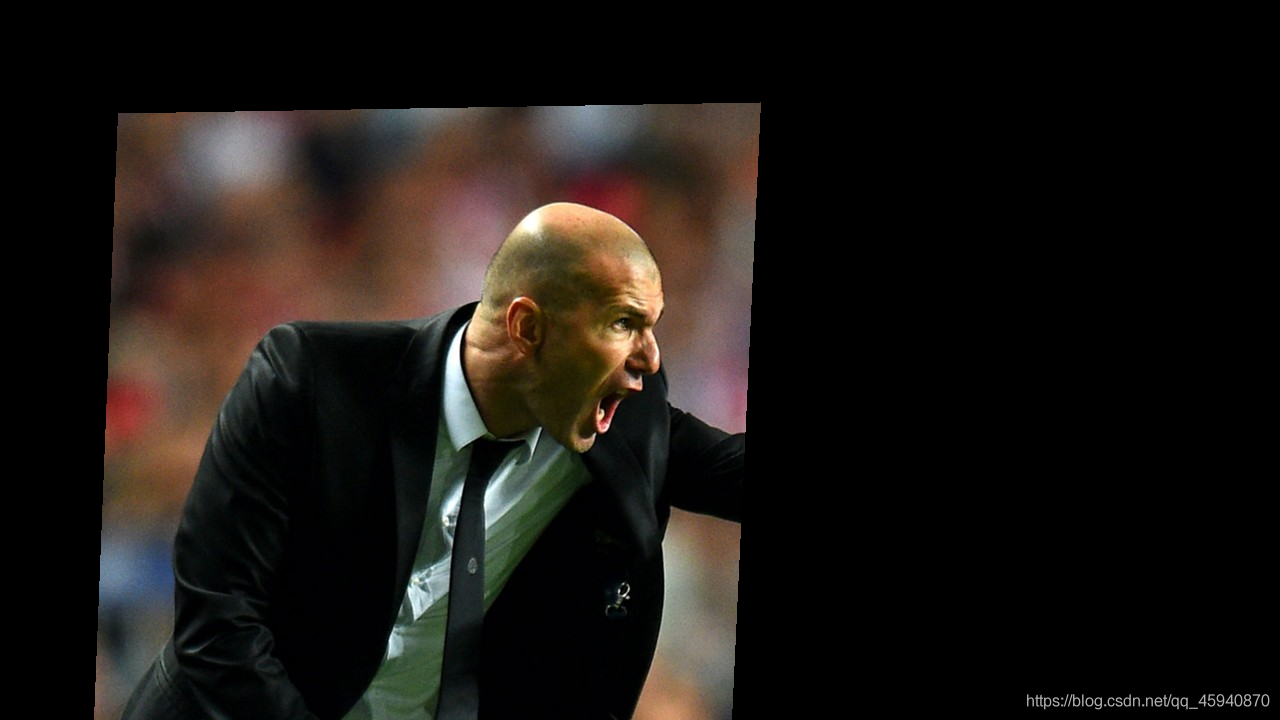
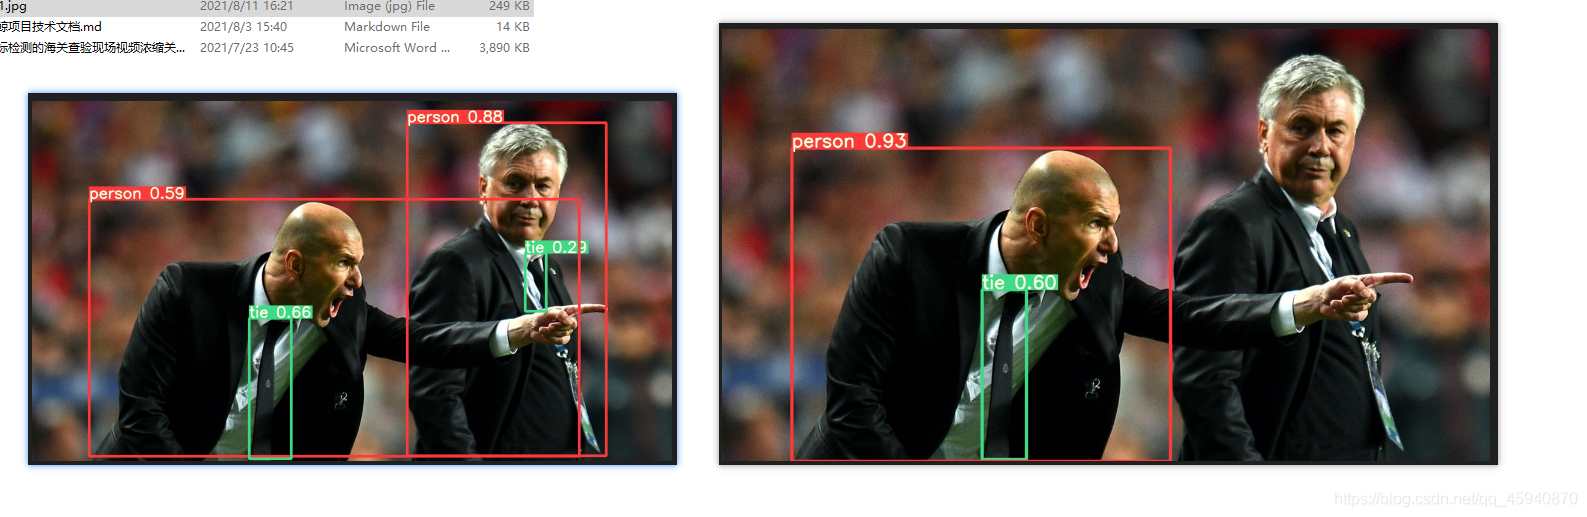
Let's demonstrate the effect first. In order to be more intuitive, I used the test sample pictures given by yolov5 to test. The following is the test of Zidane under normal conditions Jpg result diagram (here I use yolov5s6.pt model for test):
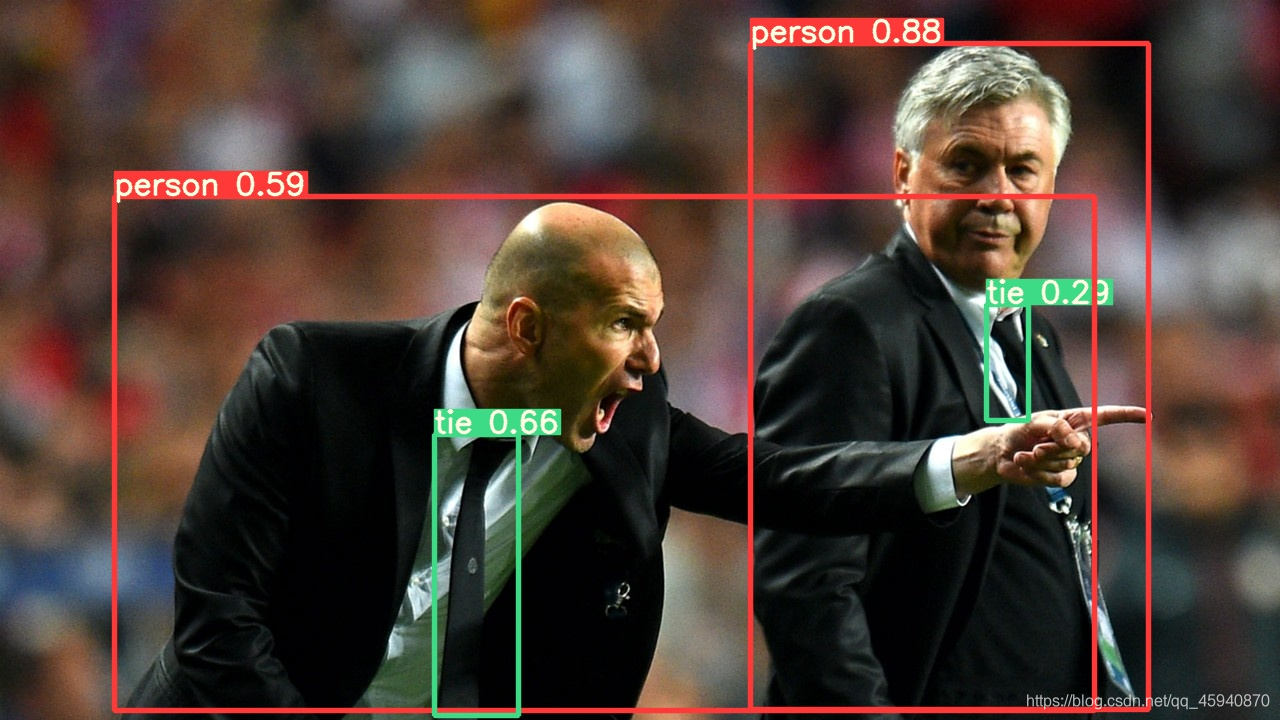 You can see that it is a very standard recognition result, and then I add a mask diagram, which is as follows:
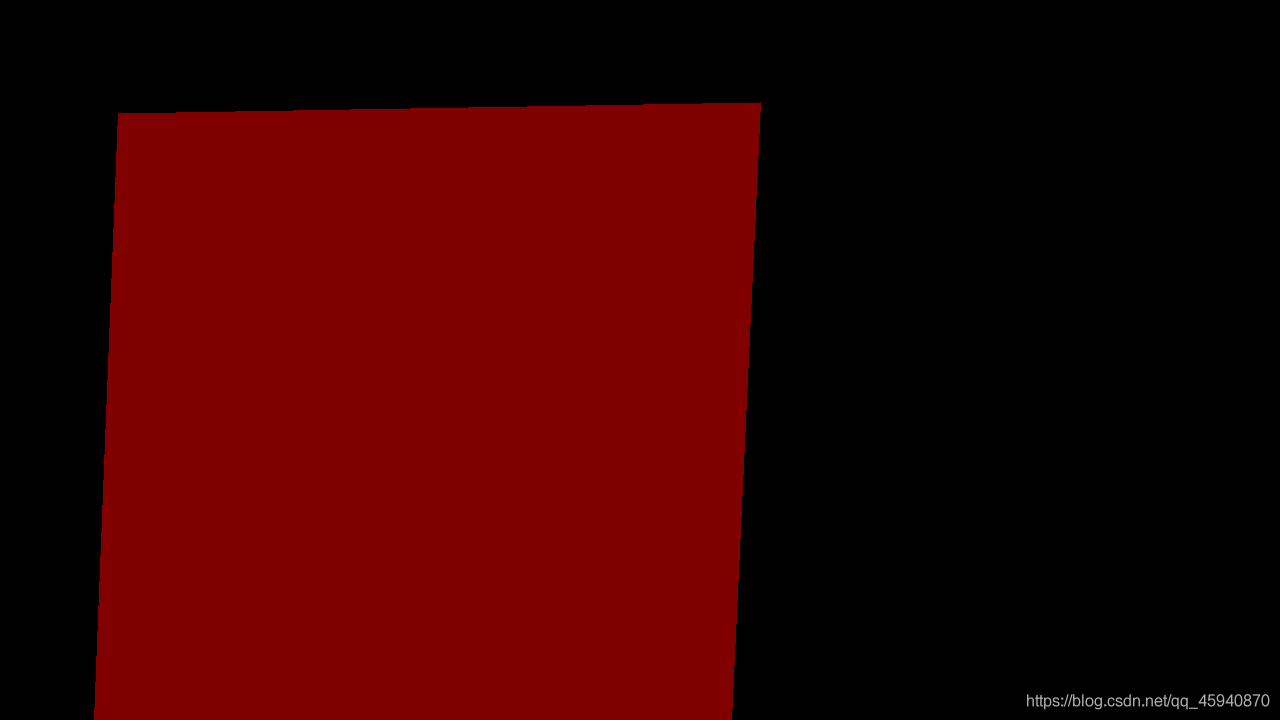
The red area is the part I want yolo to identify, while the black area does not allow yolo to identify. Then let's take a look at the test results:
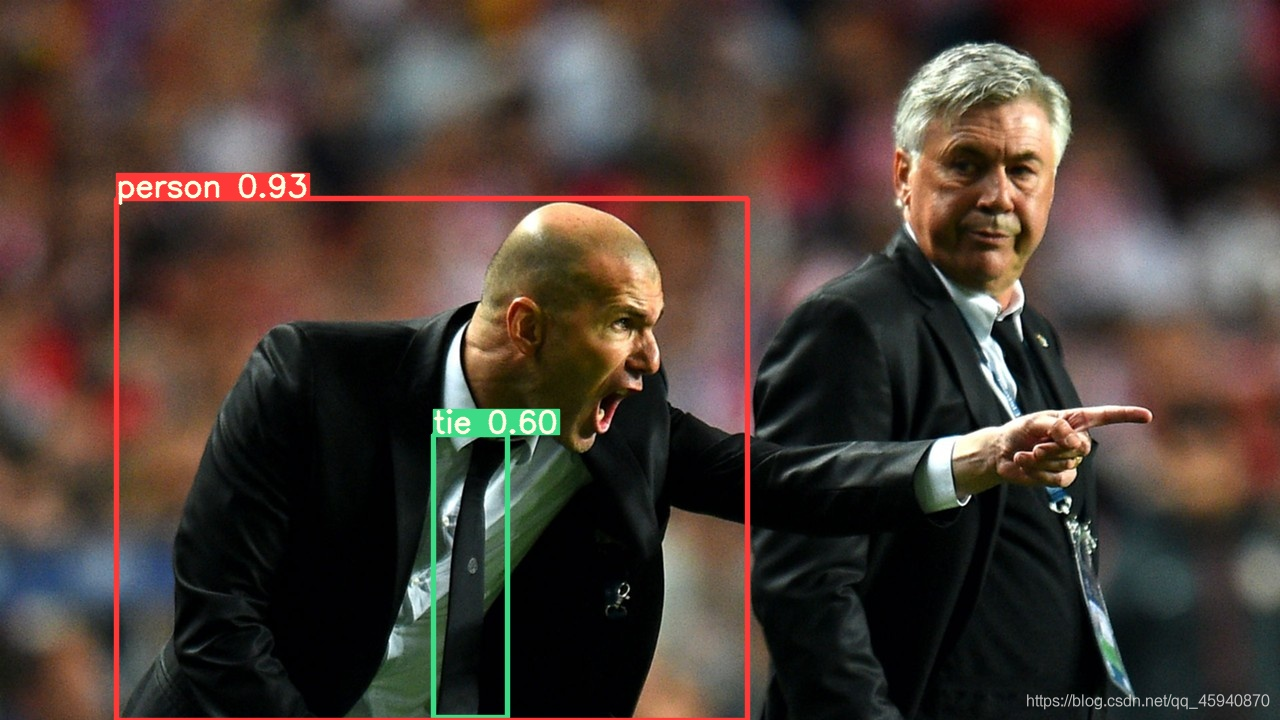
It is obvious that the person on the right is no longer recognized, and the hand of the person on the left is not completely selected due to regional constraints, which proves the feasibility of our method; If this demo example meets your expectations, you can move on hhh
Making of mask diagram
Therefore, in fact, the most important thing is to make the mask diagram. It is also very easy here. We only need to install a labelme software and execute the command in anaconda environment:
#labelme needs pyqt5 the support of
pip install pyqt5

pip install labelme==3.16.2
The version of labelme is specified here, which is useful for later big data processing, but this article will not introduce it for the time being. You can view it on Baidu
After the installation, open anaconda prompt (if it is a linux system, open the command window, provided that anaconda is installed)
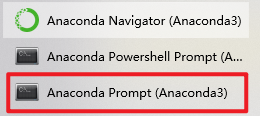
Direct input command

Then a window will pop up
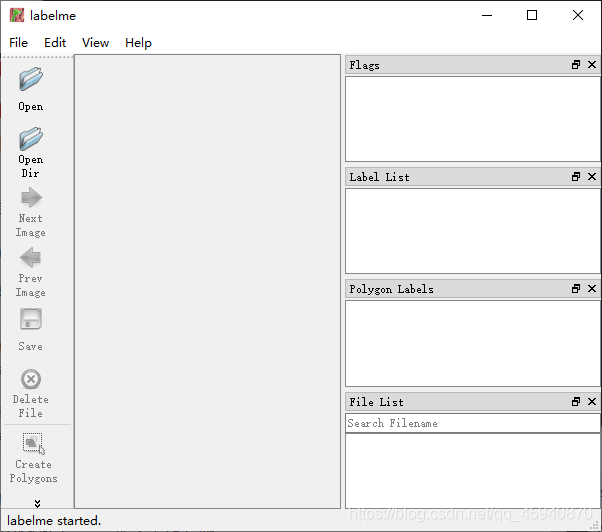
This proves that we have completed the installation. Then we make some preparations, select a folder to enter, and then create four new folders in it
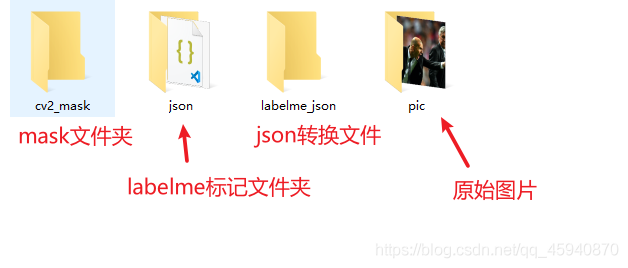
Then we put the picture we want to mark the mask into pic, select Open Dir in labelme to open it, and then select Create Polygons to mark the polygon

After marking, you will be asked to enter the tag value. Here we just make a mask instead of a data set. We can write the mask directly
Then select Save next to it, select the path to the json folder we just created, and then you will find that a json file has been generated in our folder

Then is the crucial step. We need to use this json file to generate the mask diagram
Similarly, open the command window, then cd to our json folder, and then generate the mask diagram by using the conversion of labelme:
#Under windows (enter the second half of the commands)
(base) C:\Users\11942>               D:

(base) D:\>                          cd D:\python\labelme_json\json

(base) D:\python\labelme_json\json>  labelme_json_to_dataset zidane.json

#Under linux
cd python/json

labelme_json_to_dataset zidane.json

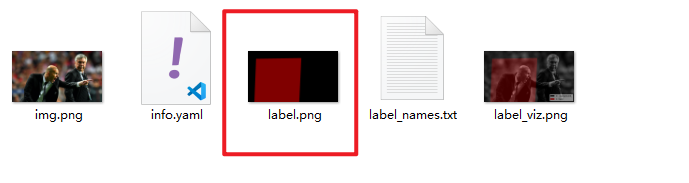
Then we go to the json folder and we can see that we have generated a Zidane json folder. After opening, there will be five files, including label PNG is the mask graph we need
yolo mask based detection
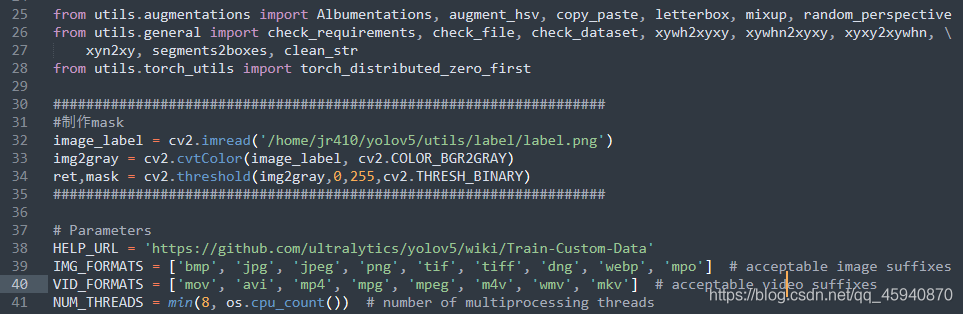
After making the mask graph, how do we add it to yolo recognition?
We can see that except for the red area, the color of other areas in the mask is black. At the same time, we also know that the RGB value of black is 0, so we can use this to blacken the image we want to detect according to the mask image, so yolo will only "see" the area to be detected and the black area, The content outside the area will not be detected
So the goal now is how to select regions according to the mask graph. Here we can use opencv to achieve this
Let's create a new py file, put it in the json folder directory, and then convert it with the following code:
import cv2

image = cv2.imread('label.png')
yuantu = cv2.imread('zidane.jpg')

img2gray = cv2.cvtColor(image, cv2.COLOR_BGR2GRAY)                 #Convert mask to grayscale
ret,mask = cv2.threshold(img2gray,0,255,cv2.THRESH_BINARY)         #Parts greater than 0 become white and parts less than or equal to 0 become black
img1_bg = cv2.bitwise_and(yuantu,yuantu, mask=mask)                #Press bit and 0 to directly turn black, and the white part pasted on the original drawing remains unchanged

cv2.imshow("111", img1_bg)
cv2.waitKey(0)
Then run the code and you can see that our output image is:
The effect is very obvious. Except for the target area, other parts are black. If we put this picture into yolo for detection, we can perfectly solve the problem of area detection!
So now there is only one last question. How to replace this part of the code with the detection code of yolov5?
(warm tip: the replacement method here is only for the loadimage function of yolo V5. If it is other functions or versions of yolo, the same is true, but you need to find the replacement location yourself)
Now I assume that you have downloaded the detection code of yolov5. If you don't have access to the official website: yolov5_github
Then we go to utils / datasets py in the py file, add a section of code to make a mask at the beginning
###################################################################
#Make mask
image_label = cv2.imread('/home/jr410/yolov5/utils/label/label.png')   #Modify the mask location according to your own path
img2gray = cv2.cvtColor(image_label, cv2.COLOR_BGR2GRAY)
ret,mask = cv2.threshold(img2gray,0,255,cv2.THRESH_BINARY)
###################################################################
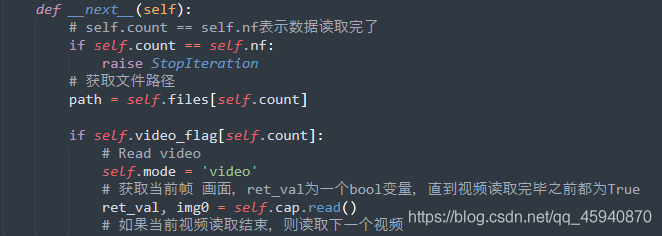
Then lock to the position of about 154 lines (the number of lines may vary slightly due to the continuous iteration of yolo code), and find the LoadImages class

Then find def__ next__ (self) the position of this function, the part we want to deal with is mainly here
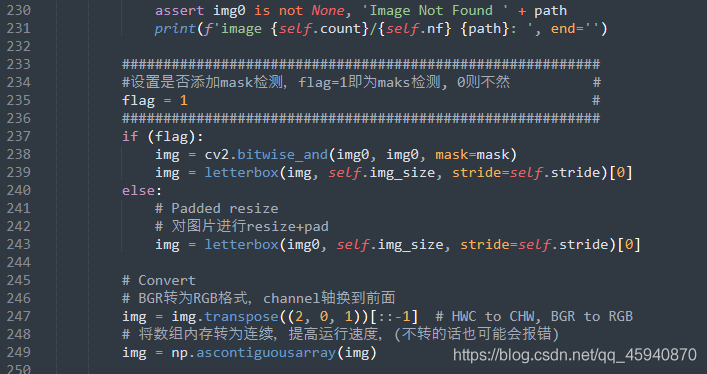
Then we lock to this line (about 220 lines)

Obviously, he has to process the picture at this time. We just need to put a mask on him before he processes it, and we can achieve our detection purpose!
Replace the code in the screenshot above with:
##########################################################
#Set whether to add mask testing, flag=1 mean maks testing, 0 Otherwise          #
flag = 1                                                 #
##########################################################
if (flag):
    img = cv2.bitwise_and(img0, img0, mask=mask)
    img = letterbox(img, self.img_size, stride=self.stride)[0]
else:
    # Padded resize
    # resize+pad the picture
    img = letterbox(img0, self.img_size, stride=self.stride)[0]
After this modification, we go back to the previous directory folder of yolo and run detect Py file (remember to download yolov5s.pt weight file on the official website before running)
python detect.py --source ./data/images/zidane.jpg --weights weights/yolov5s.pt
Then we can get the following test results

Compare with the results of official direct detection (set flag to 0 to cancel mask detection):
It is very obvious that the person on the right is no longer in our identification area!
So far, our Yolo mask target detection is completed!