All codes in this chapter can be downloaded by yourself and modified in different places Extraction code: 1lab
1, xacro introduction
Disadvantages of URDF model:
1. The model is lengthy and repetitive
2. Parameter modification is troublesome and inconvenient for secondary development
3. There is no function of parameter calculation
XACRO files and urdfs are essentially equivalent. XACRO format provides some more advanced ways to organize and edit robot description. It mainly provides three ways to make the whole description file simple. It is an improved modeling file of URDF, which can carry out macro definition, variable definition, header file inclusion, mathematical operation and so on.
xacro benefits:
1. Compact model code: create macro definitions and include files
2. Provide programmable interfaces: constants, variables, mathematical calculations, conditional statements
2, xacro basic content
1. Constant definition label: xacro:property
<xacro:property name="qqq" value="3.14159"/>
name = Constant name
value = constant value
2. Macro definition label: xacro:macro
<xacro:macro name="yyy" params="A B C">
name = Macro definition name
params = similar C Language function parameters
3. Macro call
<name A="A_value" B="B_value" C="C_value" />
name = The name of the macro definition, that is, the function name
A = parameter A...
4. The file contains the definition label: xacro:include
<xacro:include filename="$(find robot_descripiton)/xacro/robot_base.xacro" />
filename deposit xacro Absolute file address, including file name
 use $(find + Function pack) =Absolute path of the Feature Pack
5. Model display
Method 1: convert xacro file into urdf file through command
rosrun xacro xacro.py robot.xacro>robot.urdf
Method 2: directly use xacro file parser
<arg name="model" default="$(find xacro)/xacro --inorder '$(find robot_description)/xacro/robot.xacro'" />
    <arg name="gui" default="true" />
    <param name="robot_description" command="$(arg model)" />
#Change according to your xacro storage path
3, xacro modeling example
according to Fundamentals of ROS (9) -- robot simulation URDF Compare what you have learned in
cd try_ws/src/mybot_des/urdf/
mkdir urdf        # Create a urdf folder to store urdf files
mv *.urdf urdf    # Move the original urdf files to the new urdf folder
mkdir xacro       # Create a new xacro file

You can also leave the urdf folder intact without creating it, so you don't have to change the path in the launch file.
So later, I restored it as it was, and only created the xacro folder.
1. Create robot Xacro file
robot.xacro files are used to reference robots_ base. Xacro file, macro call to define the robot body model.
cd xacro
gedit robot.xacro
The contents are as follows:
<?xml version="1.0"?>
<robot name="mybot" xmlns:xacro="http://www.ros.org/wiki/xacro">
    <xacro:include filename="$(find mybot_des)/urdf/xacro/robot_base.xacro" />
    <xacro:mbot_base/>     # Pay attention to this place
</robot>
2. Create robot_base.xacro file
cd xacro/
gedit robot_base.xacro  # Create an xacro file as follows
<?xml version="1.0"?>     # The first line of the XML file declares that this is an XML file, and the version attribute must be written
<robot name="mybot" xmlns:xacro="http://www.ros. Org / wiki / xacro "> # the robot name is robot, indicating that the file is an xacro file

# Attribute list:
    # Name and value of constant
    <xacro:property name="M_PI" value="3.1415926"/>
    <xacro:property name="base_radius" value="0.20"/>
    <xacro:property name="base_length" value="0.16"/>
    <xacro:property name="wheel_radius" value="0.06"/>
    <xacro:property name="wheel_length" value="0.025"/>
    <xacro:property name="wheel_joint_y" value="0.19"/>
    <xacro:property name="wheel_joint_z" value="0.05"/>
    <xacro:property name="caster_radius" value="0.015"/>
    <xacro:property name="caster_joint_x" value="0.18"/>

    # Define the colors used by the robot
    <material name="yellow">
        <color rgba="1 0.4 0 1"/>
    </material>
    <material name="black">
        <color rgba="0 0 0 0.95"/>
    </material>
    <material name="gray">
        <color rgba="0.75 0.75 0.75 1"/>
    </material>

    # Robot wheel macro
    <xacro:macro name="wheel" params="prefix reflect">
        <joint name="${prefix}_wheel_joint" type="continuous">
            <origin xyz="0 ${reflect*wheel_joint_y} ${-wheel_joint_z}" rpy="0 0 0"/>
            <parent link="base_link"/>
            <child link="${prefix}_wheel_link"/>
            <axis xyz="0 1 0"/>
        </joint>

        <link name="${prefix}_wheel_link">
            <visual>
                <origin xyz="0 0 0" rpy="${M_PI/2} 0 0" />
                <geometry>
                    <cylinder radius="${wheel_radius}" length = "${wheel_length}"/>
                </geometry>
                <material name="gray" />
            </visual>
        </link>
    </xacro:macro>

    # Robot caster macro
    <xacro:macro name="caster" params="prefix reflect">
        <joint name="${prefix}_caster_joint" type="continuous">
            <origin xyz="${reflect*caster_joint_x} 0 ${-(base_length/2 + caster_radius)}" rpy="0 0 0"/>
            <parent link="base_link"/>
            <child link="${prefix}_caster_link"/>
            <axis xyz="0 1 0"/>
        </joint>

        <link name="${prefix}_caster_link">
            <visual>
                <origin xyz="0 0 0" rpy="0 0 0"/>
                <geometry>
                    <sphere radius="${caster_radius}" />
                </geometry>
                <material name="black" />
            </visual>
        </link>
    </xacro:macro>
# Macro call
    <xacro:macro name="robot_base">
        <link name="base_footprint">
            <visual>
                <origin xyz="0 0 0" rpy="0 0 0" />
                <geometry>
                    <box size="0.001 0.001 0.001" />
                </geometry>
            </visual>
        </link>

        <joint name="base_footprint_joint" type="fixed">
            <origin xyz="0 0 ${base_length/2 + caster_radius*2}" rpy="0 0 0" />
            <parent link="base_footprint"/>
            <child link="base_link" />
        </joint>

        <link name="base_link">
            <visual>
                <origin xyz=" 0 0 0" rpy="0 0 0" />
                <geometry>
                    <cylinder length="${base_length}" radius="${base_radius}"/>
                </geometry>
                <material name="yellow" />
            </visual>
        </link>

        <wheel prefix="left" reflect="-1"/>
        <wheel prefix="right" reflect="1"/>

        <caster prefix="front" reflect="-1"/>
        <caster prefix="back" reflect="1"/>
    </xacro:macro>
</robot>
3. Create a launch file that displays the xacro model
cd ~/try_ws/src/mybot_des/launch
mkdir xacro
cd xacro
gedit dispaly_robot_base_xacro.launch
The contents of the document are as follows:
<launch>
	<arg name="model" default="$(find xacro)/xacro --inorder '$(find mybot_des)/urdf/xacro/robot.xacro'" />
	<arg name="gui" default="true" />
	<param name="robot_description" command="$(arg model)" />
	<param name="use_gui" value="$(arg gui)"/>
	<node name="joint_state_publisher" pkg="joint_state_publisher_gui" type="joint_state_publisher_gui" />
	<node name="robot_state_publisher" pkg="robot_state_publisher" type="robot_state_publisher" />
	<node name="rviz" pkg="rviz" type="rviz" args="-d $(find mybot_des)/config/mbot.rviz" required="true" />
</launch>
4. Run
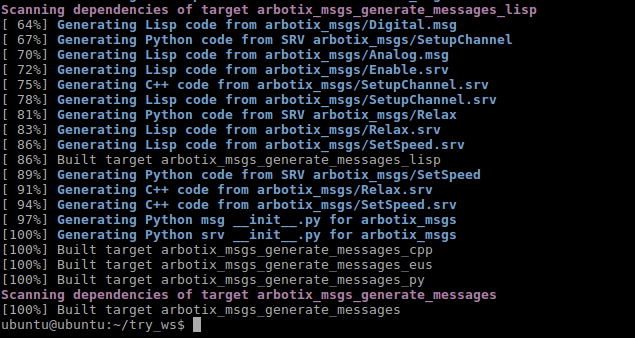
cd ~/try_ws
catkin_make
source ./devel/setup.bash
Restart the new port, enter
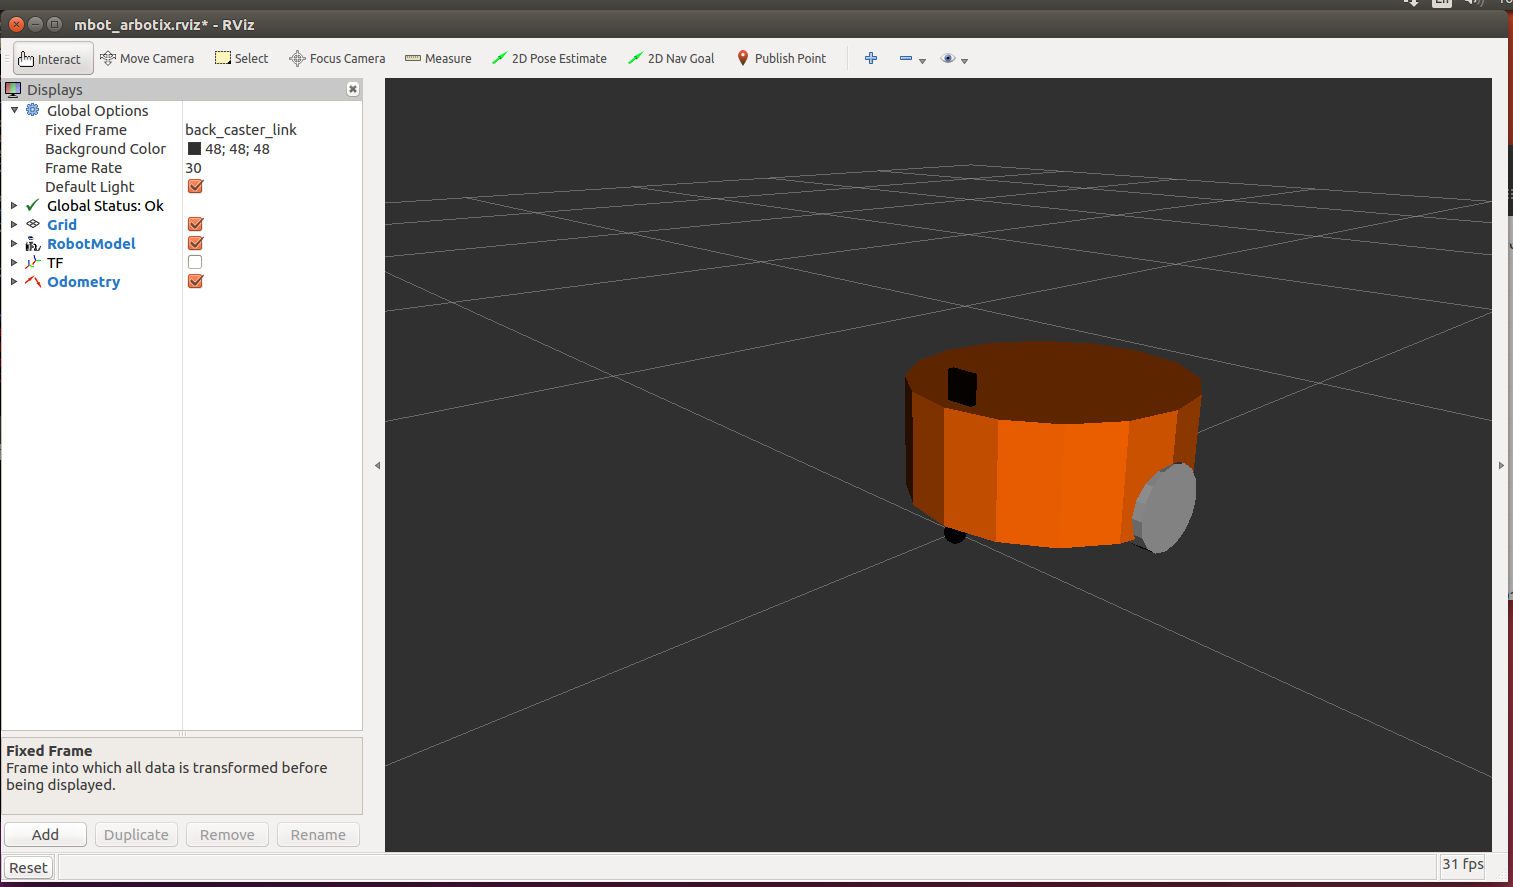
roslaunch mybot_des dispaly_robot_base_xacro.launch
It can be seen that the effect of using xacro file and urdf is the same.
Simple models may not see the advantages of xacro, but large models can highlight its convenience.

4, Let the car move
ArbotiX is a hardware control board for controlling motor and steering gear. It provides corresponding ROS function package and a differential controller to update the odometer status of the robot by receiving speed control commands. The utility model belongs to a driving plate and a driving motor.
1. Installation
cd ~/try_ws/src
git clone https://github.com/vanadiumlabs/arbotix_ros.git
cd ..
catkin_make
Or install as follows:
sudo apt install ros-kinetic-arbotix-*
2. Add yaml file
Parameters passed by ROS server: xml or yaml
1. YAML: "YAML Ain't a Markup Language"
2. It can simply express list, hash table, scalar and other data forms. It uses the indentation of blank symbols and a large number of appearance dependent features. It is especially suitable for expressing or editing data structures, various configuration files, dump debugging content and file outline
3. The following data types are supported: object, array and scalar
Objects: collections of key value pairs
key: {key1 : value1,key2 : value2,...}
A space is required after the colon
yaml files generally store the parameter information that ROS needs to load and the configuration of some attributes.
cd try_ws/src/mybot_des/config
mkdir gedit fake_mbot_arbotix.yaml
Enter the following:
# Motion parameters when driving the vehicle
controllers: {
   base_controller: {                   # Single controller settings
       type: diff_controller,           # Type: differential controller
       base_frame_id: base_footprint,   # Reference coordinates
       base_width: 0.26,                # Distance between two wheels
       ticks_meter: 4100,               # Control frequency
       Kp: 12,                          # Differential parameter
       Kd: 12,                          # PID control parameters make the robot wheel quickly reach the expected speed
       Ki: 0,
       Ko: 50,
       accel_limit: 1.0                 # Acceleration limit
    }
}
3. Add launch file
It is usually read in the launch file or program yaml file and load the parameters into the parameter server.
cd try_ws/src/mybot_des/launch/xacro
mkdir gedit arbotix_mbot_with_camera_xacro.launch
Enter the following
<launch>
	<arg name="model" default="$(find xacro)/xacro --inorder '$(find mybot_des)/urdf/xacro/mbot_with_camera.xacro'" />
	<arg name="gui" default="false" />

	<param name="robot_description" command="$(arg model)" />

    # Set GUI parameters and display the joint control plug-in
	<param name="use_gui" value="$(arg gui)"/>

	<node name="arbotix" pkg="arbotix_python" type="arbotix_driver" output="screen">
        <rosparam file="$(find mybot_des)/config/fake_mbot_arbotix.yaml" command="load" />
        <param name="sim" value="true"/>
    </node>

    # Run joint_state_publisher node to publish the joint status of the robot
	<node name="joint_state_publisher" pkg="joint_state_publisher" type="joint_state_publisher" />

	# Run the robot_state_publisher node, publishing tf
	<node name="robot_state_publisher" pkg="robot_state_publisher" type="robot_state_publisher" />

    # Run rviz visualization interface
	<node name="rviz" pkg="rviz" type="rviz" args="-d $(find mybot_des)/config/mbot_arbotix.rviz" required="true" />

</launch>
There are still many configured files that have been used. If you don't go to the top and download them yourself
4. Run
Execute the run command:
roslaunch mybot_des arbotix_mbot_with_camera_xacro.launch
Start at new terminal:
roslaunch mbot_teleop nbot_teleop.launch
mbot_ The teleop file has been given in the above resource package, a python package for control, which will not be discussed in detail here.
Don't forget to compile and refresh the source after importing the package. Check whether the paths involved in each file are consistent with your own. If they are different, change them.
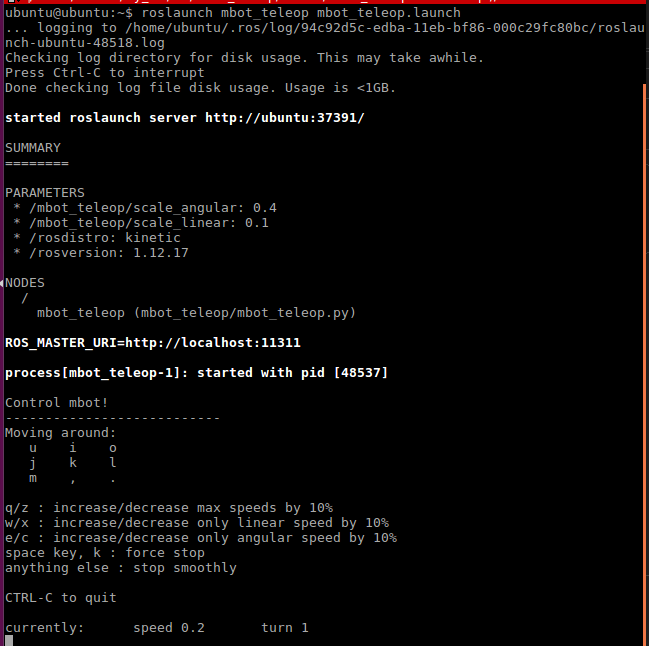
Press the corresponding key on the keyboard to control the movement of the trolley