How to build centos7 Mini platform step by step and deploy SSH Remote Login
First, you have to download an image of centos7 minimum. I downloaded it on the official website
https://www.centos.org/download/
I took an empty U SB flash drive, which is small, so I decided to download centos7 minimum.
An assistant for installing USB flash disk. You can baidu here by yourself. I use UltraISO with simple interface and compact software. You can choose to try!
Select File -- "open"
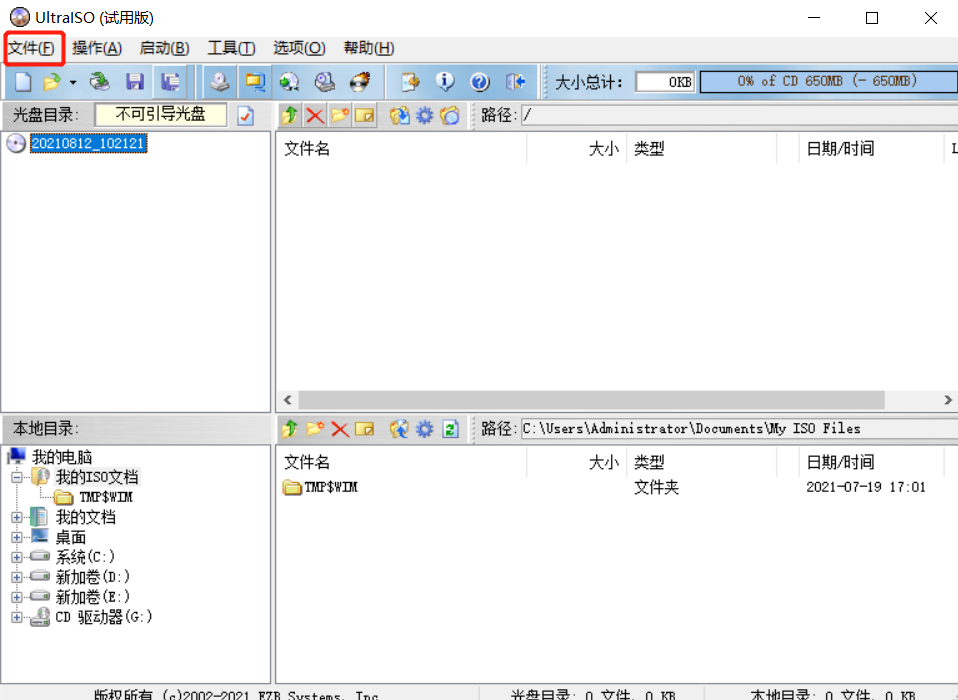
Select the downloaded ISO image file and import the drive letter where the USB flash disk is located. The USB flash disk operating system is completed.
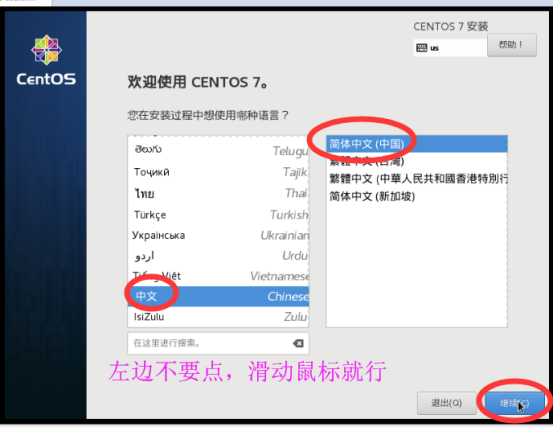
Find an obsolete server, insert the USB flash disk, modify the BIOS to start the USB flash disk, restart the computer, and enter the interface of installing the operating system.
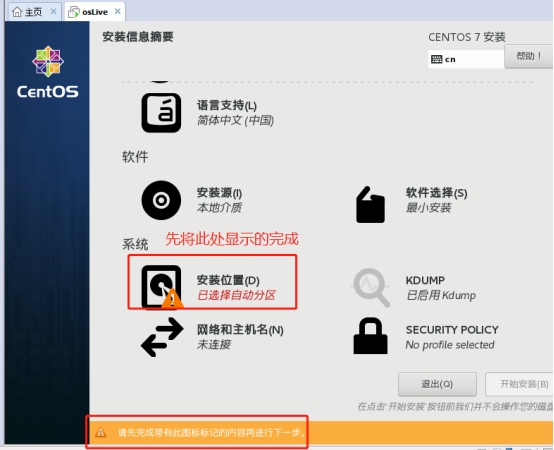
Select the installation location. You can format and reinstall the selected installation location.
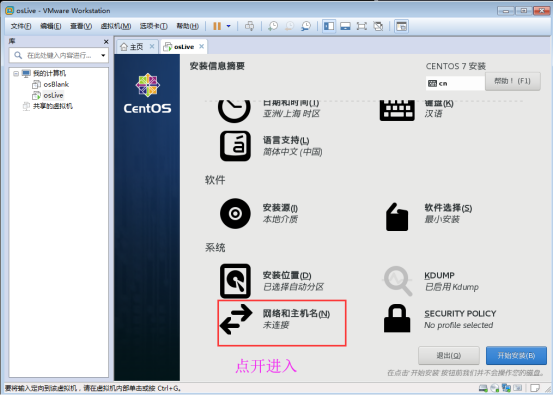
Here I configure DHCP by default and set a host name for the device. Then create the root password and account, and then create the account after entering the system. According to the next step of the process, enter the system and enter the root password to log in. Connect to the network. What I choose here is the network that can access the Internet through DHCP. ping before entering www.baidu.com OK, the network connection is successful. Next, turn on configuration.
1, Update the system and install the software
yum -y update Upgrade update

yum list installed | grep openssh See if it's installed openssh

yum install openssh-server install openssh
Configure SSH profile
vi /etc/ssh/sshd_config
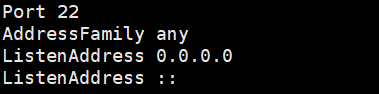
PermitRootLogin yes

AllowUsers root test   New account test Allow login to server

PasswordAuthentication yes   Allow password login

#UsePAM yes centos7 minimum enables PAM by default. It is recommended to cancel

open  sshd  Services, entering sudo service sshd start
Check whether the sshd service is enabled. Enter ps -e | grep sshd or netstat -an | grep 22 to check whether port 22 is enabled for listening. In order to avoid manually starting the sshd service every time CentOS is enabled, you can add the sshd service to the self startup list and enter systemctl enable sshd Service, you can enter systemctl list unit files | grep sshd to check whether the sshd service self startup is enabled
2, Add or delete allowed IP segments and restrict the IP segments accessing the service
/etc/hosts.allow add to

sshd:192.168.0.1:allow  #192.168.0 is allowed 0.1 SSH login with this IP address

sshd:192.168.0.:allow #192.168.0 is allowed Users with IP addresses of 0.1/24 can log in. Multiple network segments can be separated by commas, such as 192.168 0.,192.168. 1.:allow

/etc/hosts.allow add to

sshd:ALL #Allow all ssh logins
hosts.allow and hosts When both deny files set rules at the same time, hosts The rules in the allow file have high priority. After this method is set, the server only allows 192.168 0.1 SSH login of this IP address will be rejected by other IP addresses.
/etc/hosts.deny add
sshd:ALL #Reject all IP addresses
3, There are two ways to configure IP: (1) obtain IP dynamically (2) obtain IP statically
Let's see which network card is using ip addr first

cd /etc/sysconfig/network-scripts

ls
You can find your network card and enter editing through vi
(1) Dynamic mode
To dynamically obtain the IP address, you need to modify two places
(1)bootproto=dhcp
(2)onboot=yes
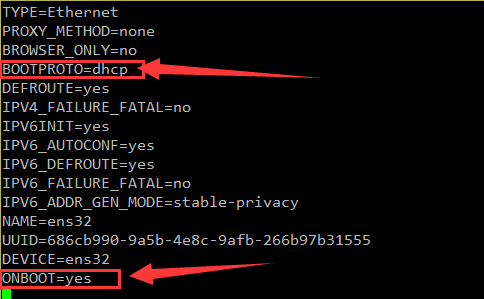
After modification, restart the network service to systemctl restart network
(2) Static mode
(1)bootproto=static
(2)onboot=yes
(3) Add a few lines at the end, including IP address, subnet mask, gateway and dns server, and configure them according to the actual situation.
IPADDR=192.168.1.160

NETMASK=255.255.255.0

GATEWAY=192.168.1.1

DNS1=119.29.29.29

DNS2=8.8.8.8
(4) Restart network service
systemctl restart network
- Check firewall port 22
Use the systemctl tool to check whether the startup and self startup services of sshd and firewalld are enabled. If not, then: turn on the start-up auto start of sshd and firewalld services
systemctl enable sshd

systemctl list-unit-files | grep sshd

systemctl enable firewalld[.service]

systemctl list-unit-files | grep firewall
View firewall status
firewall-cmd --state
View firewall rules
firewall-cmd --list-all
Open port
firewall-cmd --permanent --add-port=80/tcp
Remove port
firewall-cmd --permanent --remove-port=8080/tcp
close
service firewalld stop
Enable / disable bootstrap
systemctl enable/disable firewalld.service
5, Close selinux
vi /etc/selinux/config

#SELINUX=enforcing #Comment out

#SELINUXTYPE=targeted #Comment out

SELINUX=disabled #increase
Then, save and exit the file. In order for the configuration to take effect, you need to restart the system, and then use the sesstatus command to check the status of SELinux.
OK, through the remote test, you can log in through SSH, and you're done!