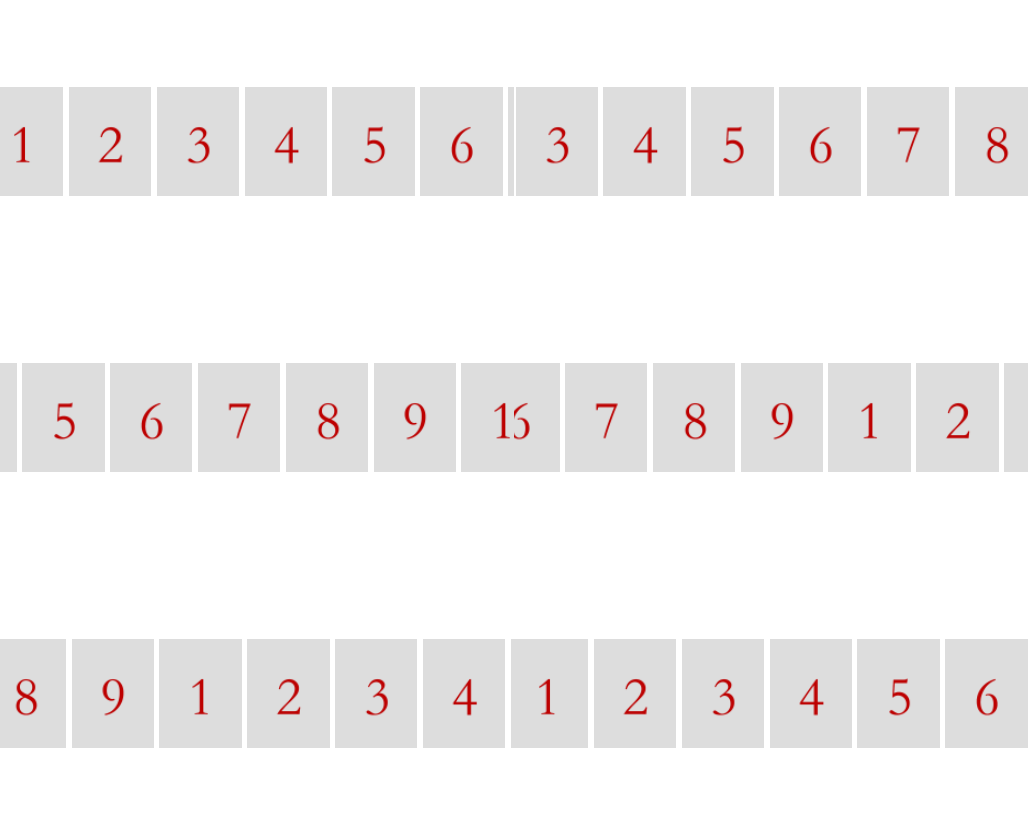
Today, we use UGUI to display multiple pictures automatically. The details are as follows
1. Read all pictures from a specific folder
2. Arrange and display all pictures. If it is beyond the range of the screen, scroll circularly
3. Click the picture and pause scrolling. The picture is enlarged and displayed in the middle of the screen. Click again to zoom back and continue scrolling.
First, traverse the folder and read all the pictures
// Get all pictures in a specific path
    Dictionary<string, Texture2D> GetAllImgInPath( string fullPath)
    {
        Dictionary<string, Texture2D> retDict = new Dictionary<string, Texture2D>();
        // First determine whether the path exists
        if( Directory.Exists( fullPath) == false)
        {
            return retDict;
        }
        // Traverse all files in the path
        string [] filePathArr = Directory.GetFiles( fullPath);
        string ext = string.Empty;
        string []imgExtArr = new string[]{".jpg", ".png", ".bmp"};
        foreach( string fullName in filePathArr)
        {
            // Judge whether it is a picture according to the suffix
            ext = Path.GetExtension( fullName);
            if( ((IList)imgExtArr).Contains(ext))
            {
                // Read image
                byte[] imgBytes = File.ReadAllBytes( fullName);
                Texture2D t2d = new Texture2D(1,1);
                t2d.LoadImage( imgBytes);
                retDict.Add( Path.GetFileName( fullName), t2d);
            }
        }
        return retDict;
    }
Then create a RawImage object for each image. I can't find a function to directly create ugui controls in ugui. I can only make a RawImage preset, and then use the preset to Instantiate a new one.
// Initialize all images
    void InitAllImg( Dictionary<string, Texture2D> texDict)
    {
        if( m_imgCellPerfab == null || m_imgCellParent == null)
        {
            Debug.LogError( "InitAllImg ERR!! The preset or parent node is null!");
            return;
        }
        m_allImgs.Clear();
        foreach( KeyValuePair<string, Texture2D> pair in texDict)
        {
            // New rawImage
            Texture2D t2d = pair.Value;
            RawImage imgCell = Instantiate( m_imgCellPerfab);
            imgCell.texture = t2d;
            imgCell.GetComponent<Transform>().SetParent( m_imgCellParent, false);
            // Add a click event to the picture
            EventTriggerListener.Get(imgCell.gameObject).onDown += OnClickImg;
            m_allImgs.Add( imgCell);
        }

        InitImgPos();
    }
Now that these pictures can be displayed, it's time to deal with the location of these pictures. Set a spacing distance, and then calculate the initial position of the next image according to the width of the image
// Initialization location
    void InitImgPos()
    {
        // First calculate the total width
        float totalW = m_spacing;
        foreach( RawImage img in m_allImgs)
        {
            // Picture width + spacing
            RectTransform rectTran = img.GetComponent<RectTransform>();
            totalW = totalW + rectTran.rect.width + m_spacing;
        }
        // Center if the total width is smaller than the parent node width. If the total width is larger than the width of the parent node, start from the far left
        Vector2 parentSize = m_imgCellParent.GetComponent<RectTransform>().sizeDelta;
        float startX = 0;
        if( totalW < parentSize.x)
        {
            // Center
            startX = -totalW/2;
        }
        else
        {
            // From the far left
            startX = -parentSize.x/2;
        }
        float x = startX + m_spacing;
        // Initialize the location of each picture
        foreach( RawImage img in m_allImgs)
        {
            // Picture width + spacing
            RectTransform rectTran = img.GetComponent<RectTransform>();
            // Because it is center aligned, the offset is half the width
            x = x + rectTran.sizeDelta.x/2;
            rectTran.localPosition = new Vector3( x, 0, 0);
            // Location of next picture
            x = x + rectTran.sizeDelta.x/2 + m_spacing;
        }
    }
After that, the movement is processed, that is, the moving distance is calculated according to the speed of each frame, and then each picture moves this distance. If the movement is beyond the range of the parent node, reset the position to the back of the queue (that is, the current position plus the total width)
// useTime: the time used to process the move
    void DealMove( float useTime)
    {
        float dis = useTime * m_moveSp;
        float x = 0;
        Vector2 parentSize = m_imgCellParent.GetComponent<RectTransform>().sizeDelta;
        // After traversing all the pictures, calculate the new location
        foreach( RawImage img in m_allImgs)
        {
            RectTransform rectTran = img.GetComponent<RectTransform>();
            x = rectTran.localPosition.x - dis;
            // If you run out of range, add it to the back
            if( x < -(parentSize.x/2 + rectTran.sizeDelta.x/2 + m_spacing))
            {
                x = x + m_totalWidth;
            }
            rectTran.localPosition = new Vector3( x, 0, 0);
        }
    }
So far, the running lantern effect of circular rolling has been completed.

Next, we need to deal with the start / stop of zooming in / out and scrolling after clicking the picture.
To achieve the zoom in / out effect, you need to create another picture specifically for zoom in and out. Because if you zoom in directly with the original image, if its level is not the highest, the image with a higher level will be covered on it after zooming in. The dotween plug-in is required for image zooming.
// Start Popup
    public void StartPop( RawImage srcImg, PopCB popCB)
    {
        m_srcImg = srcImg;
        m_popCB = popCB;
        //
        m_popPlane.SetActive( true);
        // Initialize the size and position of the picture to be scaled according to the source picture
        RectTransform rectTran = m_scaleImg.GetComponent<RectTransform>();
        RectTransform srcImgTran = srcImg.GetComponent<RectTransform>();
        rectTran.sizeDelta = srcImgTran.sizeDelta;
        rectTran.localPosition = srcImgTran.localPosition;
        m_scaleImg.texture = srcImg.texture;
        // Calculate the multiple that needs to be scaled
        float scaleX = m_maxSize.x/srcImgTran.sizeDelta.x;
        float scaleY = m_maxSize.y/srcImgTran.sizeDelta.y;
        float scale = Mathf.Min( scaleX, scaleY);
        m_bWaiting = true;
        Sequence quence = DOTween.Sequence();
        quence.Append( rectTran.DOScale( new Vector3(scale, scale, 1), m_animTime));
        quence.Join( rectTran.DOLocalMove( new Vector3(0,0,0), m_animTime));
        quence.AppendCallback( ()=>{
            // Animation complete
            m_bWaiting = false;
        });
    }
It is used when adding click events to the picture
EventTriggerListener.Get(imgCell.gameObject).onDown += OnClickImg;
EventTriggerListener is an event listening class encapsulated by itself. See the project source file for the specific code.